
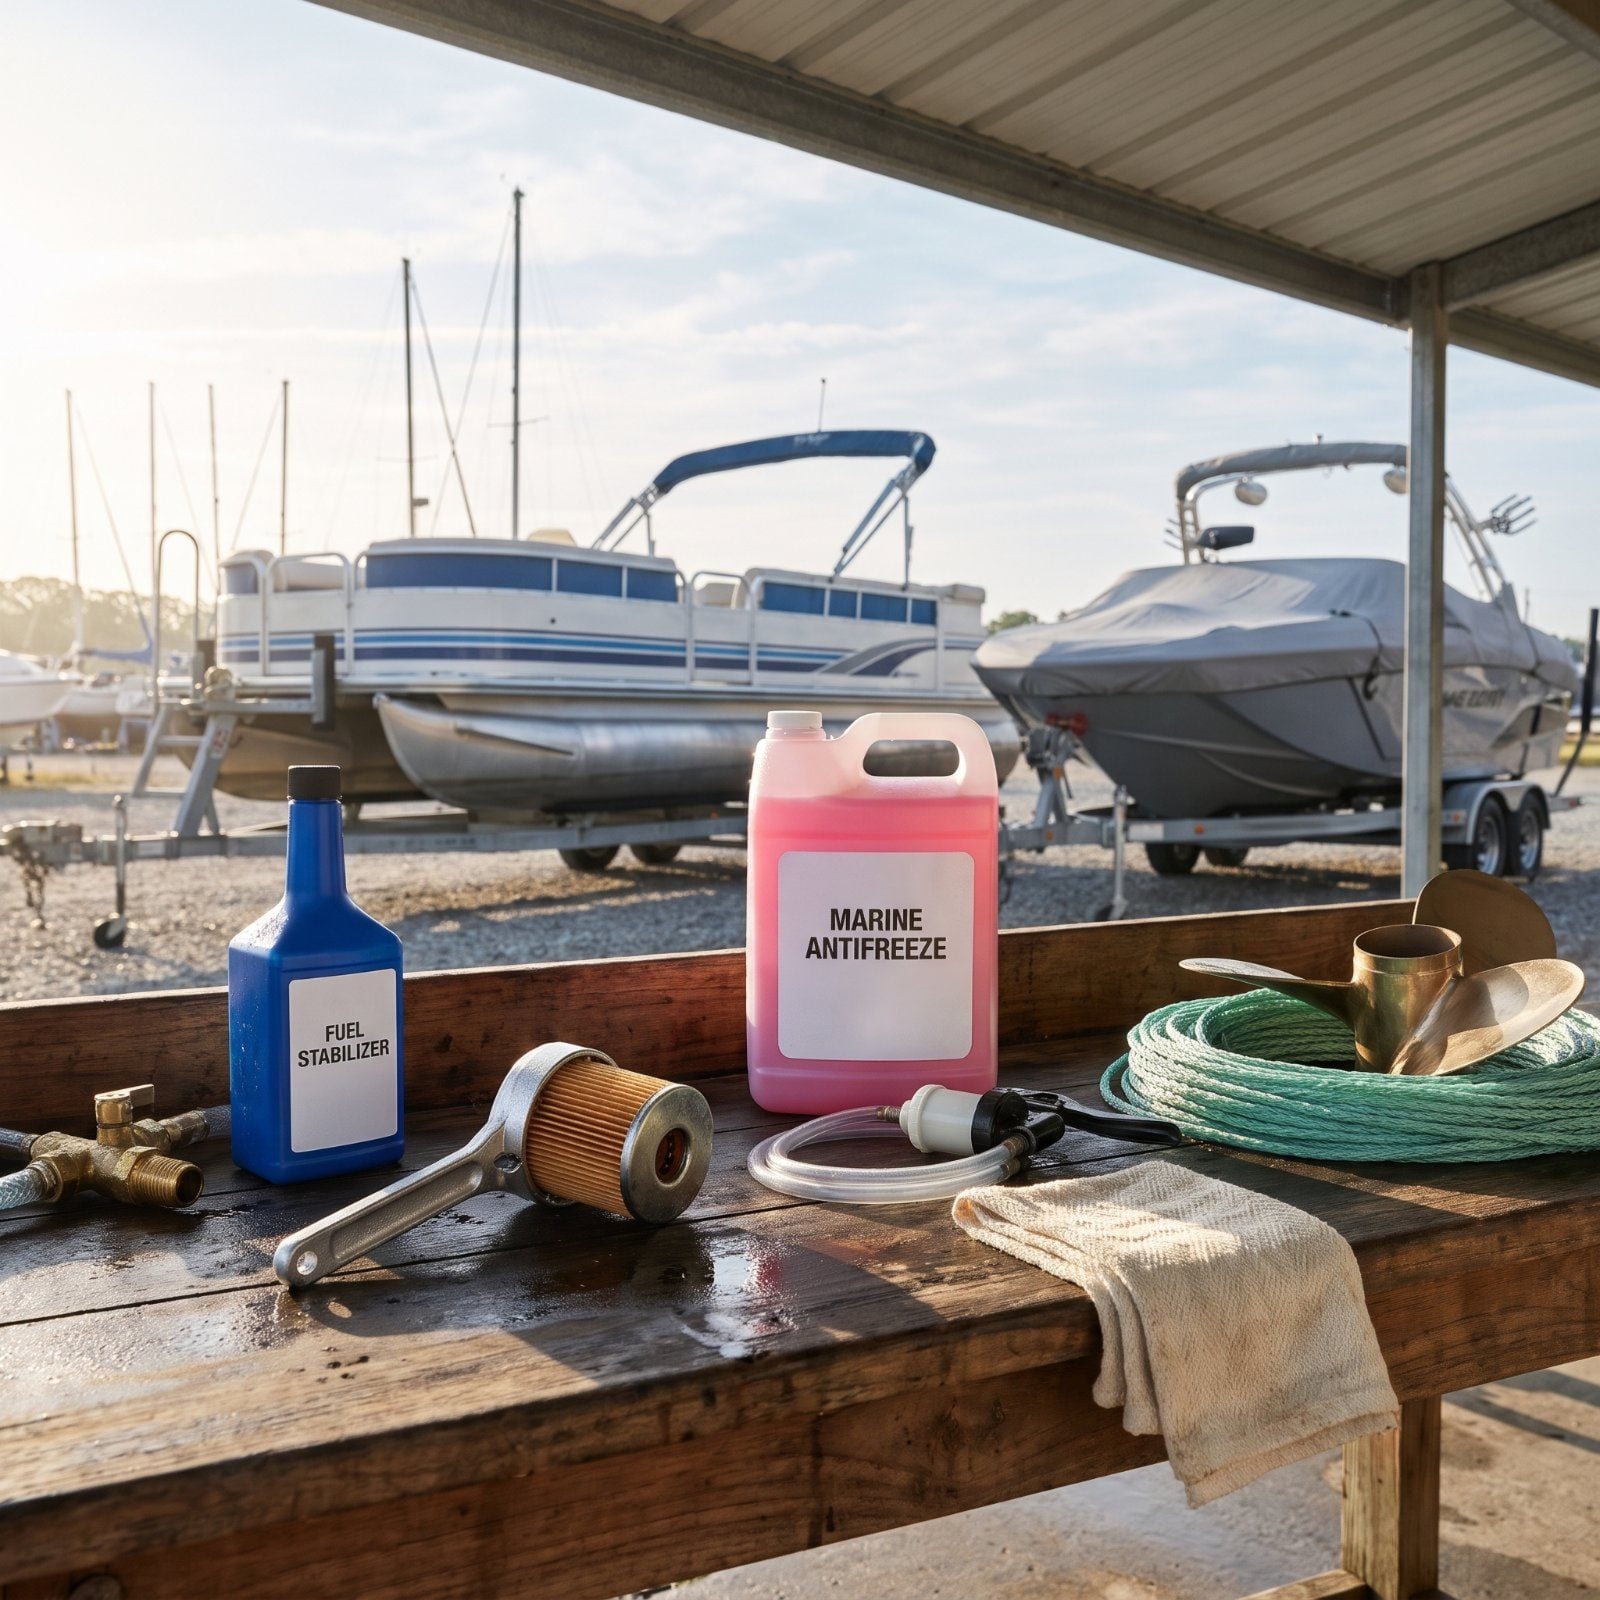
A cracked engine block costs more than a season of dockage. That’s the number that should haunt anyone who parks a boat for winter and crosses their fingers.
Most of the damage that shows up in April was invisible back in October. Water that should have drained but didn’t. Fuel quietly turning to varnish while nobody watched. A film of corrosion creeping across a cold cylinder wall. None of it announces itself, and that’s exactly the problem. The good news? The fixes are cheap, fast, and mostly common sense once you know where the trouble likes to hide.
Please note that some of the imagery in this article may have been enhanced with the assistance of AI.
37. Waiting for the First Hard Freeze to Winterize
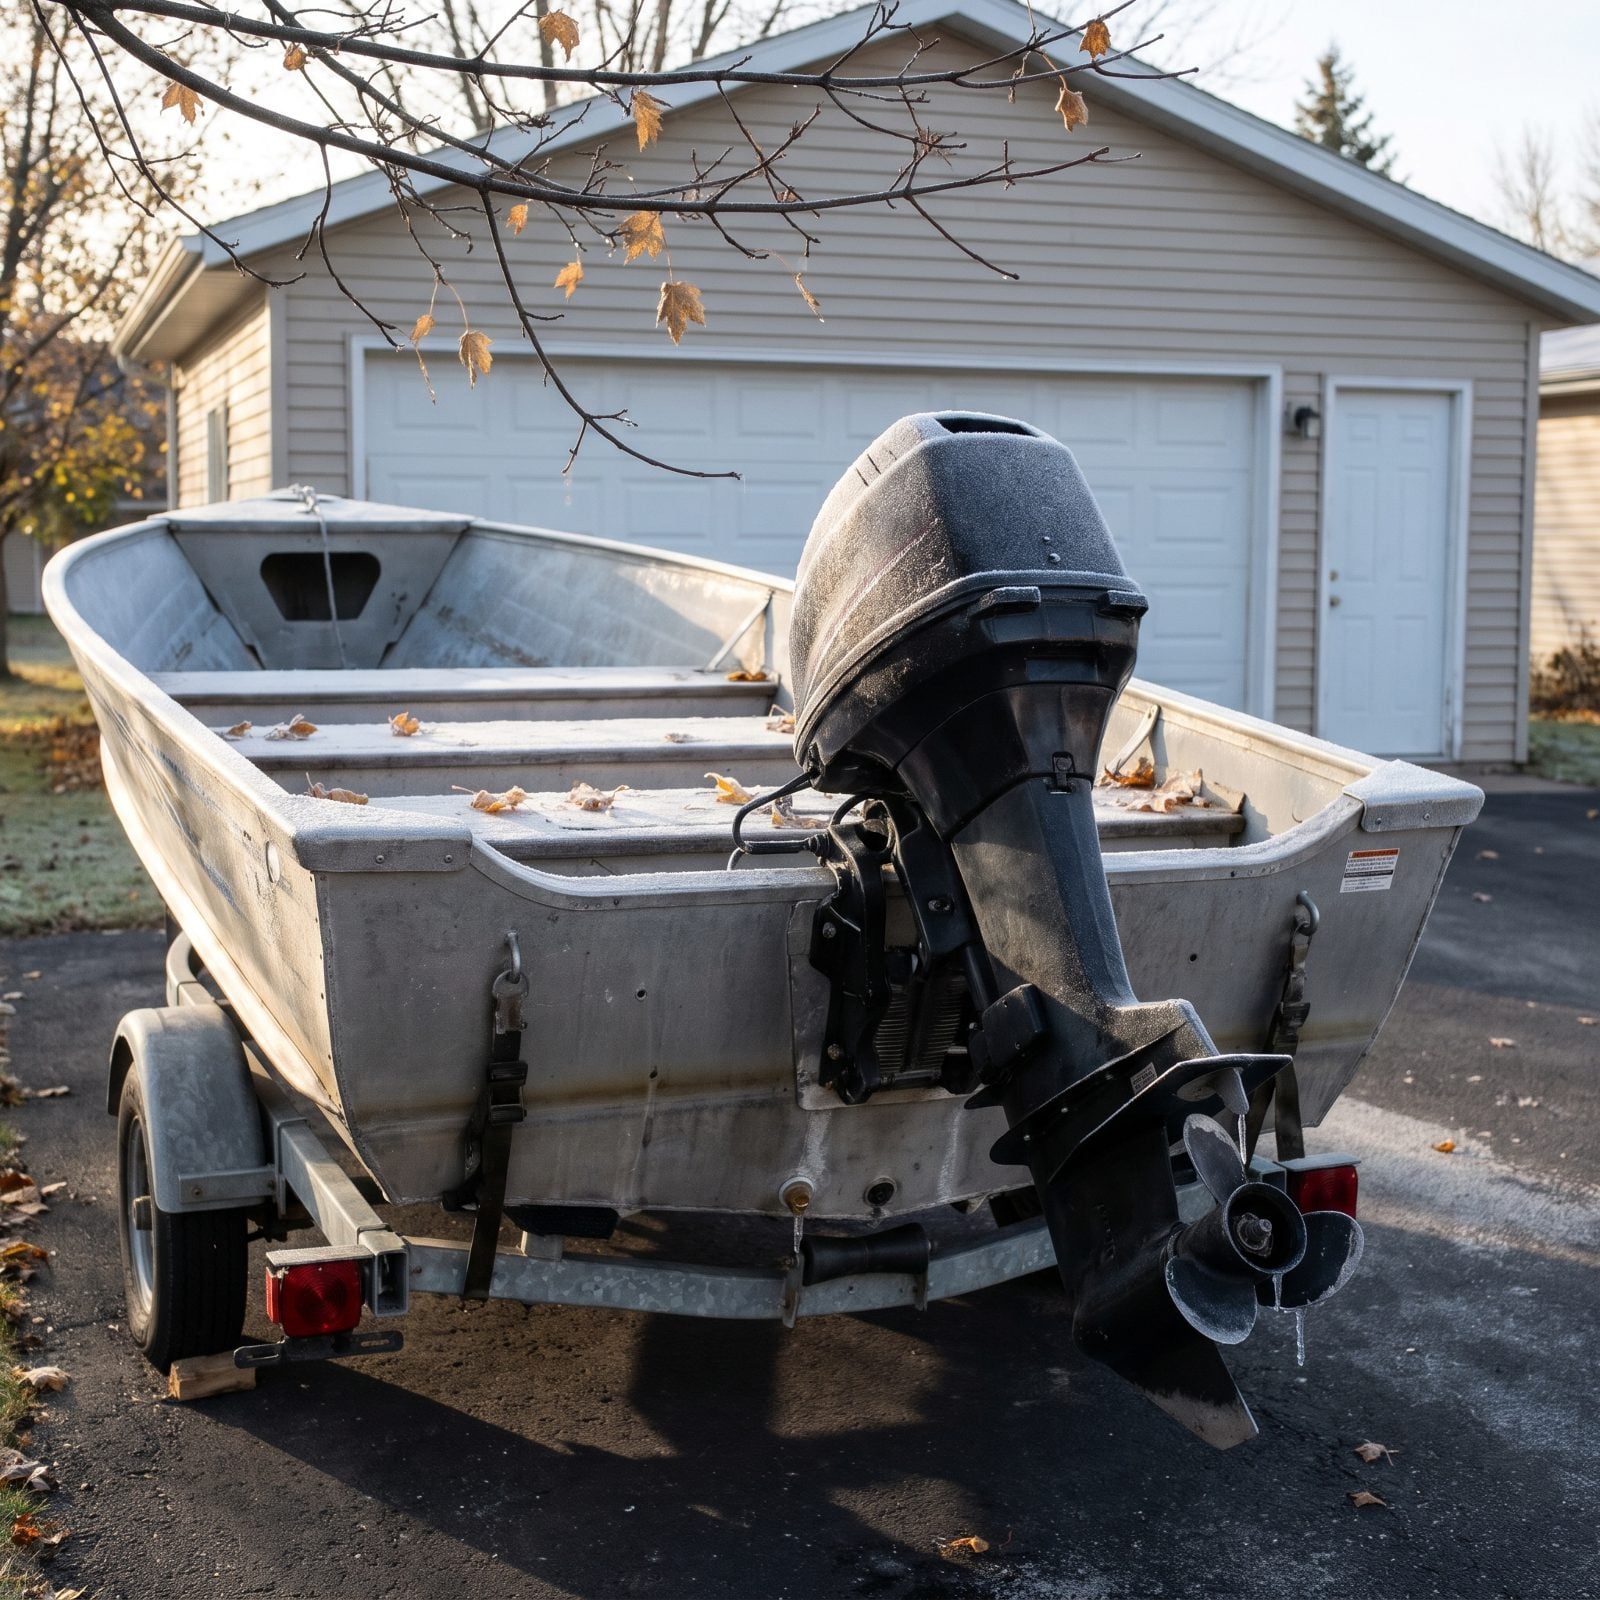
The forecast says 28 degrees tonight and the boat is still full of raw cooling water. That’s the exact moment a block cracks. Water swells as it freezes, and a sealed engine passage has nowhere to give.
People gamble on this every fall. One hard overnight dip, one trapped pocket of water in the manifold, and the repair bill climbs into four figures. The freeze doesn’t wait for a convenient weekend.
So winterize when the season ends, not when the thermometer starts making threats. Still using the boat into the cold? Keep marine antifreeze on hand and block out a couple of hours so you can pull the plugs and flush the system before the first real snap hits — not during it.
36. Ignoring the Boat and Engine Manufacturers’ Winterization Instructions
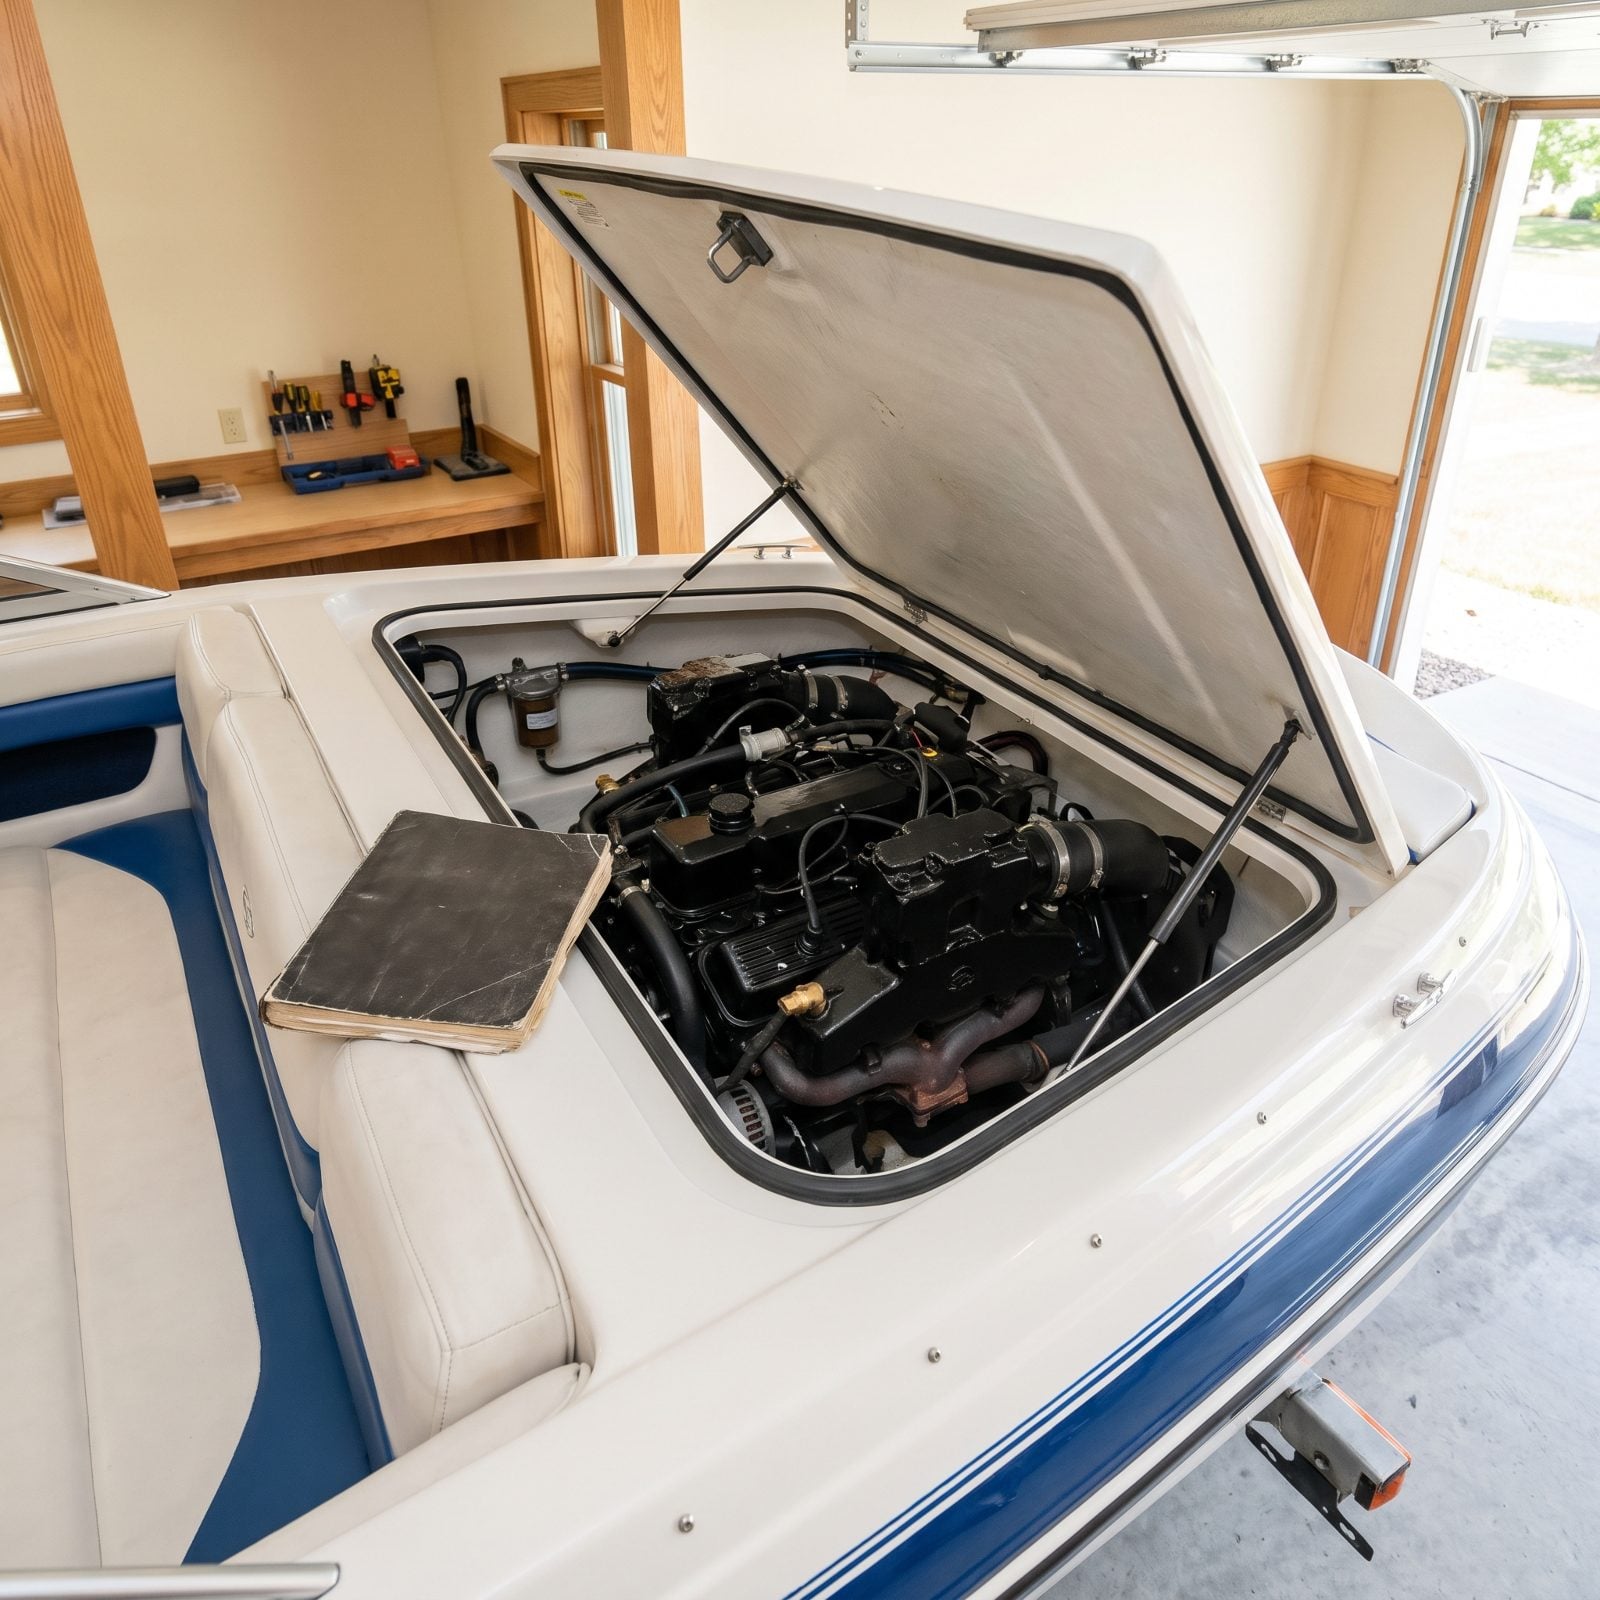
Every engine drains a little differently. The number of petcocks, where they hide, how much antifreeze the system actually holds, which valves need to be open for the water to fully clear. A generic YouTube video can miss the one plug your specific block needs.
Skip the manual and you can drain most of the water and still crack the last stubborn pocket tucked in a manifold corner. I’ve watched owners swear up and down they drained everything, then find a split casting come spring.
Pull the actual manual for your make and model year. Follow the drain sequence and the antifreeze volumes it lists. The manufacturer already tested the failure points you can’t see from the outside.
35. Adding Fuel Stabilizer Without Circulating It Through the System
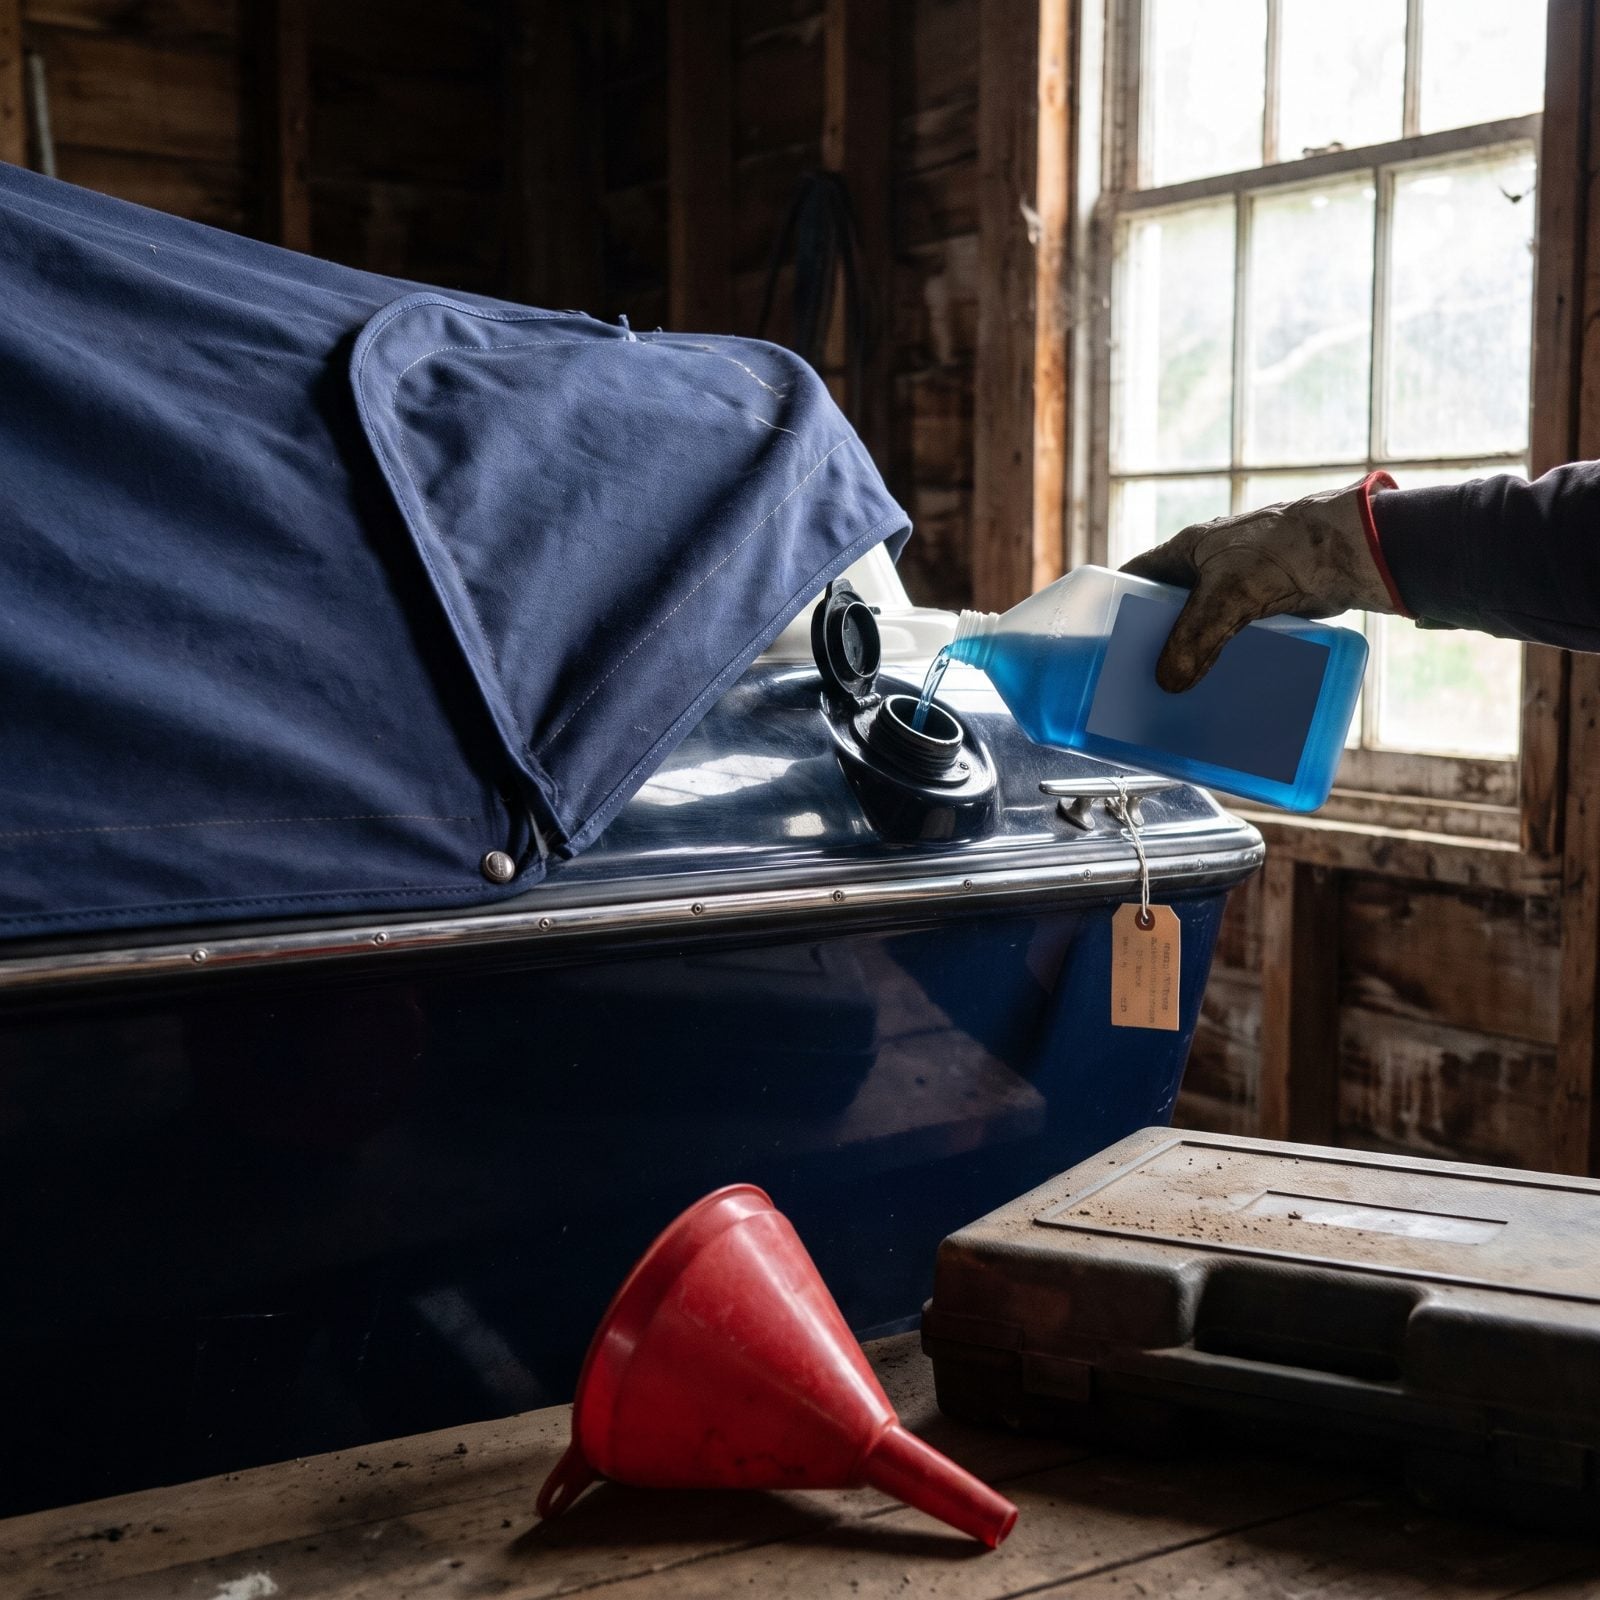
Pouring stabilizer into the tank and walking away is half a job. Sure, the treated fuel is sitting in the tank — but the fuel lines, filter, pump, and carburetor bowls or injectors are all still full of untreated gas.
Those are the small passages that gum up first. The varnish forms exactly where you didn’t reach.
After adding stabilizer, run the engine ten or fifteen minutes on muffs or at the dock so the treated fuel pulls all the way through. Then shut it down with stabilized fuel sitting in every line. That’s the step most people skip, and it’s the one that matters.
Stabilizer only helps where it actually reaches, and a longtime boating journalist says that “after adding it to the tanks be sure to run the engine(s) or generator long enough to allow the treated fuel to work its way all the way through the systems.”
34. Leaving Water and Debris in the Fuel-Water Separator
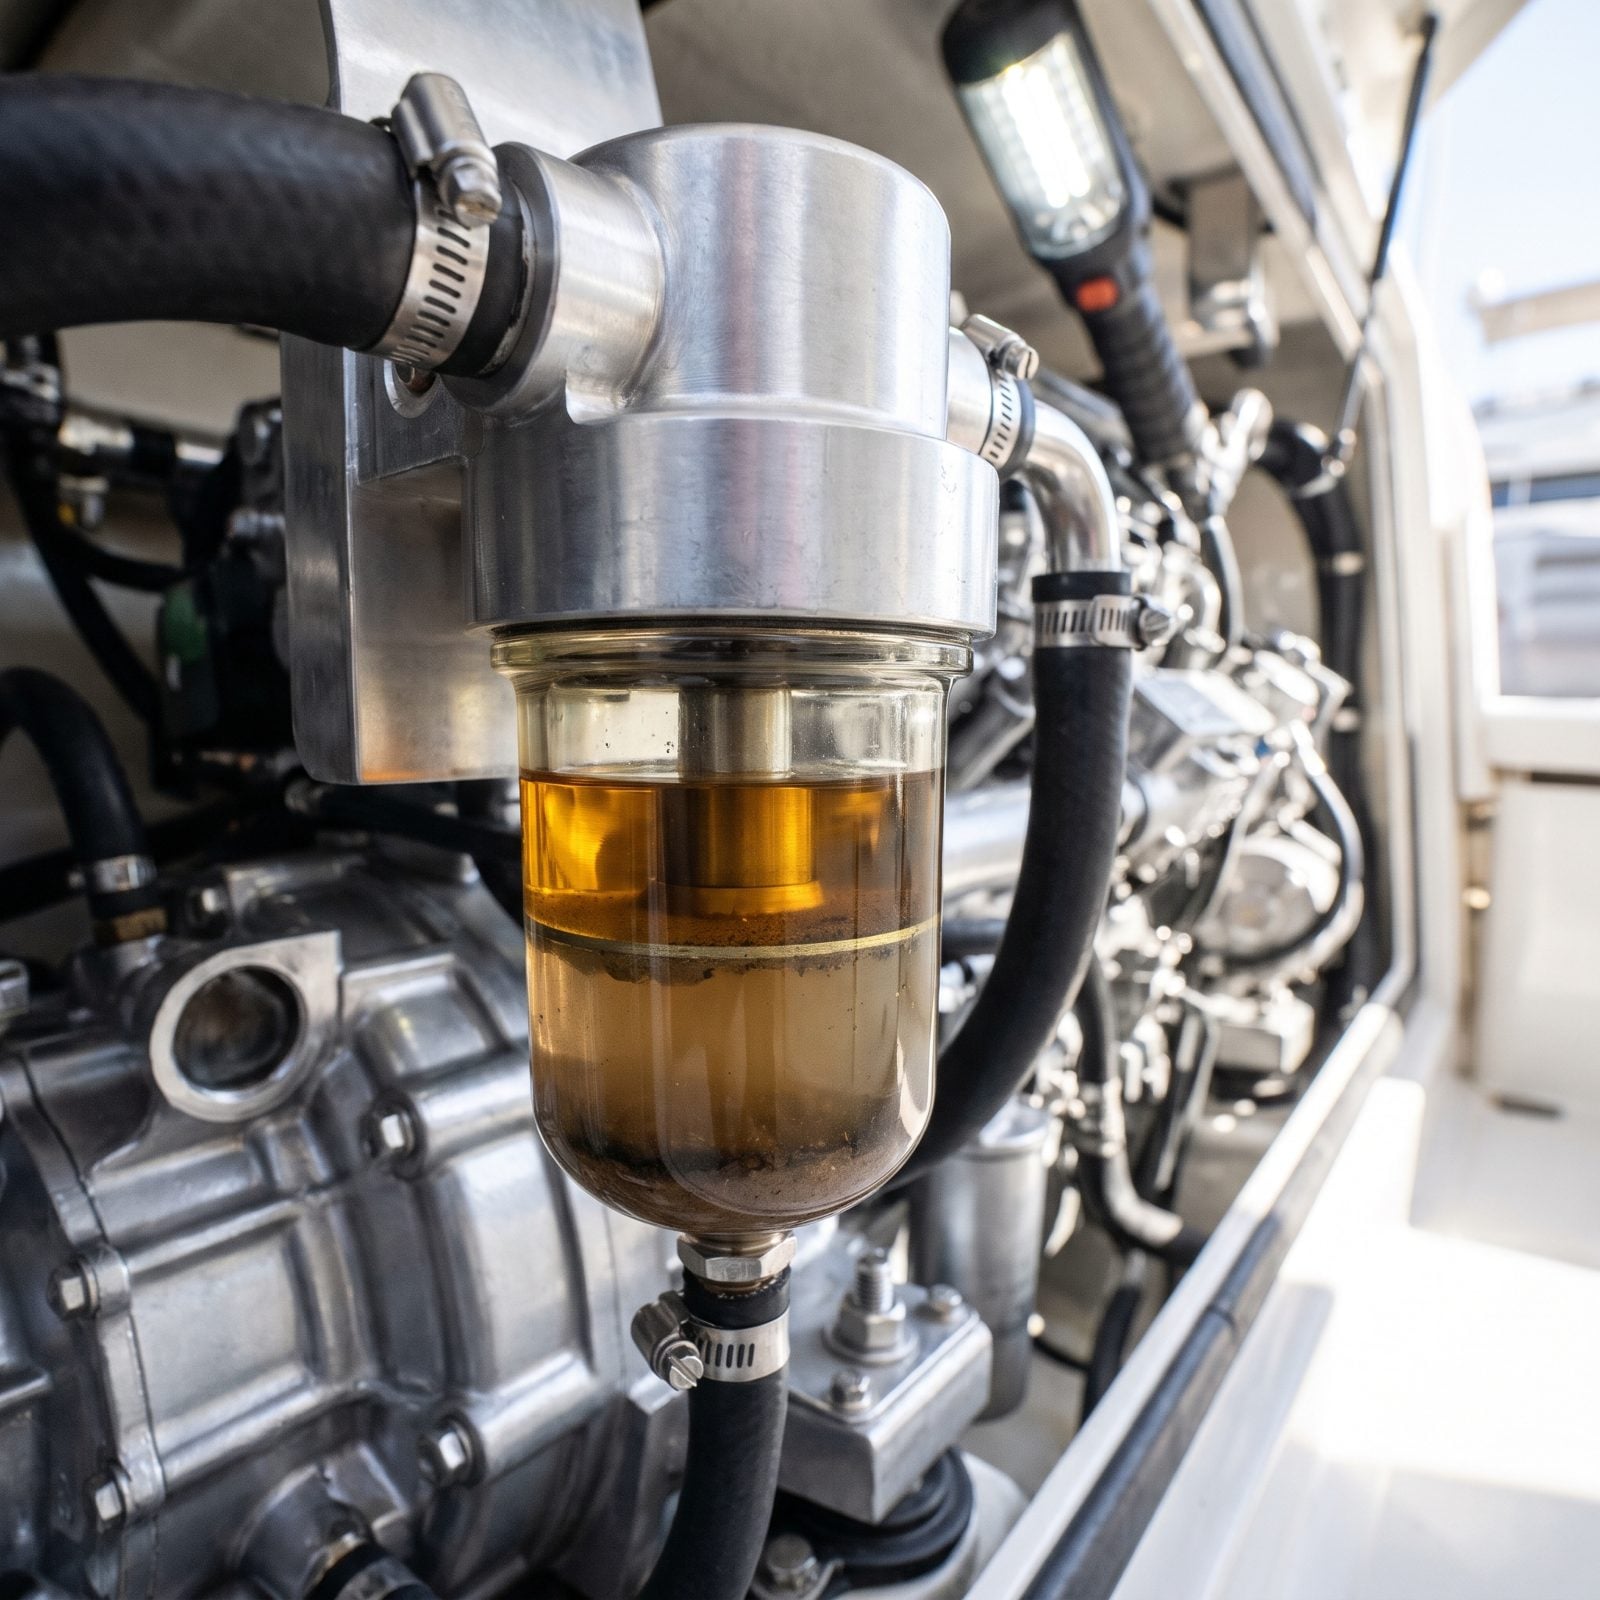
A fuel-water separator exists to catch water and junk before it reaches the engine. Which means by fall it’s holding exactly the stuff you don’t want parked there for five frozen months.
Trapped water in that bowl can freeze and crack the housing, and it corrodes the filter element from the inside. Start the season with a compromised fuel supply and you’ll pay for it the first time you turn the key.
Drain the separator bowl and swap in a new filter element before storage. Ten-minute job, and most owners forget it because the separator does its work without ever making a sound.
33. Skipping Diesel Biocide When Microbial Growth Is a Risk
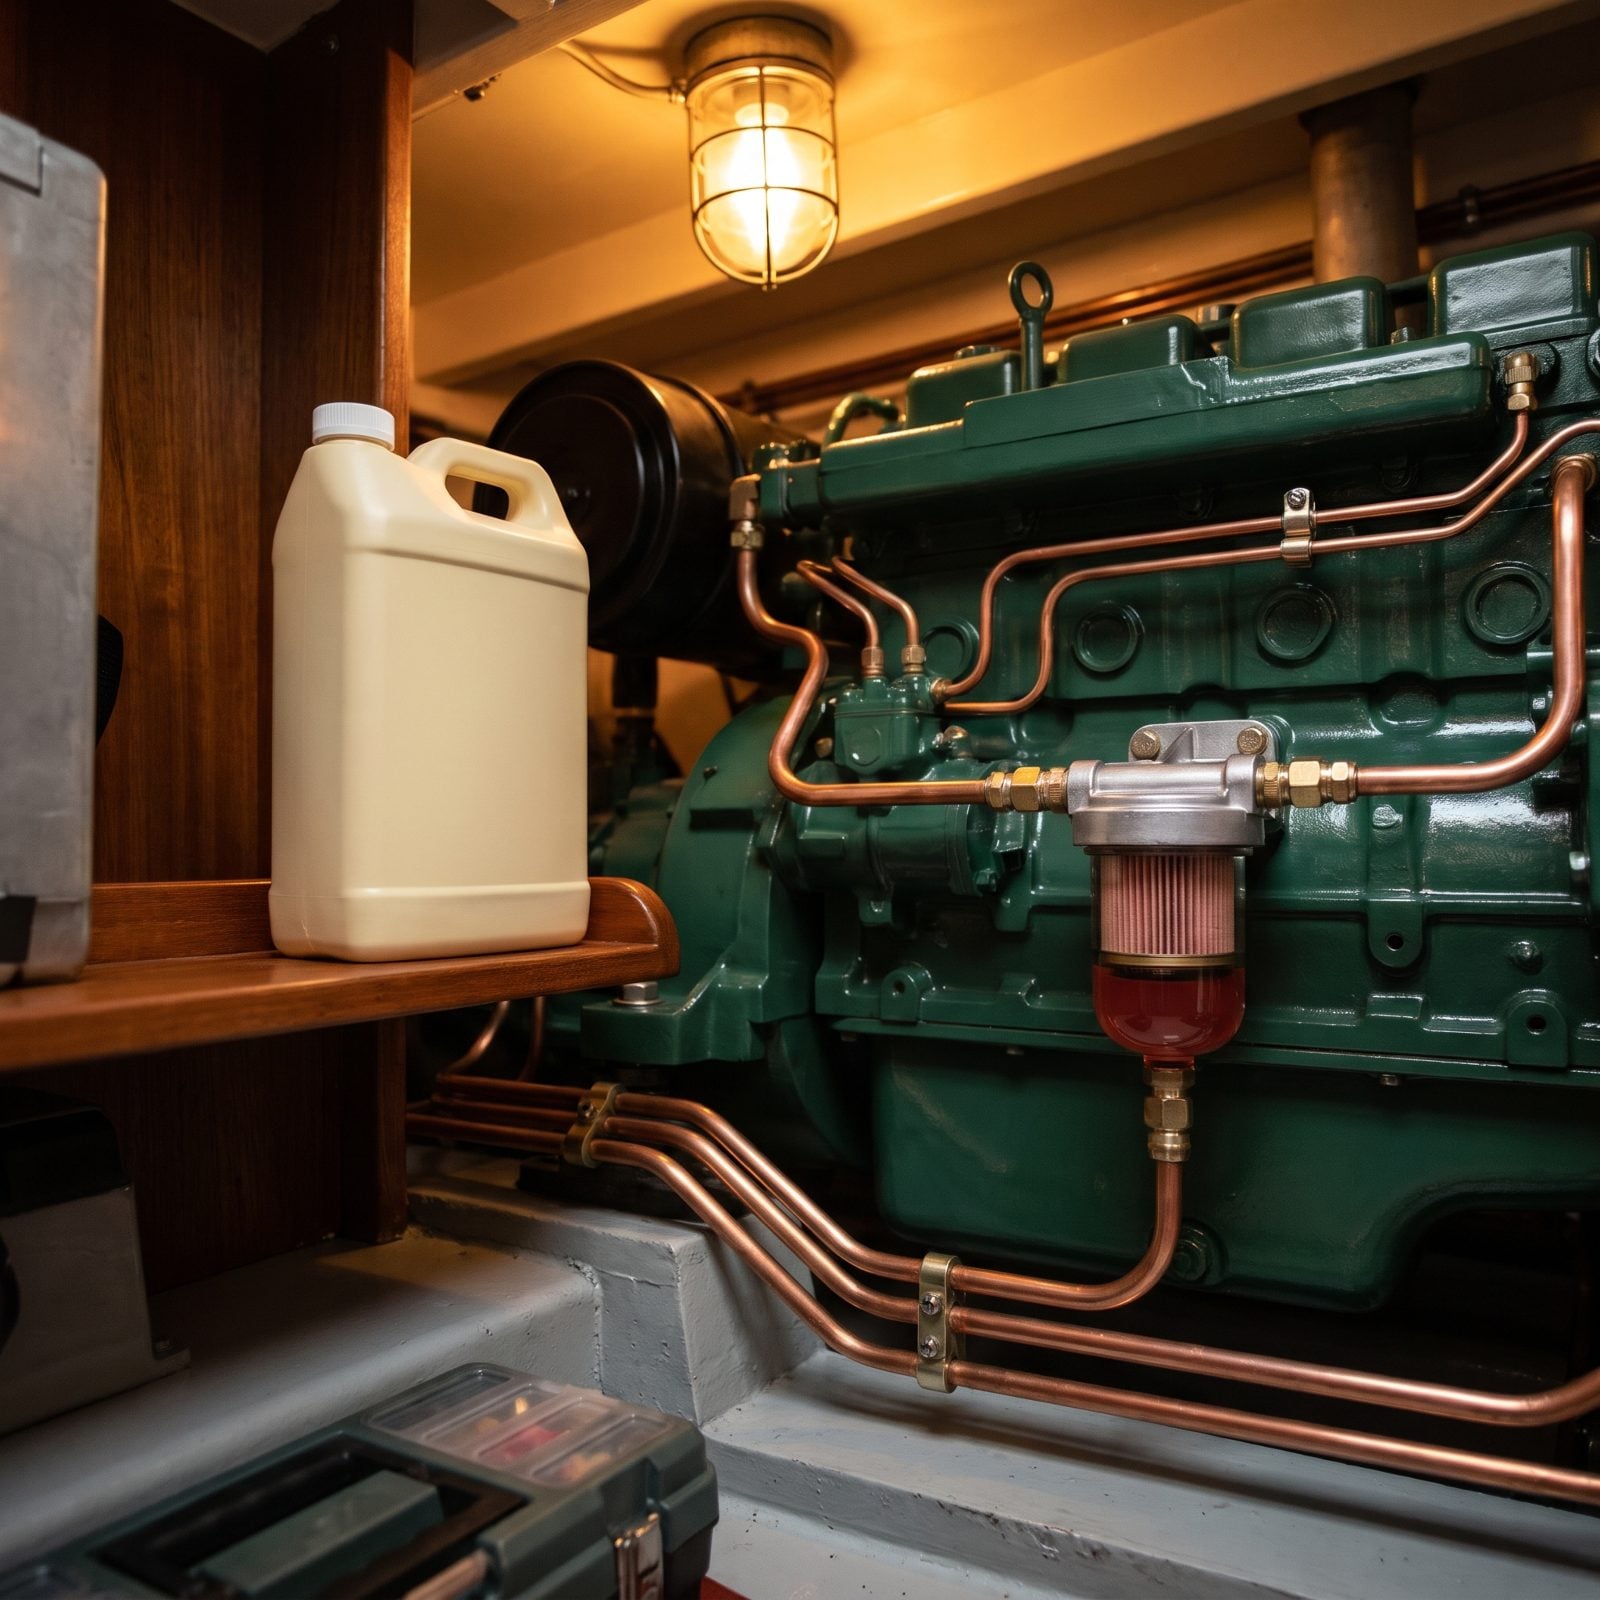
Diesel owners get a different enemy. Where water meets diesel, a slimy colony grows right at the interface — the old-timers call it diesel bug. Living sludge that clogs filters and eats away at tank bottoms.
A boat sitting still all winter is the perfect nursery. Still, undisturbed, with a little condensation water to feed on. You find out in spring when the filters clog within the first hour of running.
If your fuel has any history of water intrusion, or you’re in a humid region, dose the tank with a marine diesel biocide before storage. Cheap insurance, not an optional extra.
32. Storing the Engine With Old, Contaminated Oil
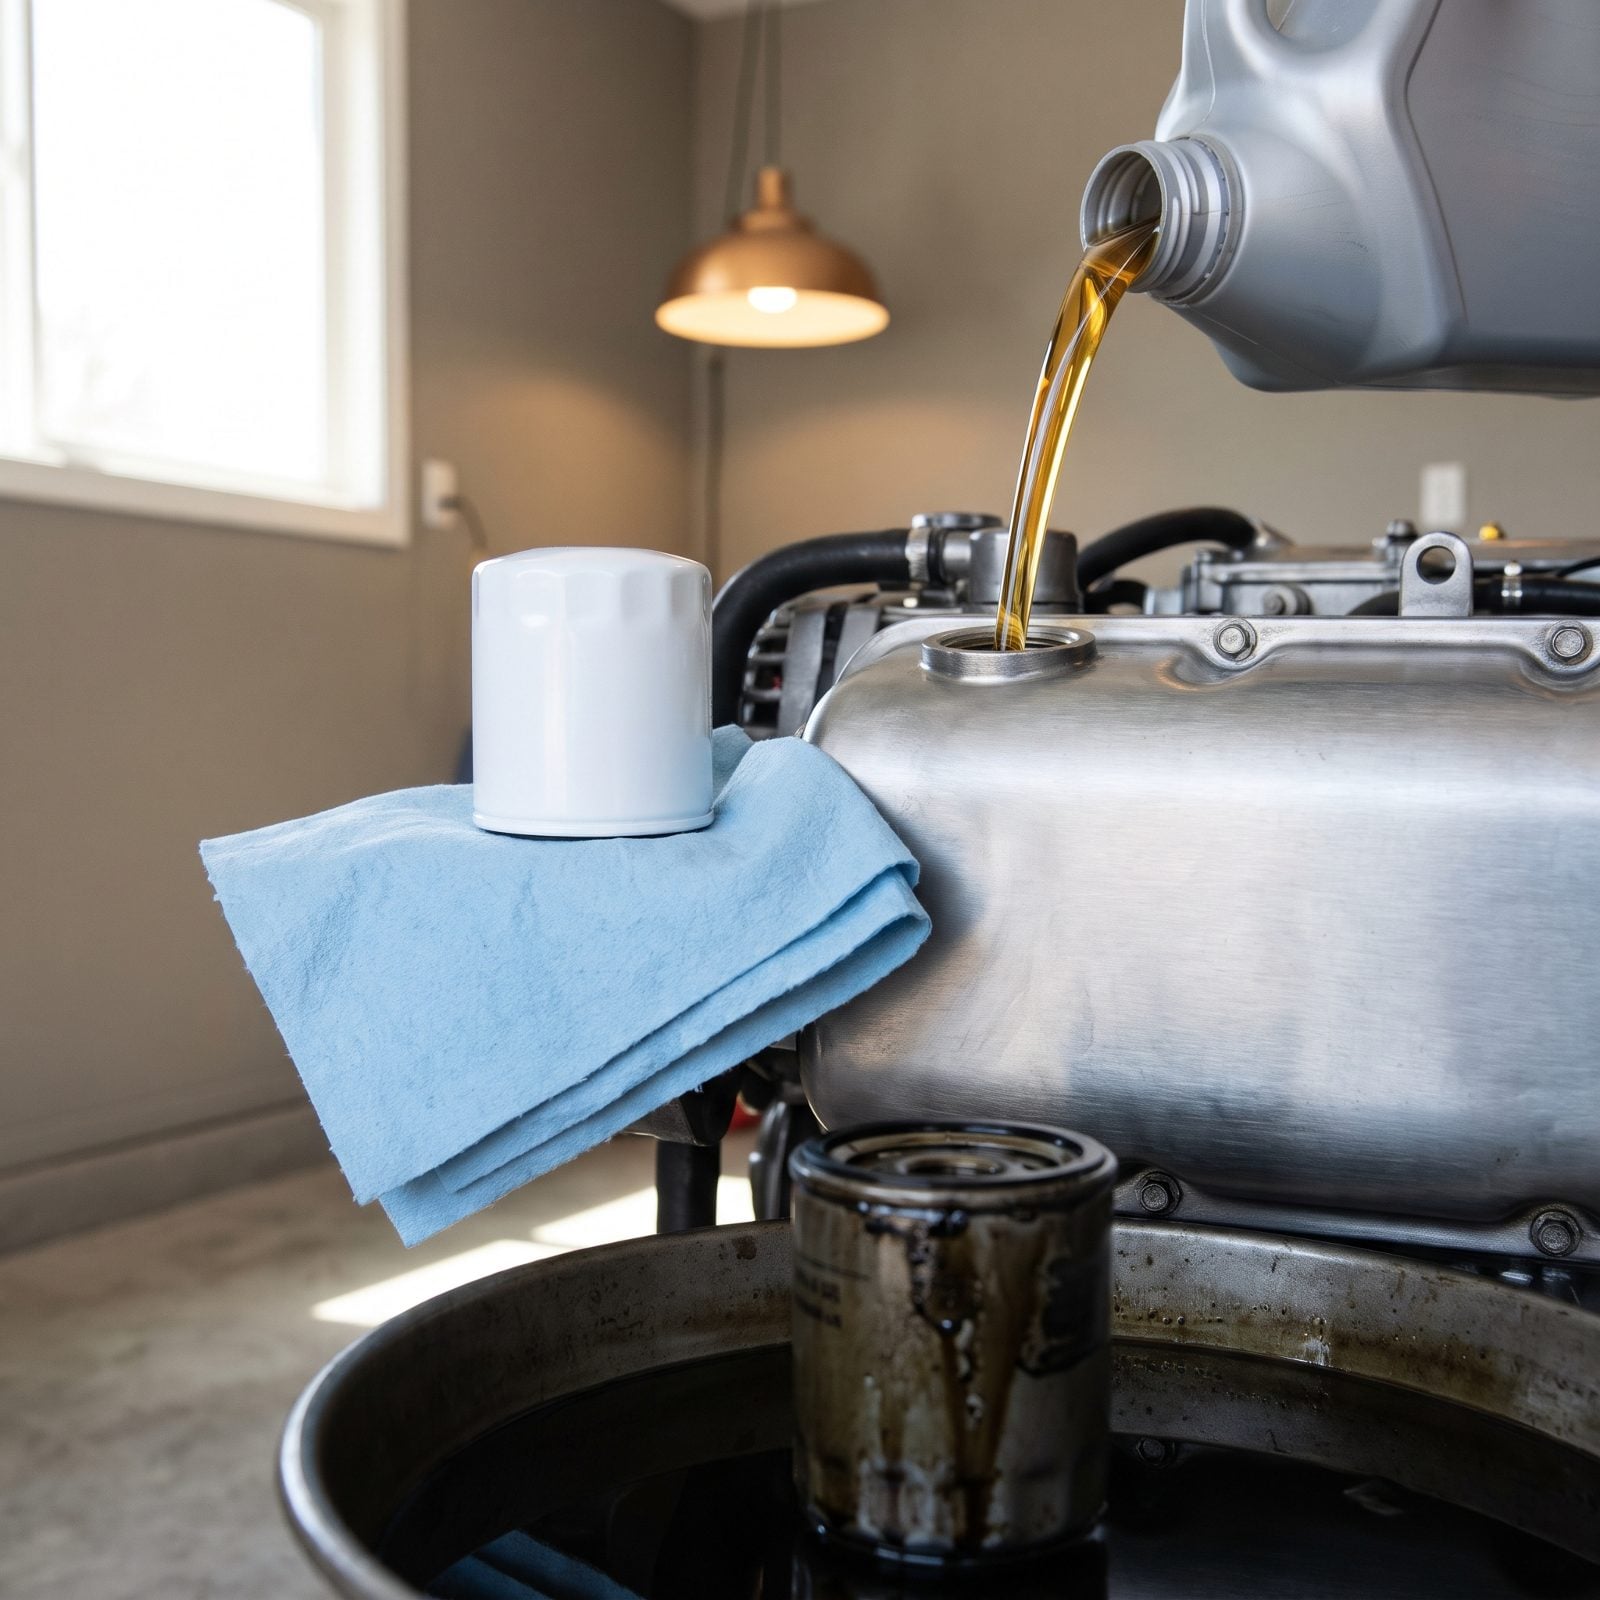
Used oil isn’t just dirty. It’s acidic. Combustion byproducts, moisture, and sulfur compounds build up over a season and turn the oil mildly corrosive.
Leave that in the crankcase all winter and those acids sit against the bearings, cylinder walls, and cam surfaces for months, slowly etching every one of them. You’re not resting the engine over winter. You’re marinating it in corrosion.
Change the oil and filter as the last thing you do before storage, not the first thing in spring. Fresh oil coats the internals with clean, non-acidic protection for the whole dormant stretch.
Fresh oil is the cheapest corrosion protection money can buy, and it’s the one most people put off until April when the damage is already done.
31. Leaving the Propeller On and Missing Fishing Line Around the Shaft Seal
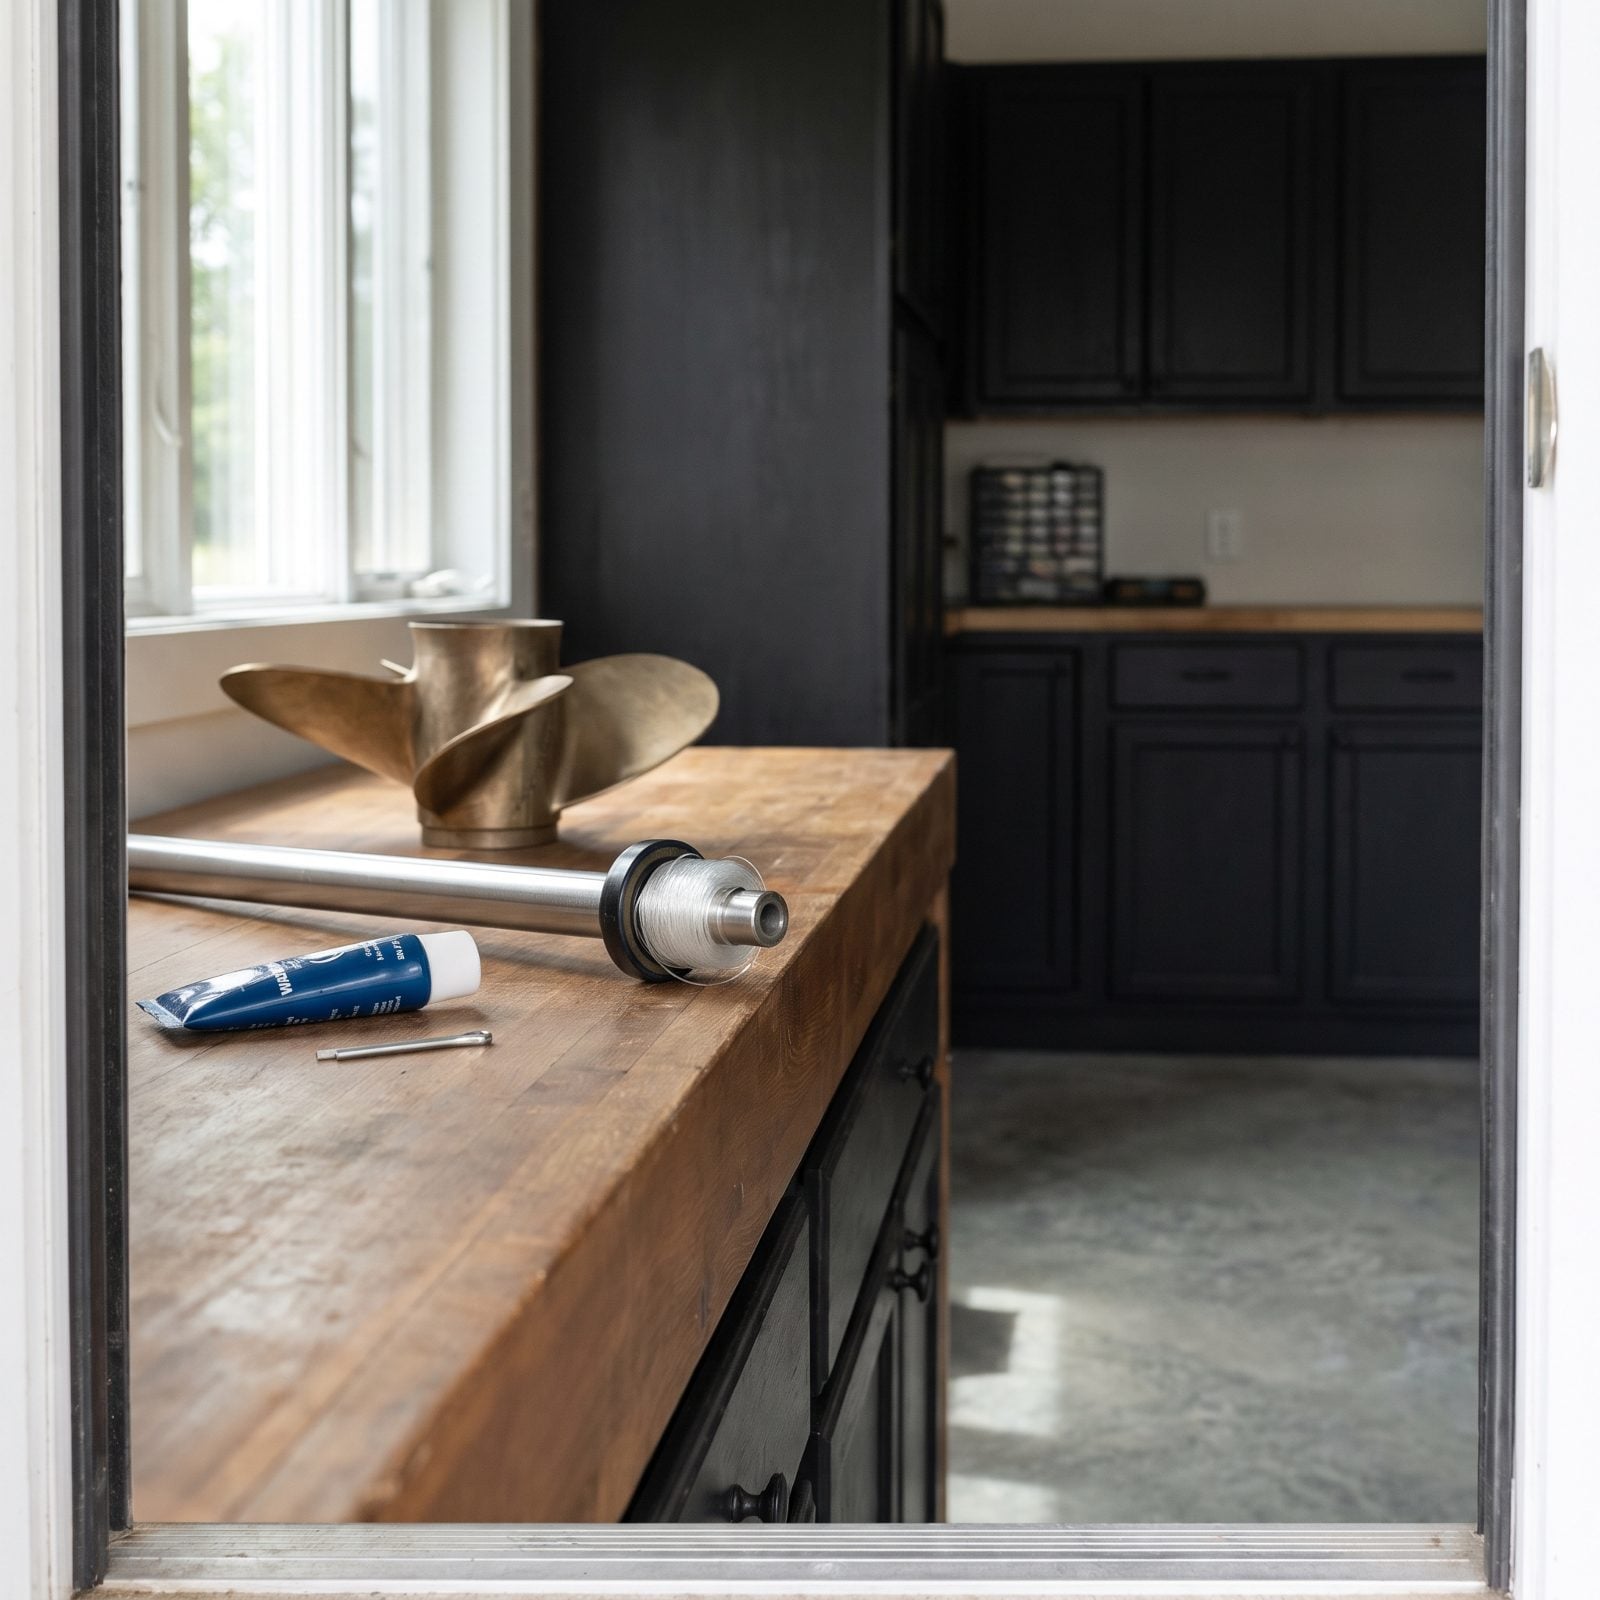
Pull the prop in fall and you might find a fat spool of monofilament — hundreds of wraps, with stray loops trailing off — wound around the seal housing on the long shaft. Fishing line piles up back there wrap after wrap, and you never once feel it happen while you’re running.
That line scores the seal and lets water creep in past it — which drops you right back into the milky-lube, cracked-housing mess from the last section. Leave it on all winter and it keeps grinding against the seal where you can’t see a thing.
Remove the prop for storage, clear any wrapped line, inspect the seal, and re-grease the shaft before it goes back on. Taking it off also deters theft and lets you catch a bent blade or spun hub you’d otherwise miss until the first run of the year.
30. Failing to Drain Every Raw-Water Cooling Passage
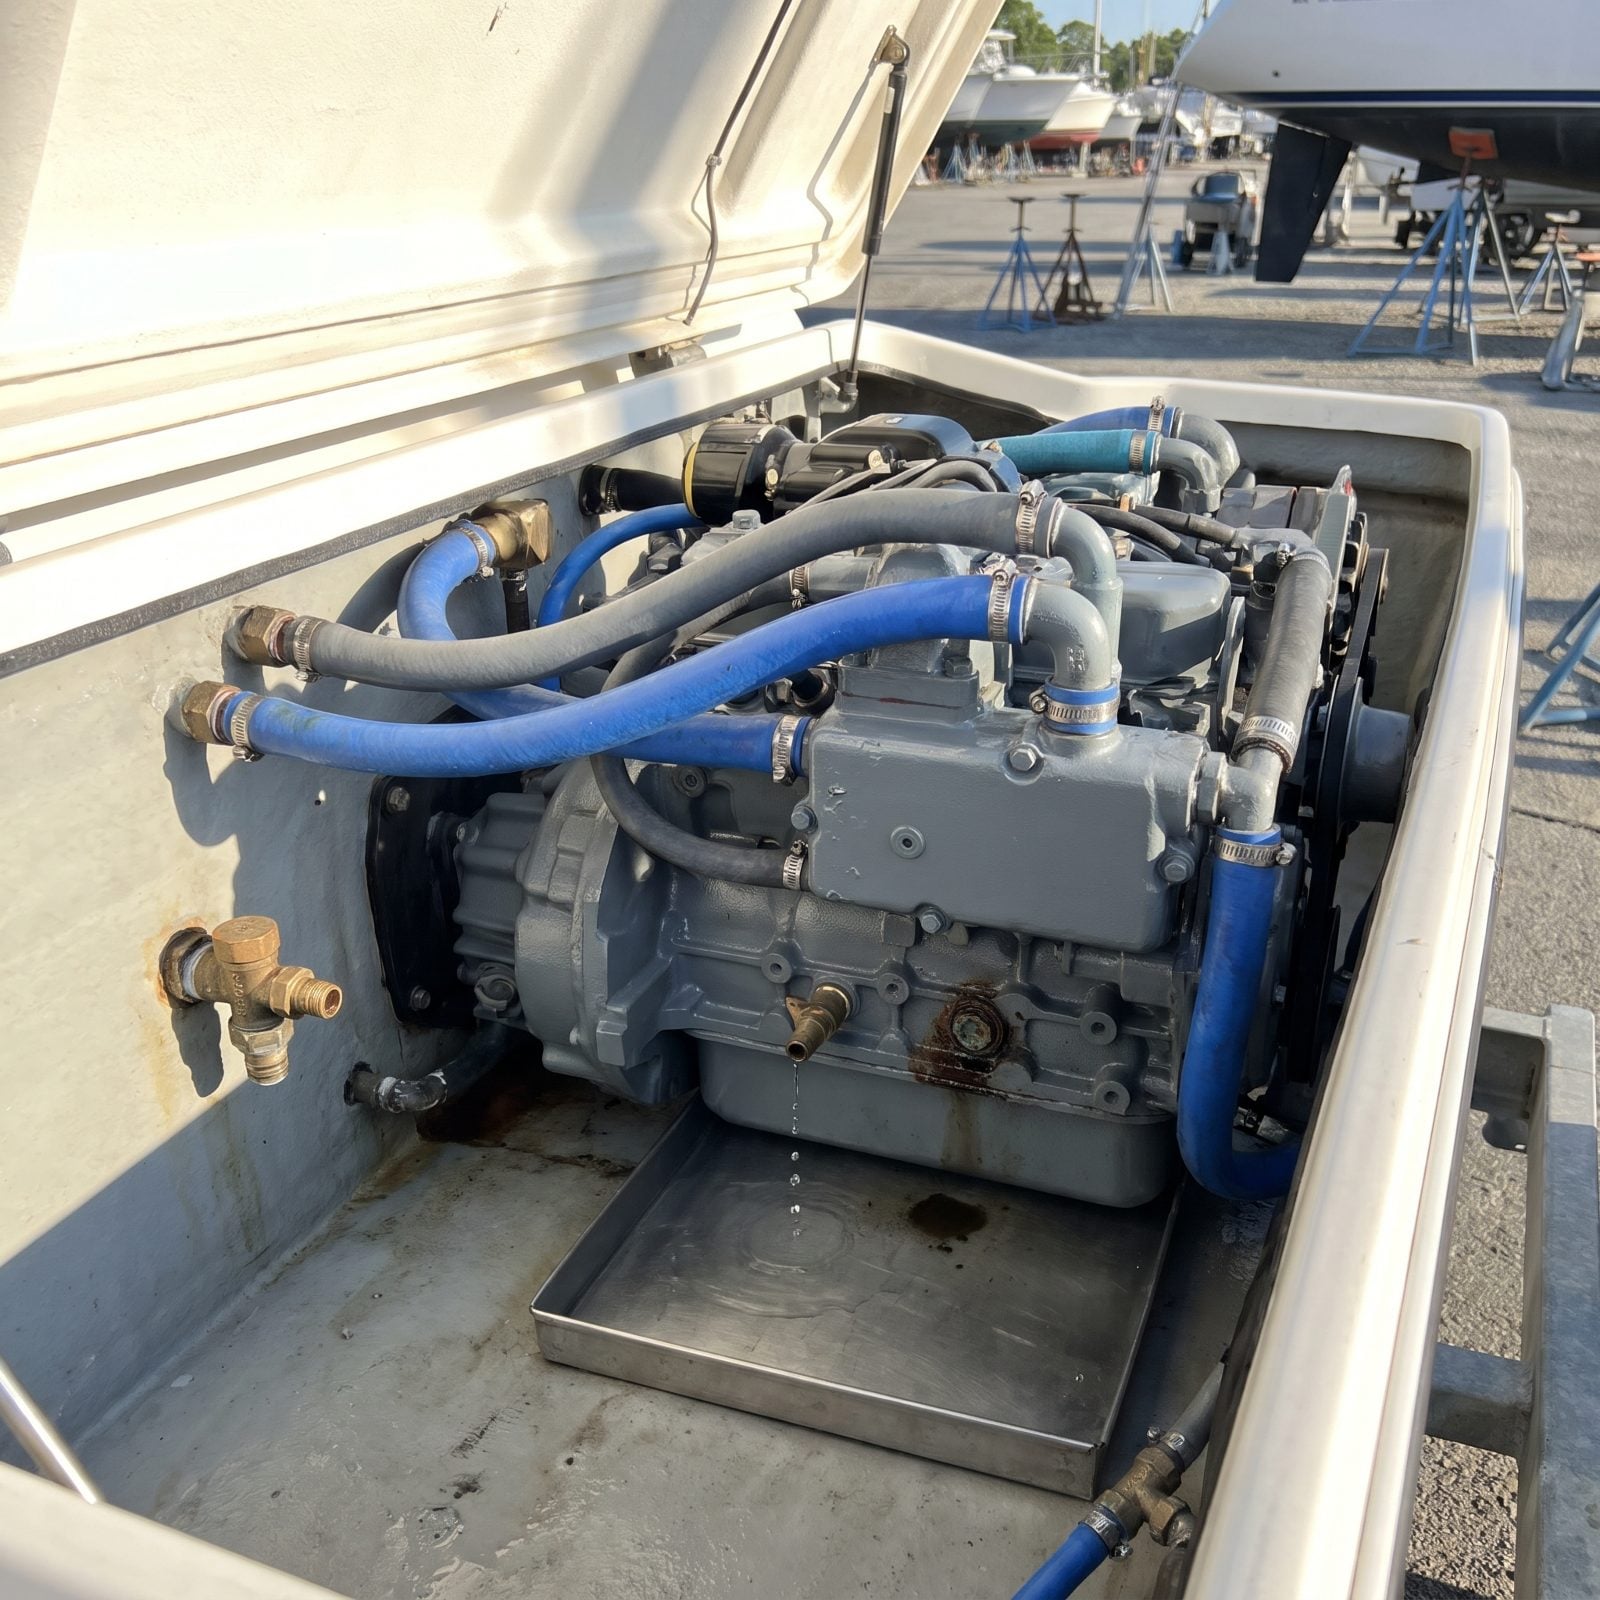
You pull the big block plugs, watch the water gush, and call it done. But the sneaky part is the water that never moves. Raw-water galleries, the circulating pump, the oil cooler — all of them hold pockets that a couple of open petcocks won’t touch.
A cupful of trapped water freezes into a wedge and cracks a manifold or splits a pump housing, and you won’t find out until spring, when it leaks the second you launch. That’s a repair measured in four figures, not four minutes.
Open every drain the engine has. Poke each port with a stiff wire to confirm it runs clear, tilt the drive, pull low hoses loose at their clamps, and never trust a plug just because it’s open.
29. Forgetting Water Trapped in Exhaust Manifolds and Risers
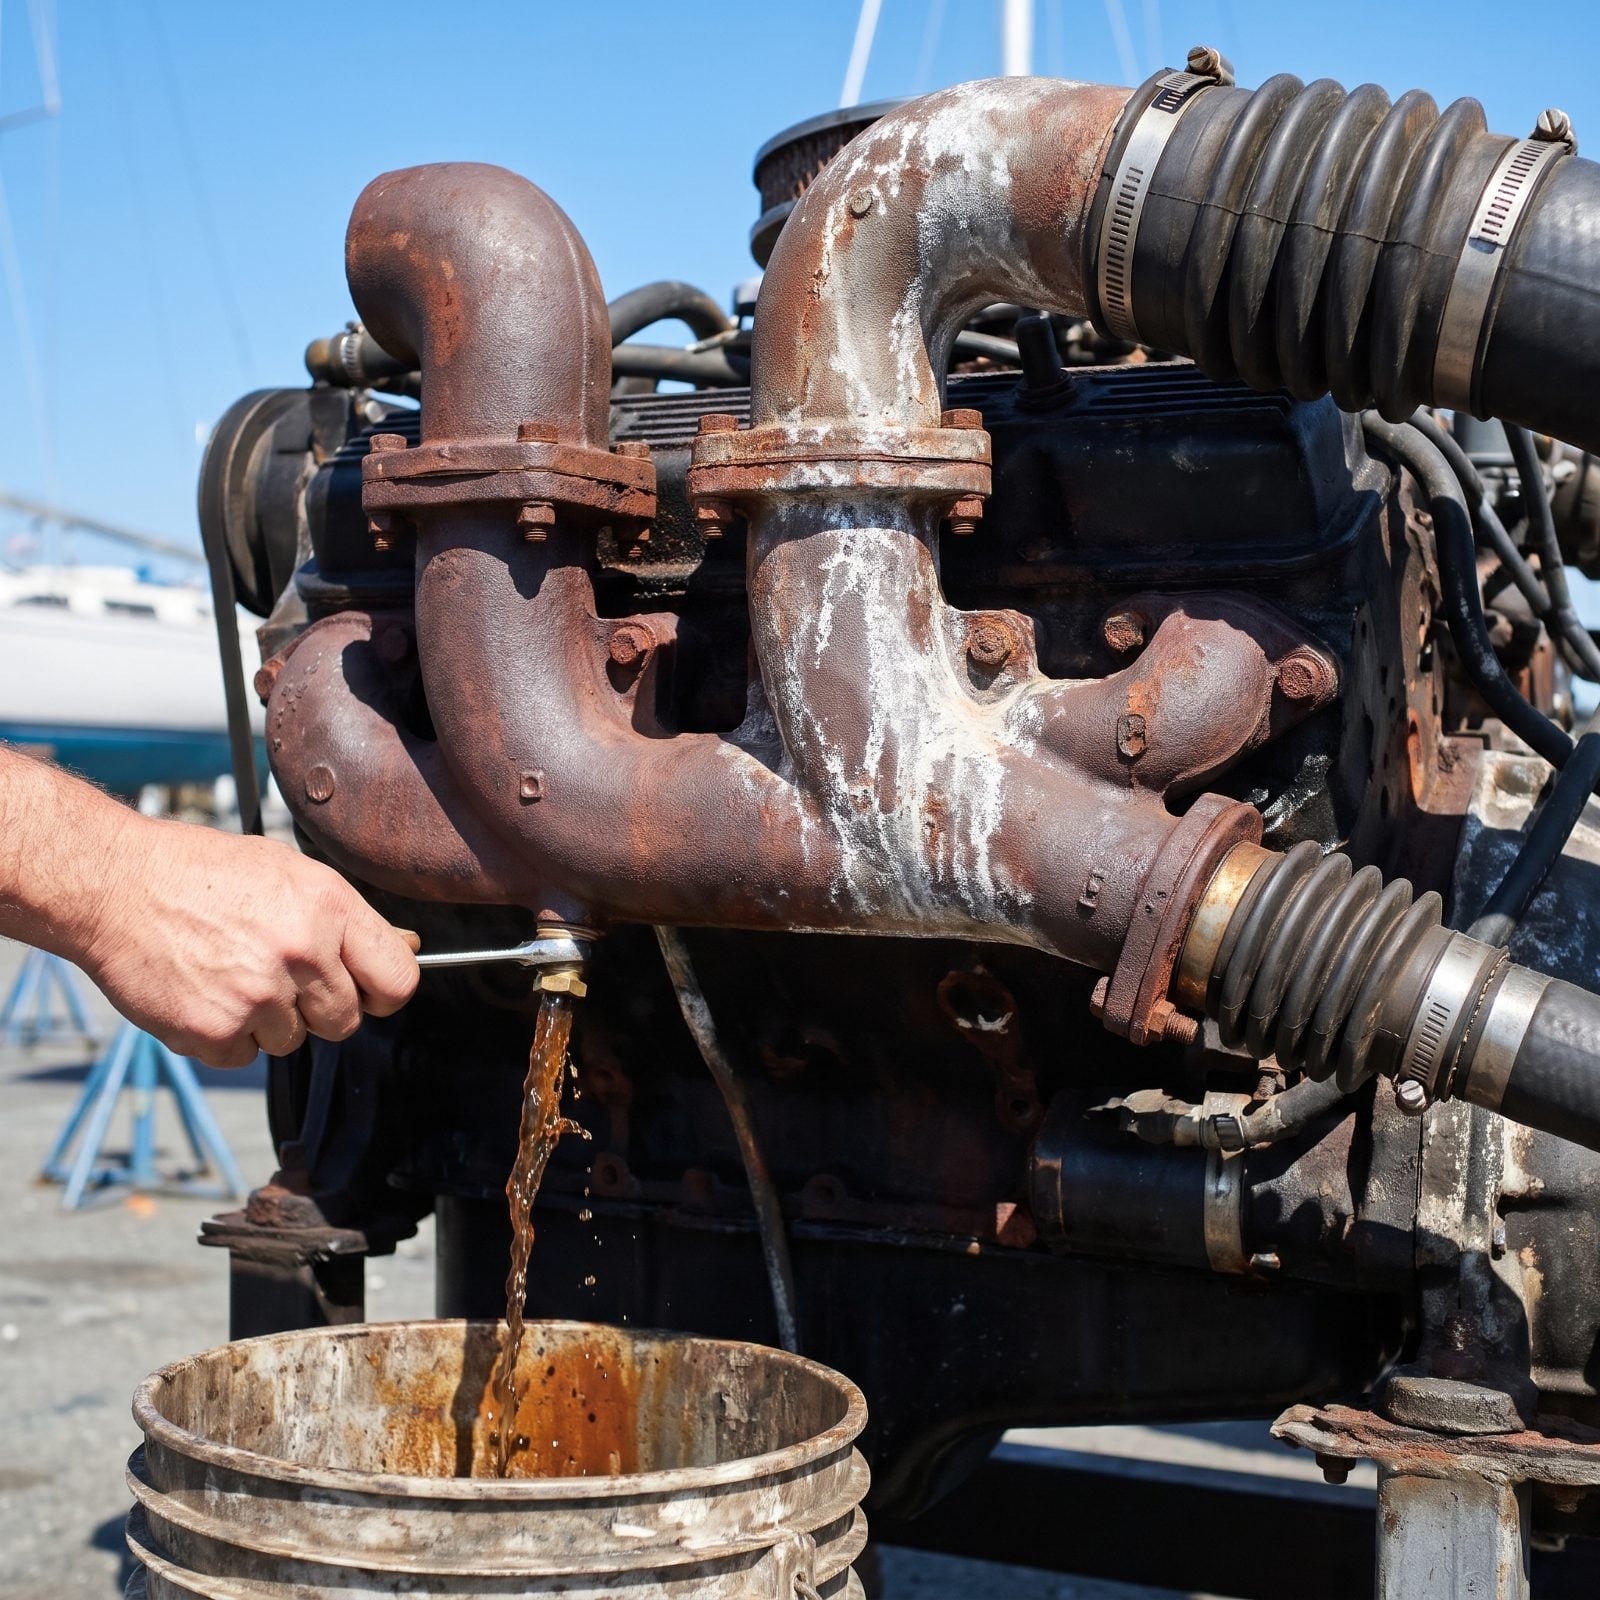
Manifolds and risers are where winters go to collect their bill. They sit high and hold water in pockets the block drains never reach, and cast iron turns that water into a crowbar the instant it freezes.
A cracked riser is a classic spring surprise. It often leaks internally, dumping water straight into a cylinder — and then you’re looking at hydrolock, bent rods, and a rebuild, all from one plug you skipped back in October.
Pull the manifold and riser drain plugs separately, and loosen the connecting hoses so the high spots can empty. Winter’s also a good time to inspect older iron exhaust for the rust flakes that mean a riser is near the end of its life anyway.
In a guide to preventing freeze damage, a veteran marine technical writer warns that “Inboard and sterndrive exhaust manifolds and exhaust risers must be 100-percent completely drained. These are typically cast iron, so rust flakes can easily block the drain petcocks and passages.”
28. Using Toxic Automotive Antifreeze in Potable-Water or Discharge Systems
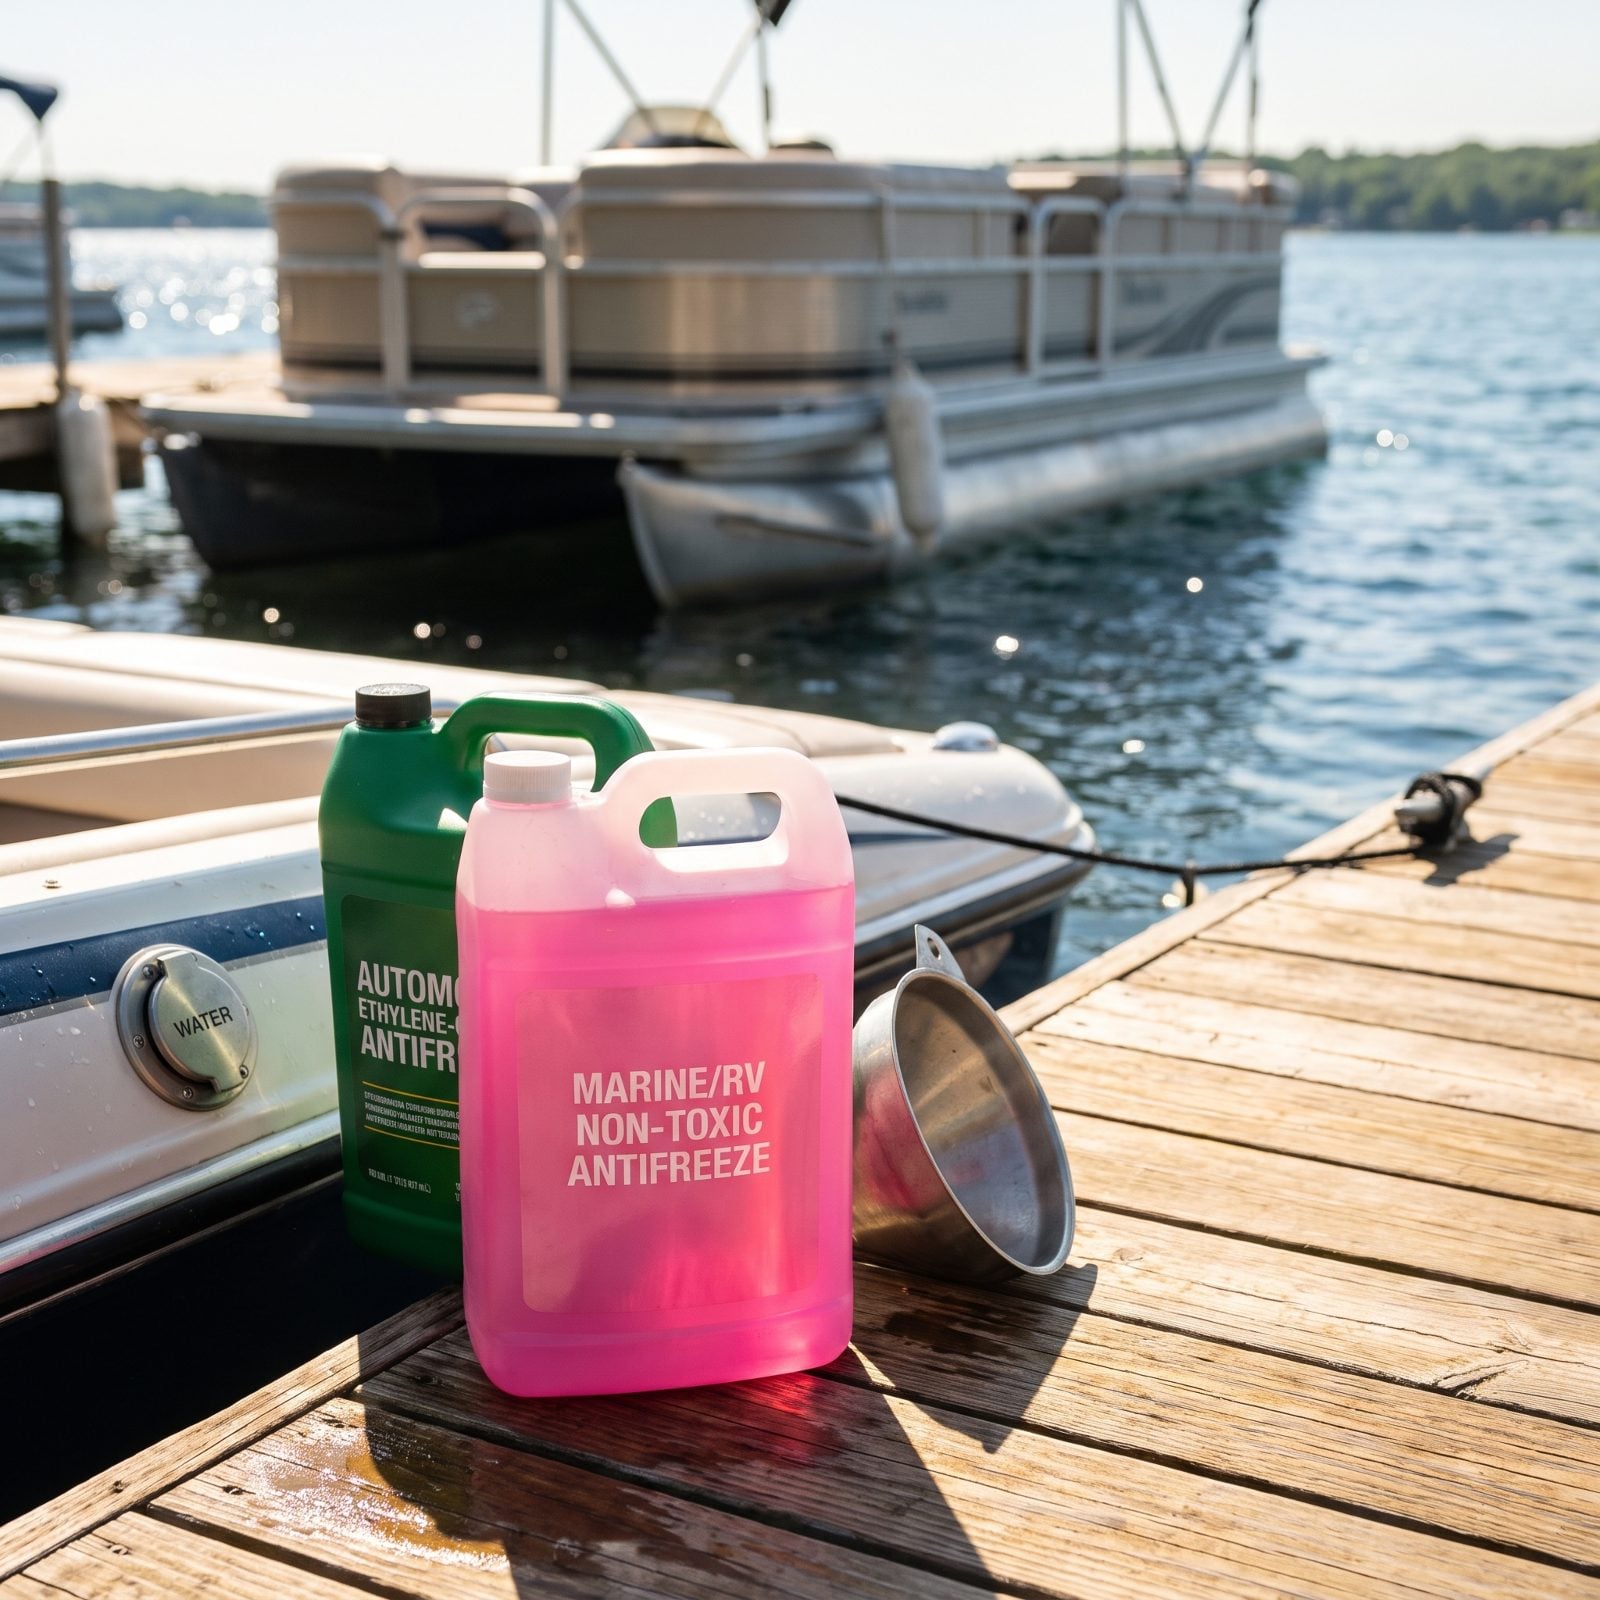
Pink versus green matters more than most people realize. Automotive antifreeze is ethylene glycol, and it’s poison. Run it through a fresh-water tank, a water heater, a head, or anything that eventually discharges overboard, and you’ve put toxin into your plumbing and into the lake you launch on.
The cost here isn’t just a repair. It’s flushing a contaminated potable system all spring, and knowing what you pumped into the water everyone swims in.
Use the non-toxic marine (propylene glycol) antifreeze — the pink stuff — for any system that touches drinking water, holding tanks, or the environment. Save the green automotive coolant strictly for a sealed closed-cooling loop, where it belongs and never leaves.
27. Diluting Marine Antifreeze Beyond Its Rated Freeze Protection
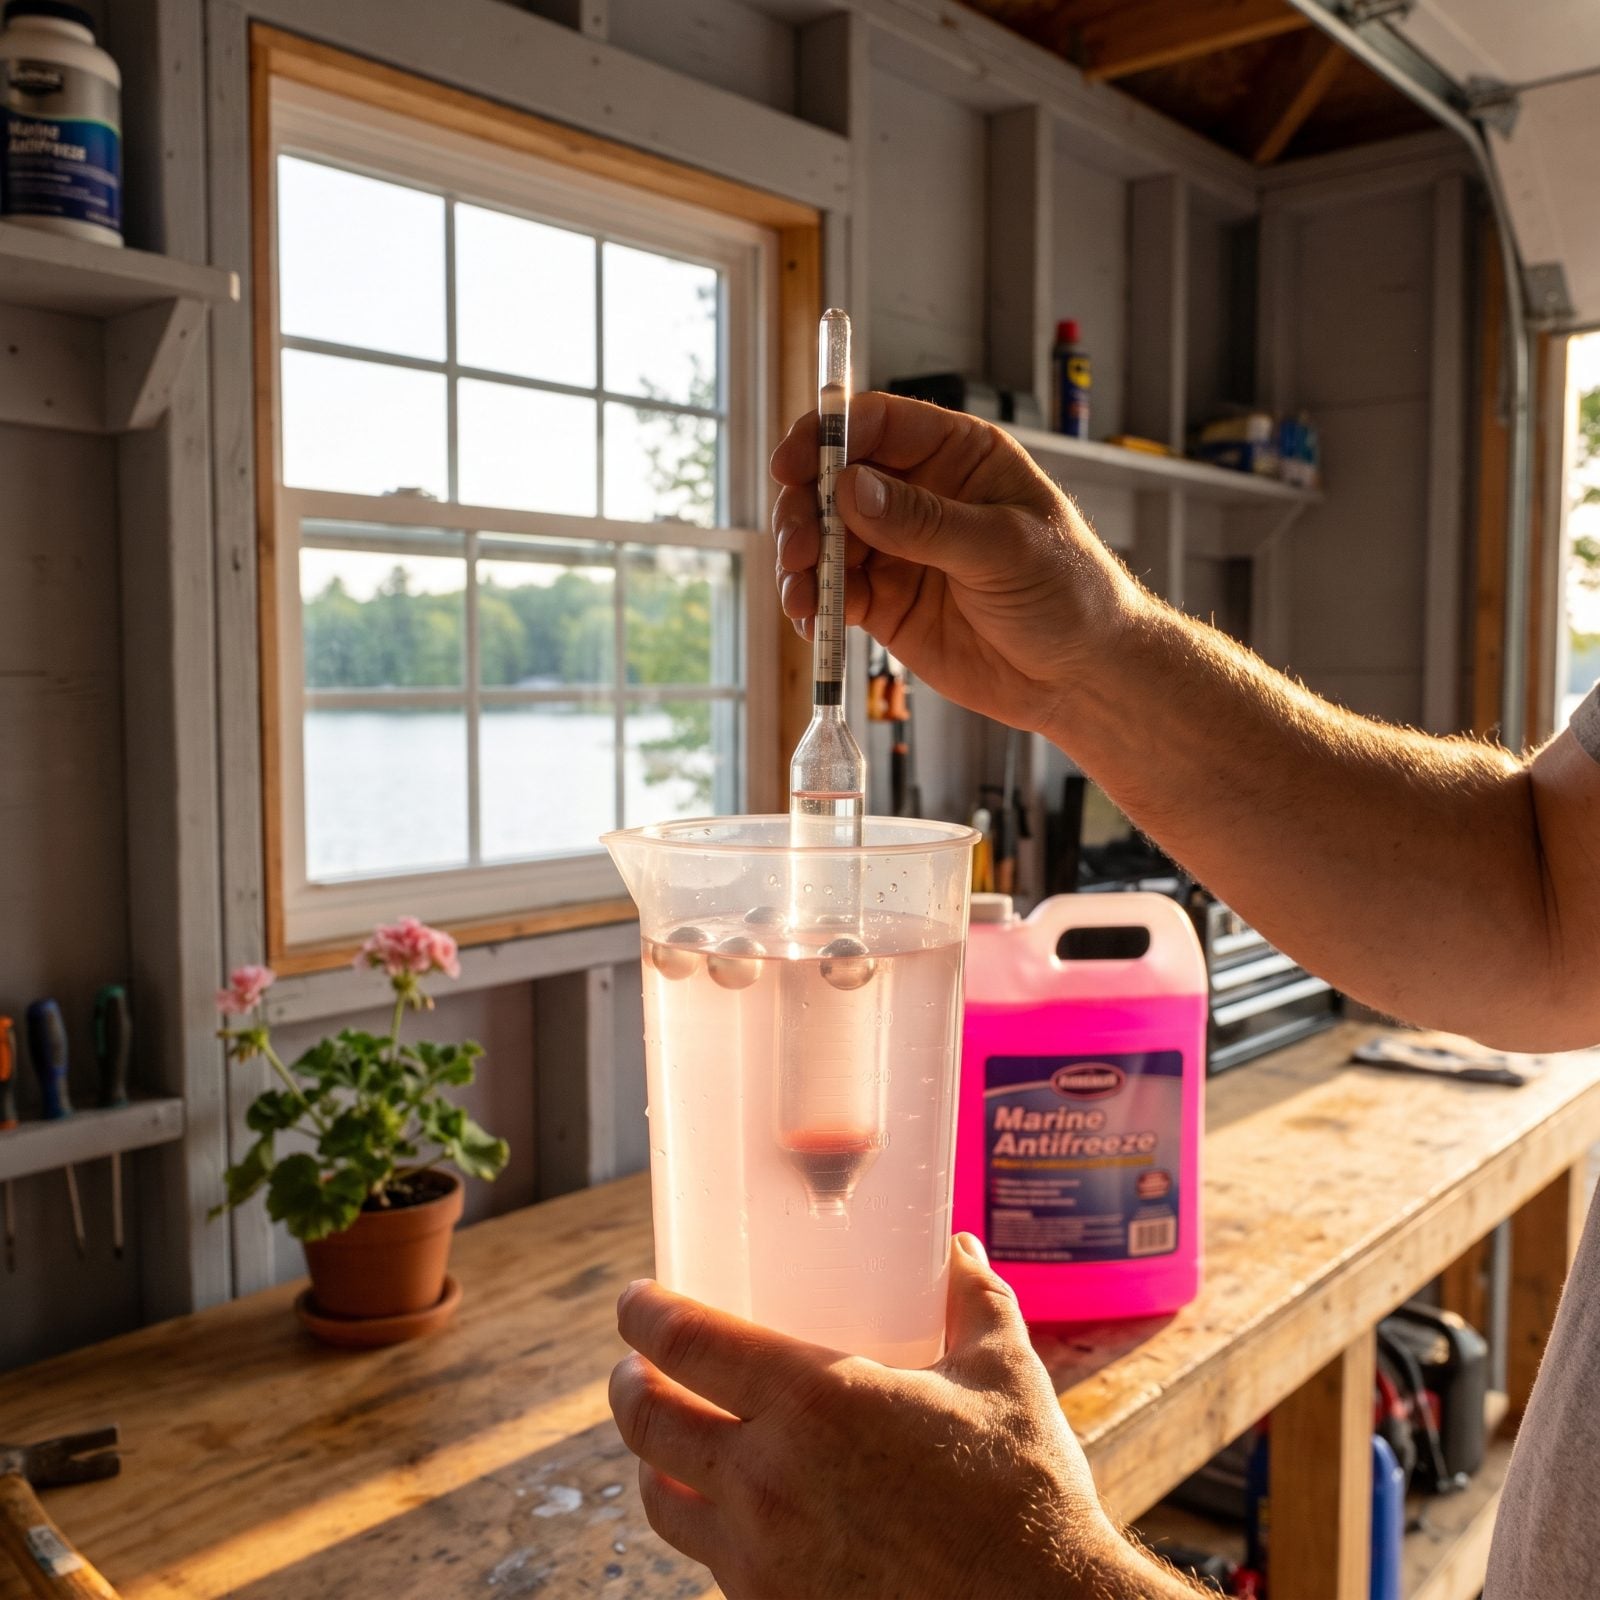
Pour marine antifreeze into a system still wet with lake water and you’ve just watered down your own insurance. That -50 or -100 rating on the jug only holds if it reaches the engine undiluted. Leftover water in the hoses and block cuts the protection down to a fraction of the label number.
Borderline freeze protection is freeze protection that fails on the one night it drops lower than you expected.
So drain thoroughly first, then run antifreeze until what comes out the exhaust matches the color going in. Better yet, catch a sample and check it with a cheap tester. If the exhaust runs faded pink, keep pouring.
26. Neglecting the Strength and Condition of Closed-Cooling-System Coolant
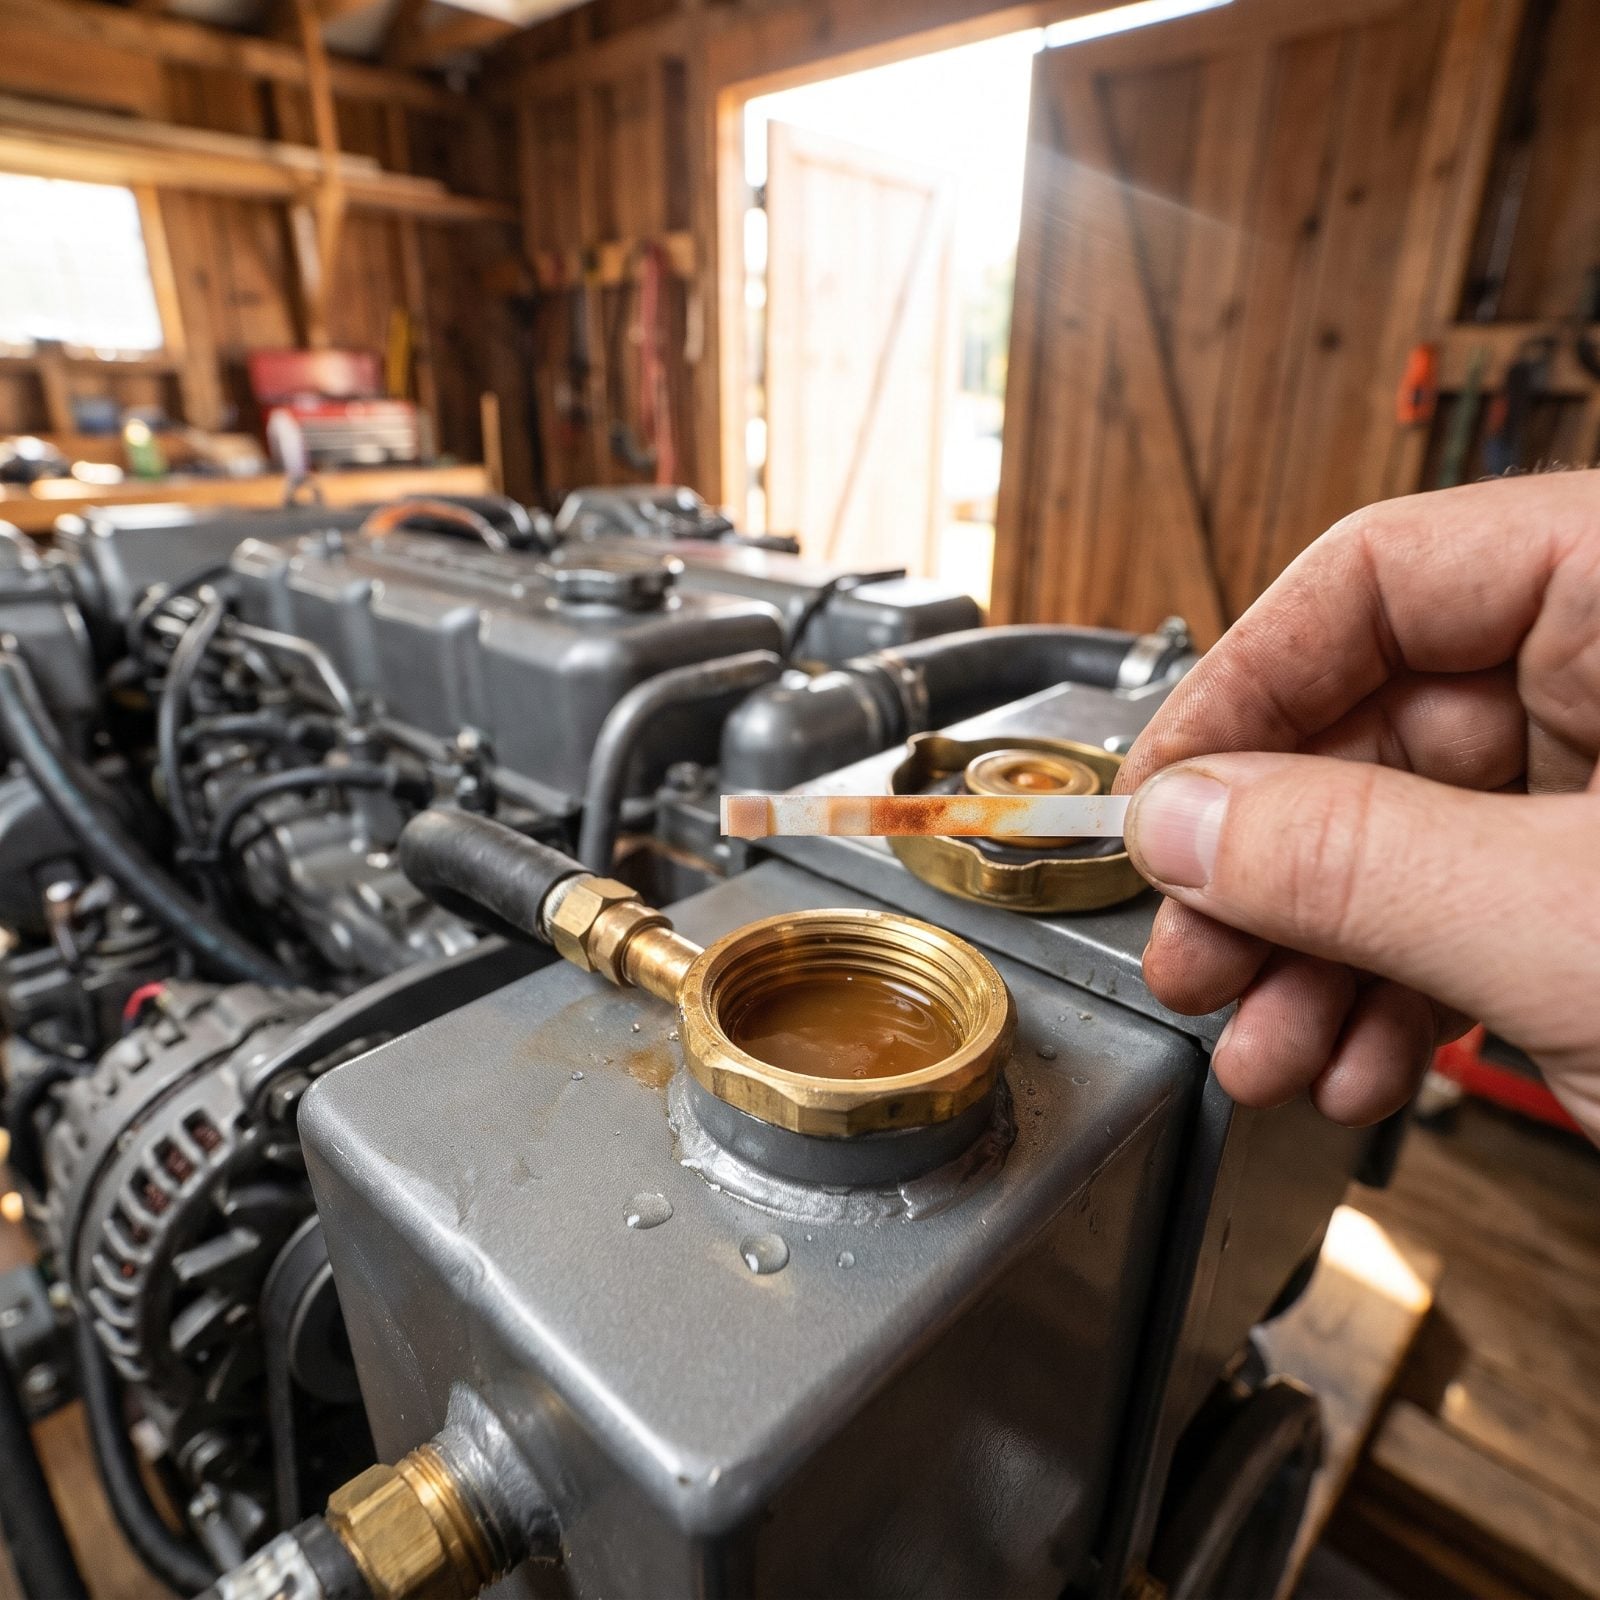
Boats with closed cooling feel safe, so the sealed loop gets ignored for years. But the coolant in that heat-exchanger side still breaks down. It loses freeze protection and, worse, loses the corrosion inhibitors that keep the inside of your block from rusting out.
Tired coolant freezes sooner than you’d guess and lets electrolysis quietly eat the engine over winter. Spring doesn’t crack it dramatically. It just corrodes it, slowly.
Test the closed side with a hydrometer or strips, confirm the freeze rating covers your coldest realistic night, and replace coolant on the schedule in your manual. Cloudy, brown, or oily coolant means flush it now, not next year.
25. Skipping Engine Fogging When the Manufacturer Requires It
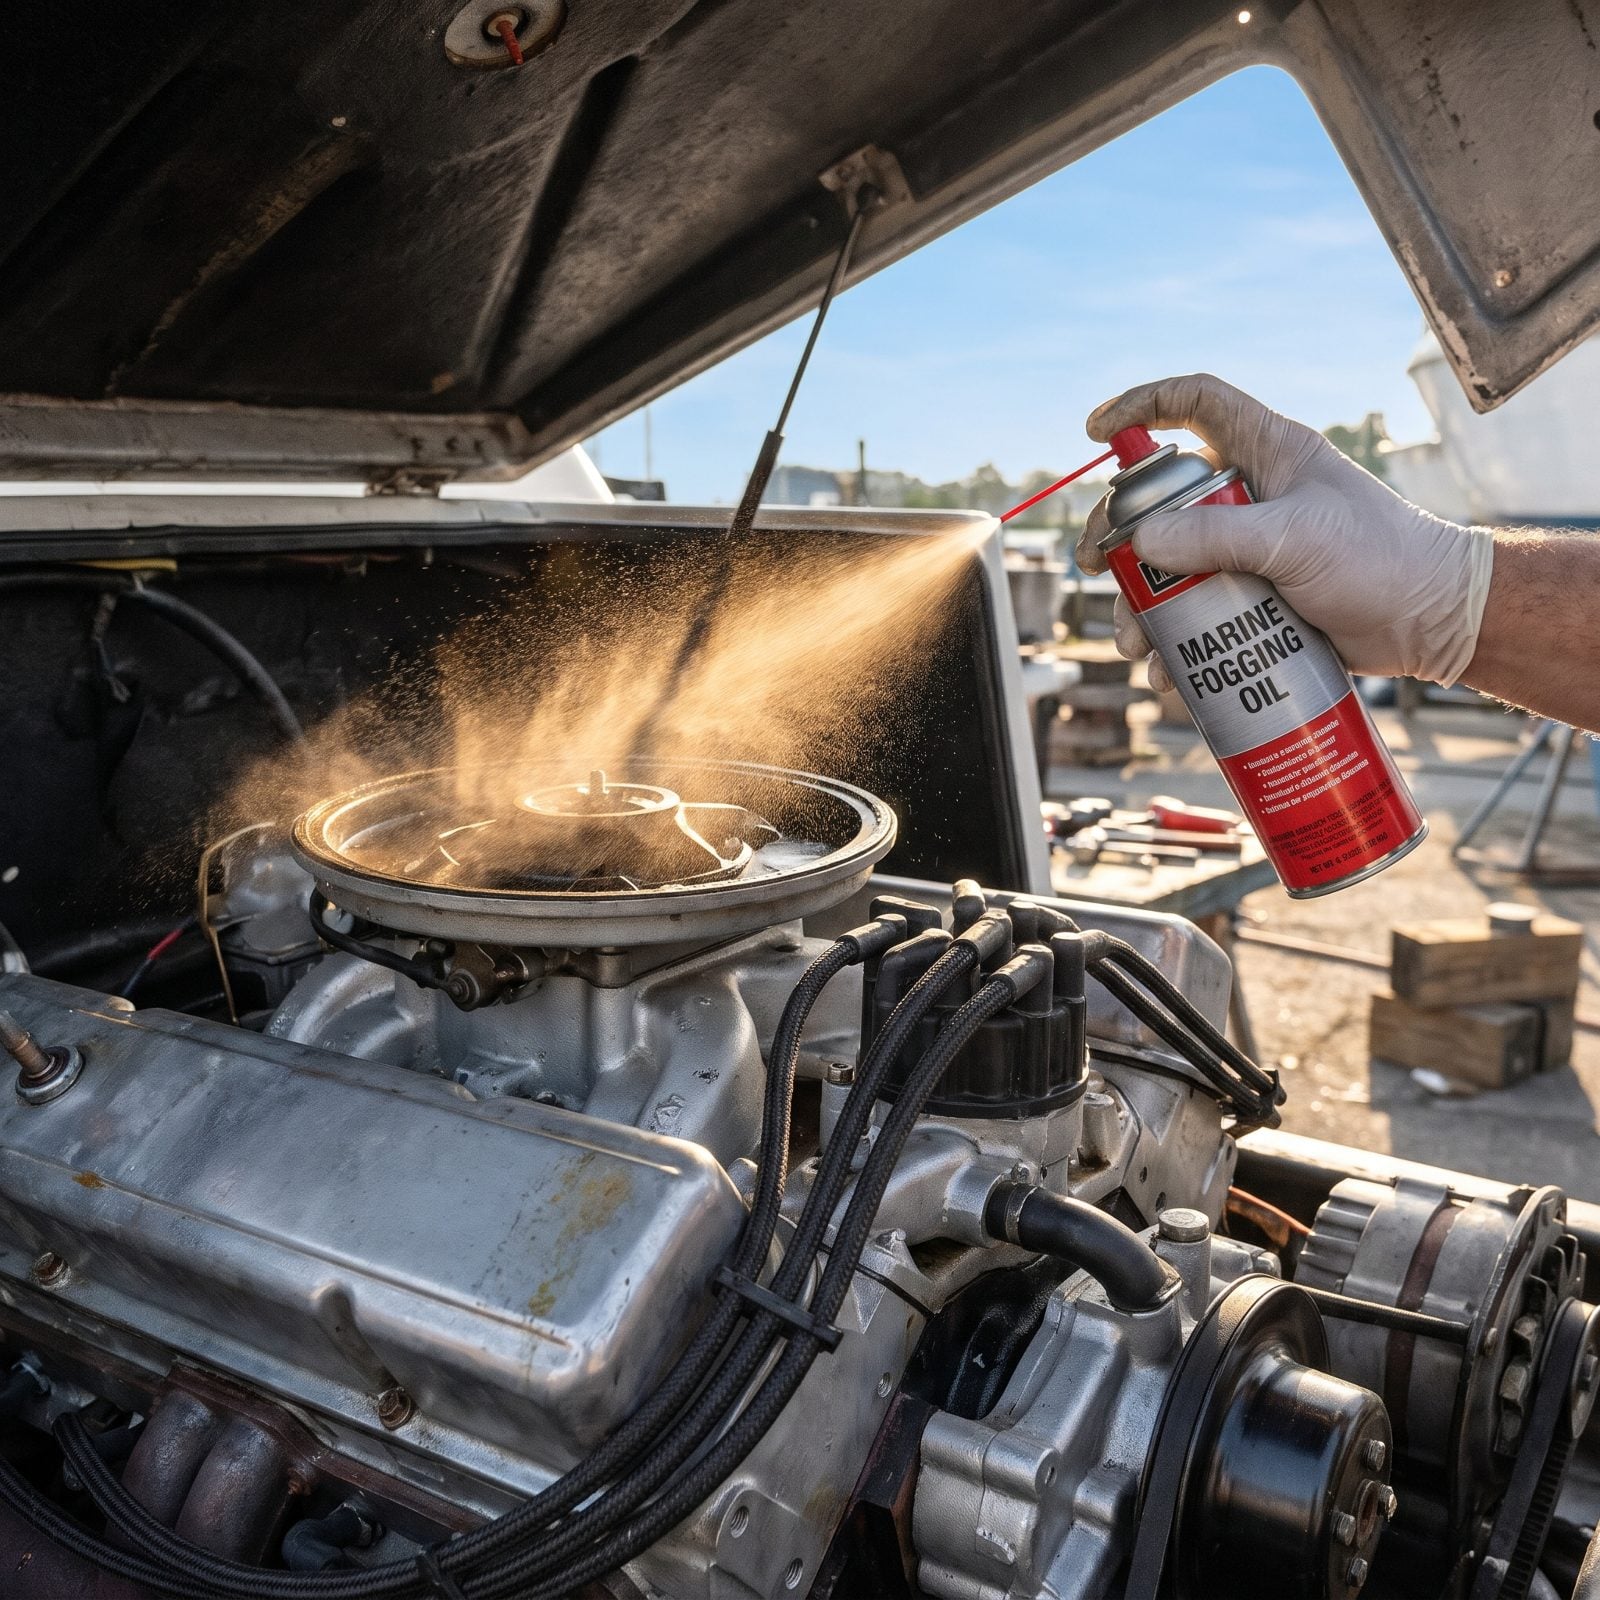
Fogging oil is the step people treat as optional — usually right up until they pull the plugs in spring and find a film of orange rust on the cylinder walls. Bare metal plus months of humid storage air equals surface corrosion, and corrosion plus a first startup equals scored walls and worn rings.
Four or five months is plenty of time for condensation to do real damage inside a cold engine.
If your manufacturer calls for it, fog the cylinders. Spray into the intake or the plug holes per the manual while the engine stalls out on the oil, coating everything the pistons touch. A can of spray against a spring teardown is not a hard trade.
24. Winterizing the Main Engine but Forgetting the Generator
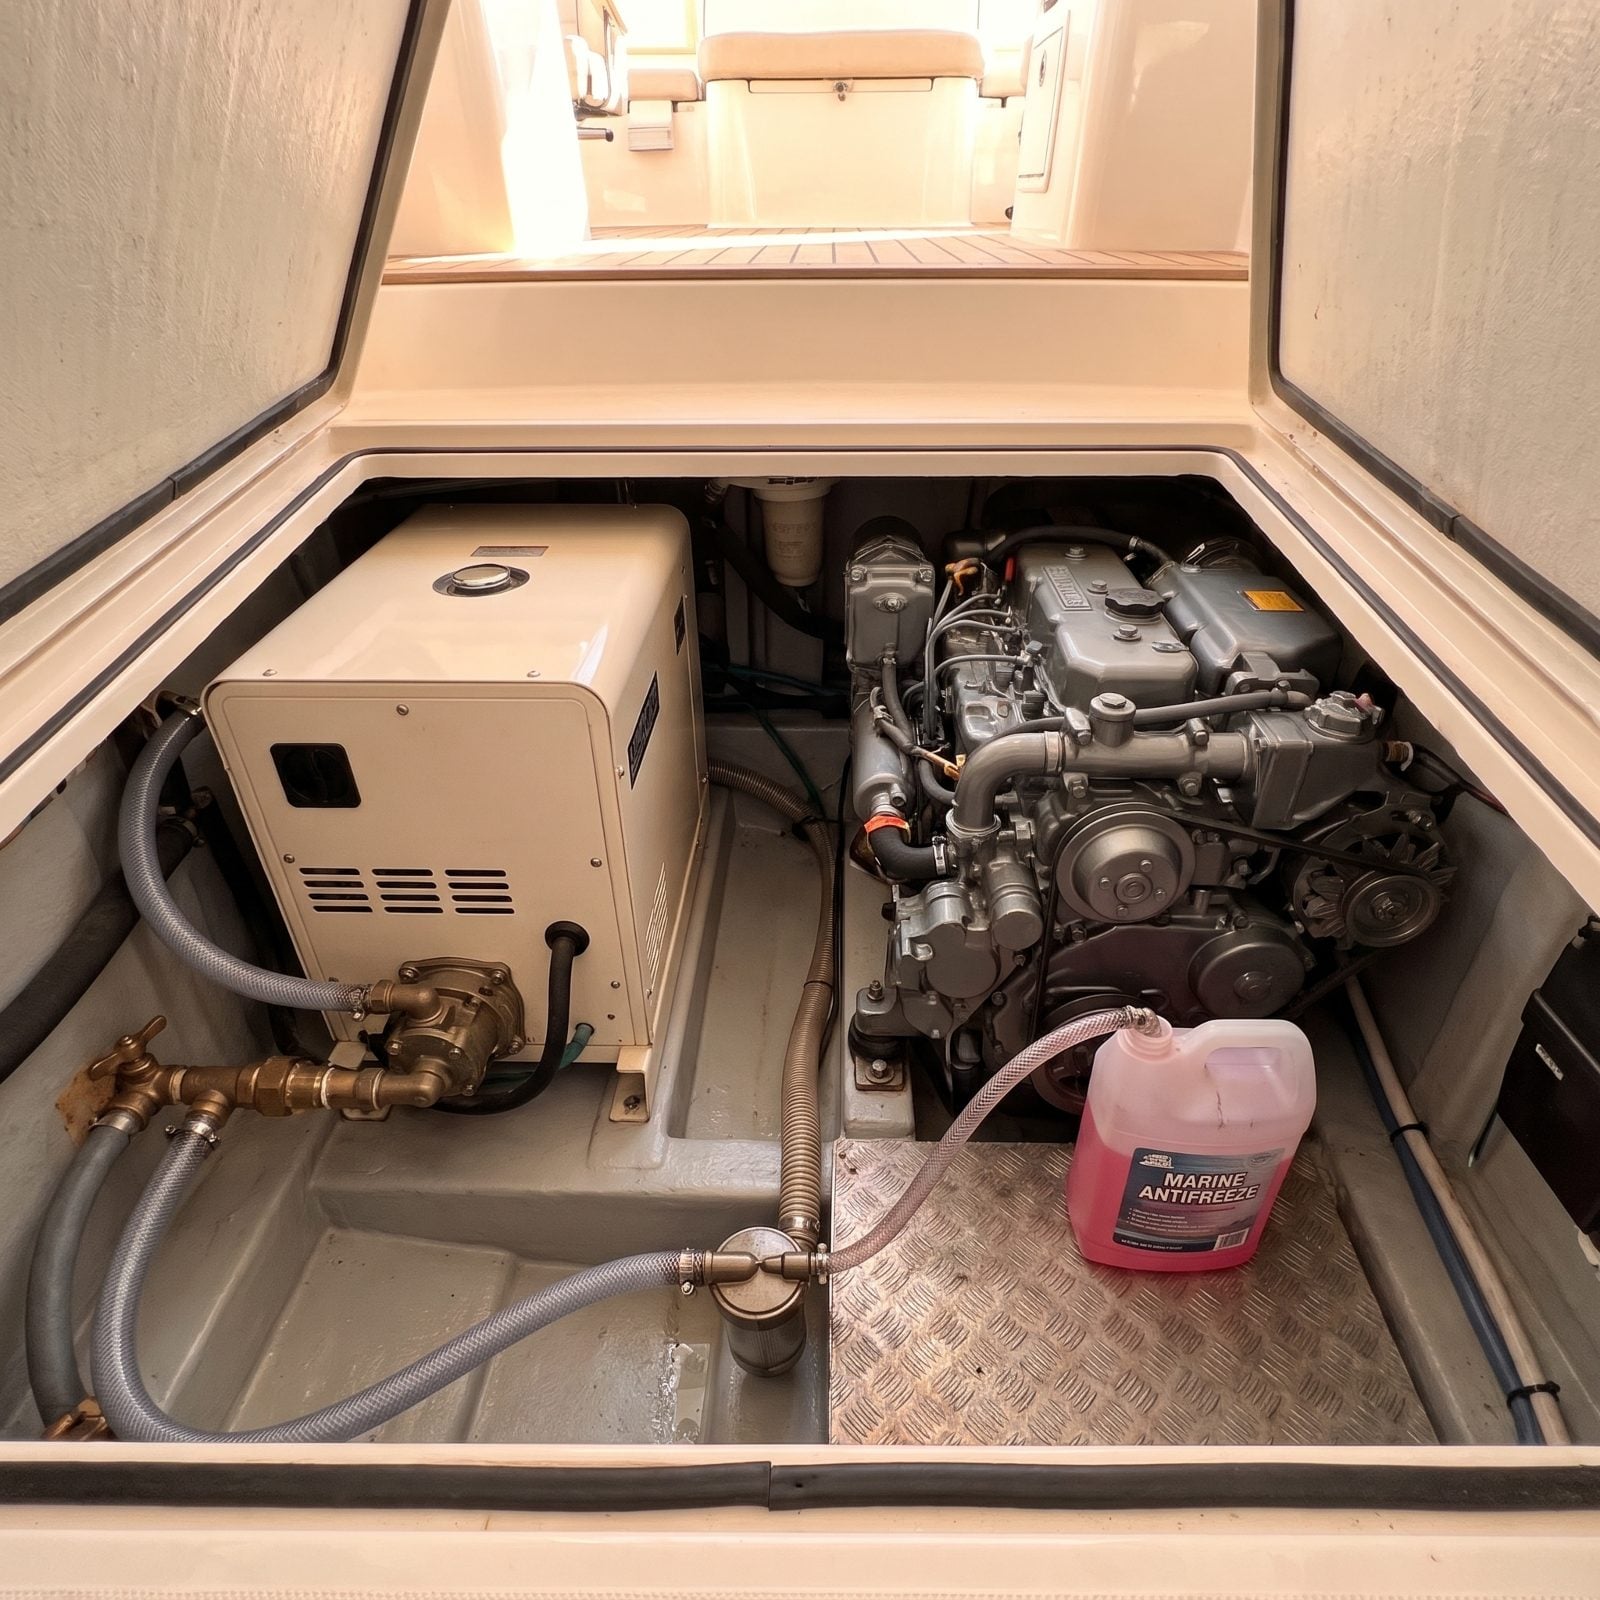
The generator is the thing everyone forgets. You do the mains, button up the boat, and leave the generator sitting there with a raw-water loop full of lake water. It’s a small engine with all the same weak points — its own cooling circuit, heat exchanger, and impeller.
A frozen genset is just as cracked as a frozen main, except it costs you a service call and a ruined start to a cruising season you were counting on.
Winterize the generator as its own job. Drain or fill its raw-water side with antifreeze, check its coolant if it’s closed-cooled, and change the impeller while you’re in there. Same goes for washdown pumps, AC cooling, and the livewell. Anything that holds water needs a plan before the first hard freeze.
23. Forgetting to Empty and Protect Raw-Water Strainers
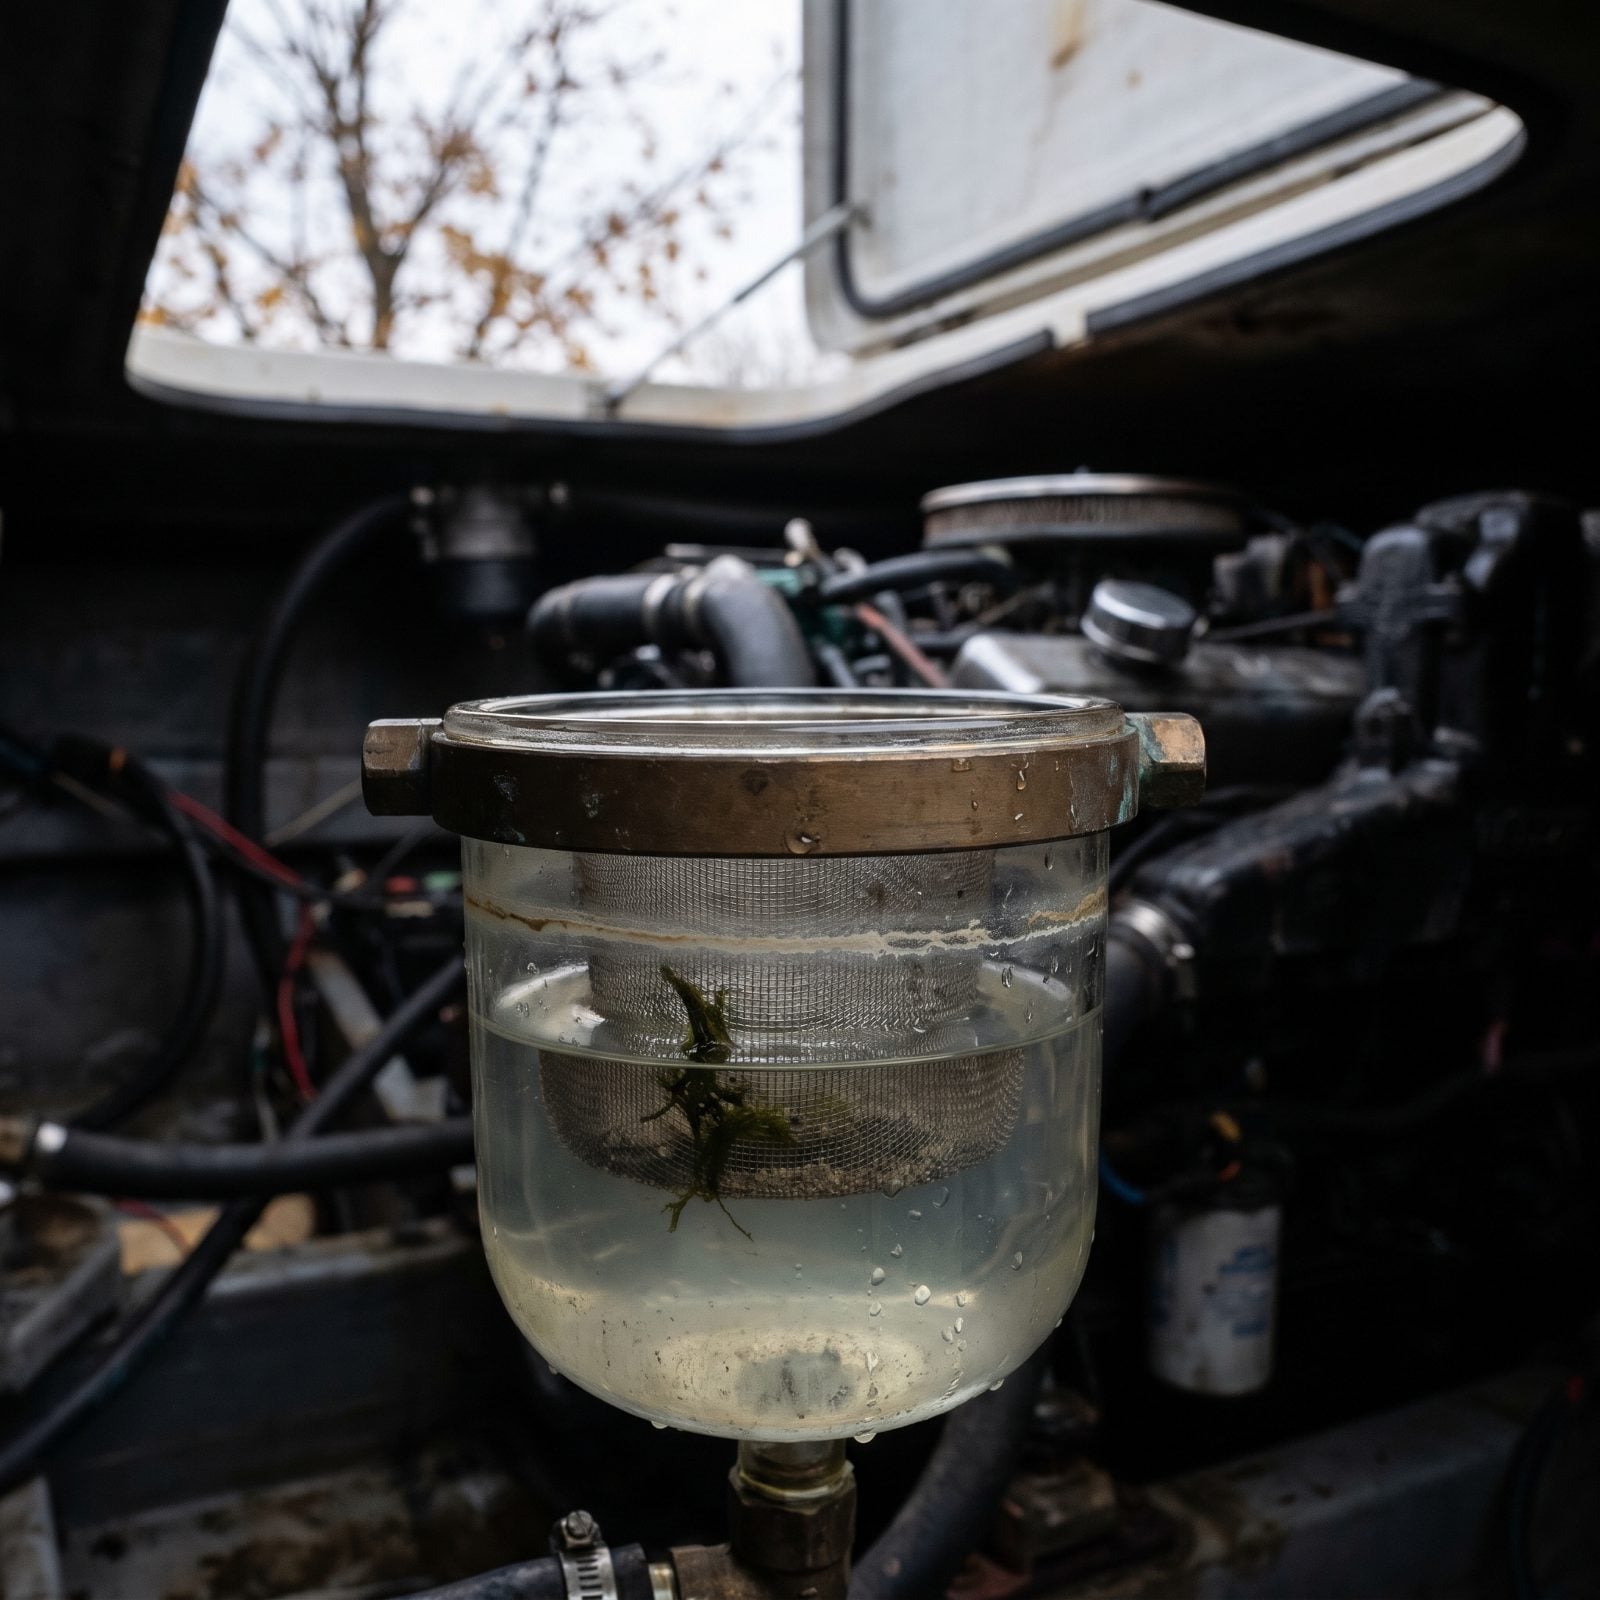
That clear bronze strainer bowl is built so you can see what it catches. Come winter, what it catches is a cup of seawater that freezes, expands, and cracks the glass or splits the bronze casting. I once watched a hairline crack in a strainer bowl weep all season long until it ruined a bilge pump float switch down below it.
Shut the seacock. Unscrew the bowl, dump the water, rinse the basket, and either reinstall it dry or leave it loosely seated with the water gone. If the strainer feeds a system you are filling with antifreeze, let the pink fluid sit in it. Either way, no plain water stays behind.
22. Failing to Drain the Potable-Water Tank and Pressure Pump
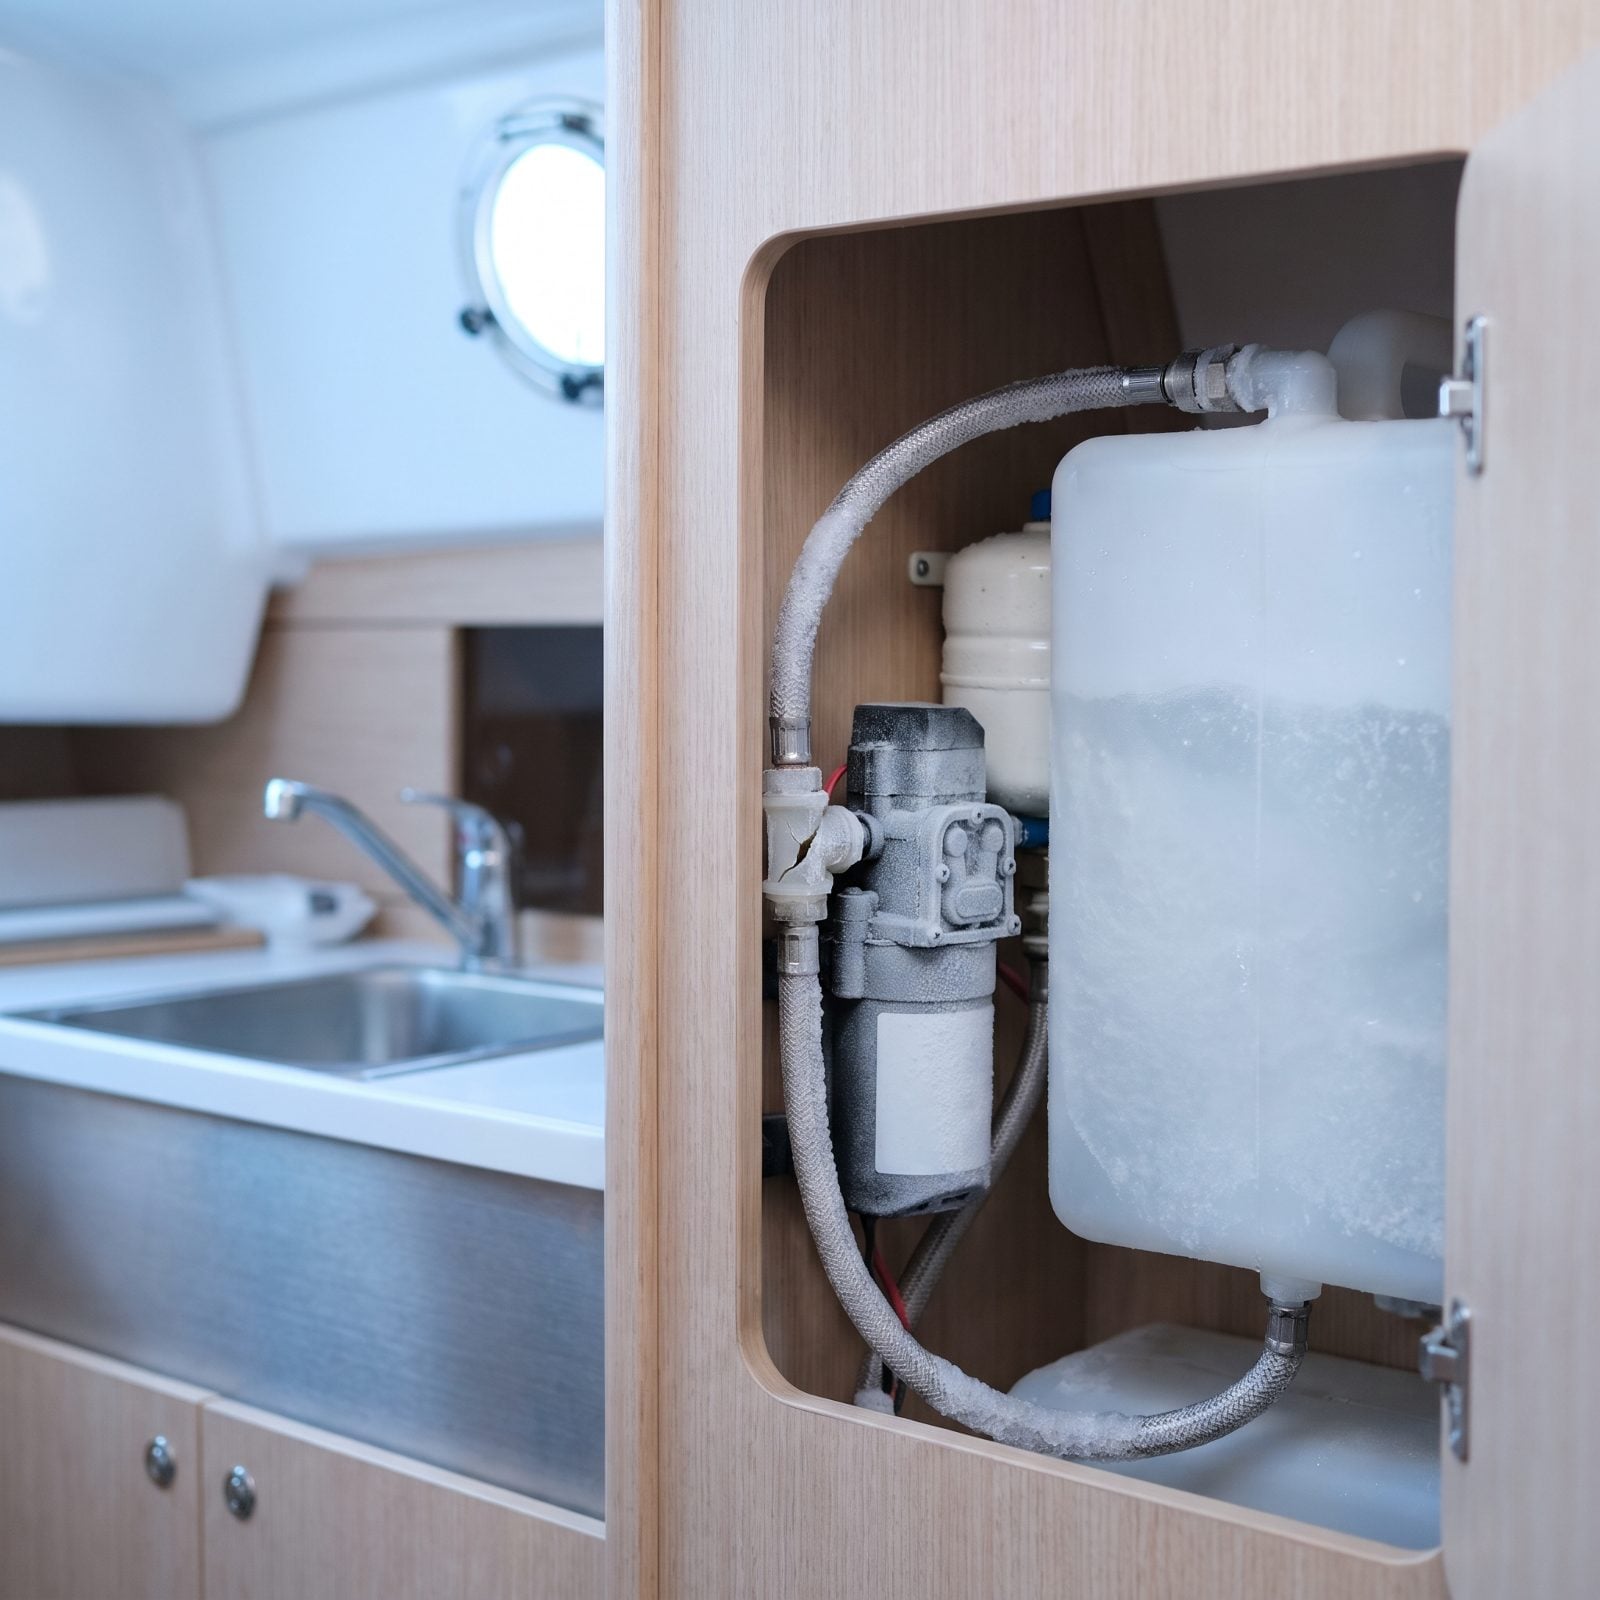
A full freshwater tank left over winter is a frozen brick waiting to happen, and the pressure pump is even more fragile. The diaphragm and the plastic pump head both crack when the water inside turns to ice, and those pumps are never cheap.
Drain the tank completely through its low-point drain, or run every faucet until it sputters air. Then either pump marine antifreeze through the whole system until pink shows at every tap, or run the pump dry only briefly and open the pump head drain. Whatever you do, don’t leave the pump pressurized with plain water in it over a freeze.
21. Leaving Water in Filter Housings That Can Freeze and Crack
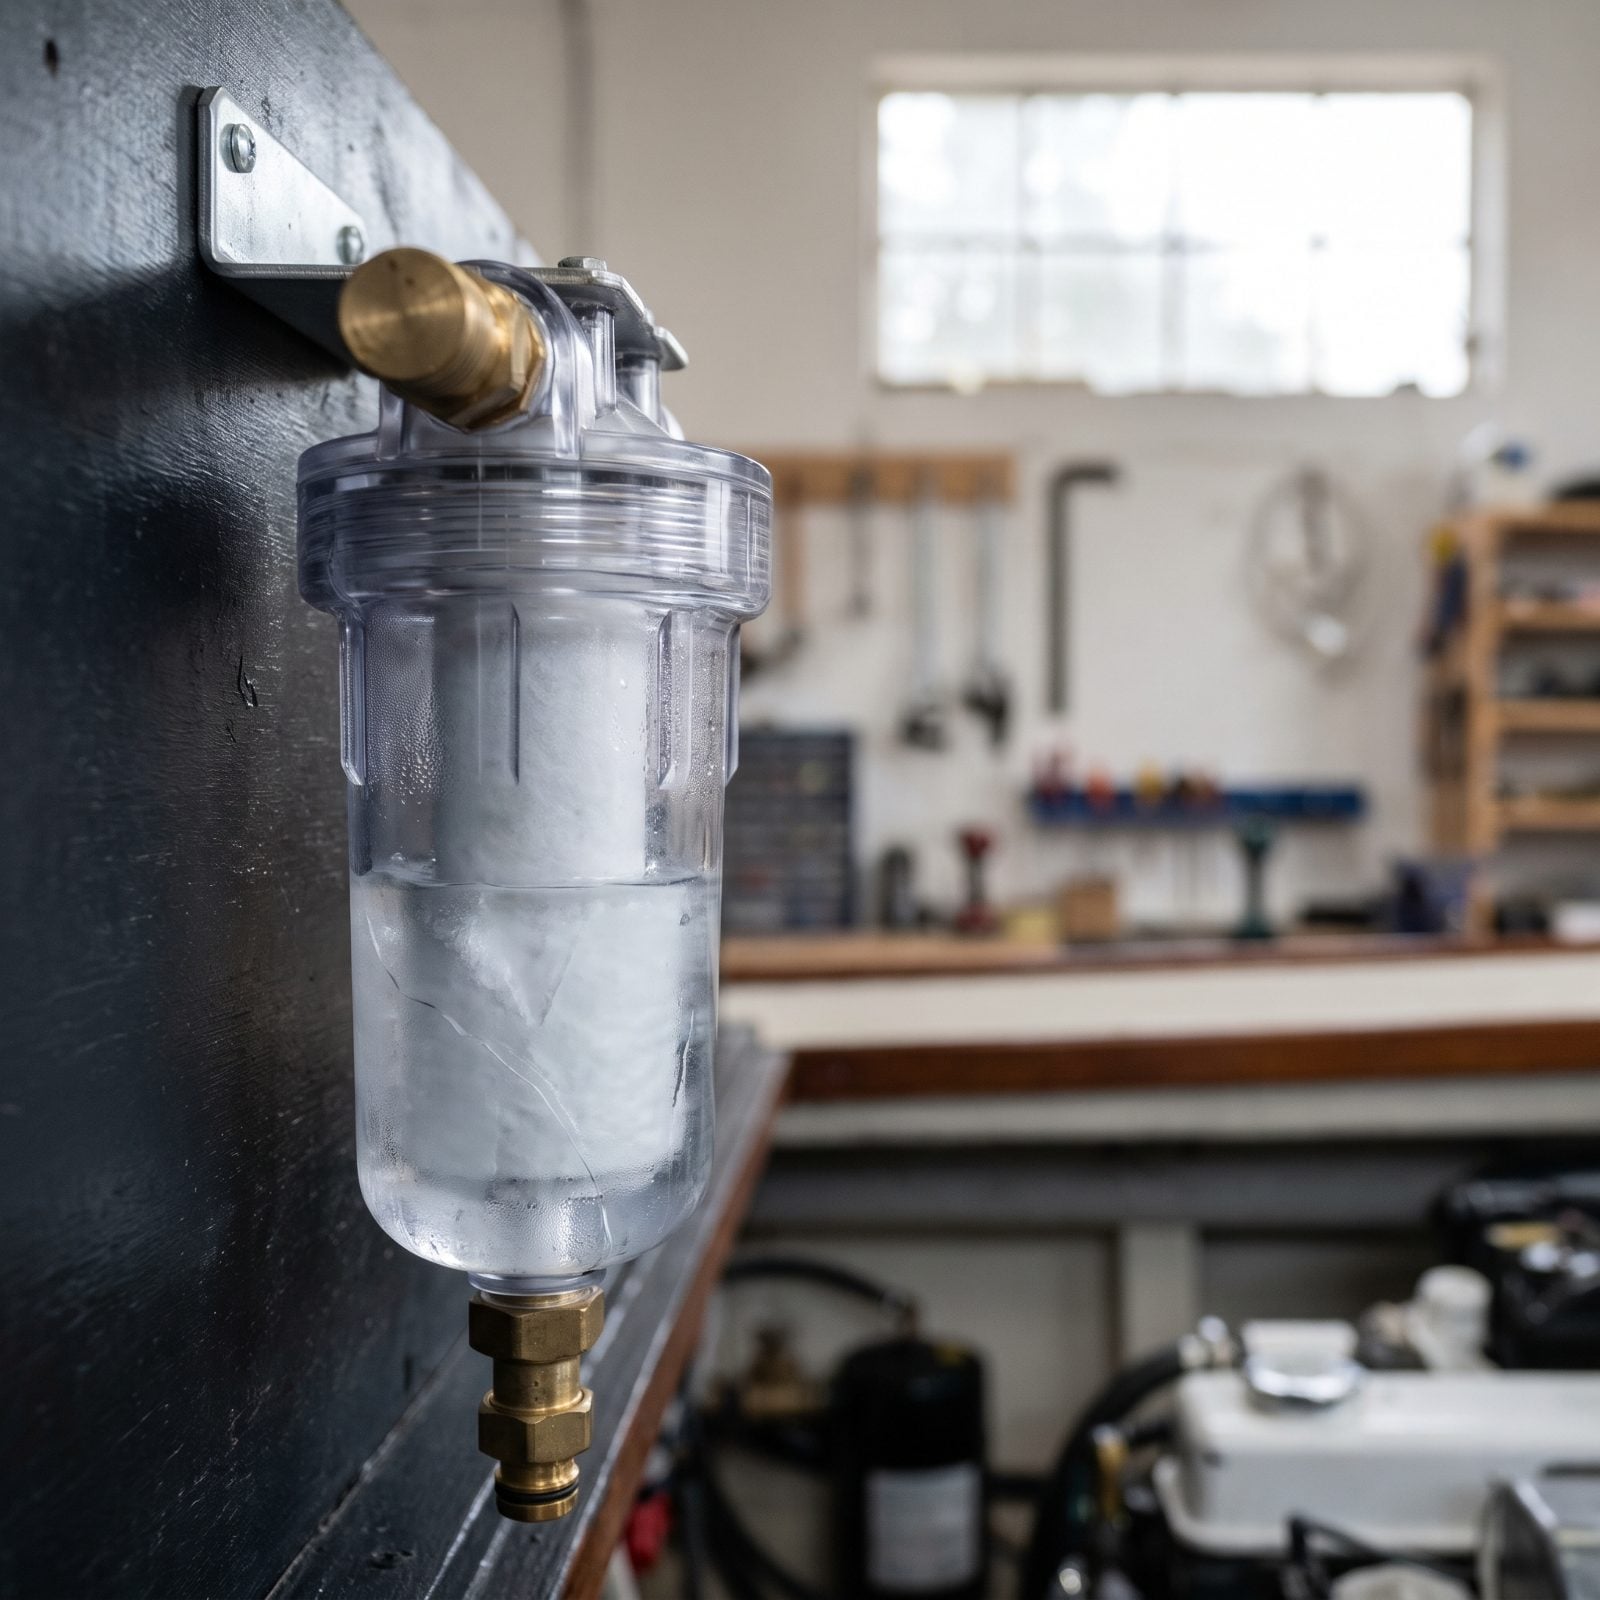
Clear filter bowls are everywhere once you start looking. Freshwater inline filters, washdown filters, watermaker pre-filters — each one a sealed cup of water sitting in a brittle plastic or glass canister. The housing cracks before you ever notice, then dumps into the bilge when you fill the system in spring.
Unscrew every filter housing, empty the water, and either reinstall it dry or leave it loose. Some folks pull the cartridge and store it, which is fine by me. The point is simple: no filter bowl goes into winter holding water.
20. Forgetting to Bypass and Fully Drain the Water Heater
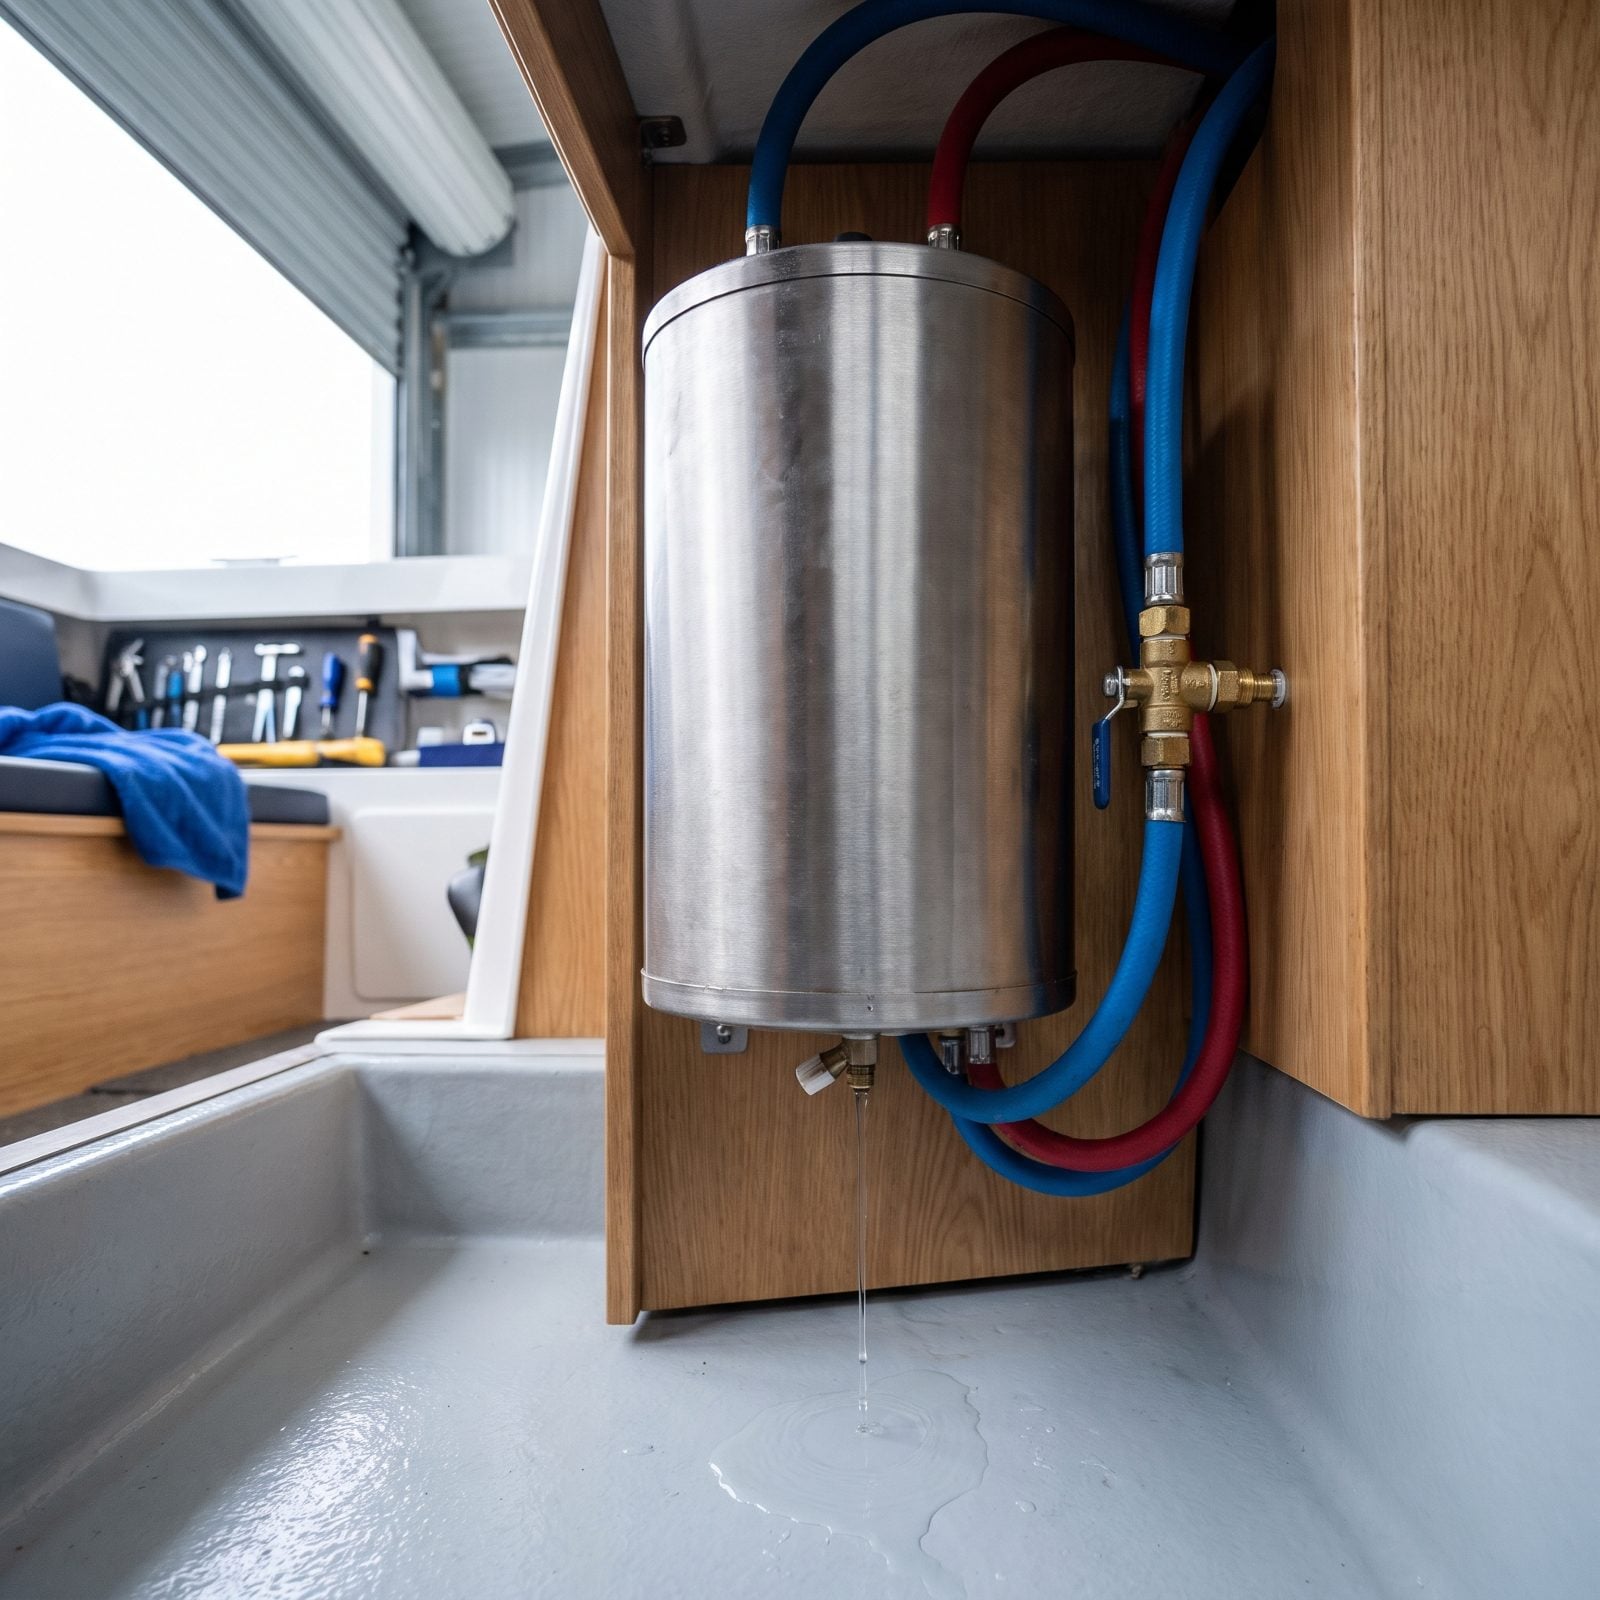
The water heater holds more water than anything else on the boat, usually six gallons or more. People pump antifreeze through the plumbing and completely forget the heater tank sitting there full. All that antifreeze gets diluted into harmless pink tea, and the tank itself can freeze and split a seam.
Open the drain plug and empty the heater fully first. Then set the bypass valves so antifreeze skips the tank entirely while it protects the rest of the lines. Skip the bypass and you’ll burn through gallons of pink trying to fill a tank you didn’t even need to protect in the first place.
19. Missing Transom Showers, Cockpit Faucets, and Spray Nozzles
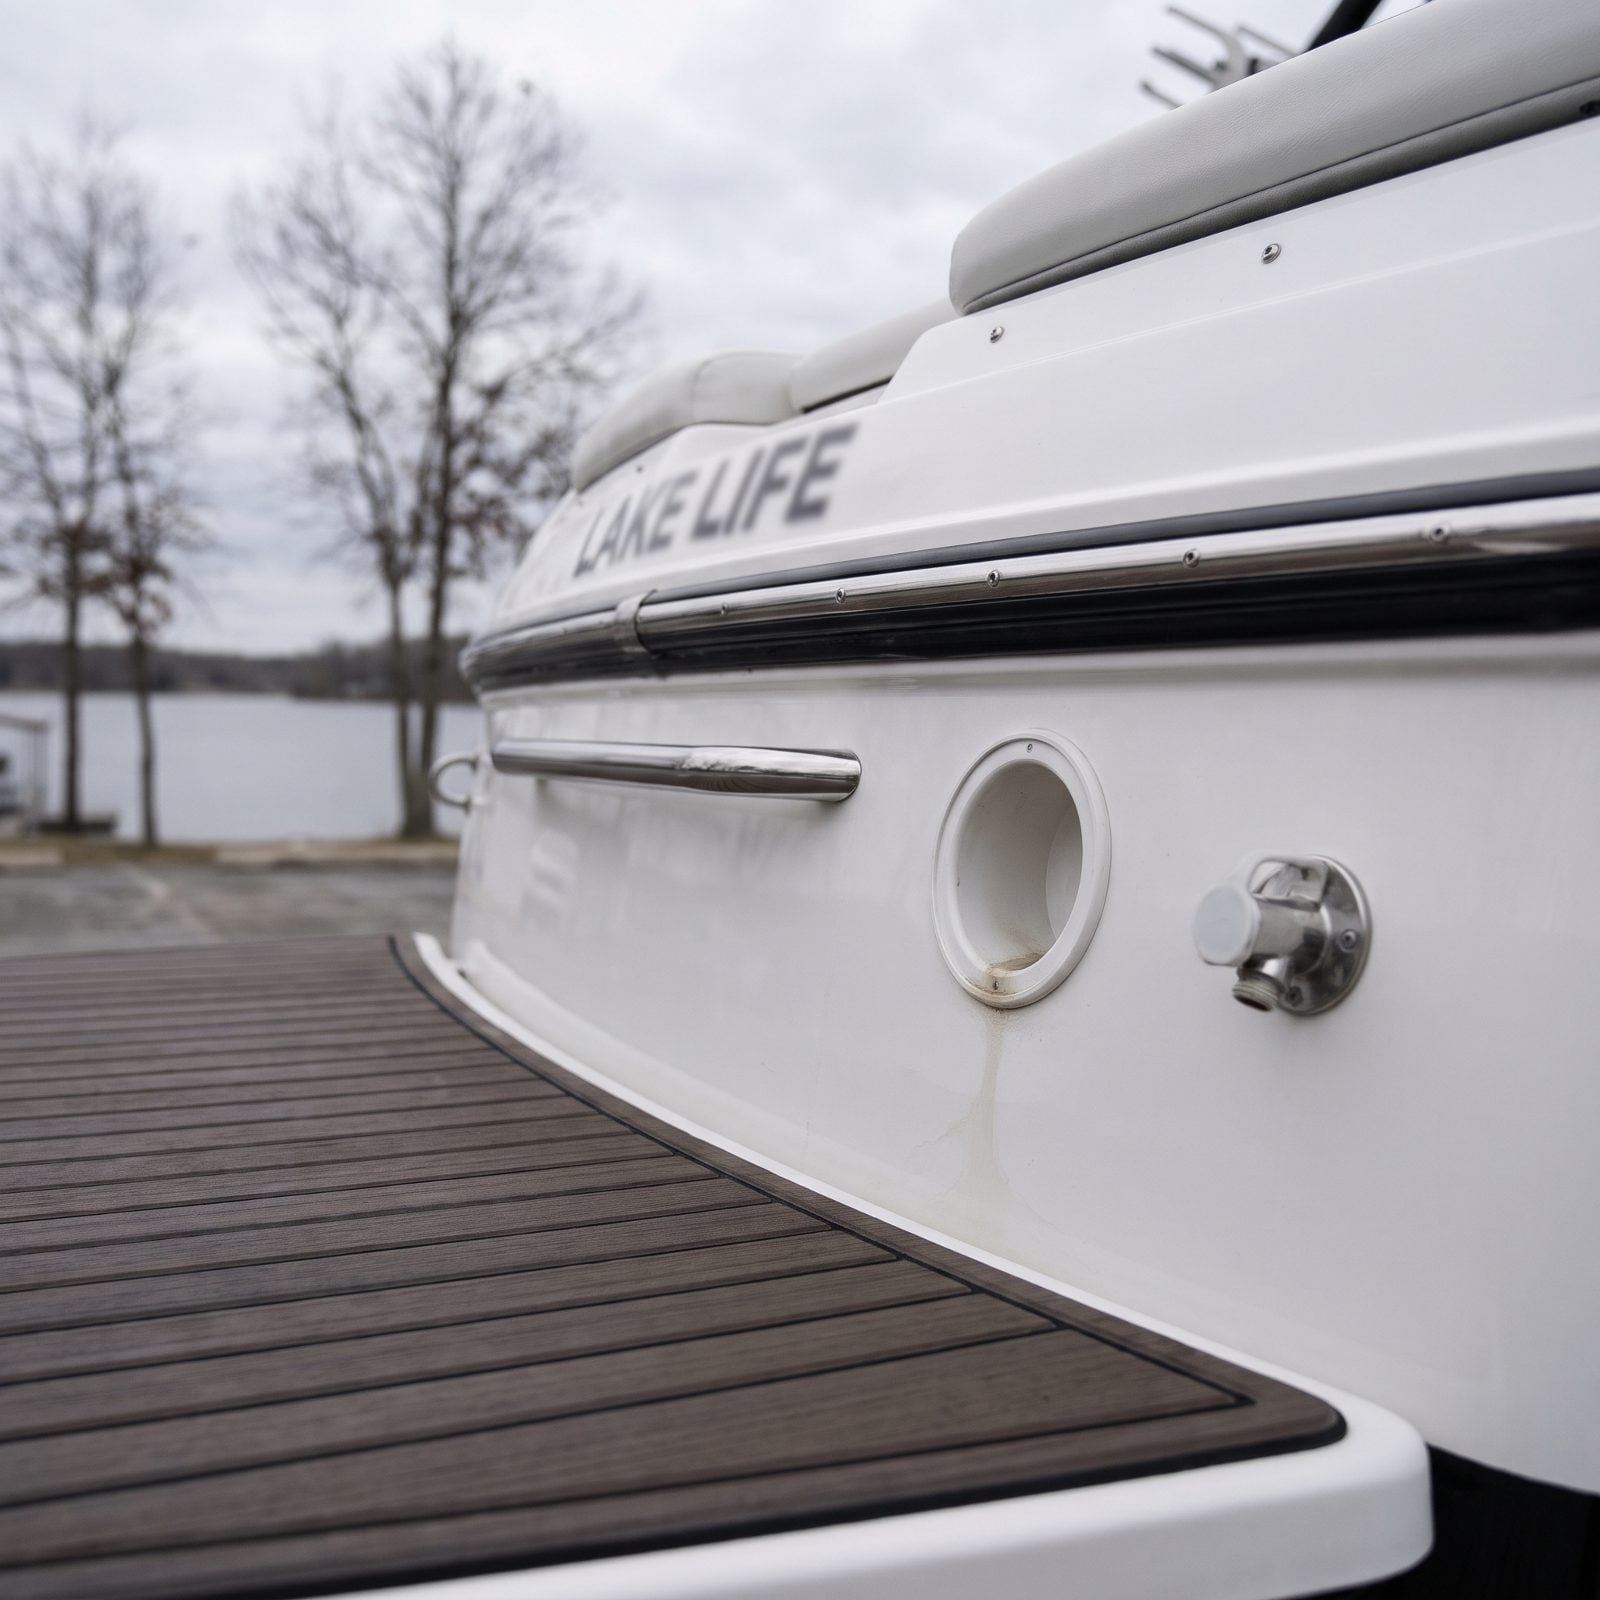
The transom shower is the one everybody misses. Tucked in a recessed housing at the back of the boat, out of sight, that coiled hose and nozzle hold water that freezes and splits the line right where you can’t easily reach it.
When you run antifreeze through the freshwater system, pull out the transom shower wand, cockpit faucet, and any spray nozzle, and run each one until pink comes through. Squeeze the trigger on spray nozzles so the valve inside gets protected too. Walk the whole boat and work every single water outlet, not just the galley and head.
18. Leaving Water in the Marine Head’s Intake, Bowl, or Discharge Lines
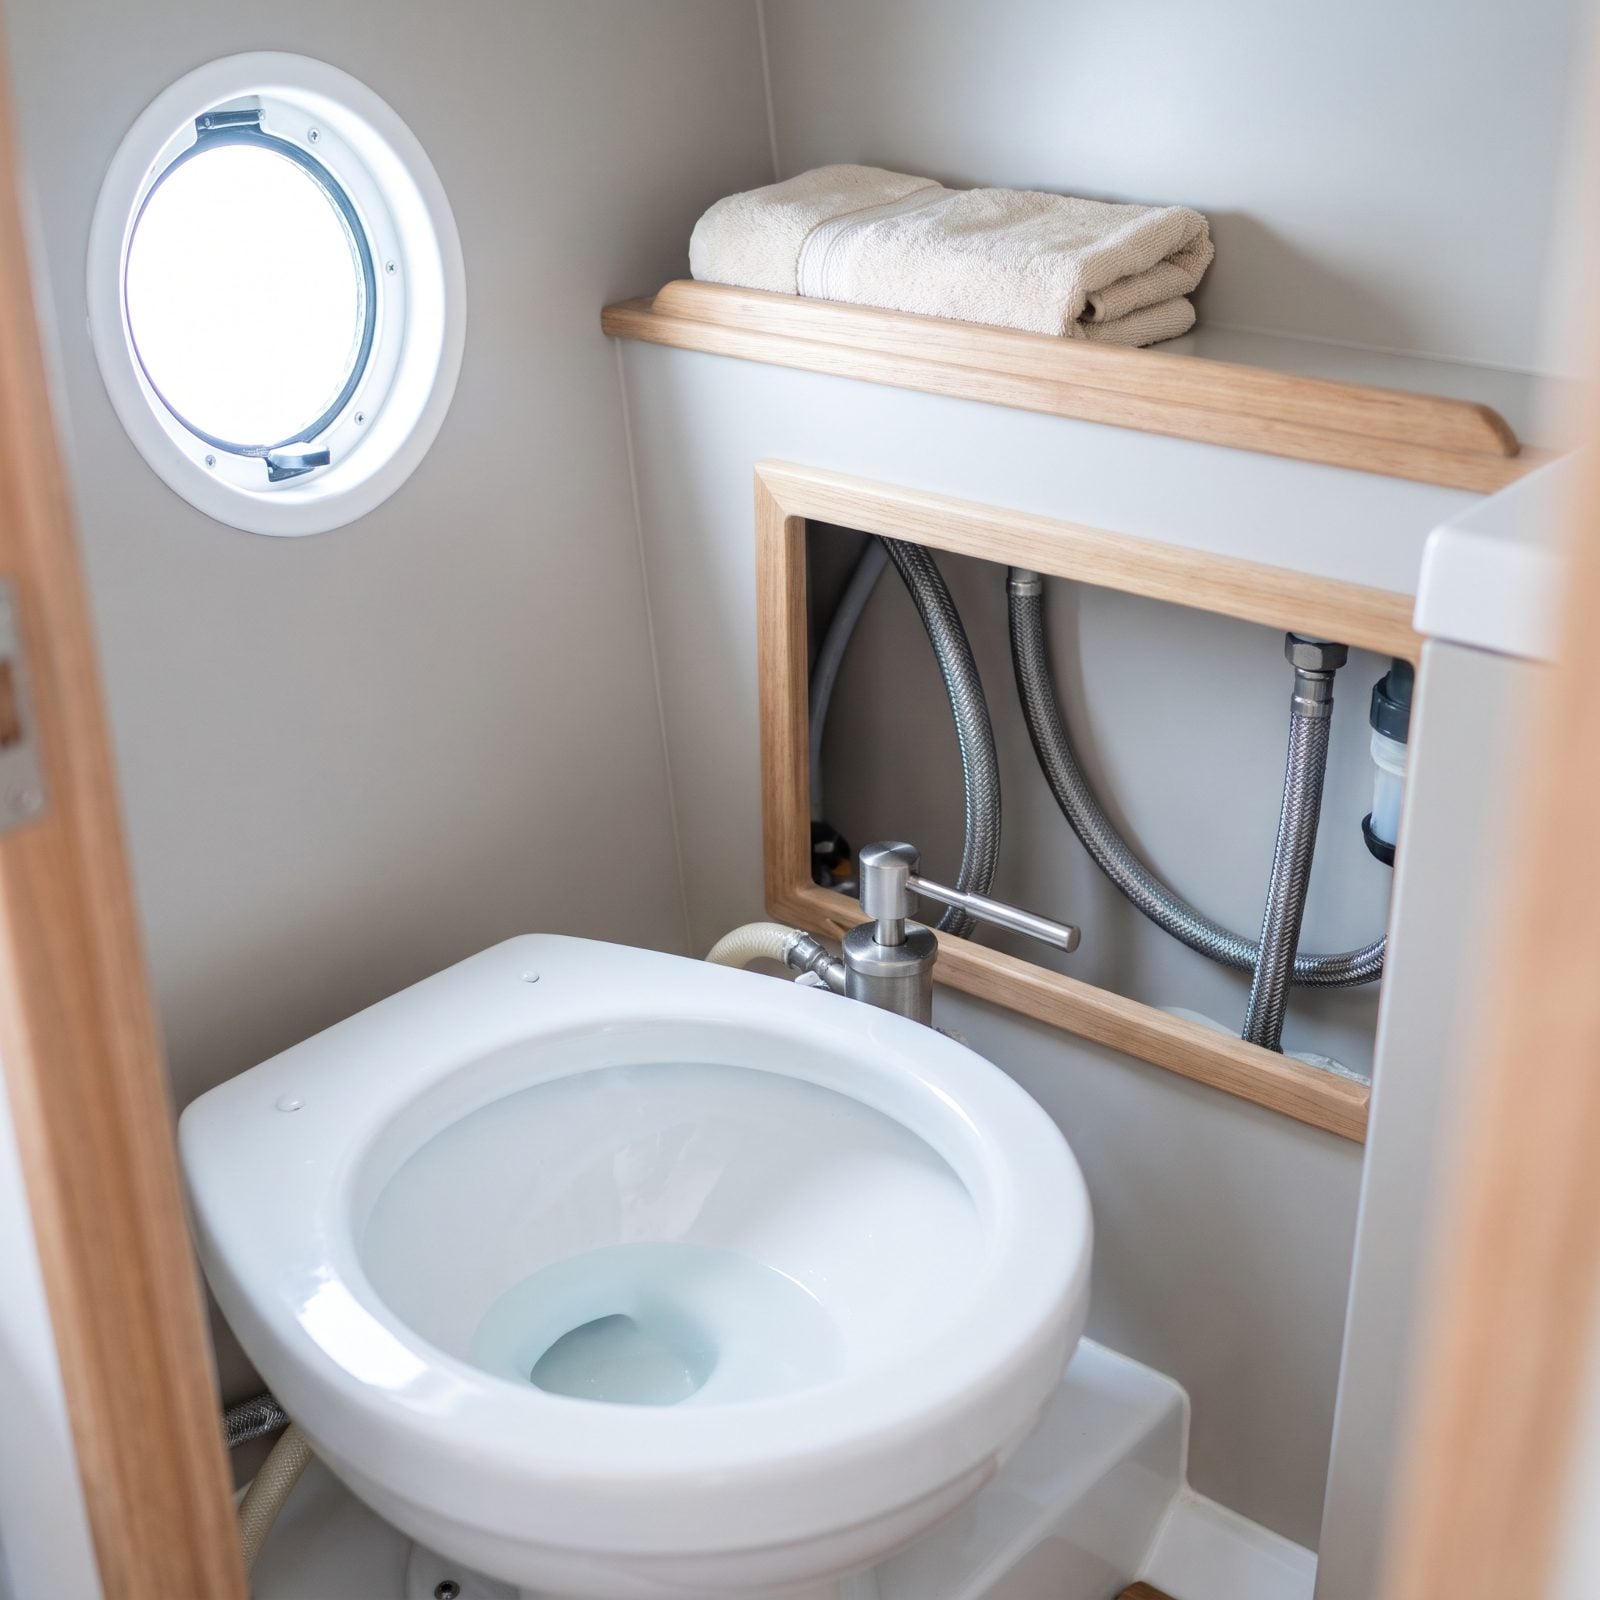
A manual or electric head traps water in three places: the raw-water intake line, the bowl itself, and the discharge hose. Any of them can freeze. The pump body on a manual head cracks easily, and a split in the discharge line means raw sewage weeping into the bilge over the winter — nobody wants that particular spring surprise.
Shut the intake seacock, then pour marine antifreeze into the bowl and pump it through the discharge until pink runs out. For the intake side, drop the intake hose in antifreeze and pump that through too. Protect the whole circuit, intake to overboard.
17. Overlooking the Shower Sump and Its Check Valve
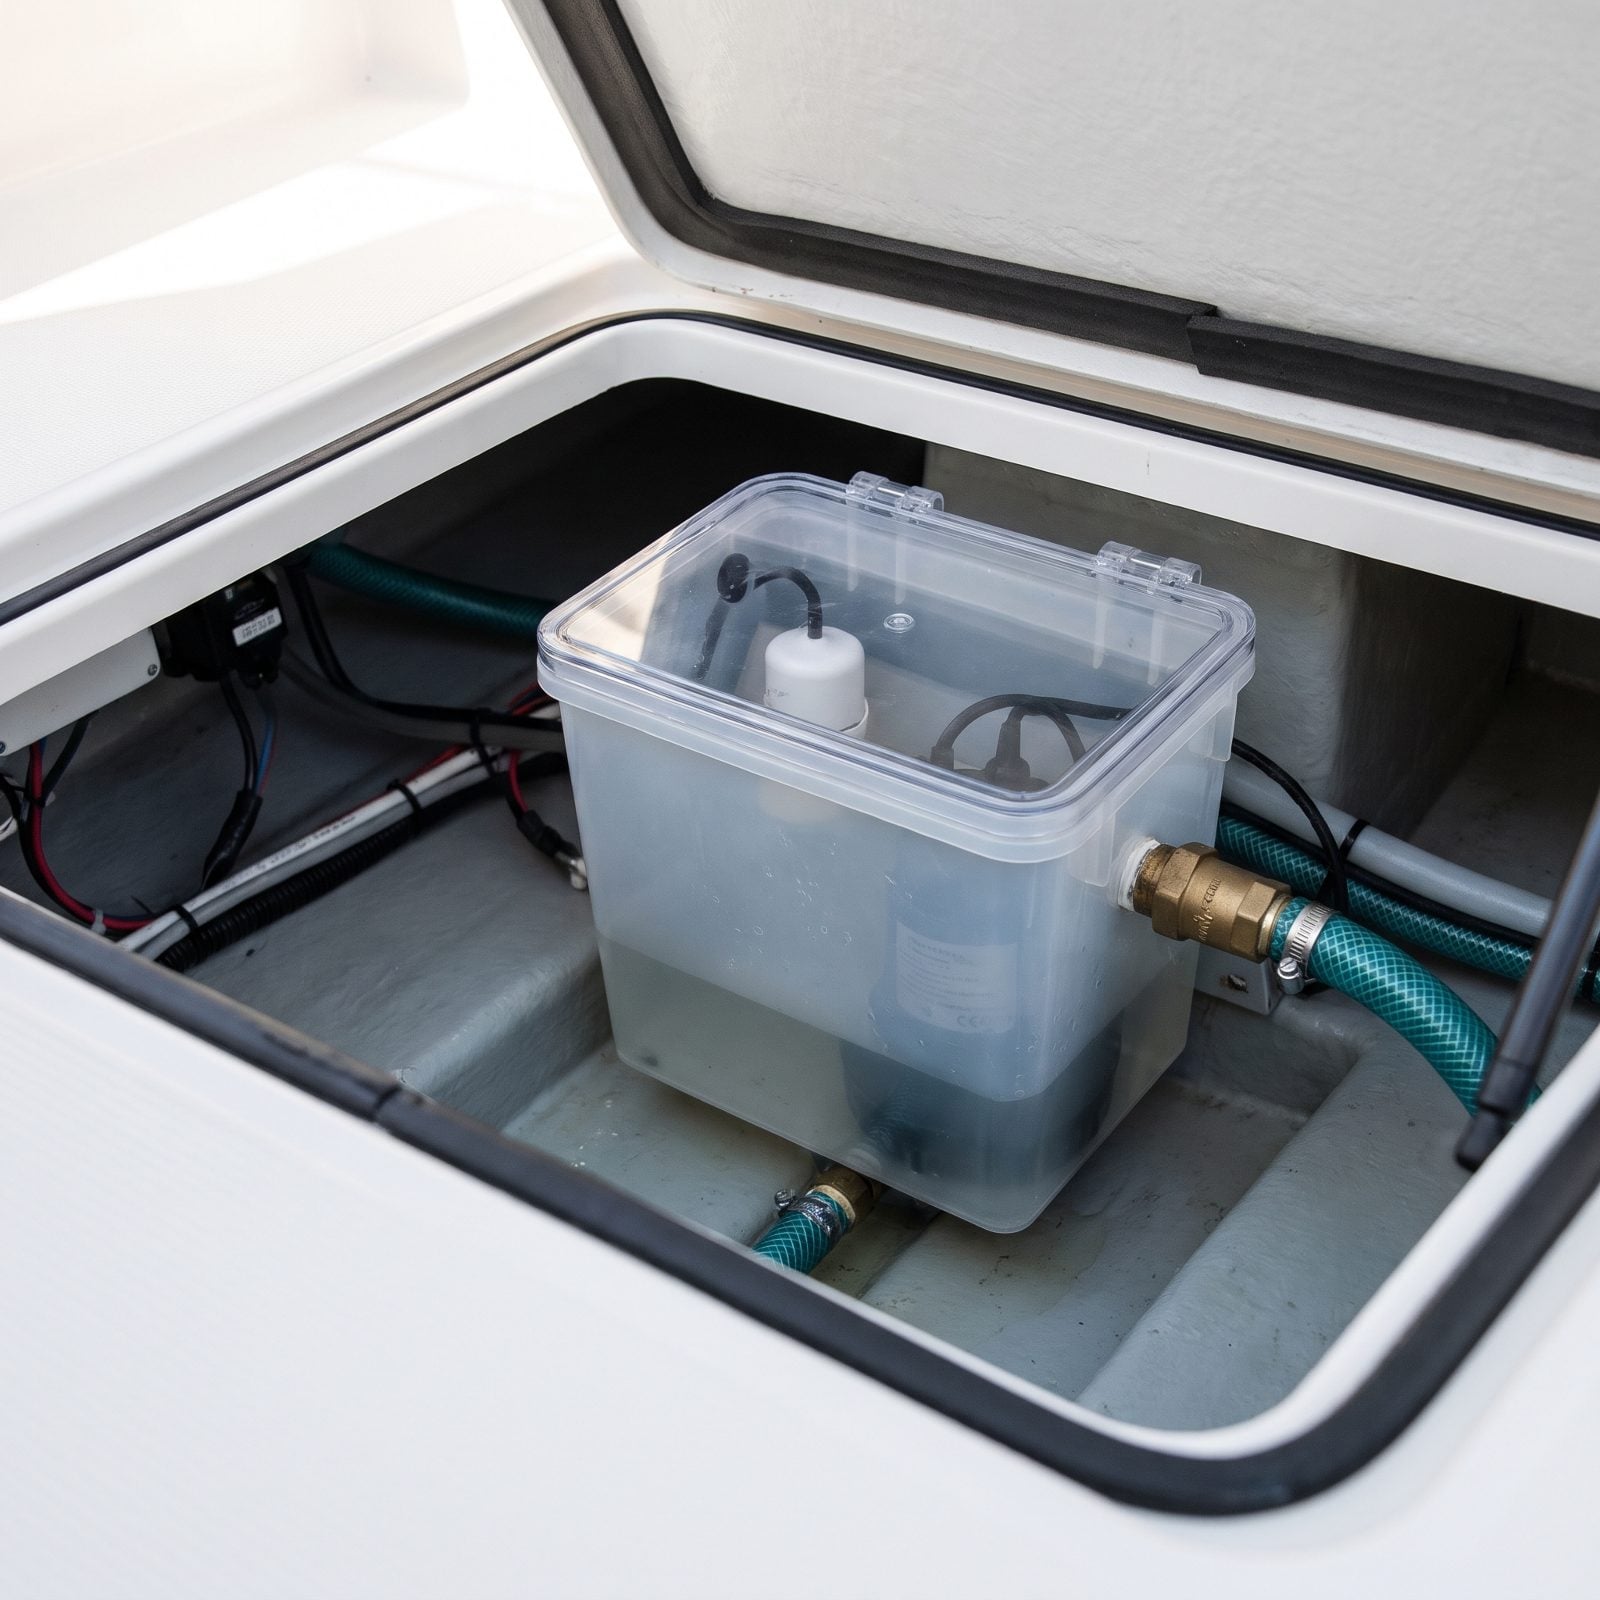
The shower sump is the last thing on anybody’s winterizing list, which is exactly why it gets left full. That little box in the bilge collects shower drain water, and it almost always holds a residual pool. Worse, the check valve on its discharge line traps water that won’t drain backward on its own.
Empty the sump box by hand, then pour antifreeze in and run the sump pump until pink clears the check valve and the overboard line. While you’re down there, check that the float switch moves freely. Two-minute job. It saves a cracked pump housing and a soaked bilge come spring.
16. Leaving Water in Livewells, Baitwells, and Their Pumps
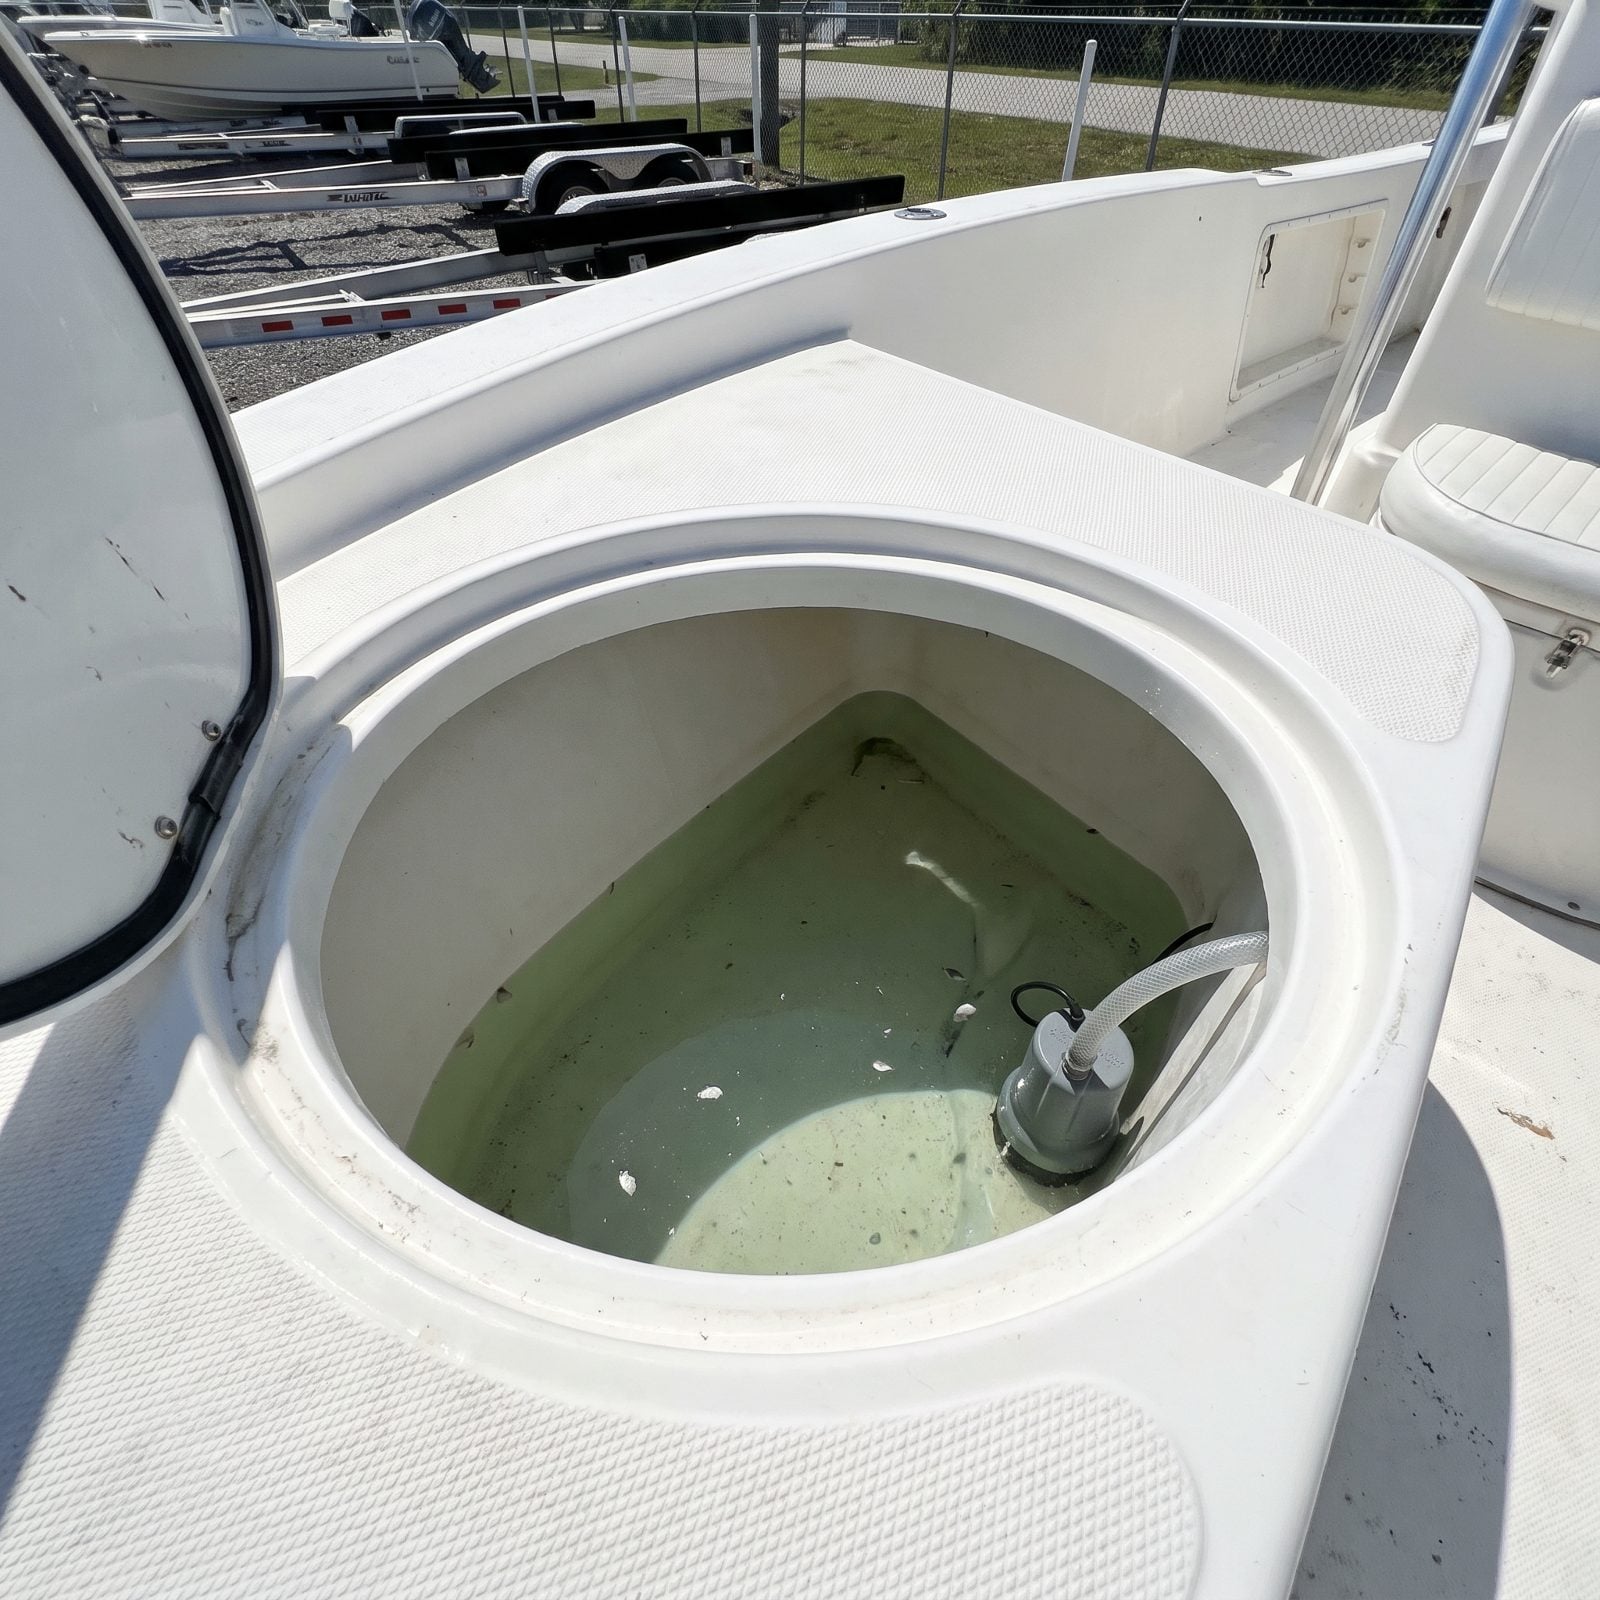
That inch of water sitting in the bottom of your livewell looks harmless in October. Freeze it solid and it becomes a wedge, cracking the plastic well, splitting the aerator pump housing, and bursting the little barbed fittings you never think about until one lets go in May.
Pumps are the real casualty. A flooded aerator or baitwell pump holds water in its impeller chamber, and that trapped water expands with nowhere to go. Come spring you flip the switch and get silence.
Pull every drain plug, flip the pumps on dry for two seconds to clear the volute, then tip the bow up so the last of it runs out. Blow through the hoses if you can reach them. A shop vac on the fill fitting does a shocking amount of work here.
15. Ignoring Water Trapped in Bilge Pumps and Check Valves
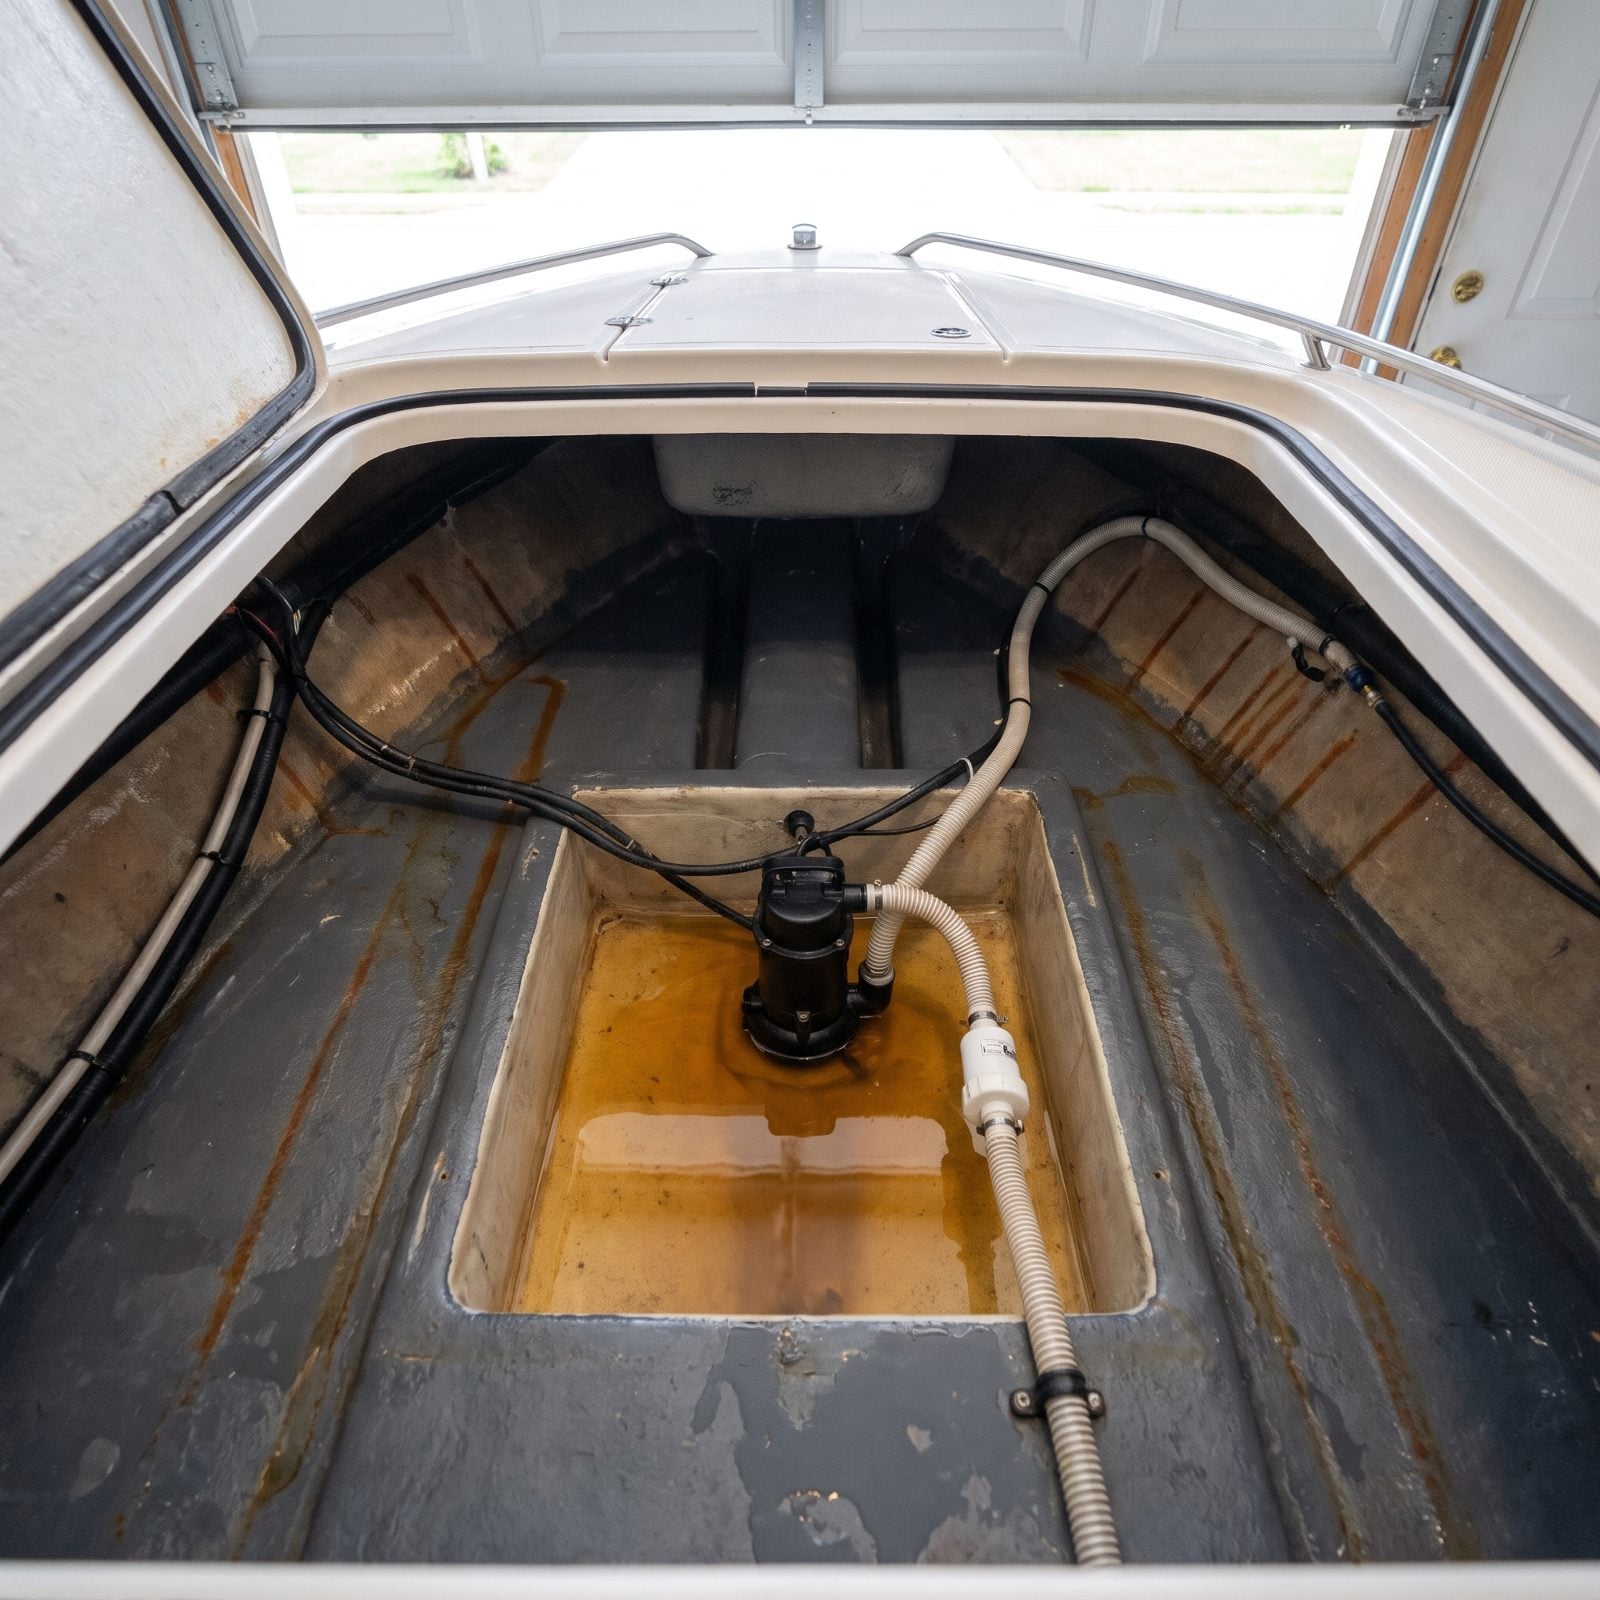
Check valves are the quiet troublemaker here. Many bilge discharge lines carry an in-line check valve that stops backflow, which also means it can hold a slug of liquid inside the valve body all winter, even after the pump has been pulled and set on a shelf. A pump that looks dry sitting out of the boat can still hide water in its base, because it can only draw down so far.
Freeze that and you crack the pump body, split the check valve, and sometimes blow the discharge hose off its barb. A dead bilge pump found in spring is one thing. A dead bilge pump you discover during the first heavy rain in the slip is a bad afternoon.
Sponge the bilge dry, lift the pump and tip it to drain, and either remove the check valve or pour a little antifreeze into the discharge so the trapped section is protected. Some folks just yank the check valve for the season and reinstall it in spring. Not a bad habit.
14. Leaving Water in Ice Makers, Dishwashers, or Washing Machines
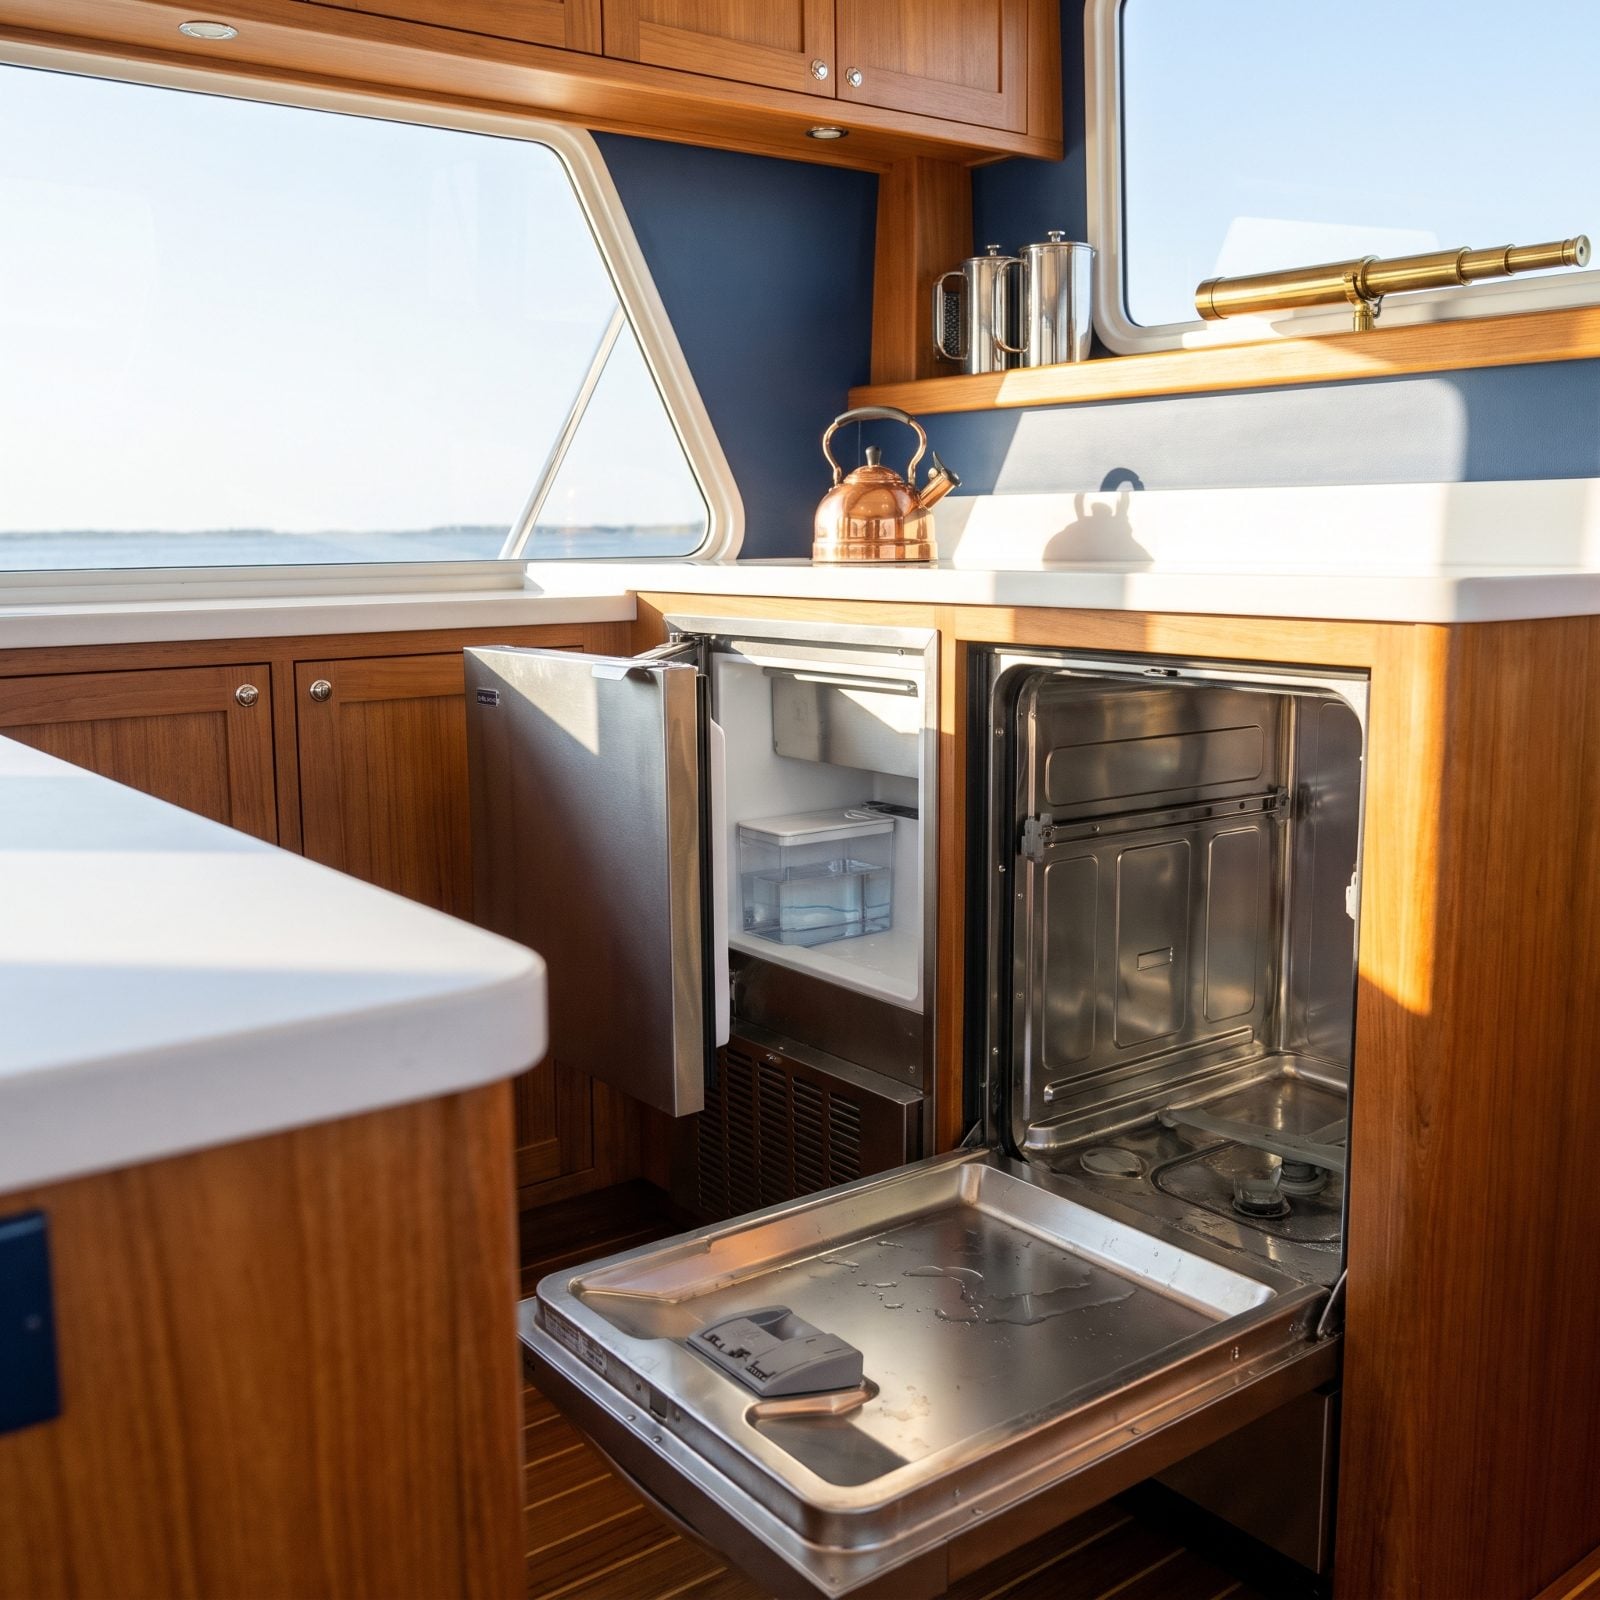
Owners get meticulous about engines and then completely forget the galley has plumbing too. Ice makers hold a water reservoir and a feed line. Dishwashers and washing machines keep water in their sumps, pumps, and inlet valves long after the last cycle, and all of it freezes just fine.
A cracked ice maker reservoir or a split dishwasher pump turns into a water-damage problem the moment it thaws and leaks into your cabin sole.
Run each appliance through its drain or clean cycle, then pump pink antifreeze through the water supply until it appears at the drain. Disconnect the ice maker feed line and blow it clear. The appliance manuals actually bury winterizing steps in them somewhere, and for once they’re worth digging out.
13. Failing to Empty Wake-Boat Ballast Tanks and Pumps
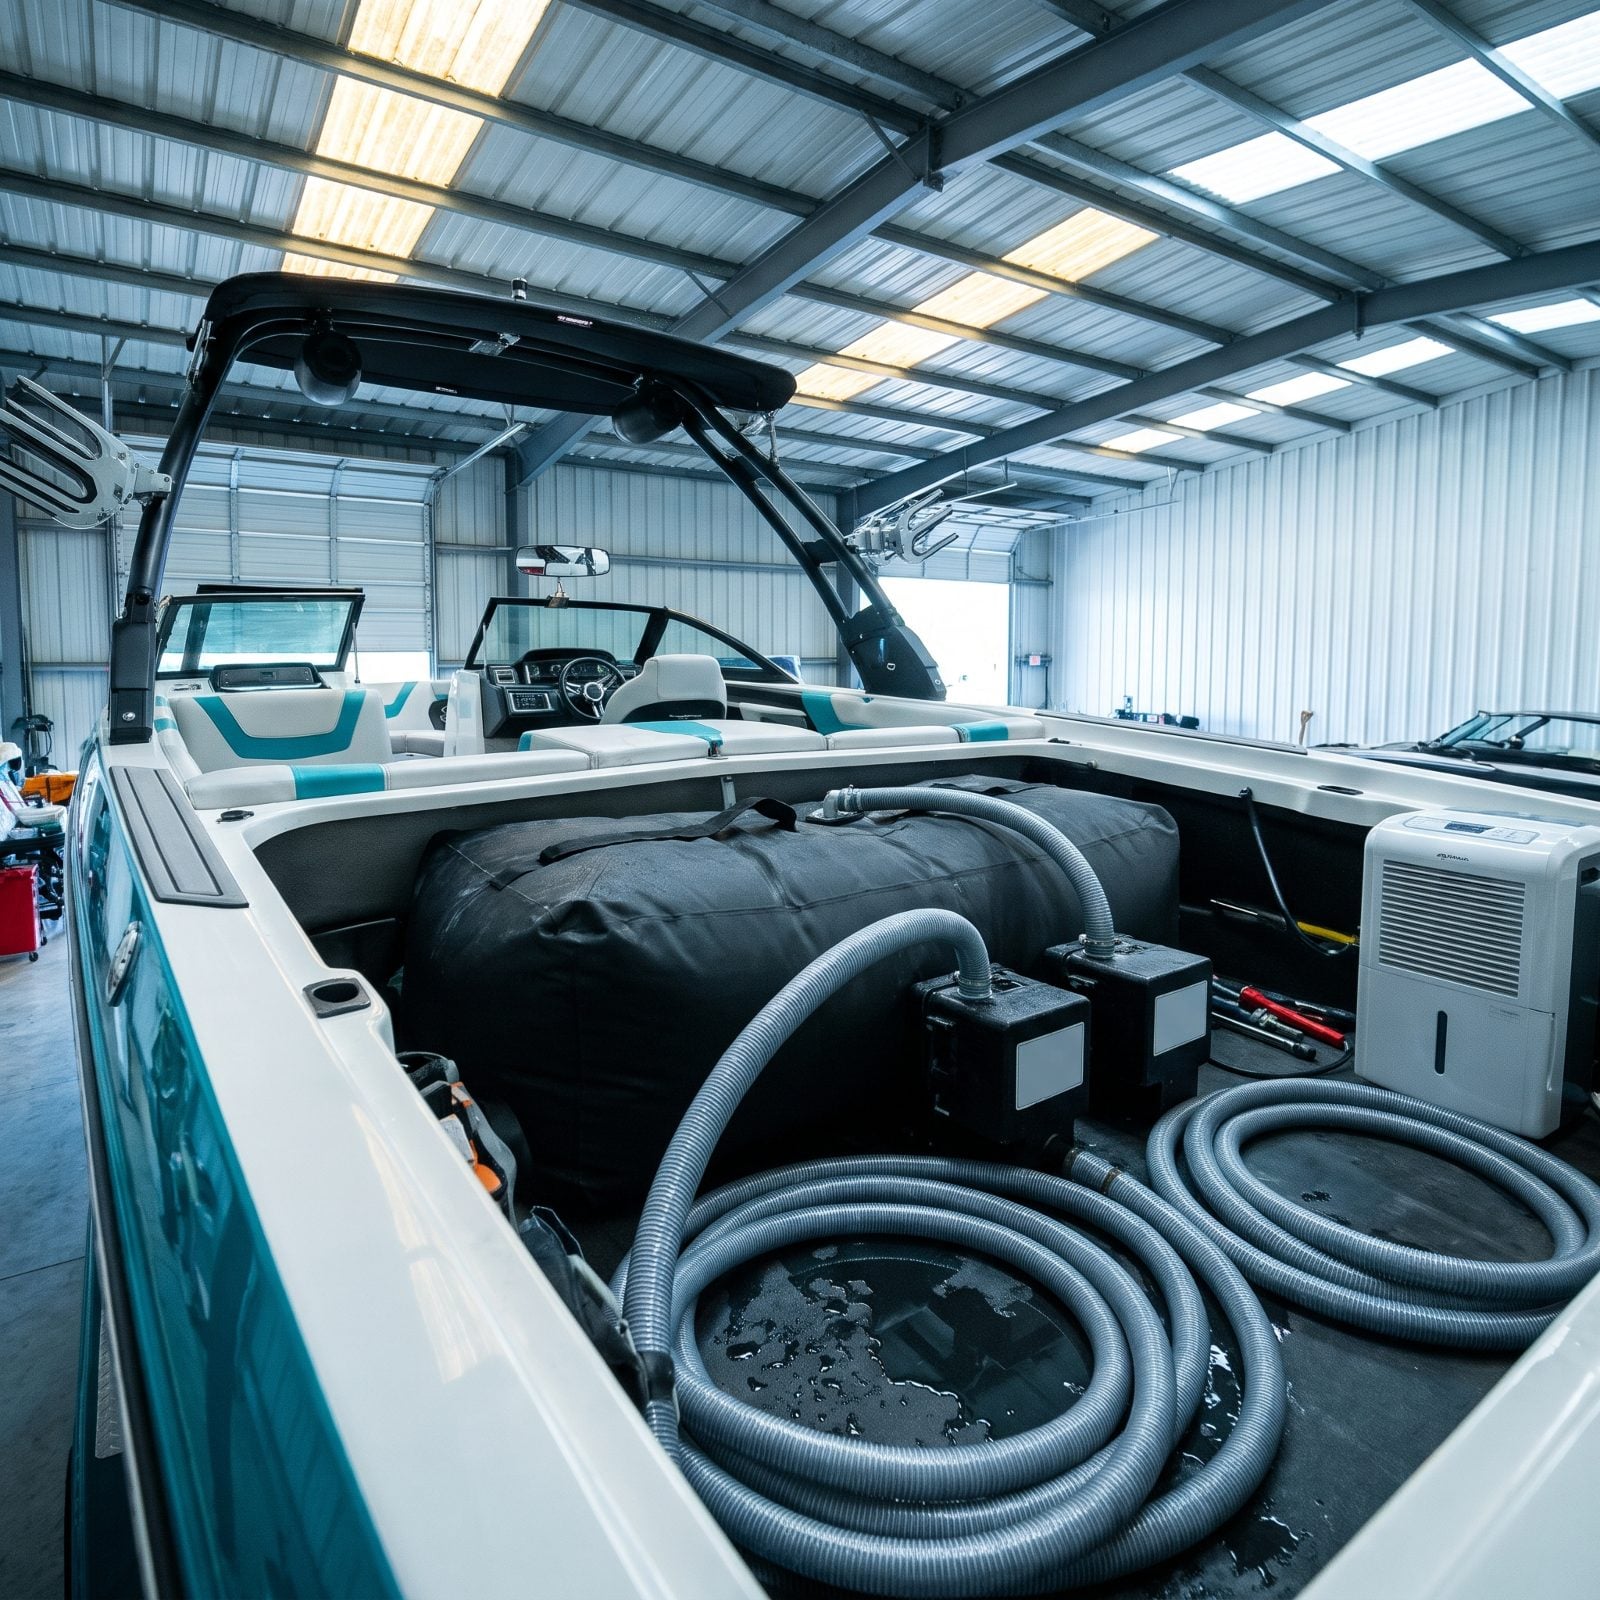
Wake boats carry serious water. Ballast tanks, bags, reversible pumps, and long hose runs hold many gallons that never fully drain under gravity, and the low spots in those hoses stay wet even after you think the tanks are empty.
Freeze a ballast pump and you’re looking at one of the pricier spring repairs on the whole list, because those reversible pumps aren’t cheap and the hose routing is a knuckle-buster to reach. A split hose deep in the bilge can also dump its leftover water right where you don’t want it.
Run the tanks dry on the fill-and-drain cycle, then use the system’s winterize mode if it has one. No winterize mode? Pull the hoses at their low points, let them gravity-drain, and then introduce antifreeze through the pumps. Blowing the lines with low-pressure air helps clear the loops the pumps can’t reach.
12. Leaving the Dockside Water Connection Attached
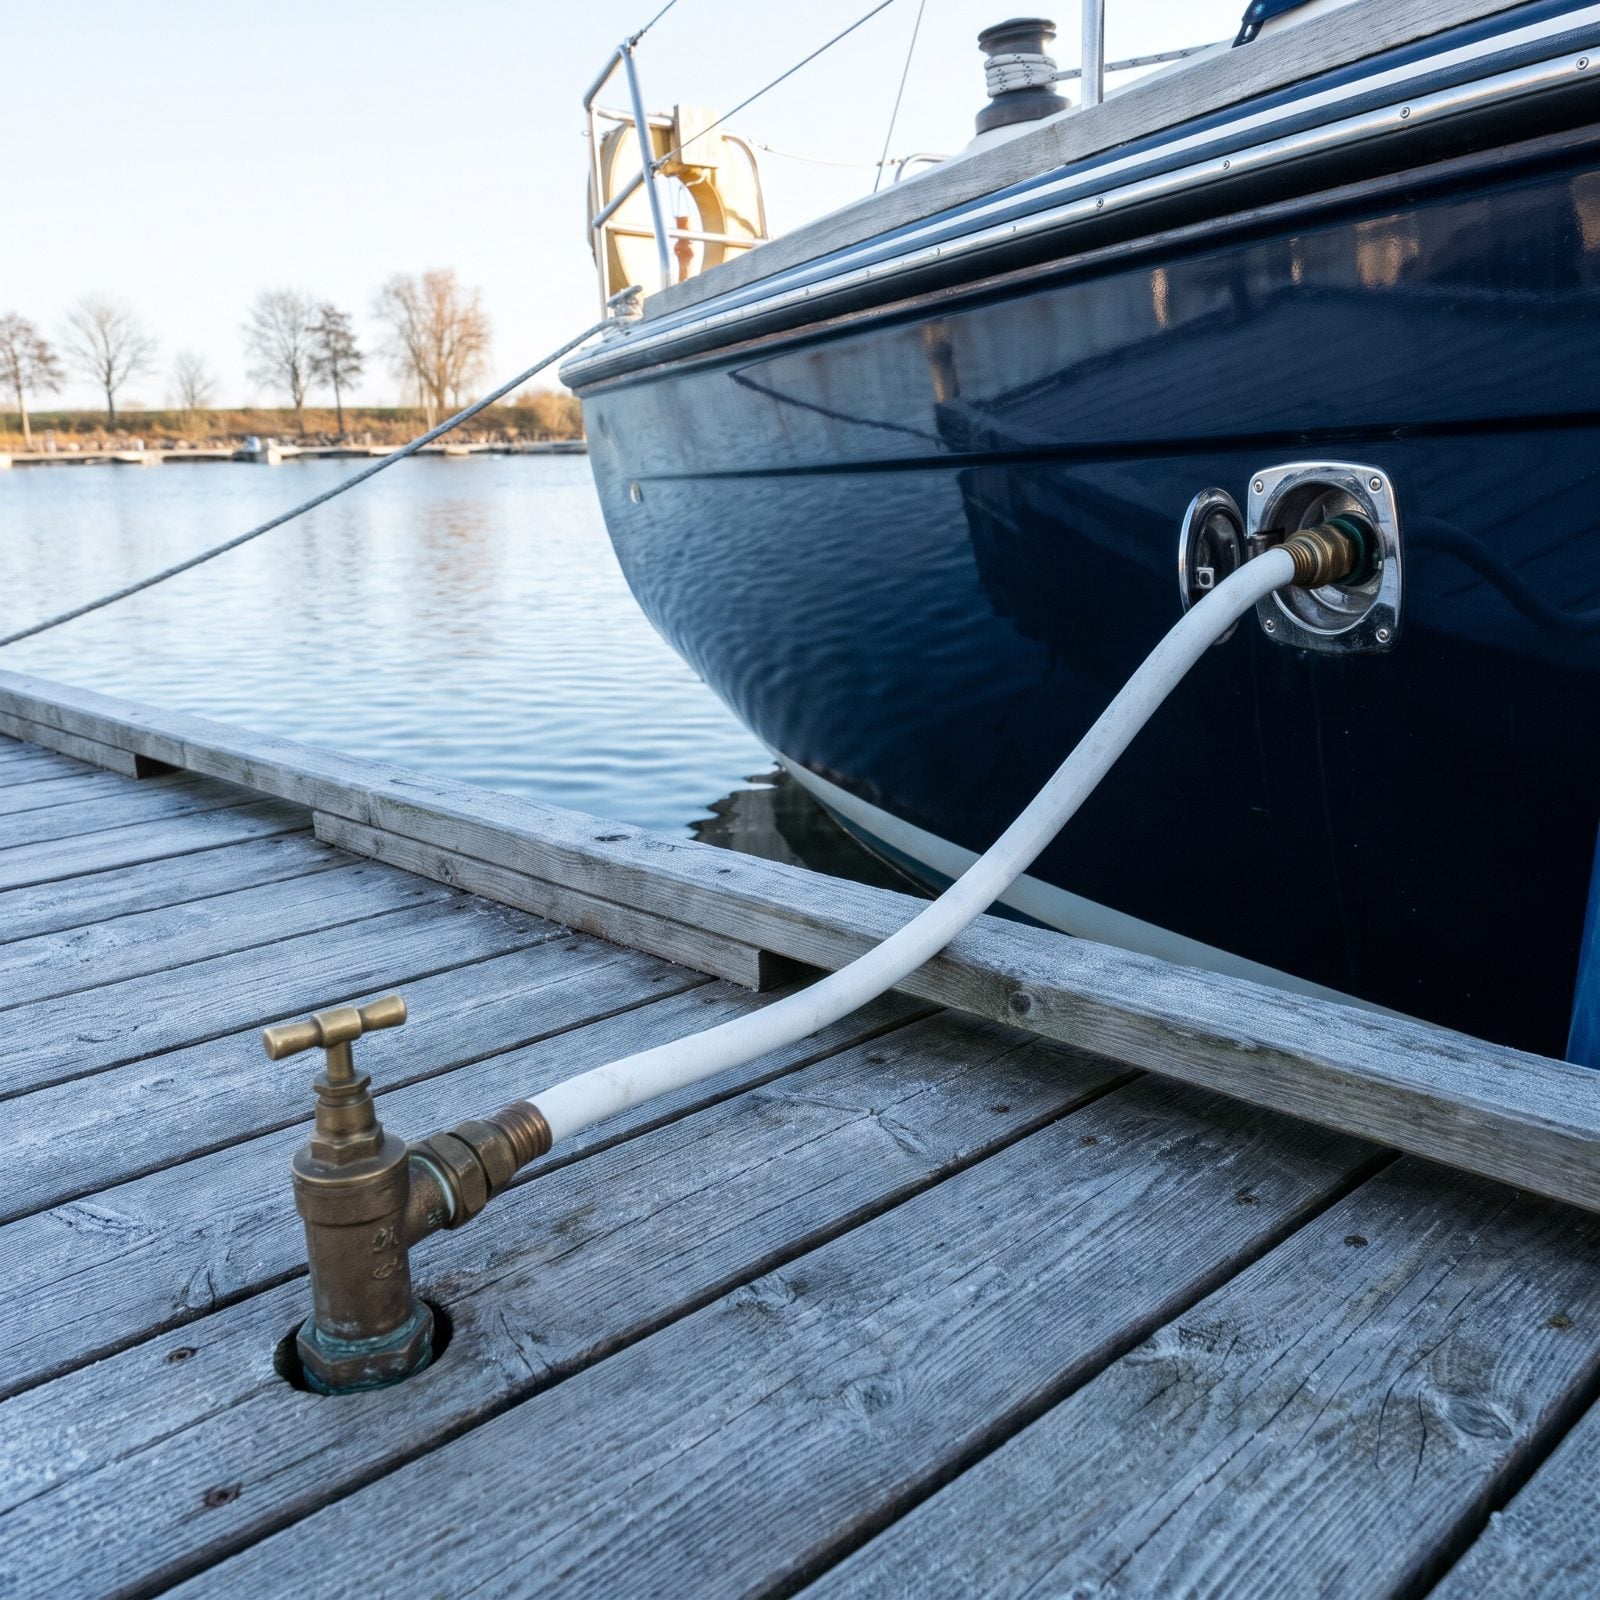
If your boat stays in the water or sits at a slip hooked to shore water, that dockside connection pressurizes your entire onboard plumbing system with the marina’s supply. Leave it attached and you’ve basically plumbed your boat to freeze from the hose inward.
A frozen pressurized line splits with more force than a drained one. The connection also keeps your water heater, fixtures, and lines full when you were counting on draining them.
So disconnect the dock water, drain the hose, and winterize the onboard system as if it were sitting on the hard. If the marina shuts water off for the season, confirm it — a surprise re-pressurization on a warm December day has ruined more than one plumbing system.
11. Storing the Boat With the Hull Drain Plug Installed
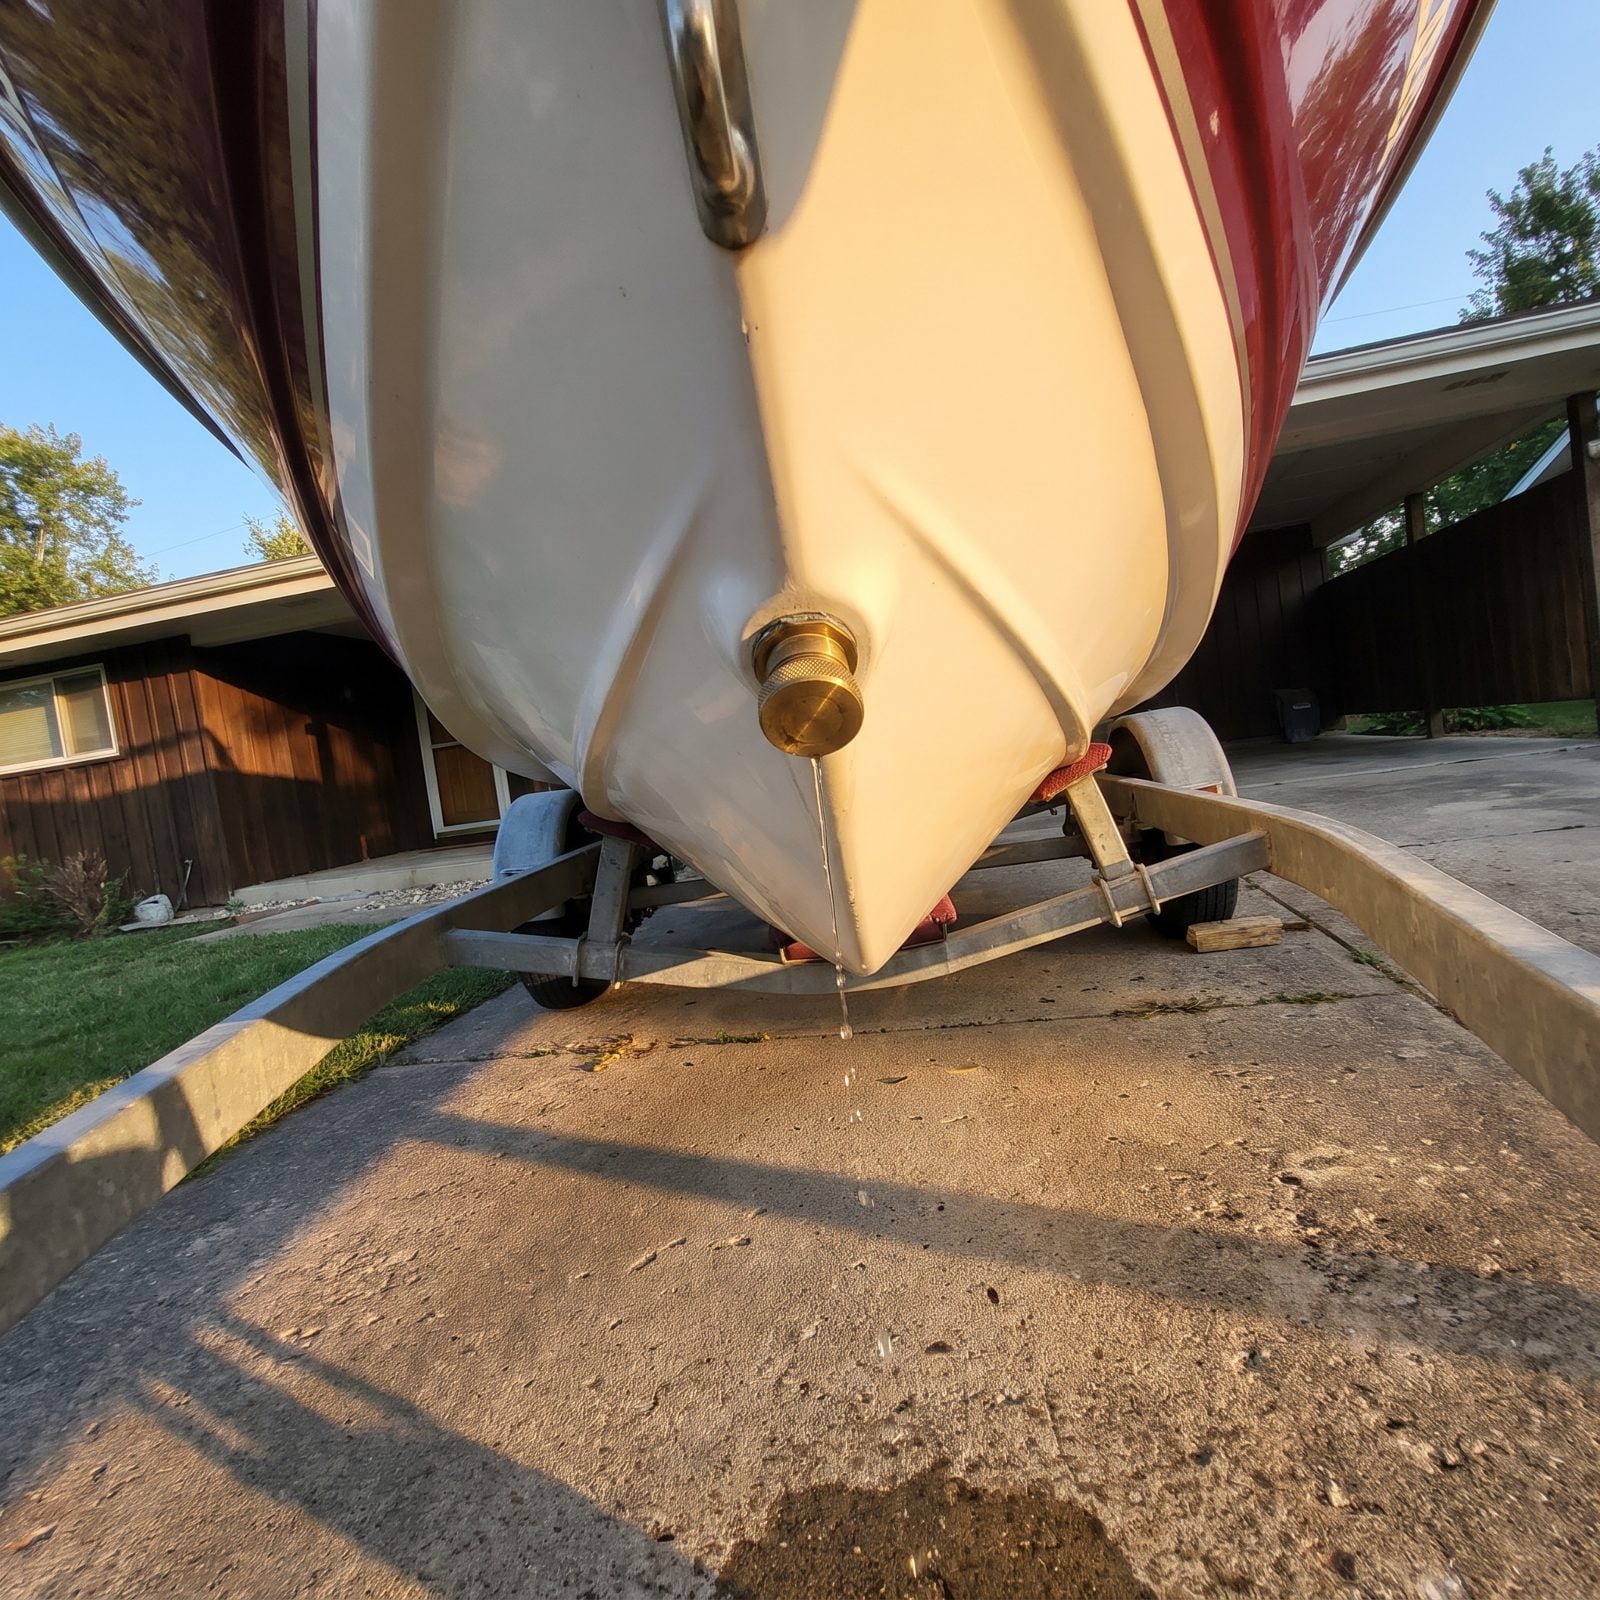
This one feels backwards, which is exactly why people get it wrong. All season you make sure the drain plug is in so the boat doesn’t sink. Then storage season flips the rule, and the old habit never updates.
Leave the plug in while the boat sits on a trailer or on stands and rainwater and melting snow have nowhere to escape. It pools in the bilge, freezes, and goes to work on your hull and anything mounted low. In a hull that already weeps a little around a thru-hull, that water just keeps piling up.
Pull the plug for the entire off-season and store it somewhere obvious. Tie it to the steering wheel if you have to. The forgotten plug in spring is a classic, and it has launched a lot of boats straight to the bottom of the launch ramp.
The plug that keeps you afloat in July is the plug that cracks your hull in January. Same brass, opposite job.
10. Leaving Leaves and Debris Blocking Cockpit Scuppers
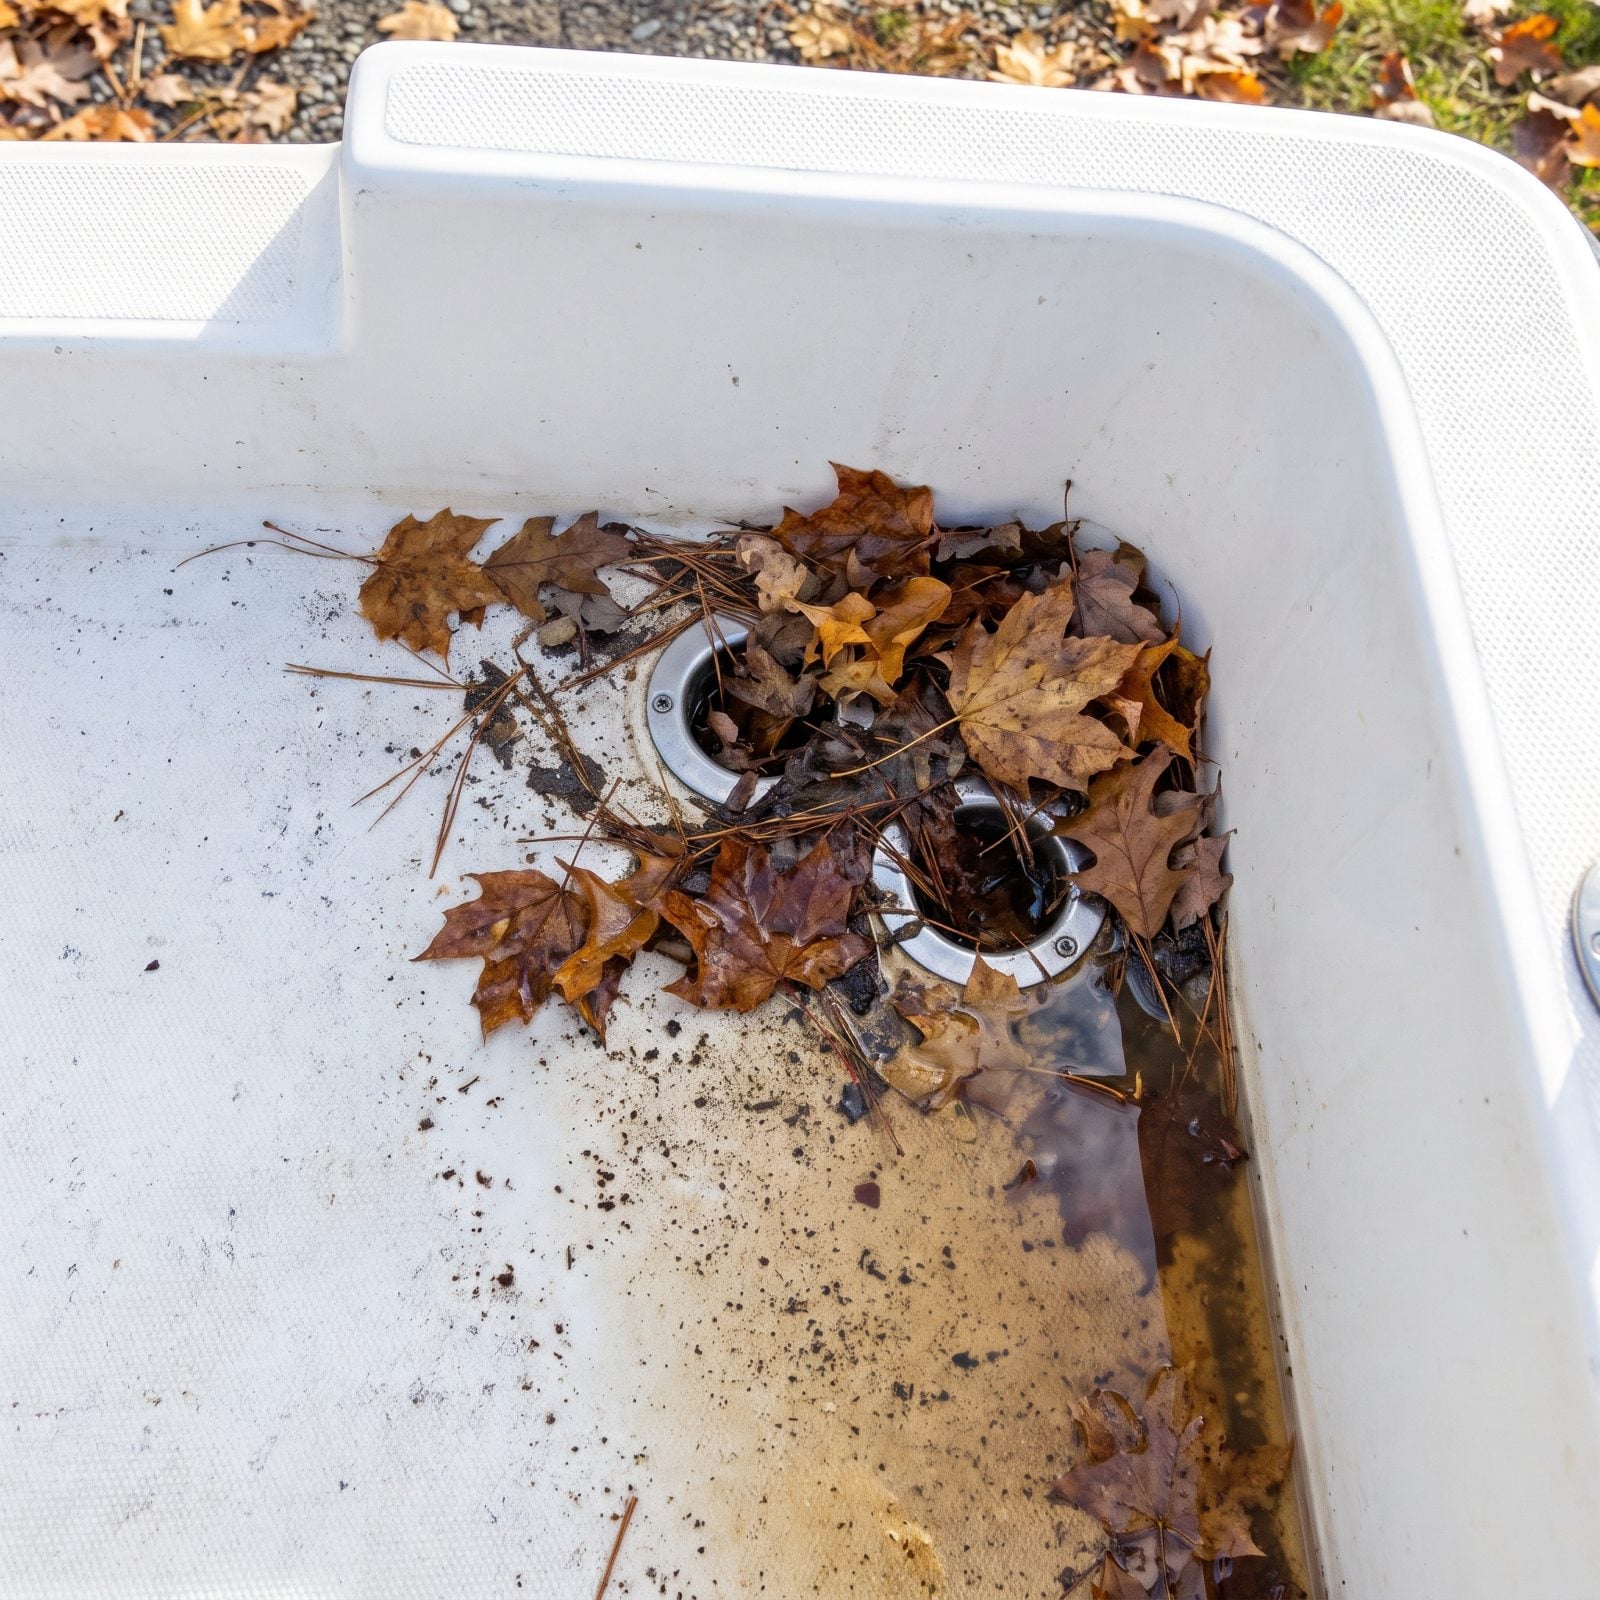
Autumn does this for free. Leaves, pine needles, and acorns pile into the cockpit all fall, then slide toward the scuppers and clog them like hair in a shower drain. A self-bailing cockpit that can’t bail is just a shallow pool waiting on a freeze.
That backed-up water sits on your deck, works into deck hardware, and freezes into a sheet that stresses the cockpit sole. Scuppers with one-way flappers trap water behind them too.
Clear every scupper before you button up, then check them again after the leaves finish falling. A quick poke with a dowel clears most clogs. And if your cover lets debris blow in, that’s a second reason to get the cover right — which brings us to the next one.
9. Installing a Cover That Allows Rain or Snow to Pool
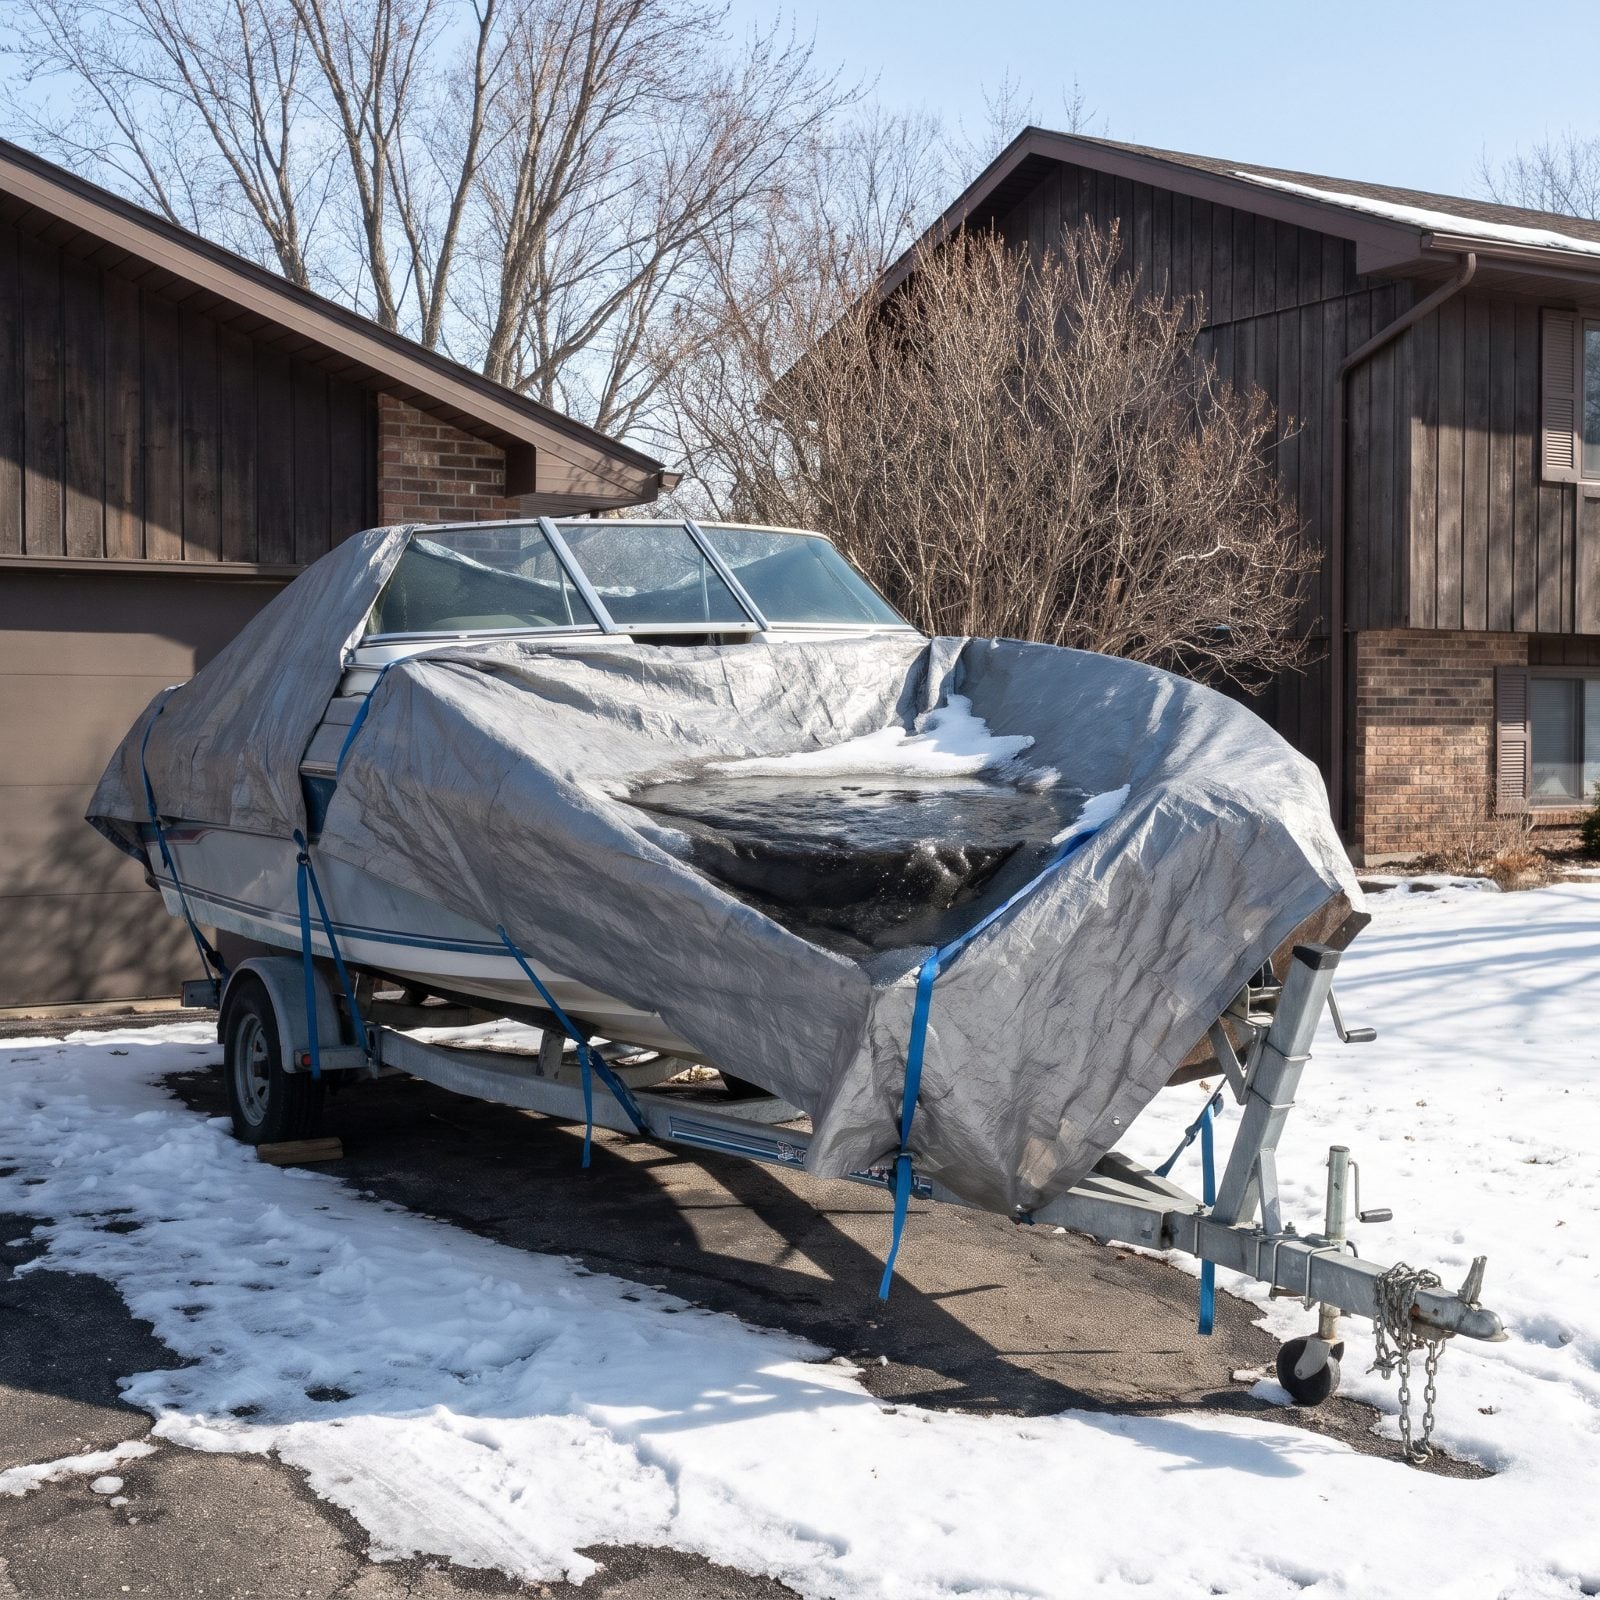
A flat or sagging cover is a rain collector, not a shelter. Snow and water pool in the low spot, the weight pulls everything tight, and then one of two things happens: the water finds a seam and drains straight into your boat, or the whole sagging mass ices over and crushes the cover, the frame, or the windshield.
You want a peak in the middle so water sheds off. Support poles, a ridge pole, or a properly tensioned frame give you the slope that keeps water moving instead of gathering.
Build a center ridge, tension the cover until it drums tight, and check it after the first wet snow. Pool forms anyway? Your support isn’t high enough. Shrink-wrap done right solves this, but a cheap tarp thrown loosely over the bow is worse than no cover at all, because it funnels water to one spot and holds it there.
8. Letting the Cover Rub Against Gelcoat, Windshields, or Upholstery
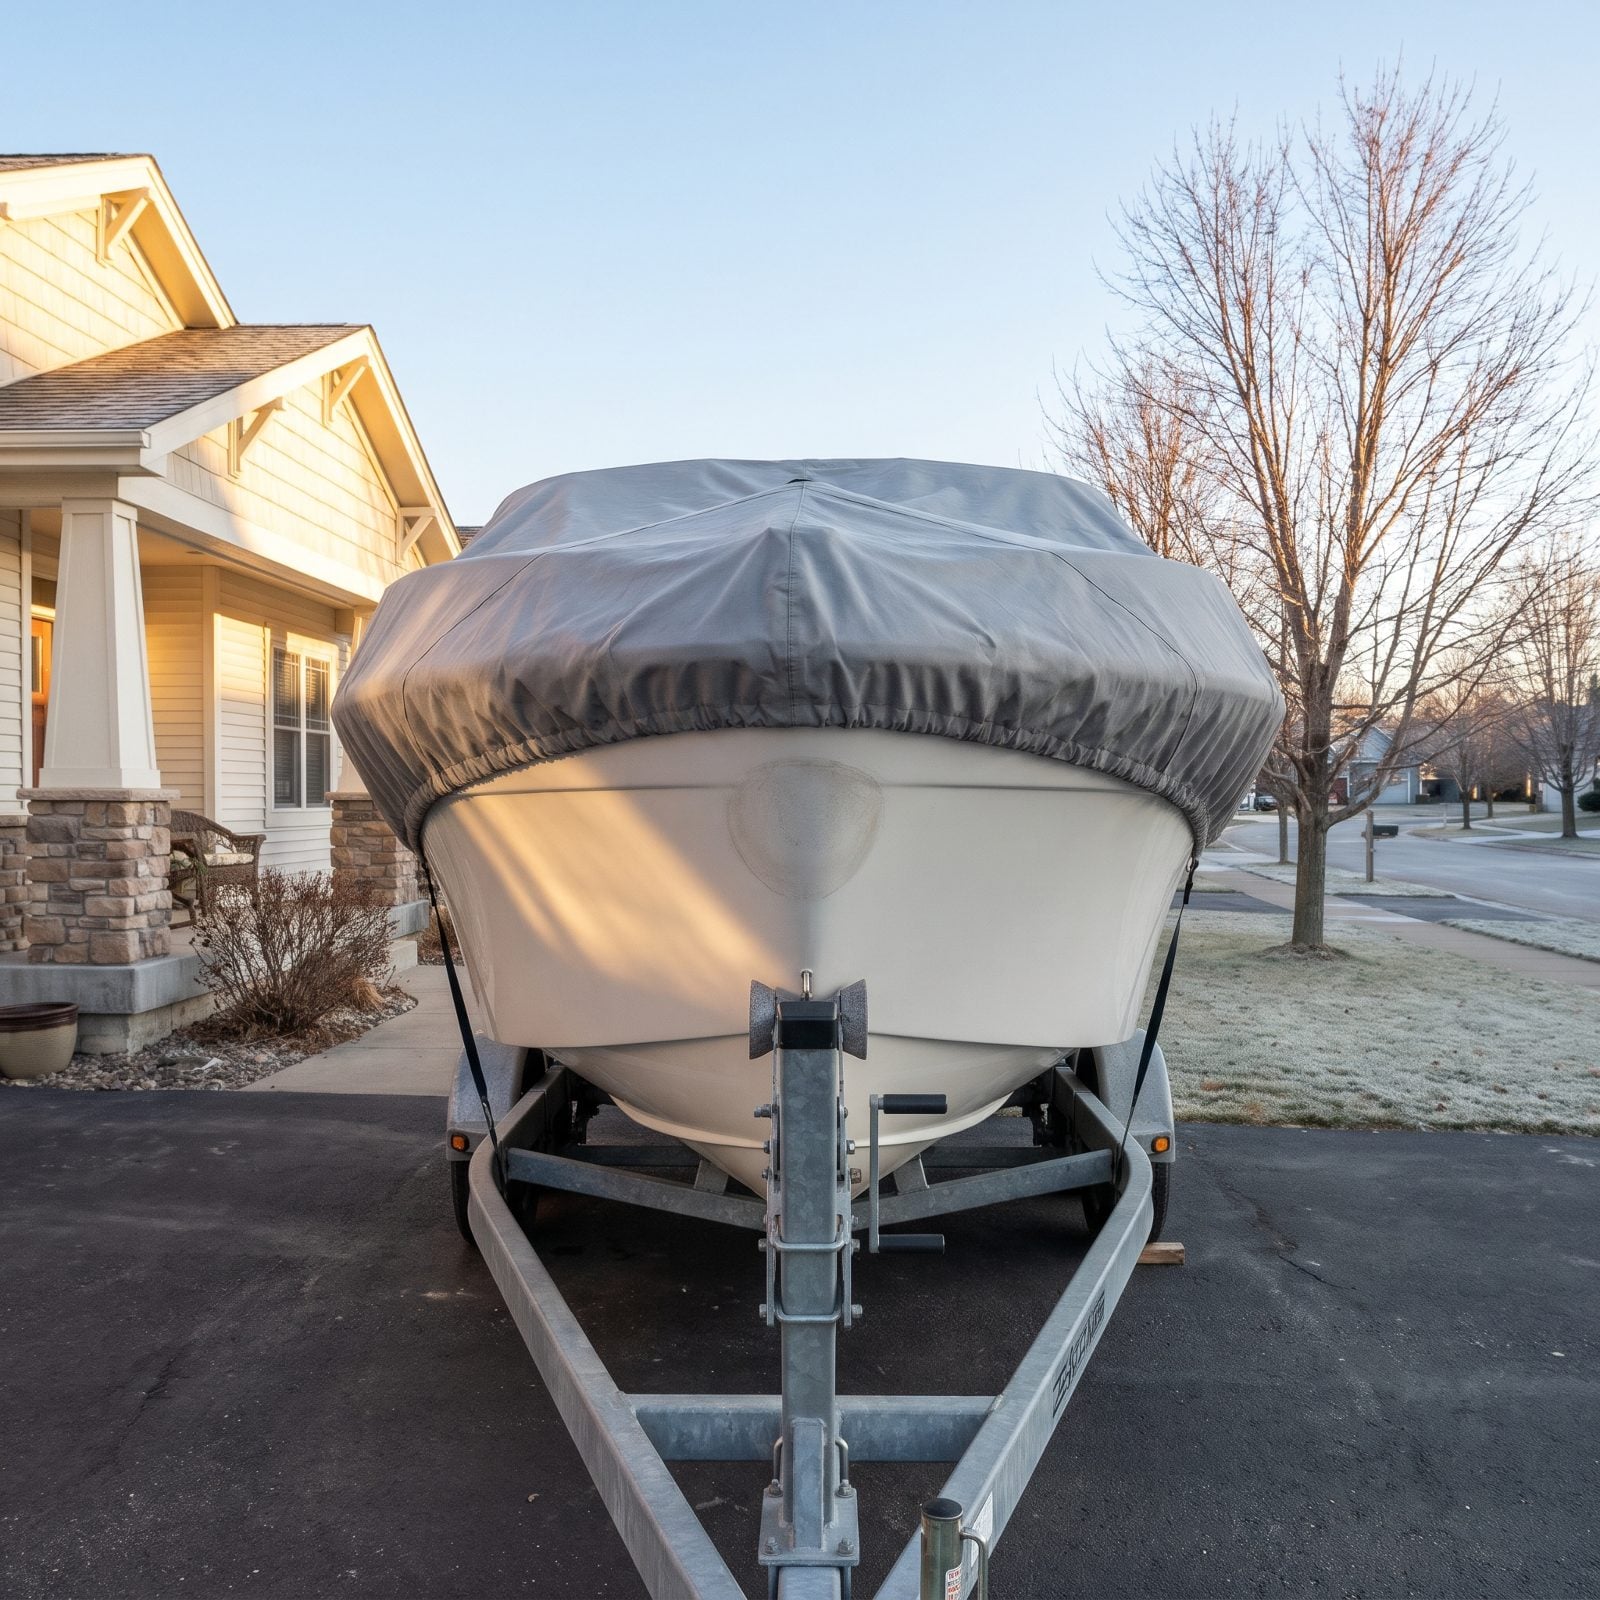
A cover isn’t a blanket. When polyester fabric rests directly on gelcoat and sits there for four months of wind, it saws back and forth every time the breeze picks up, and by spring you’ve got dull gray halos on a hull you spent a whole afternoon waxing. Windshield frames get it worst. Scratched acrylic doesn’t buff out the way a scuff on fiberglass sometimes will.
Build a frame or add support poles so the cover sits off the surface like a tent instead of a shrink-wrapped sausage. Pad every contact point with foam pipe insulation or old towels, then snug the straps so nothing flaps. I ignored all this on a boat years ago and lost a Saturday to rubbing compound I’ll never get back.
7. Sealing the Boat So Tightly That Condensation Cannot Escape
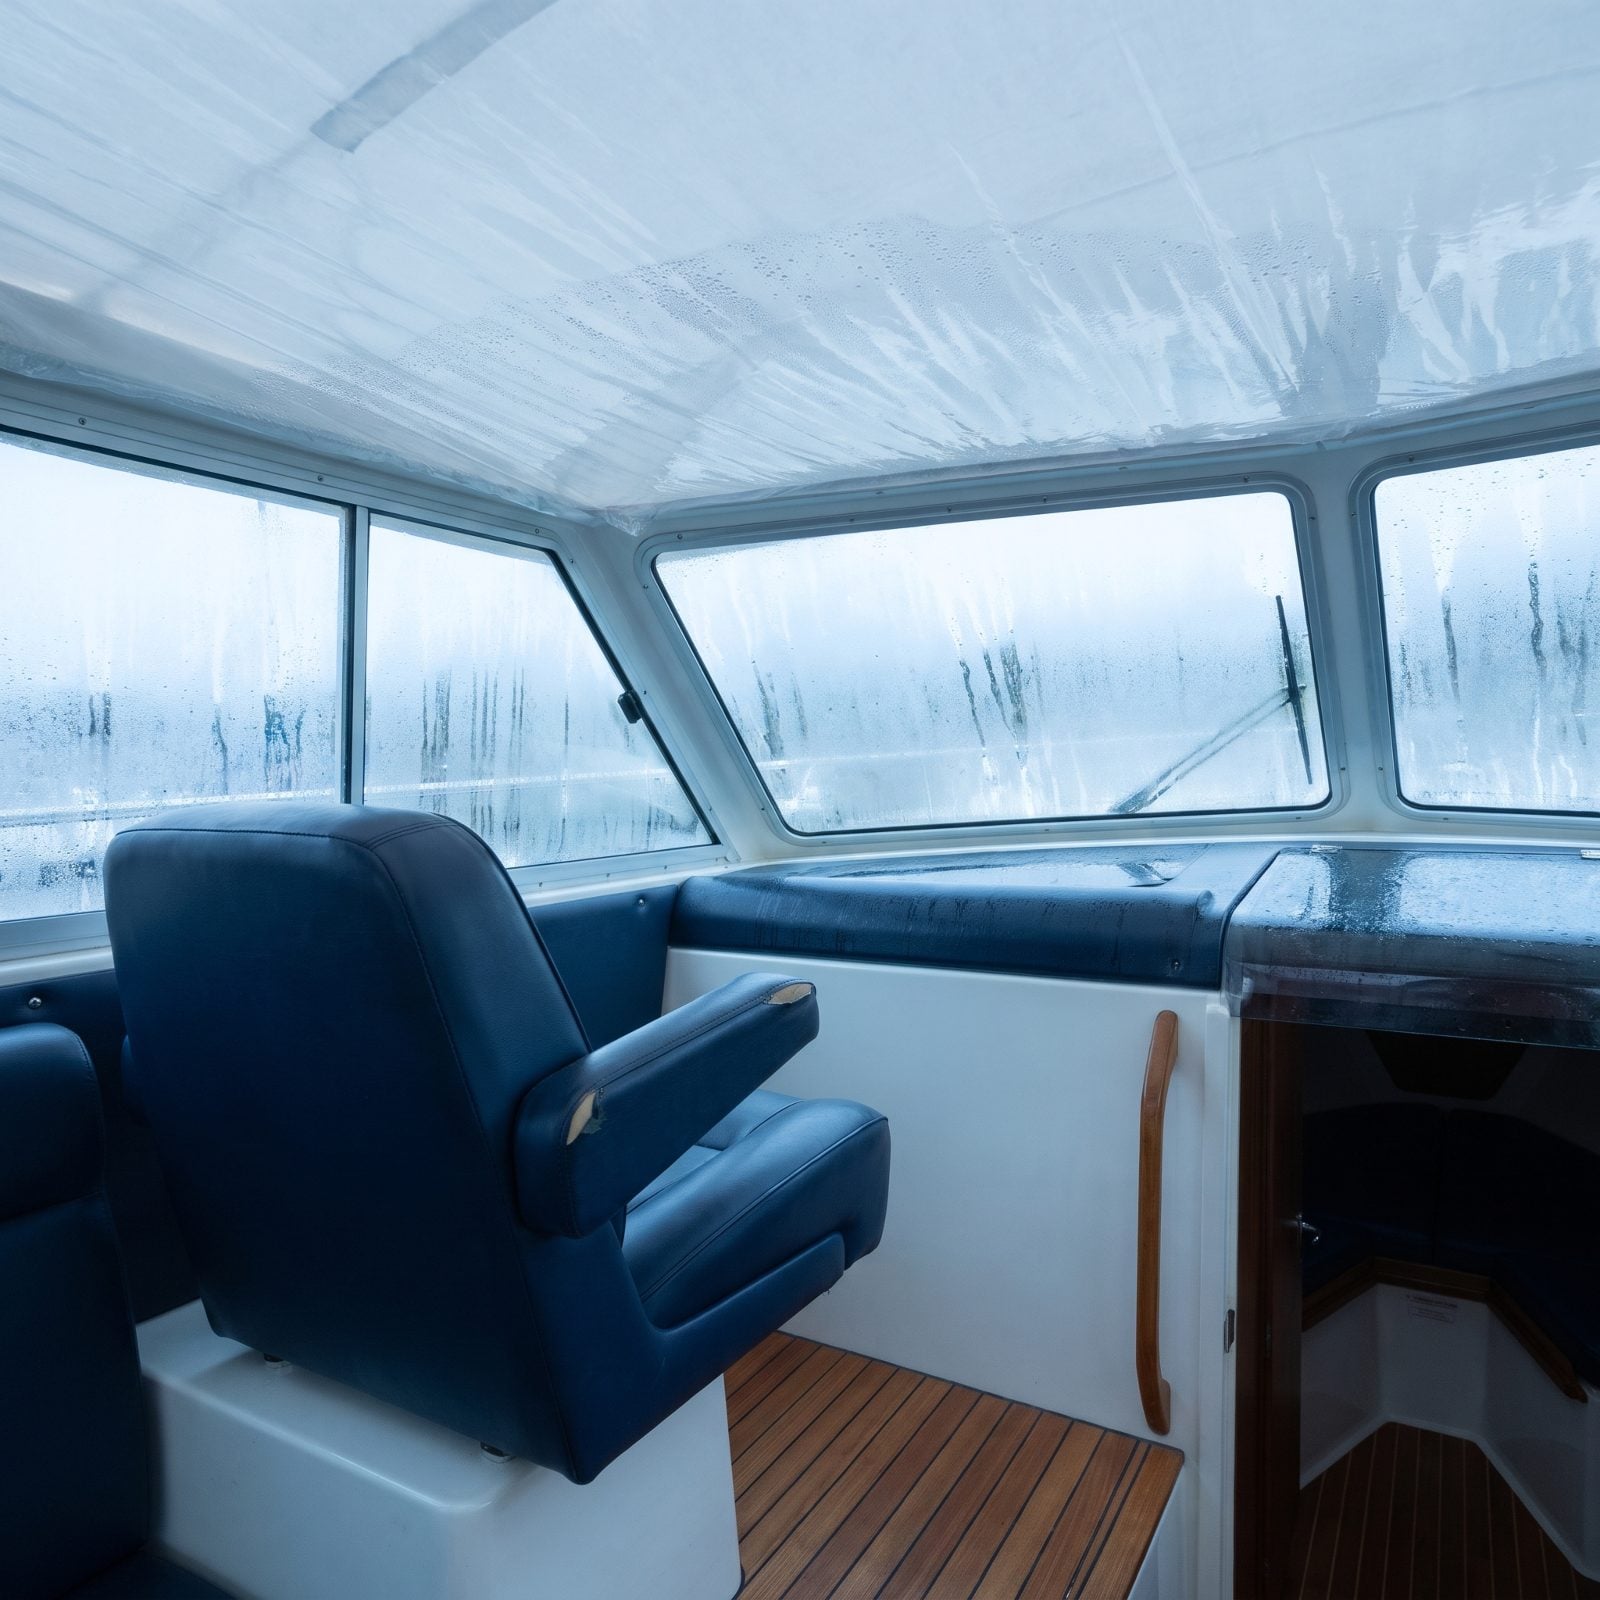
The instinct is to wrap everything airtight and call it protected. Trouble is, a sealed boat breathes temperature swings all winter. Warm afternoon, cold night, and the moisture in that trapped air has nowhere to go but back onto your surfaces. That’s how you end up with mildew on the headliner and a musty smell that follows the boat all the way into July.
Shrink-wrap needs vents, plus a zippered door for airflow. Prop a hatch, crack a cabin door, drop in a few moisture-absorbing tubs. You want a boat that can exhale.
6. Storing Damp Cushions, Life Jackets, and Canvas Inside
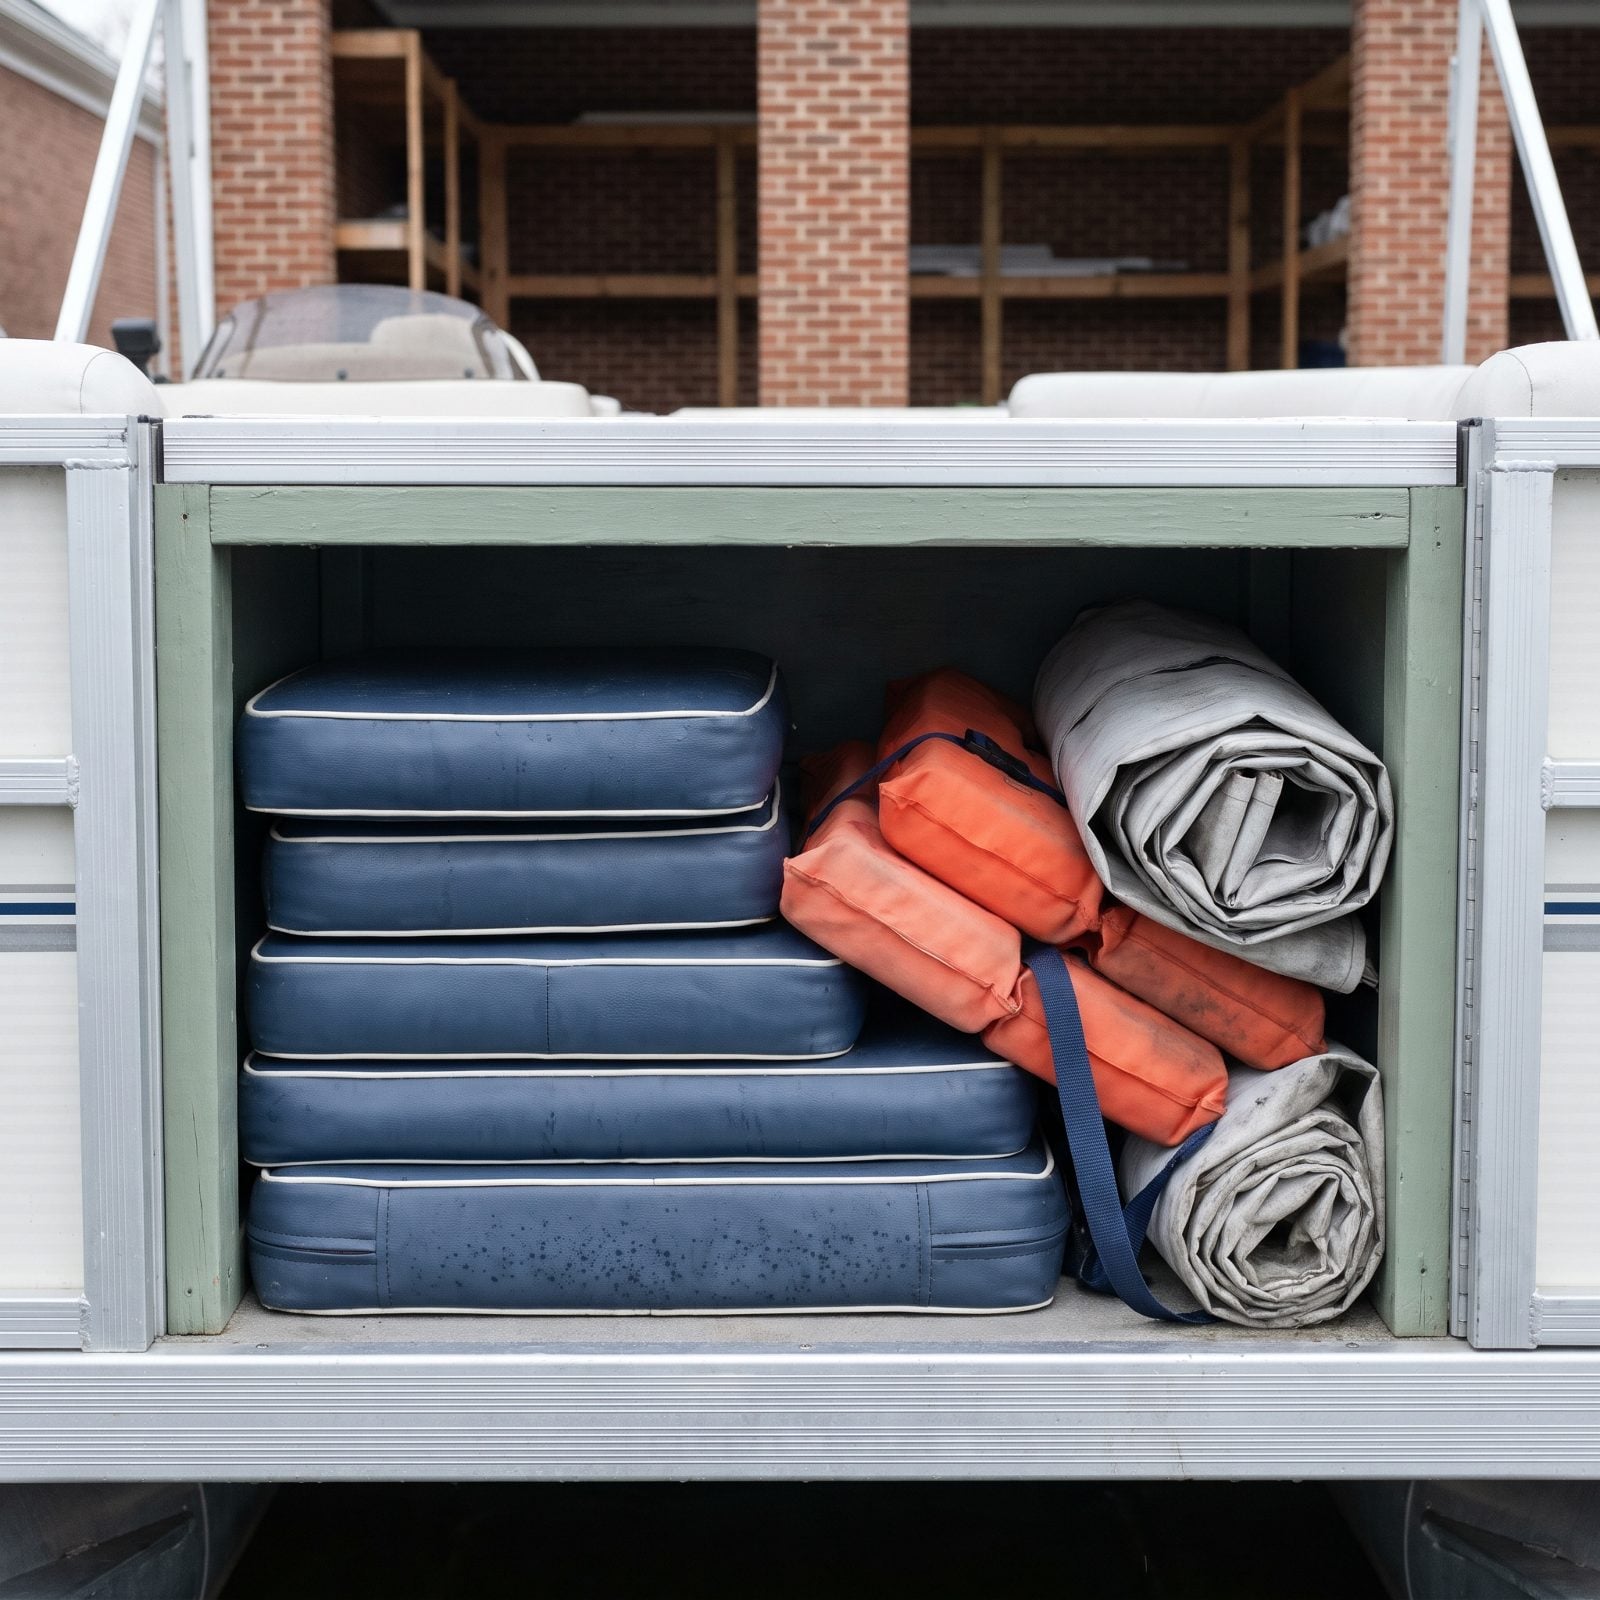
Tossing the cushions and jackets into a closed locker in October feels tidy. Then you open it in April and the smell tells the real story. Trapped against cold vinyl in a dark, unmoving box, any leftover moisture turns into mildew that eats stitching and stains foam you’ll never get clean again.
Dry everything completely first, then store cushions and PFDs at home where the air actually moves. Stand them on edge rather than stacking them flat, and fold canvas loosely, never damp.
5. Putting the Boat Away Without Removing Salt and Corrosive Grime

Salt is patient. Leave it crusted on a galvanized anchor and its chain shackle over winter and it quietly pulls moisture from the air, feeding corrosion for months while the anchor just sits on a counter indoors. By spring you’ll find pitting and orange rust spots on the shank and flukes, plus a chalky white bloom on metal that looked perfectly fine back in October.
Give the anchor and chain a freshwater rinse and a real scrub before storing them, not just a wipe with a grimy old towel. Dry it thoroughly and hit any exposed metal with a corrosion inhibitor spray.
4. Leaving Batteries Discharged in Freezing Storage
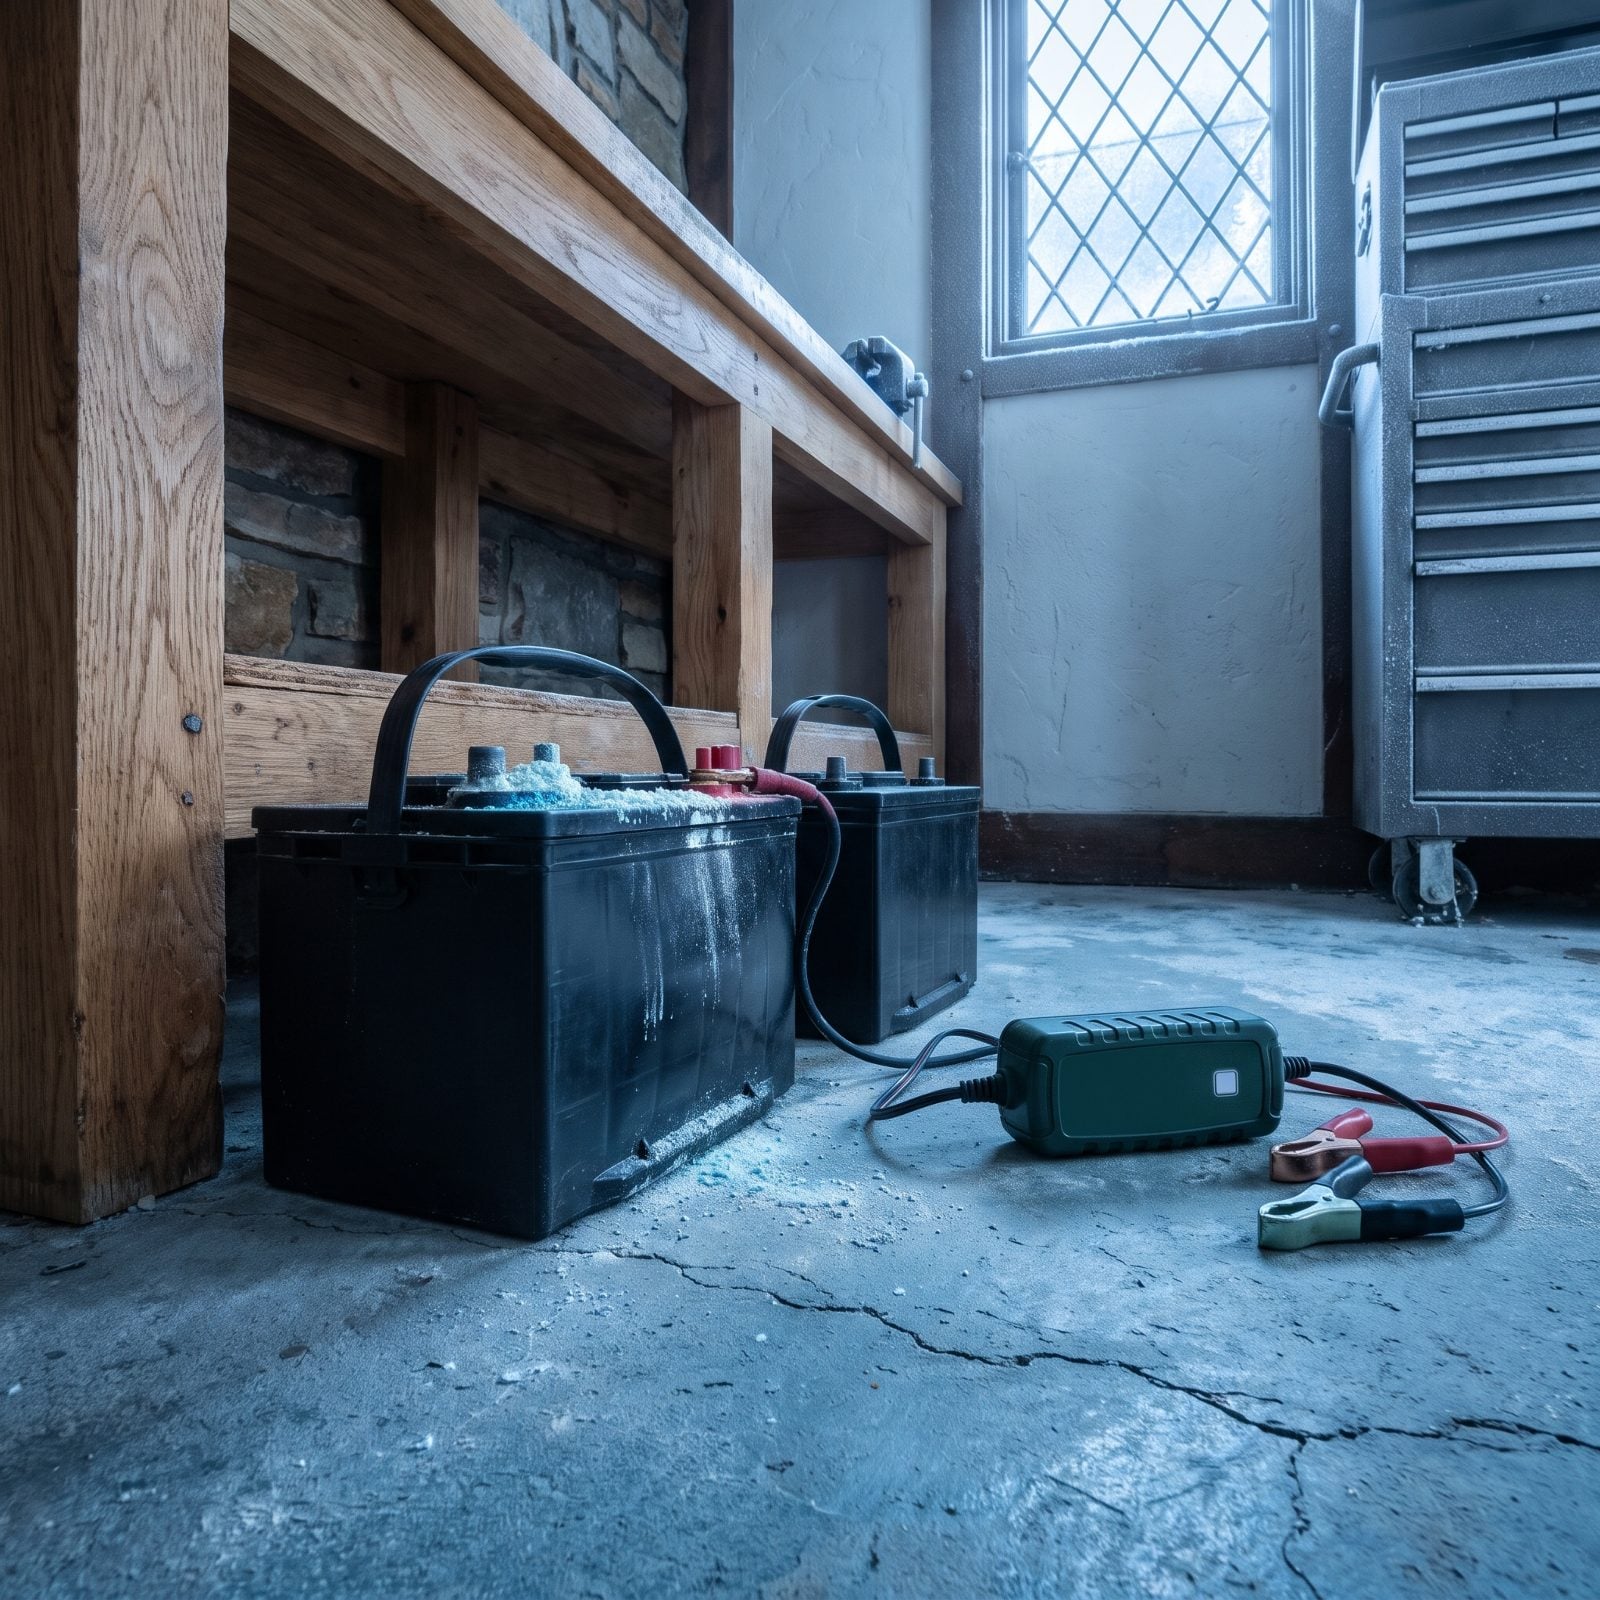
A fully charged battery shrugs off a hard freeze. A discharged one doesn’t. As the charge drops, the electrolyte becomes closer to plain water, and water freezes, cracks the case, and sometimes bulges the whole thing like a soda can left in a cold car overnight. Come spring you’re buying new batteries instead of just reconnecting the old ones.
Charge them fully before storage, clean the terminals, and keep a smart maintainer on them through winter. Can’t do that? Bring them somewhere above freezing and top the charge monthly. A battery that holds its charge survives the cold just fine.
3. Leaving Batteries Connected to Parasitic Electrical Loads
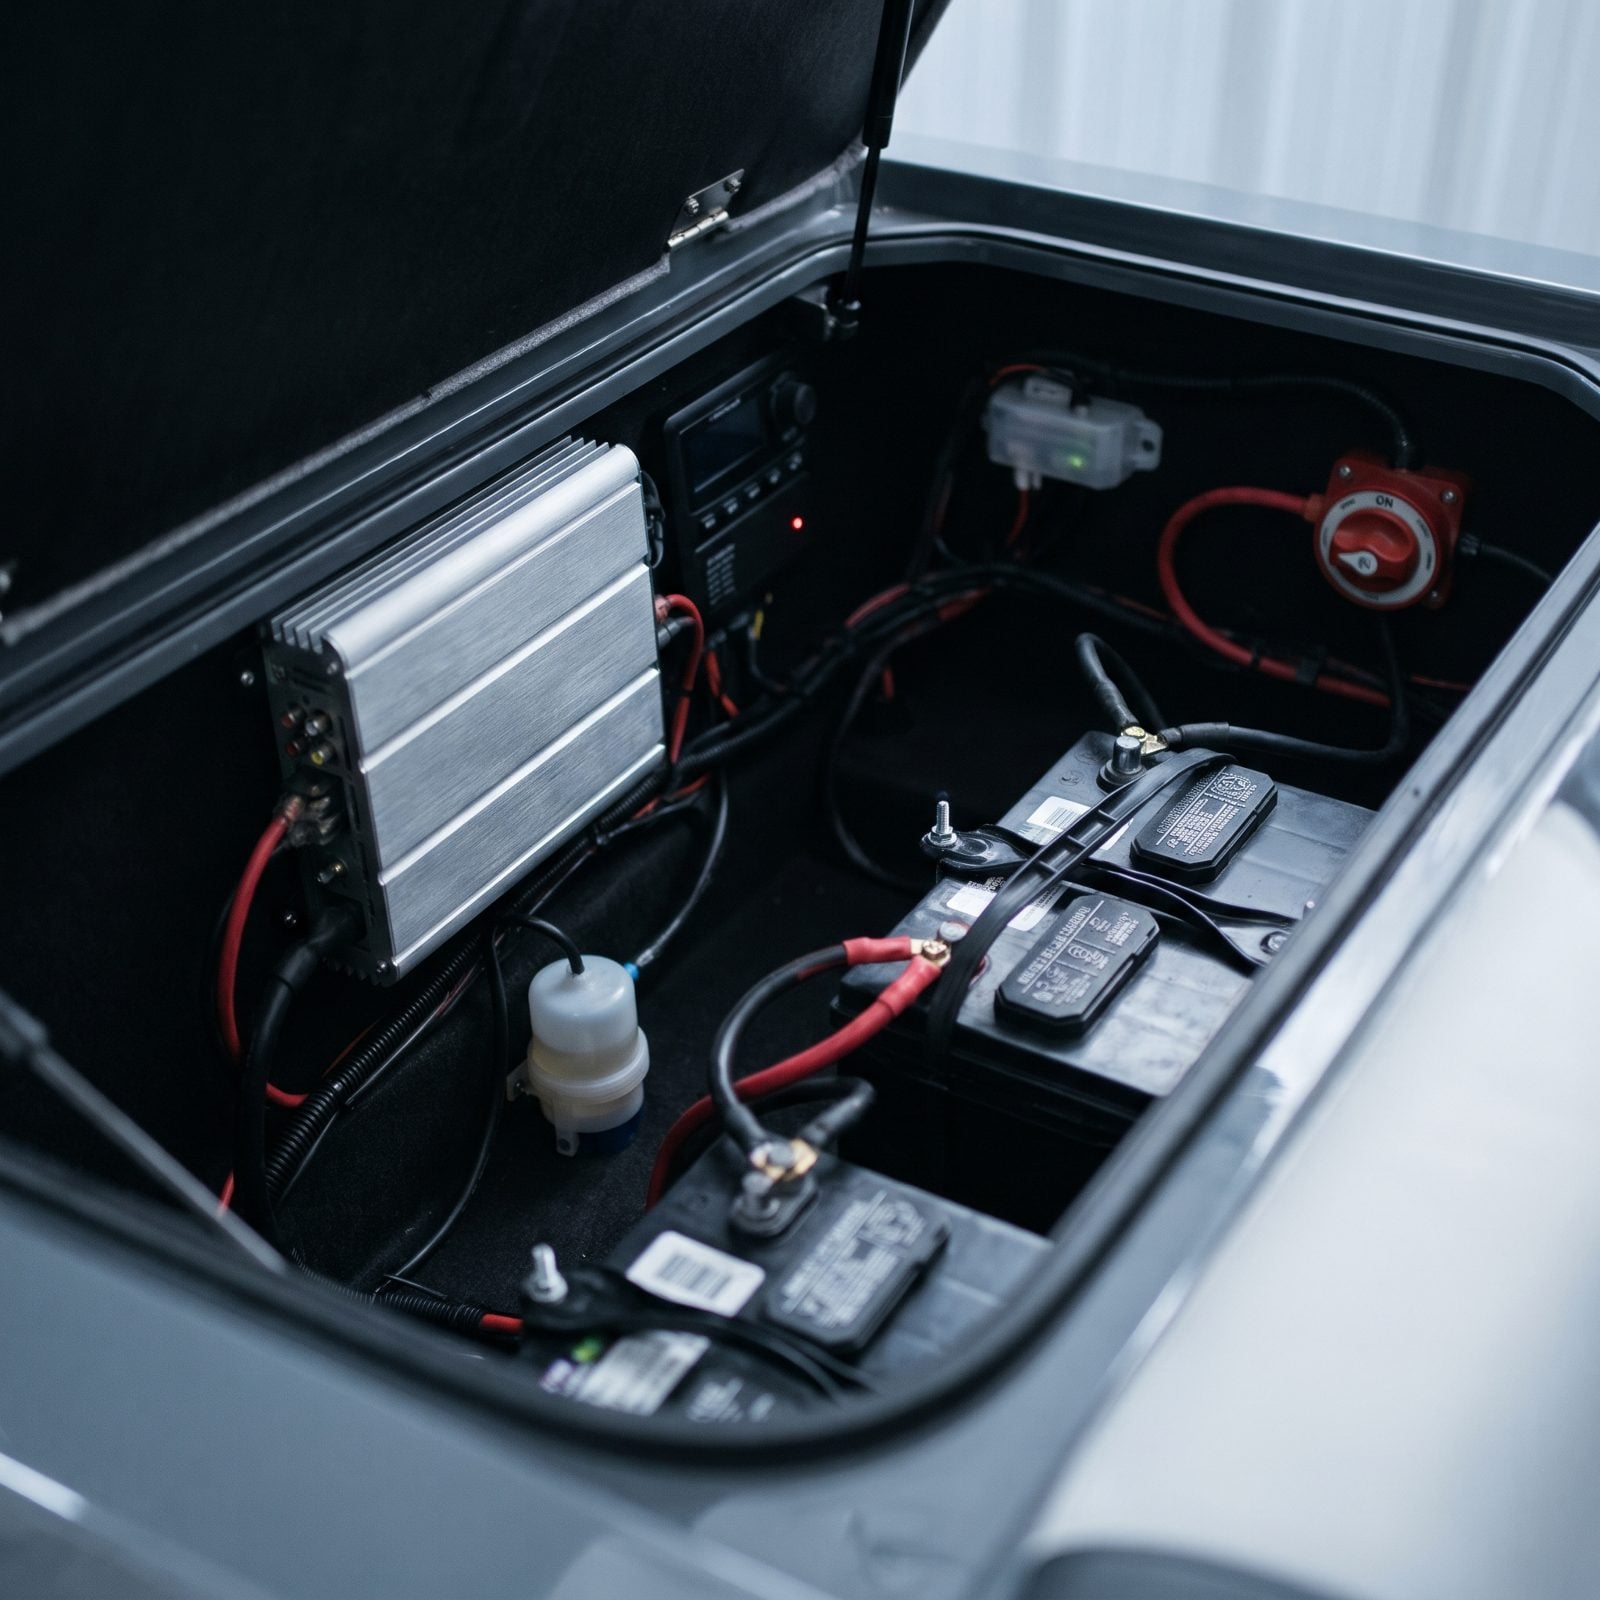
You charged the batteries. Good. But if the stereo memory, a bilge float switch, a propane detector, and the chartplotter standby light are all still sipping power, that healthy charge bleeds down over the quiet months until the battery sits flat and wide open to freezing. Plenty of people do everything else right and still find dead cells in spring because of exactly this.
Throw the battery disconnect switch, or pull the negative cables entirely. If you need the bilge pump live over winter, isolate just that circuit and keep it on a maintainer. Everything else goes dark.
2. Ignoring Cracked Hoses, Loose Clamps, and Worn Belts Before Layup
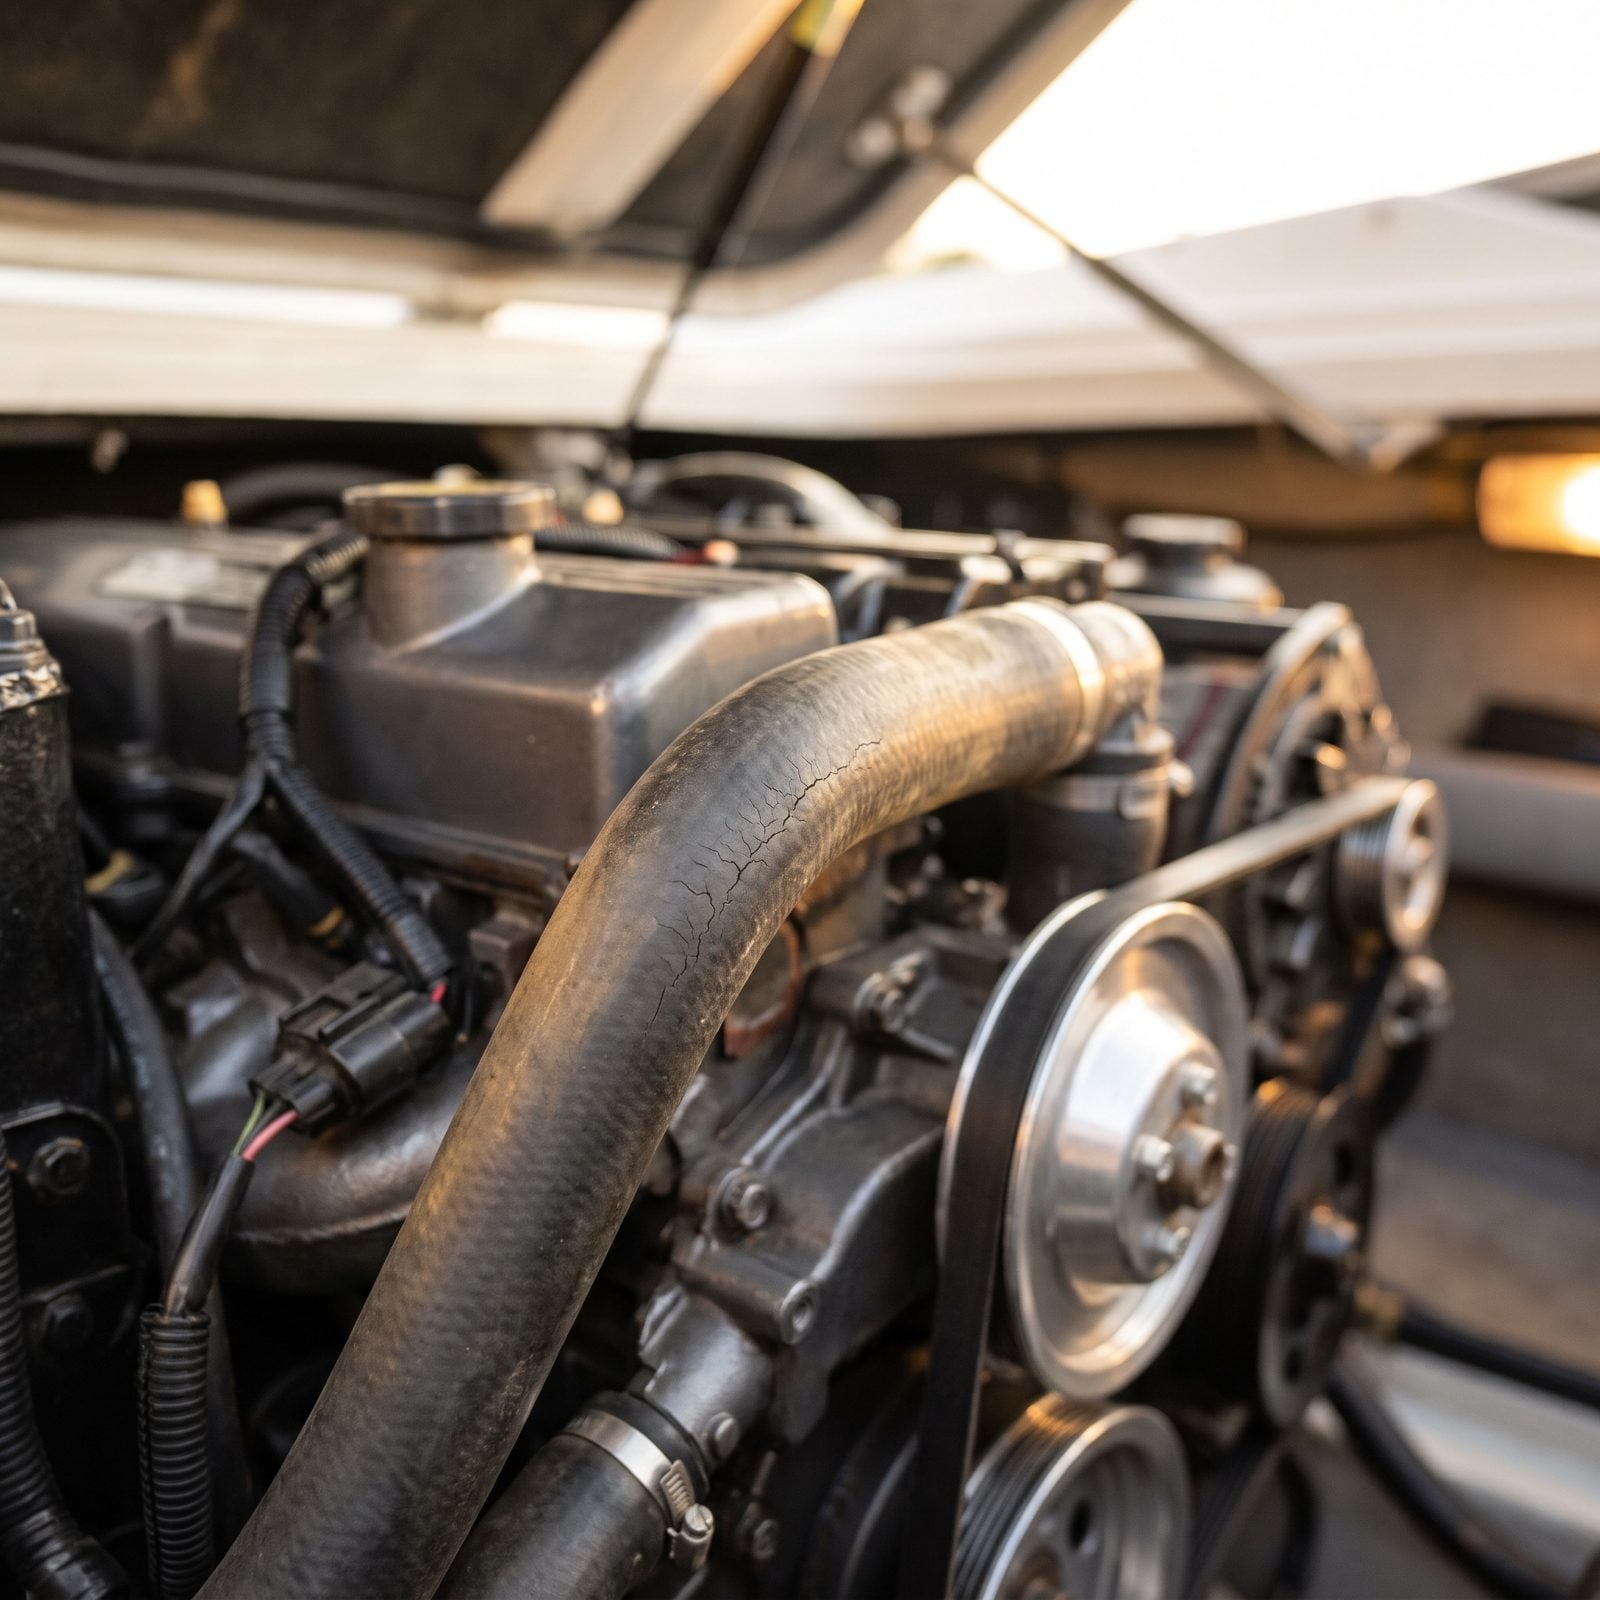
Layup is when you’ve actually got the time and the engine’s cooled down, which makes it the worst moment to skip the inspection and the best moment to do it. A hose that’s already cracked only gets more brittle in the cold, and a clamp that’s weeping now will weep worse after months of thermal cycling. Finding a failed cooling hose on the first launch, out on the water, is a genuinely bad day.
Squeeze every hose for soft or crunchy spots, snug or replace any suspect clamps, and check the belts for glazing and cracks. Fix it in the quiet of November, not the panic of a May ramp line.
1. Blocking or Supporting the Hull at the Wrong Structural Points
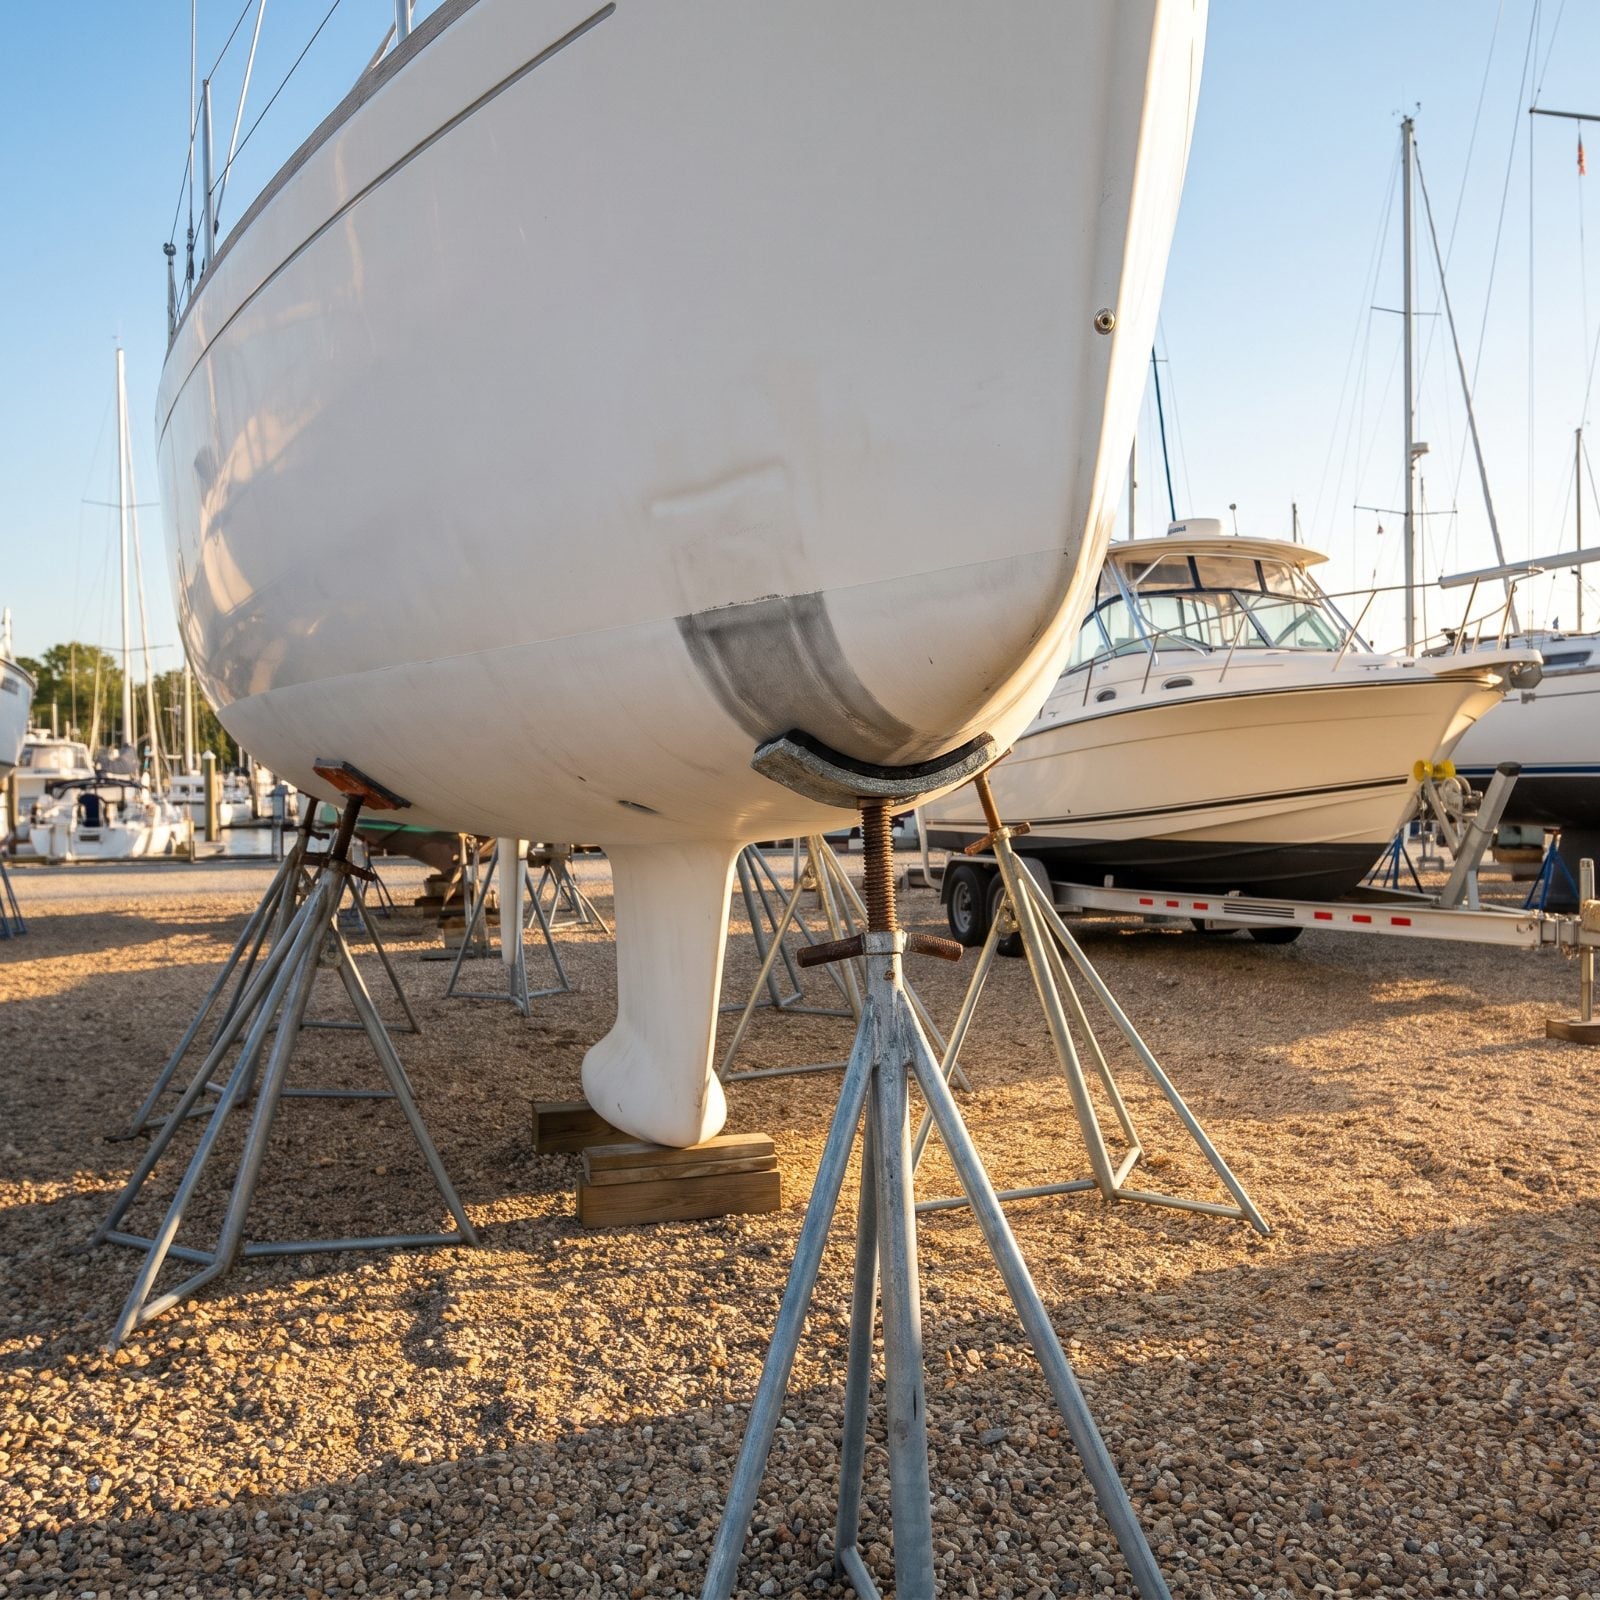
A hull wants to carry its weight on the keel, the strakes, or the builder’s designated support points, not on whatever flat spot happened to be convenient. Concentrate months of static load on an unsupported panel and the fiberglass develops dimples, distortion, or soft spots nobody notices until the boat’s back in the water and looking subtly wrong.
For trailers, make sure the bunks and rollers match the hull’s design and spread the weight evenly. On stands, place the pads at reinforced bulkhead locations and let the keel carry most of the load. And check the owner’s manual. Every builder marks these points for a reason, and guessing is how you warp a hull you otherwise babied all winter.