
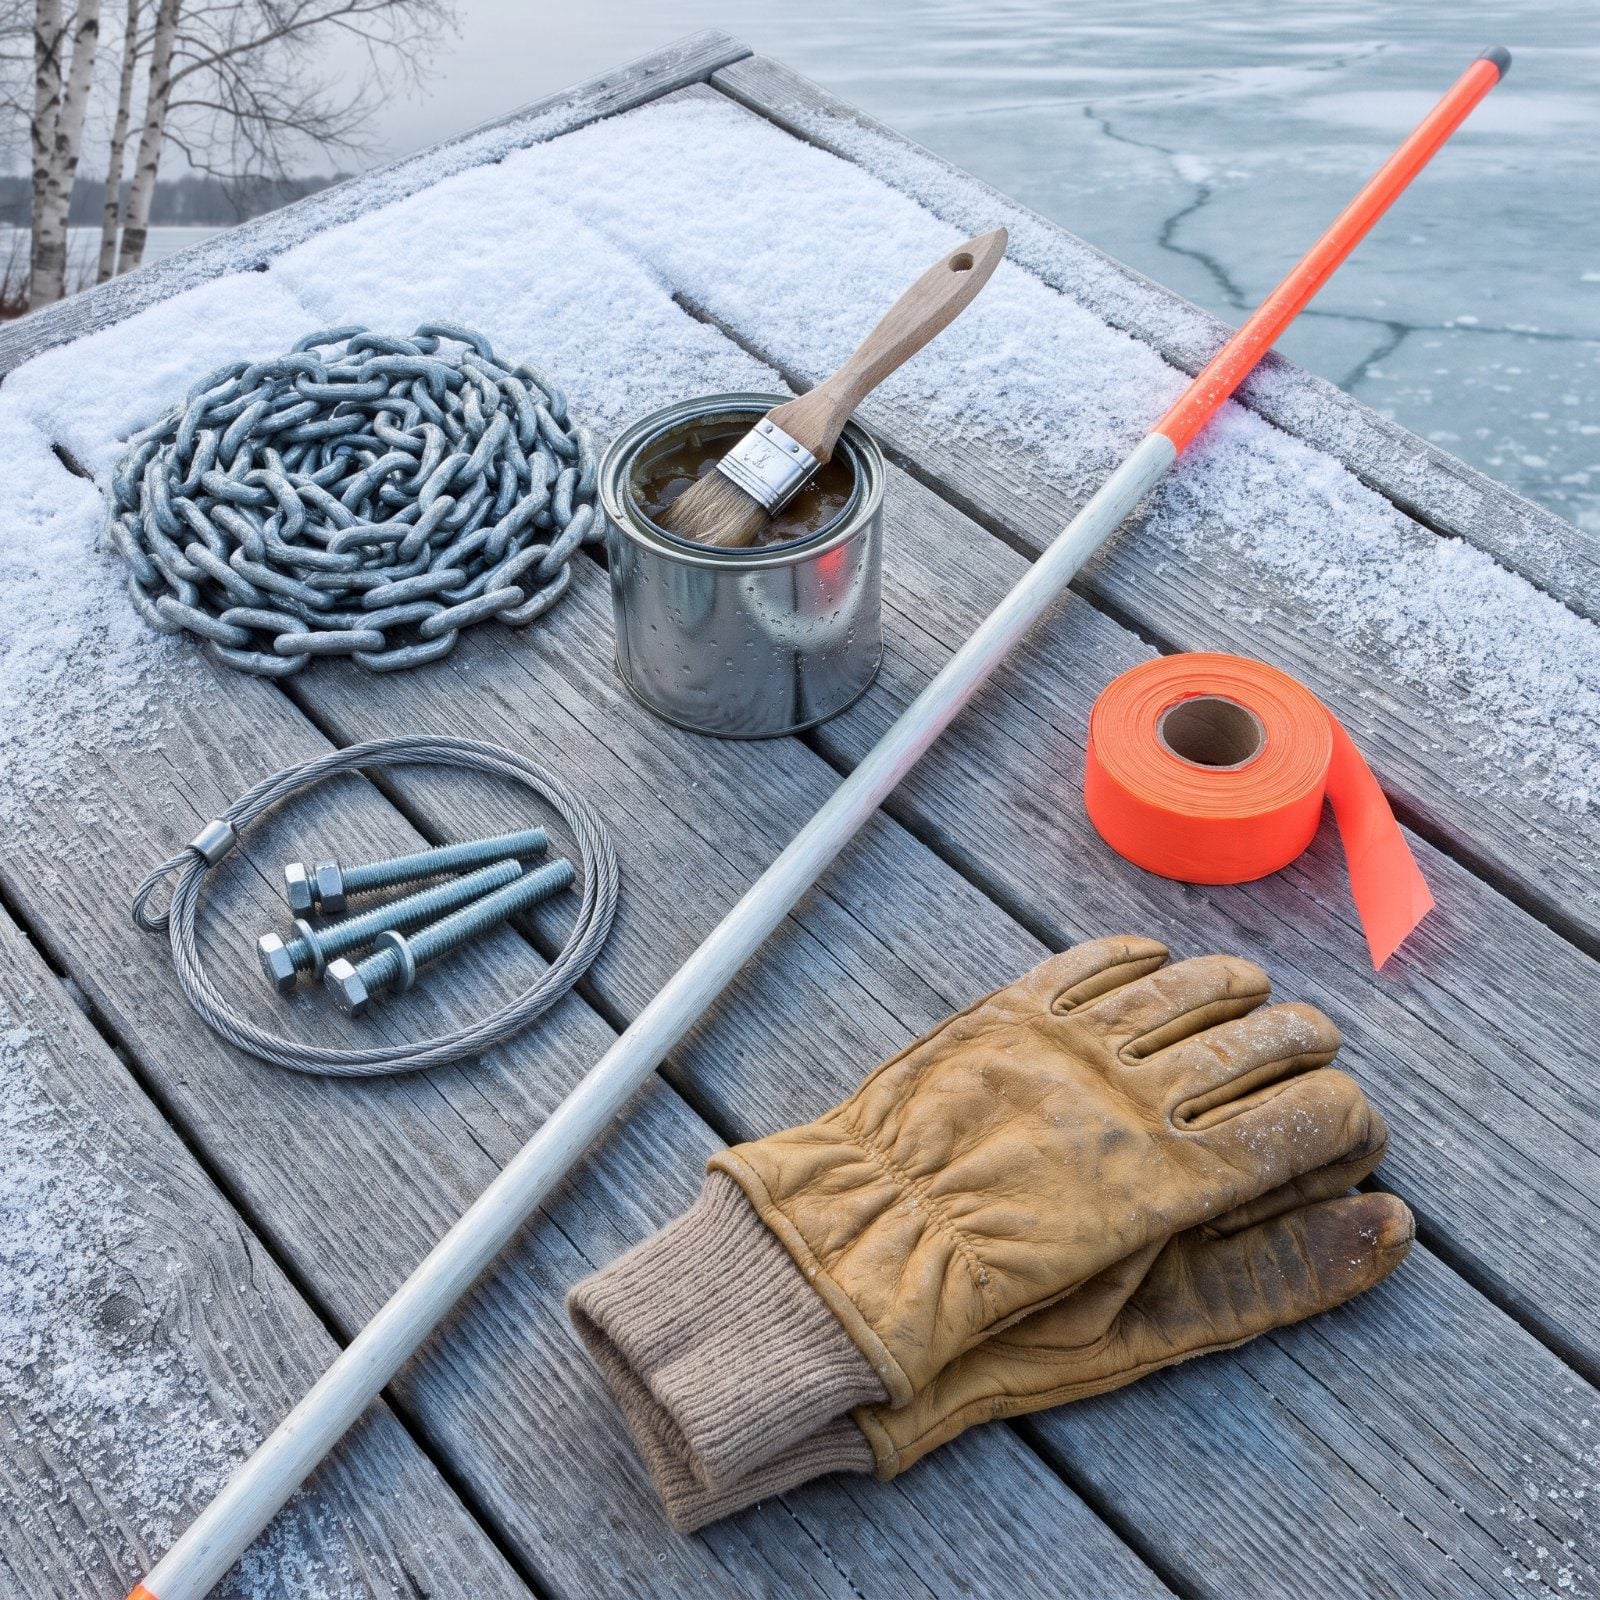
The ice makes everything disappear. The dock, the hardware, the hazard that scraped your prop back in August, the buried wire you keep forgetting runs under the lawn — by March it’s all one flat white blank, and that blank is where spring headaches are born. We’ve lost small parts to snowmelt and burned whole April weekends hunting for things we buried in November without meaning to. The fixes below are cheap and a little obsessive. They work. None take long, and all of them pay you back the first warm weekend, when everyone else is on their knees in the mud and you’re already out on the water.
Please note that some of the imagery in this article may have been enhanced with the assistance of AI.
23. Mark Submerged Hazards With Tall Snow Poles
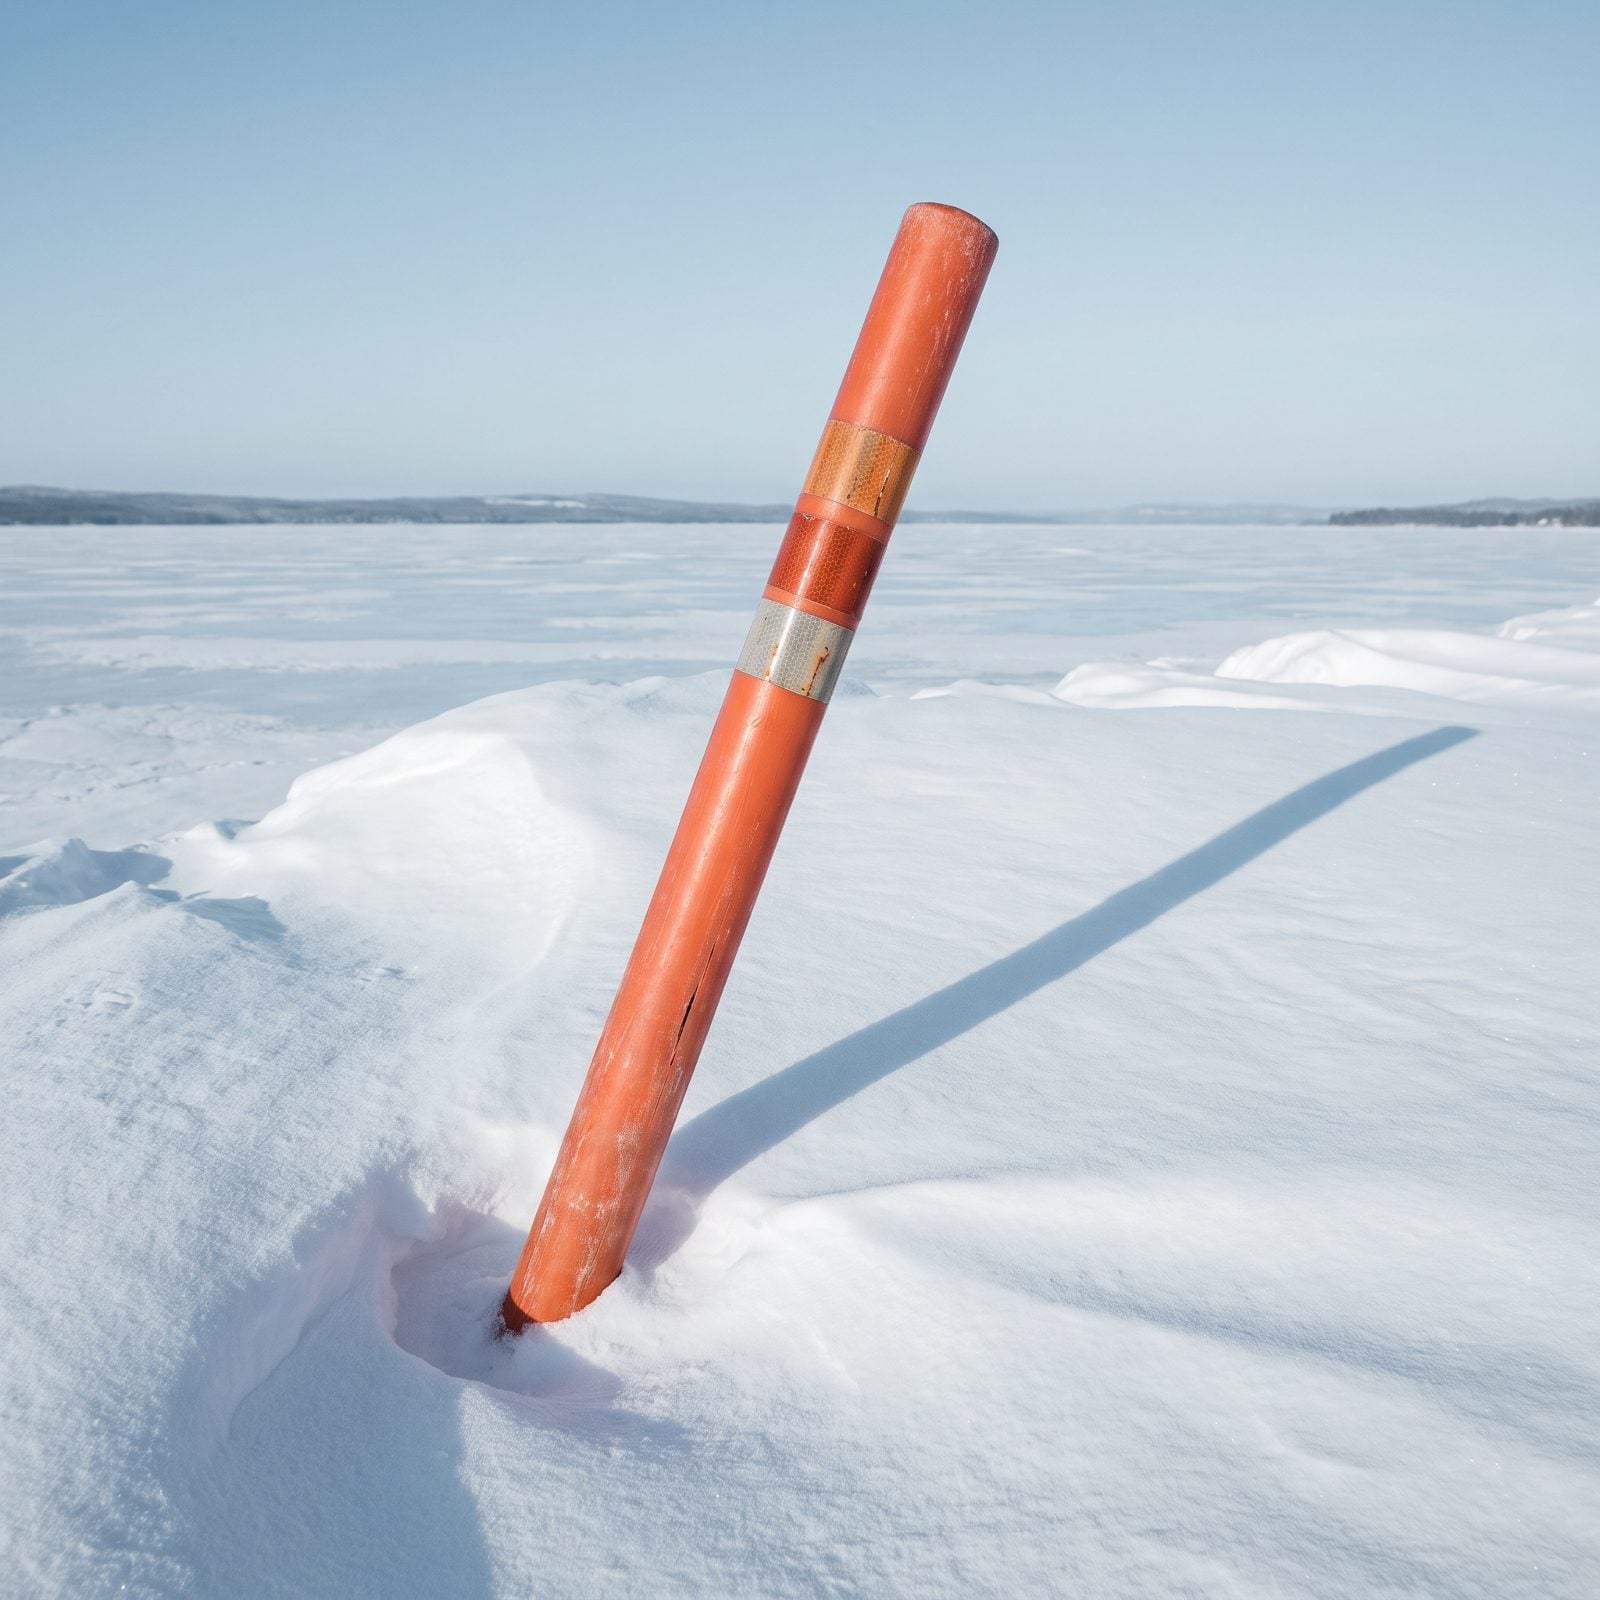
That rock you memorized all summer? Invisible under eighteen inches of snow and ice. And come late winter, when you or the neighbor kids are out walking, skating, or dropping an auger, nobody remembers exactly where it sits.
Tall orange driveway poles — the kind you buy by the bundle for plowing — push right into the ice over a known hazard or a shallow spot. They stand up through snow, they show at a distance, and they pull out easy in spring. Cheap insurance against a cracked ankle or a wrecked auger blade.
22. Tie Bright Ribbons Above Buried Utility Lines
Nothing ends a spring day faster than a shovel through a low-voltage line.
Lakefront lots are full of them: dock lighting, the pump feed, the irrigation run, the cable out to the boathouse. Half of it got buried shallow by whoever installed it, and none of it is on a drawing you’ll ever find.
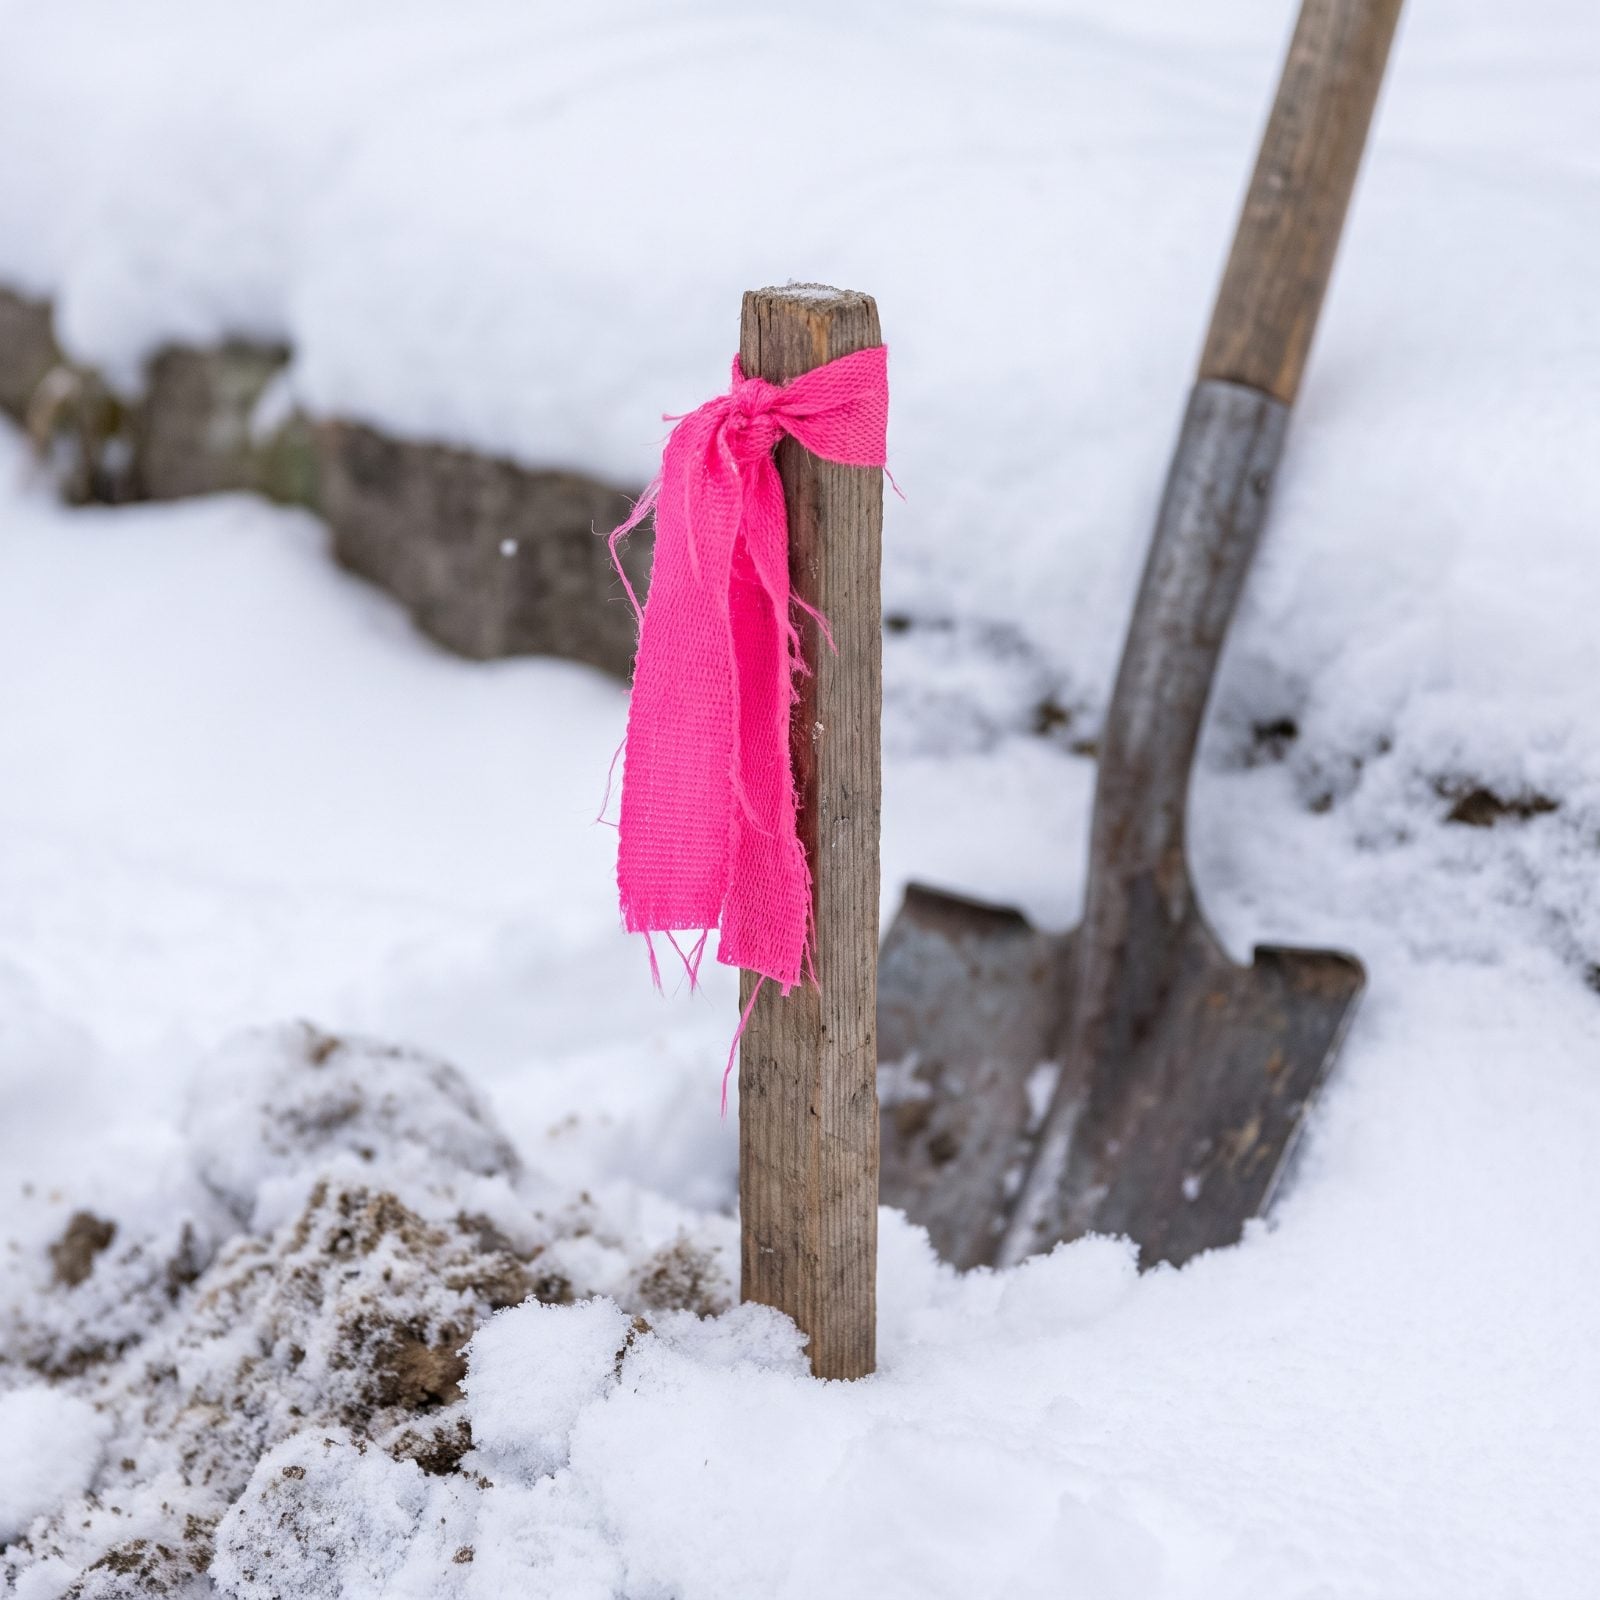
Before the first real snow, walk the runs you know and tie bright flagging ribbon to stakes, posts, anything above the line. When you’re digging out a stump or setting a new post in April, the ribbon tells you where not to swing. I keep a roll of the loudest hot-pink woven ribbon I can find for exactly this.
21. Map Dock Hardware Before Snow Covers It

Every dock has a hardware personality — the bracket that always backs out, the one bolt that’s a different size for no reason anybody remembers, the clamp someone swapped out with whatever happened to be in the truck.
Snap photos of each connection point and sketch a rough map while you can still see everything. Note which fastener goes where and which ones are finicky. In spring, when you’re reassembling cold-handed with gloves half-on, that scrappy little map turns a two-hour puzzle into a twenty-minute job. Future you will be grateful. Present you will feel slightly ridiculous. Do it anyway.
20. Thread Dock Bolts Onto a Keeper Wire
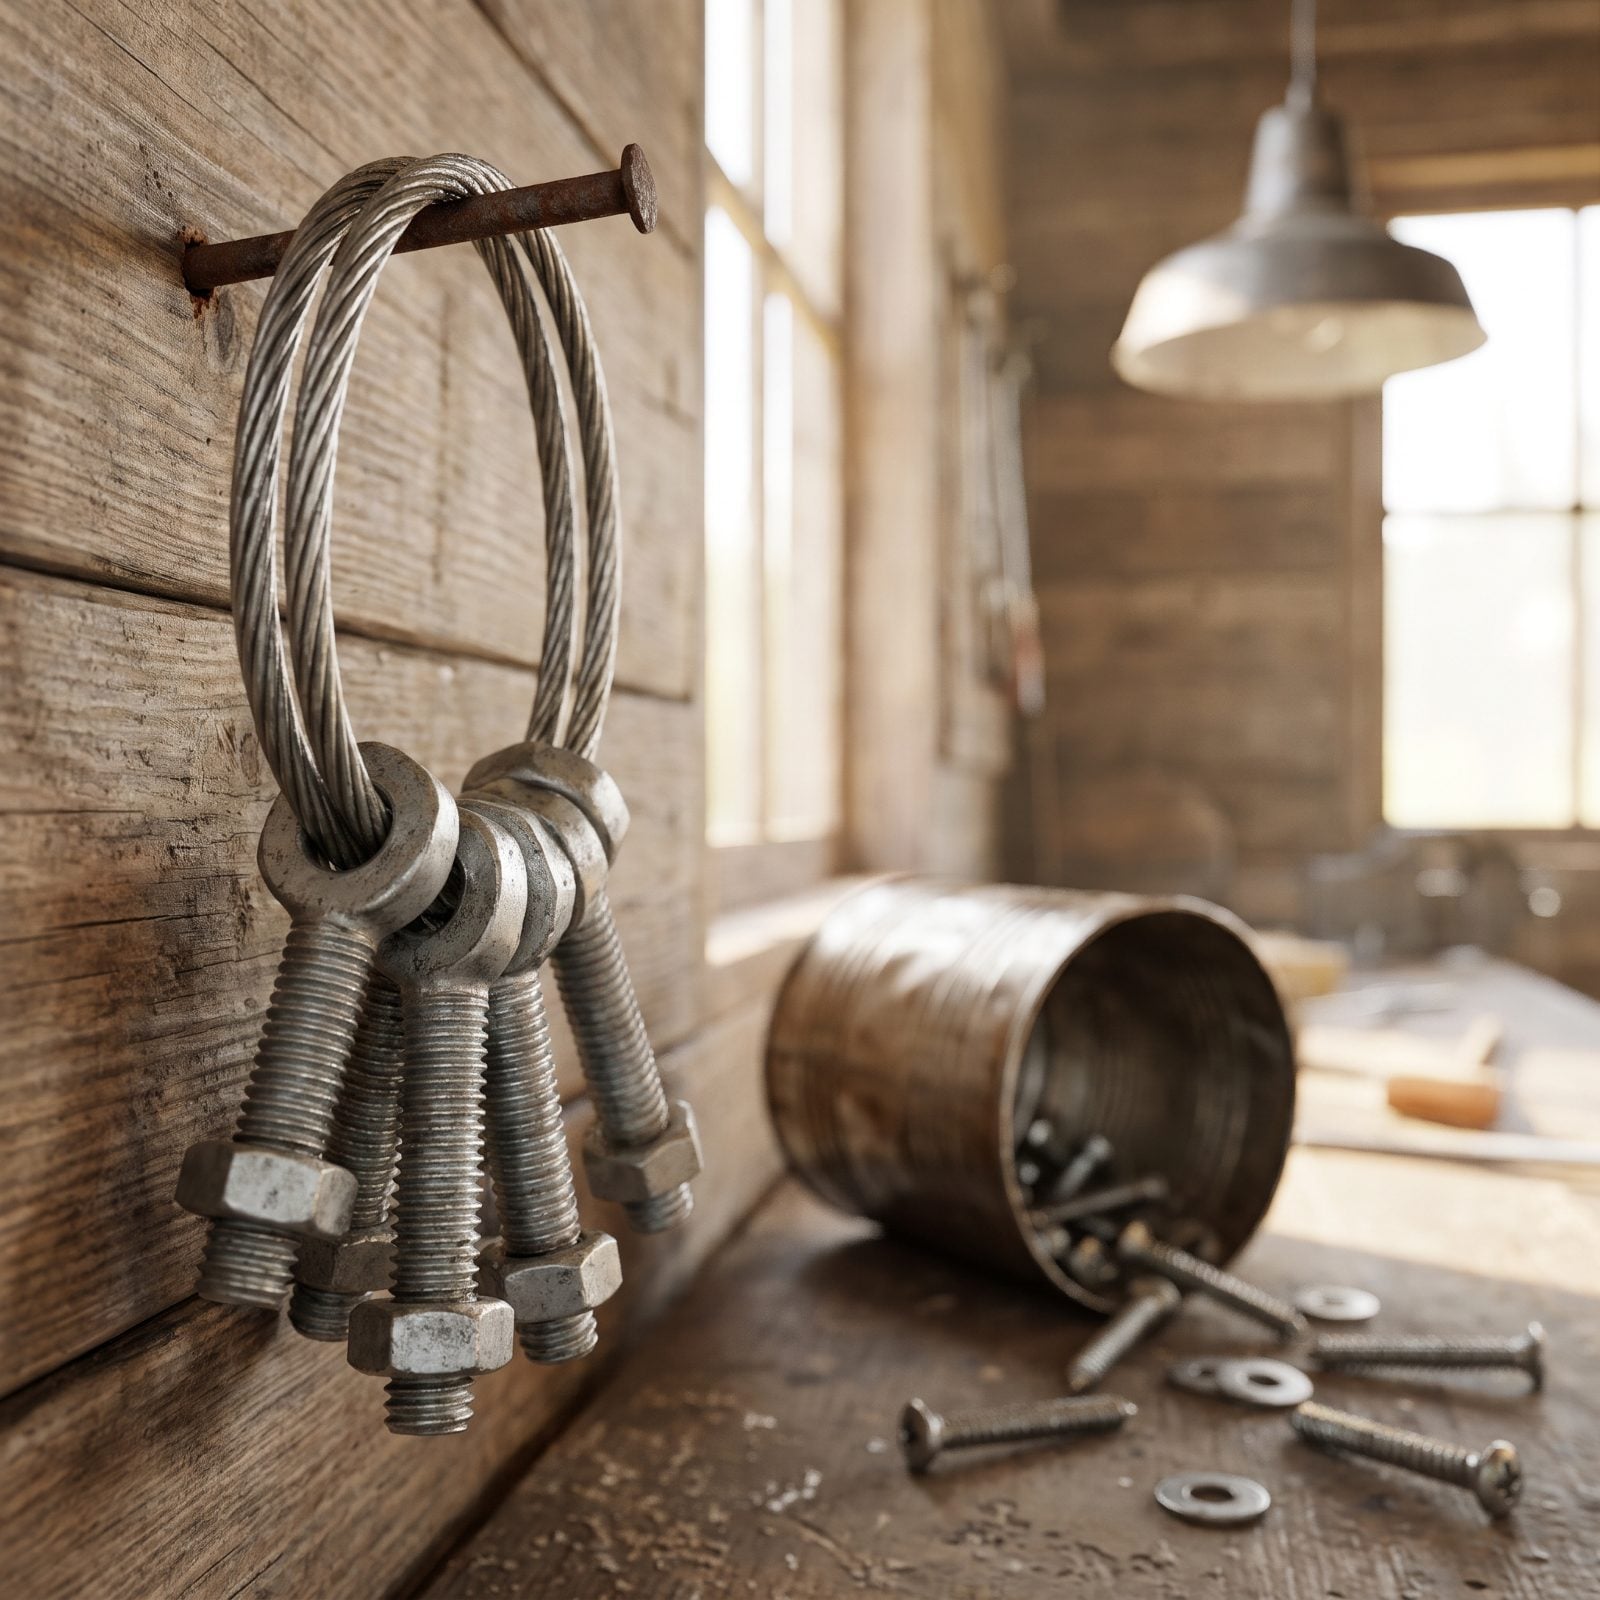
Loose bolts in a coffee can is how you lose bolts. One tips over in the shed, rolls behind the lawnmower, and shows up never.
When you pull the dock apart, run every bolt, nut, and washer onto a length of stainless wire and twist the ends into a loop. Now the whole set hangs on one nail, counted and corralled. Nothing rolls away, nothing hides in snowmelt, and a glance tells you if a piece went walking. One of those five-minute tricks that feels like nothing until the spring you don’t spend crawling the shed floor on your hands and knees.
19. Grease Lift Cables Before the Deep Freeze
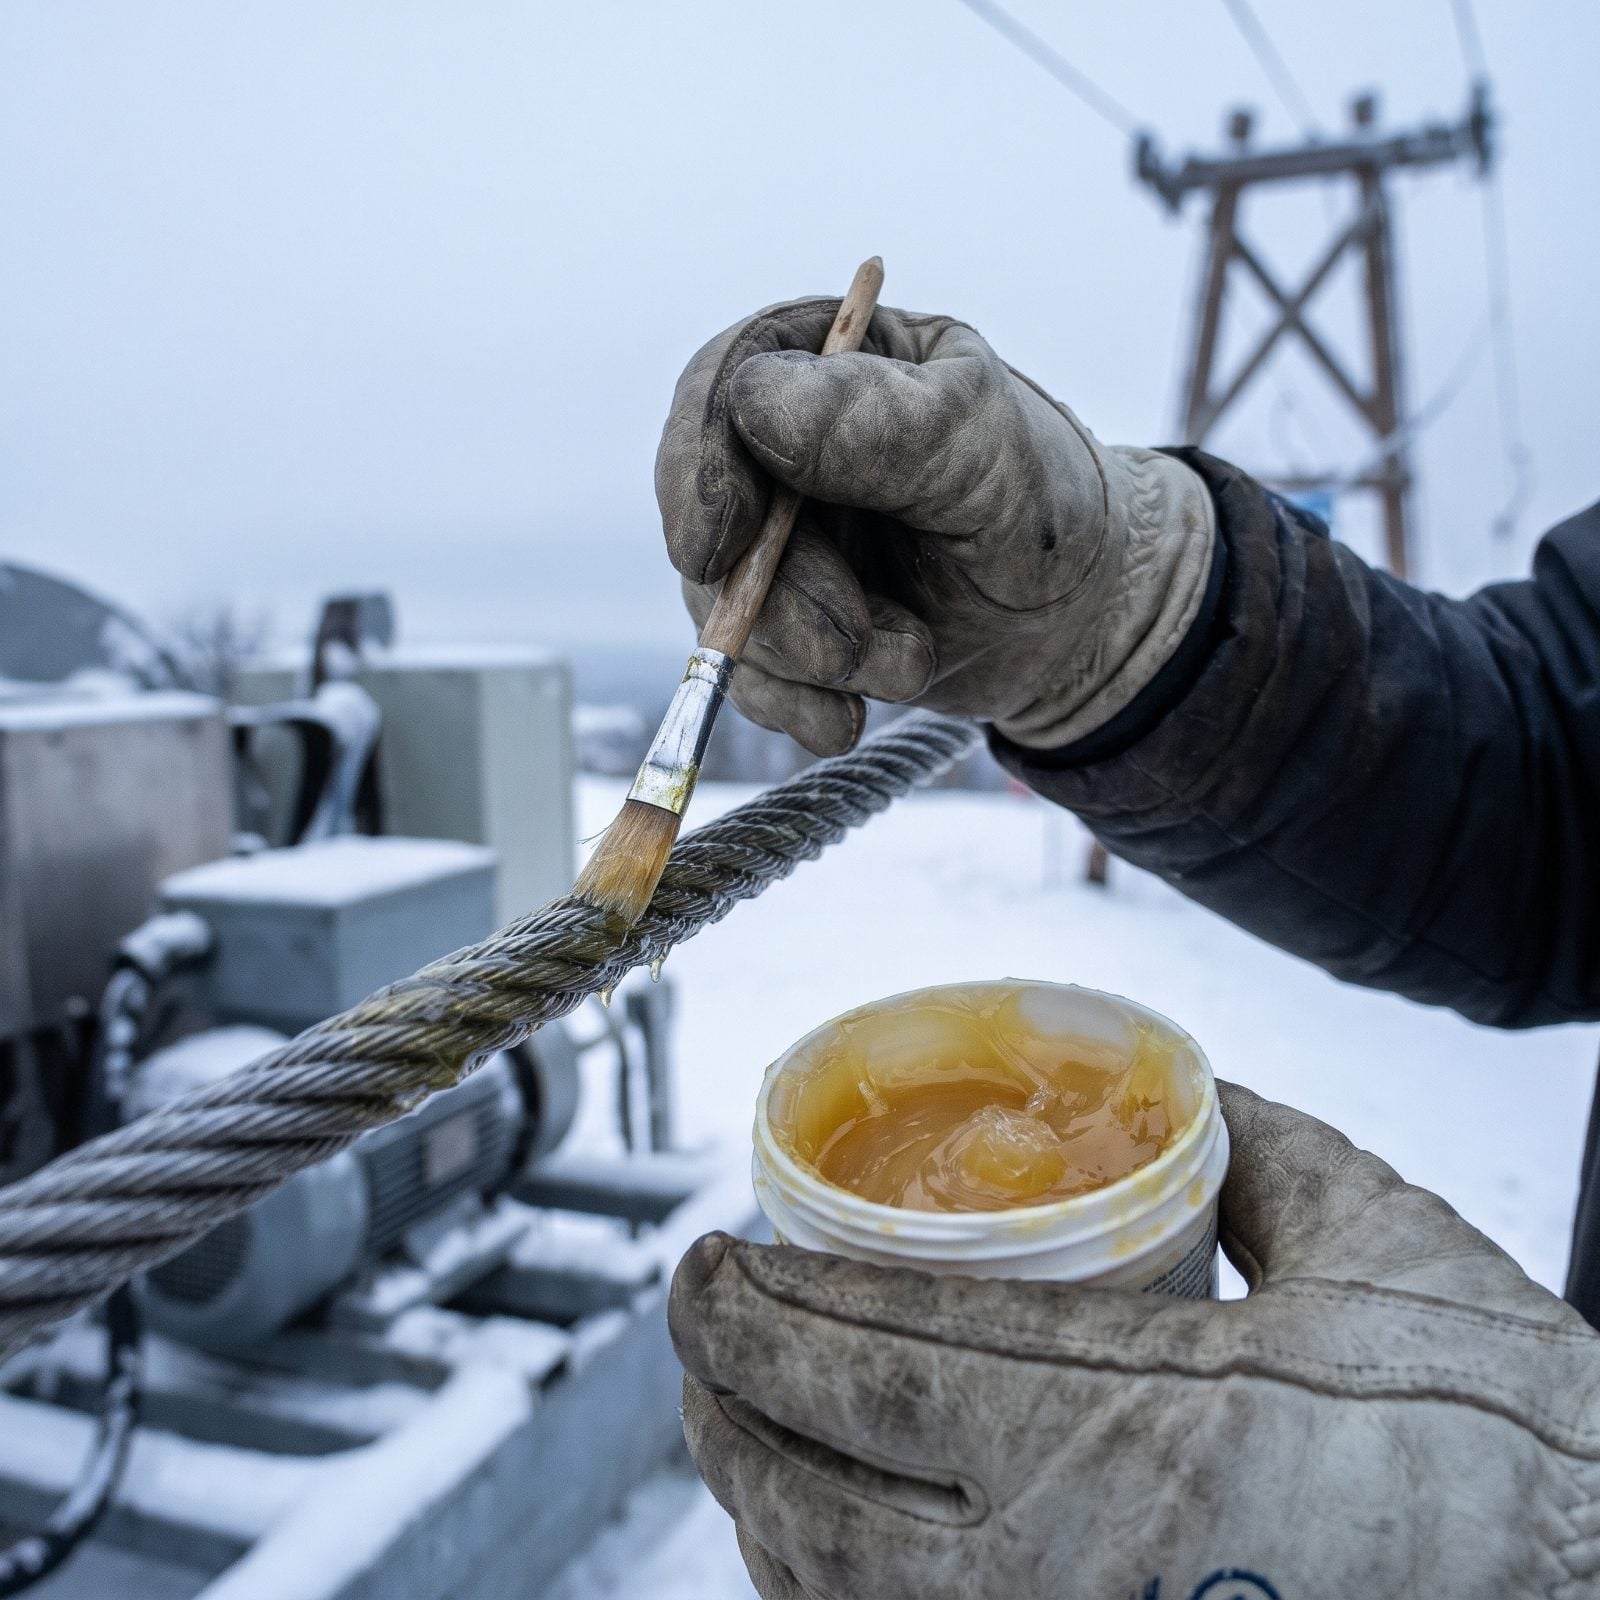
Water gets into a dry cable, freezes, and starts the rust clock before you’ve even opened up for spring.
A pass of marine grease on the lift cables before the deep cold seals out moisture and keeps the strands moving instead of corroding in place. Run a rag down each cable, work grease into the lay of the wire, and pay attention to where cable meets pulley.
Skip it and you’re inspecting frayed, stiff cables in April, wondering whether to trust them with a boat. A frayed lift cable is not the thing to gamble on. Replace at the first broken strand, no debate.
18. Hang Dock Chains Instead of Leaving Them on the Ground
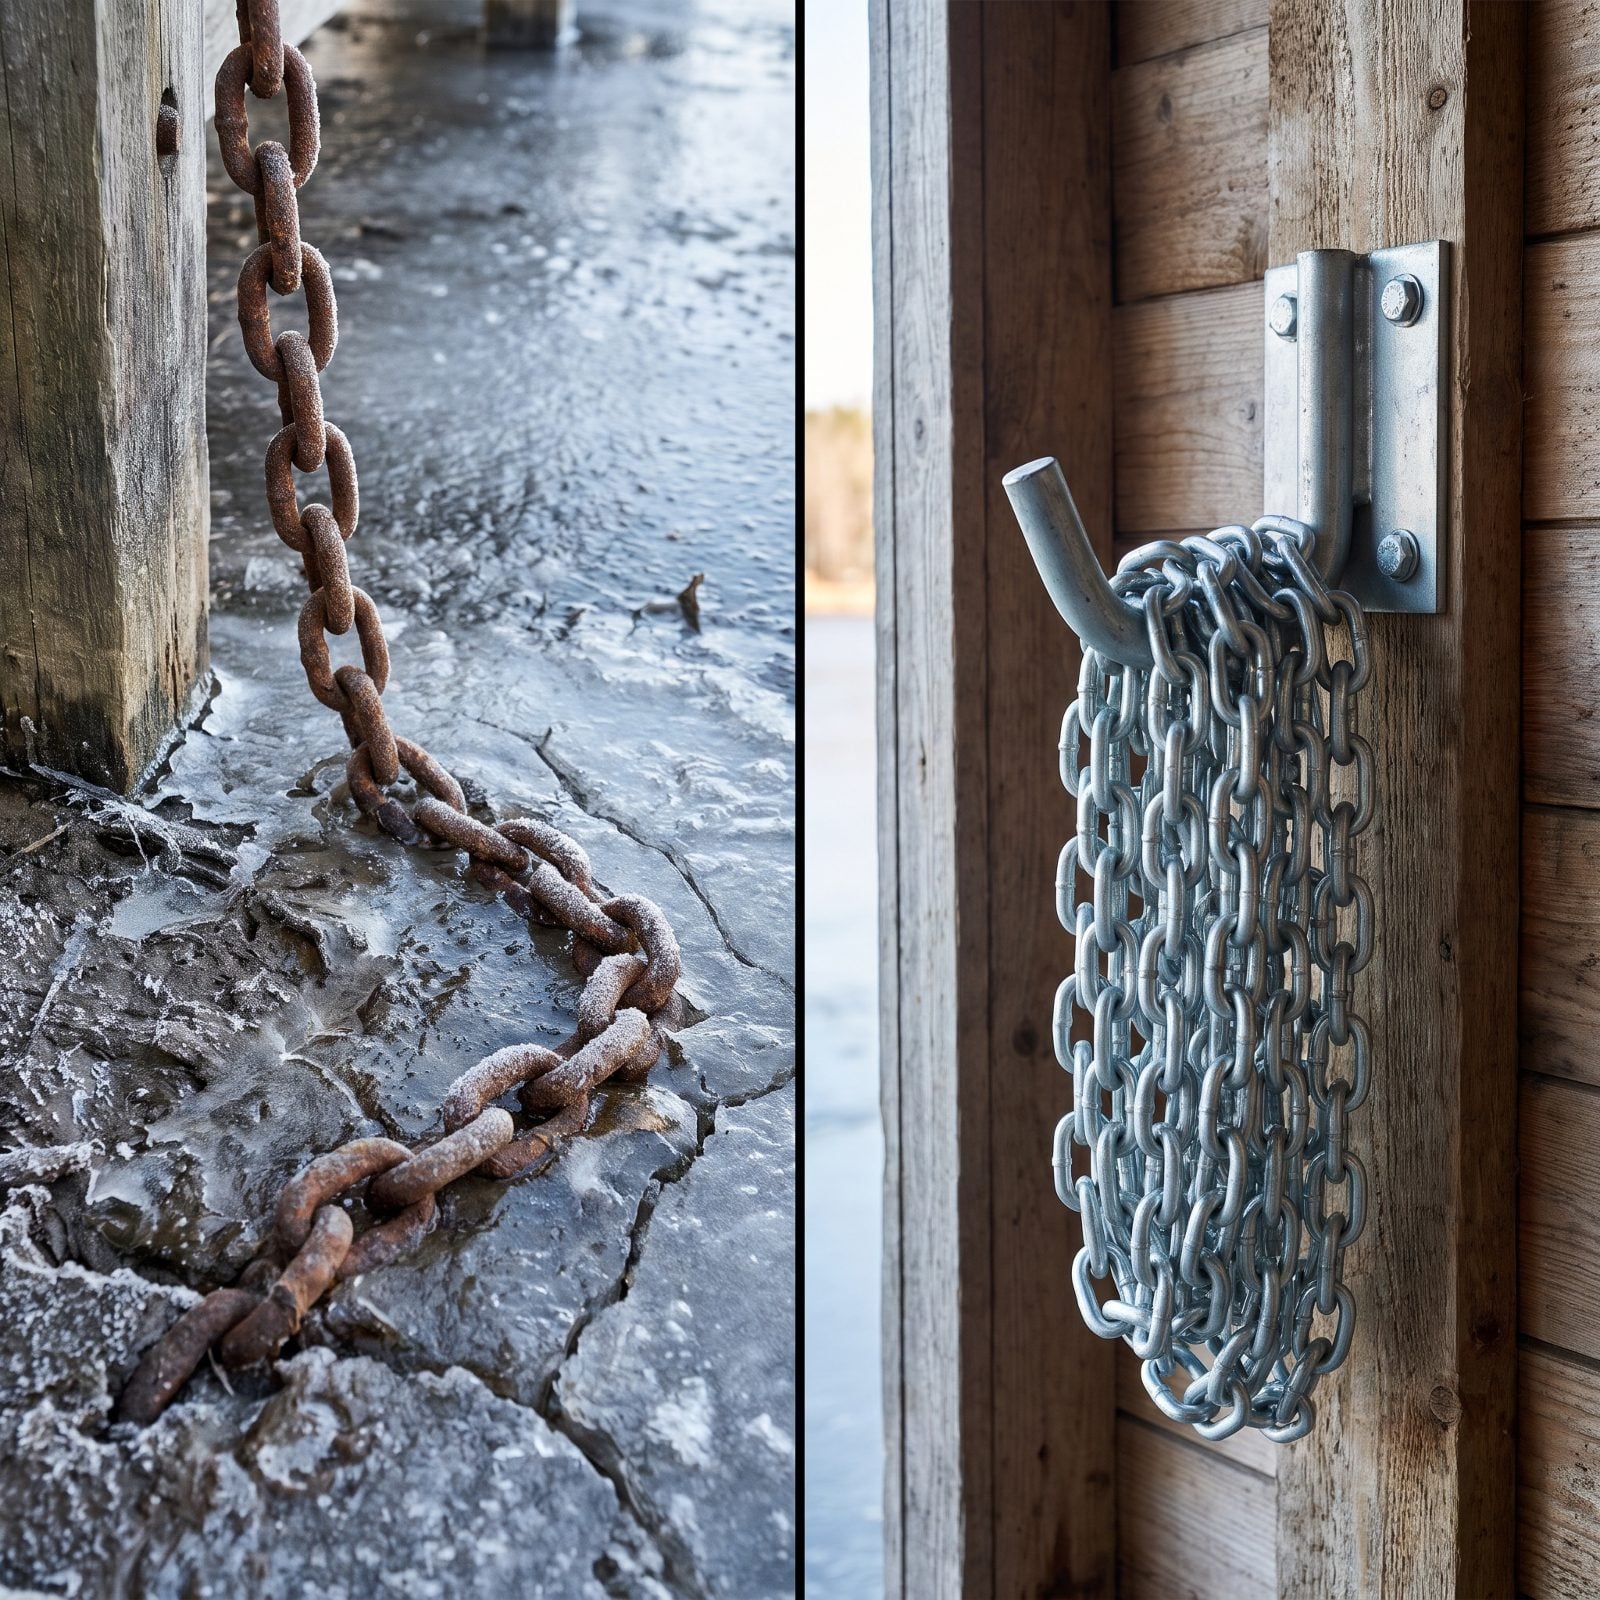
Chain left coiled on the ground does two ugly things over winter. It freezes into the earth, and it rusts from the bottom up where water pools in the links.
Hang it instead. A couple of big hooks on the boathouse wall or a rafter, and the chain drips dry, stays off the frozen ground, and comes down in spring as a clean loop rather than a rusted puck you have to chip free. Bonus: you can actually see what you’ve got and whether a link is going.
17. Cover Winch Gears With Ventilated Buckets
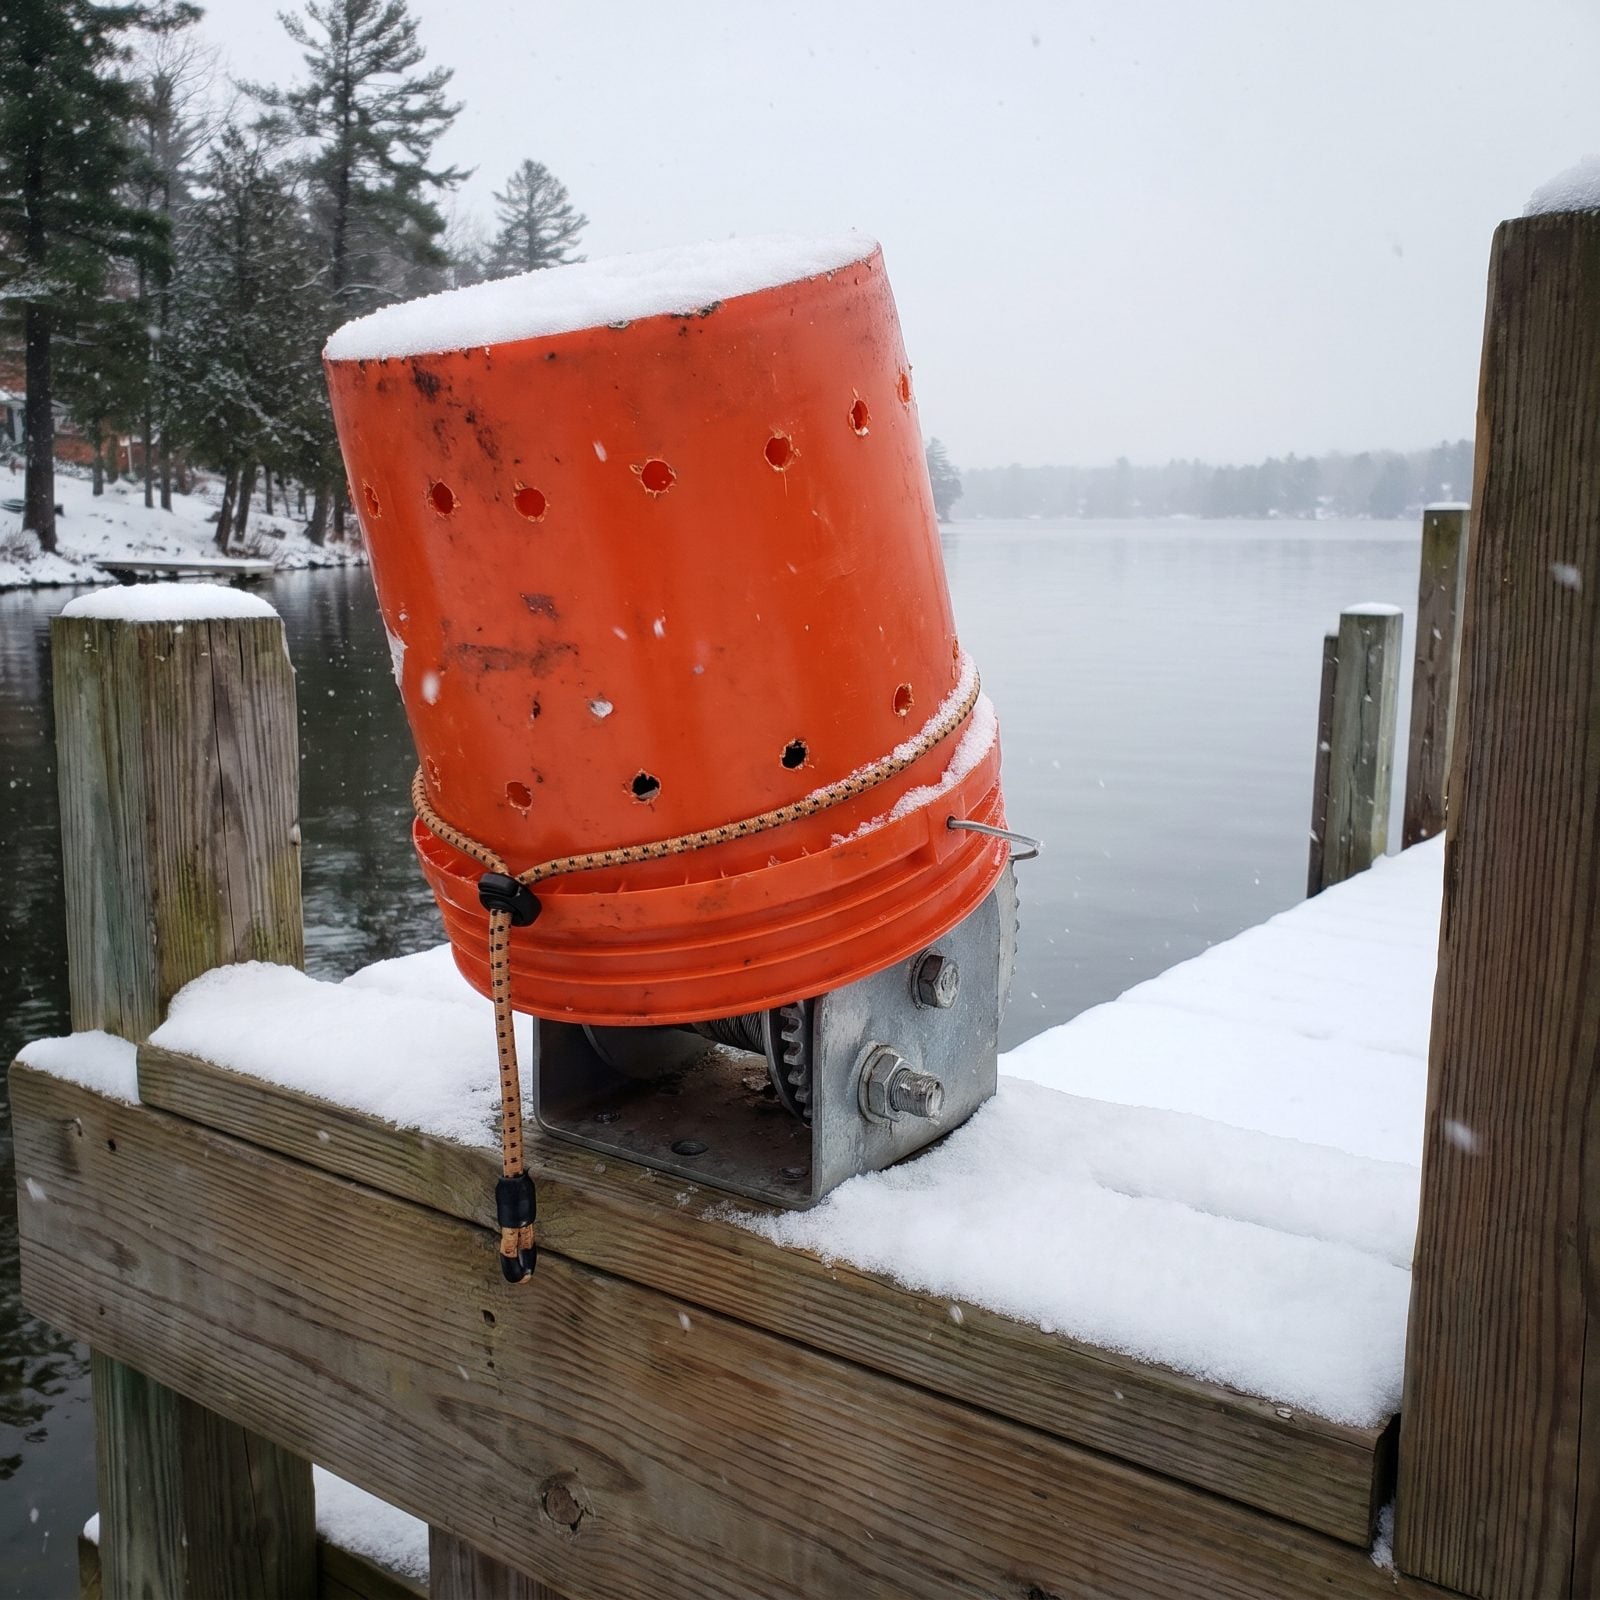
A sealed cover over your winch traps condensation, and trapped moisture rusts gears faster than open weather ever would. I’ve seen plenty of winches that spent winter under a tarp and came out orange.
An upside-down five-gallon bucket with a few holes drilled near the rim does it right. Snow, ice, and falling grit stay off the gears while air keeps moving, so nothing sweats inside. Strap it on with a bungee so the wind doesn’t claim it. Costs almost nothing, and your winch turns smooth in May.
16. Stand Canoes on Edge Under Breathable Covers
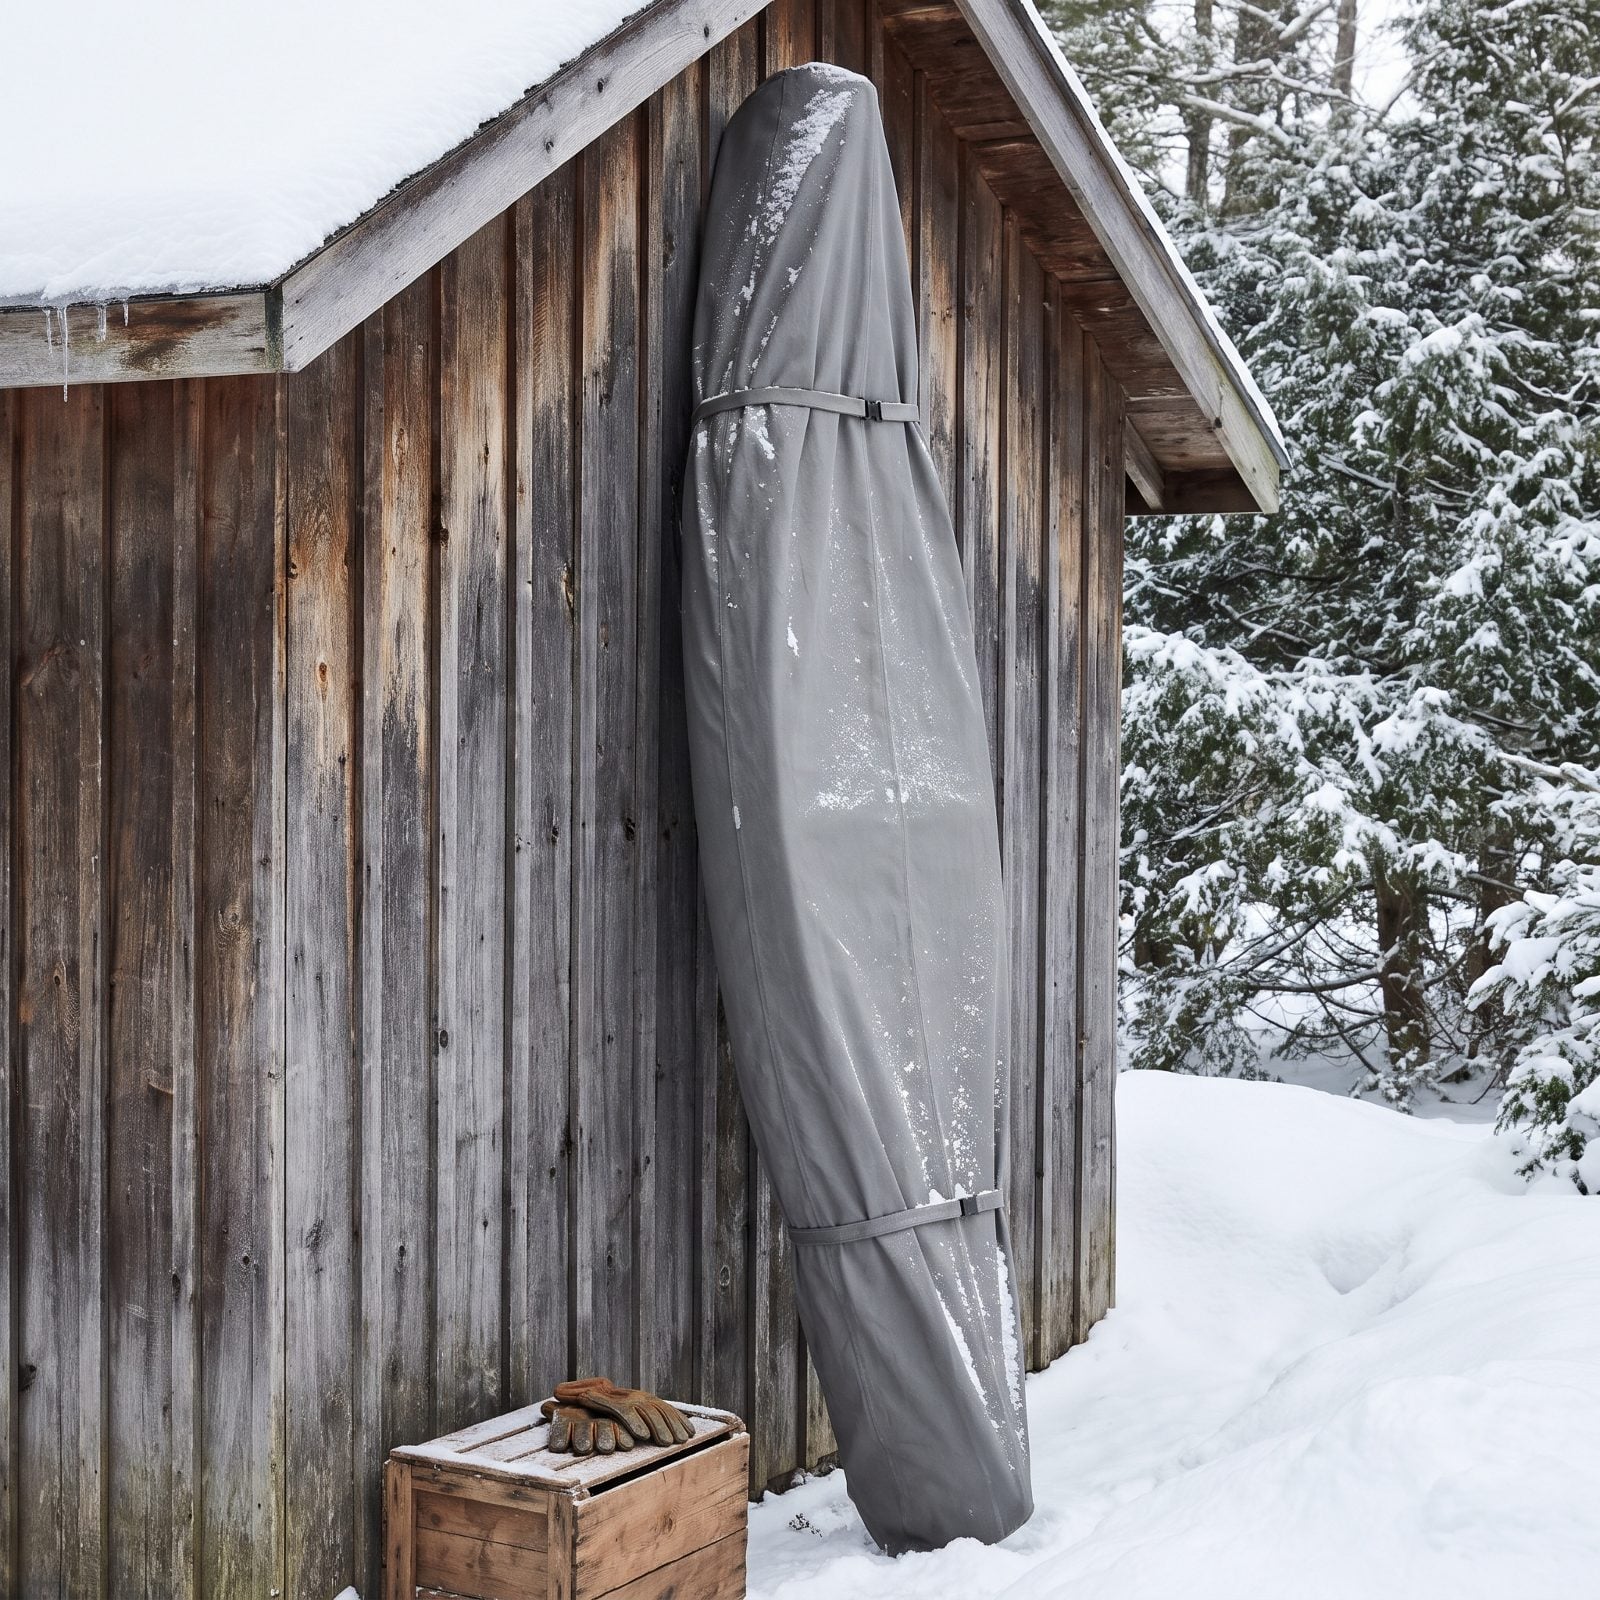
Lay a canoe flat for winter and it becomes a bathtub. Snow loads the hull, melts, refreezes, and the standing water works at the seams and the finish all season long.
Stand it on its edge against a wall, tucked under the eaves, so the hull can’t fill and nothing pools inside — just brush off any snow that drifts against it. Then skip the plastic tarp. A breathable cover sheds weather while the hull dries, where sealed plastic traps moisture and grows the kind of mildew you’ll be scrubbing in June. Wood-canvas and nice cedar boats especially will thank you for it.
15. Loosen Kayak Straps During Cold Snaps
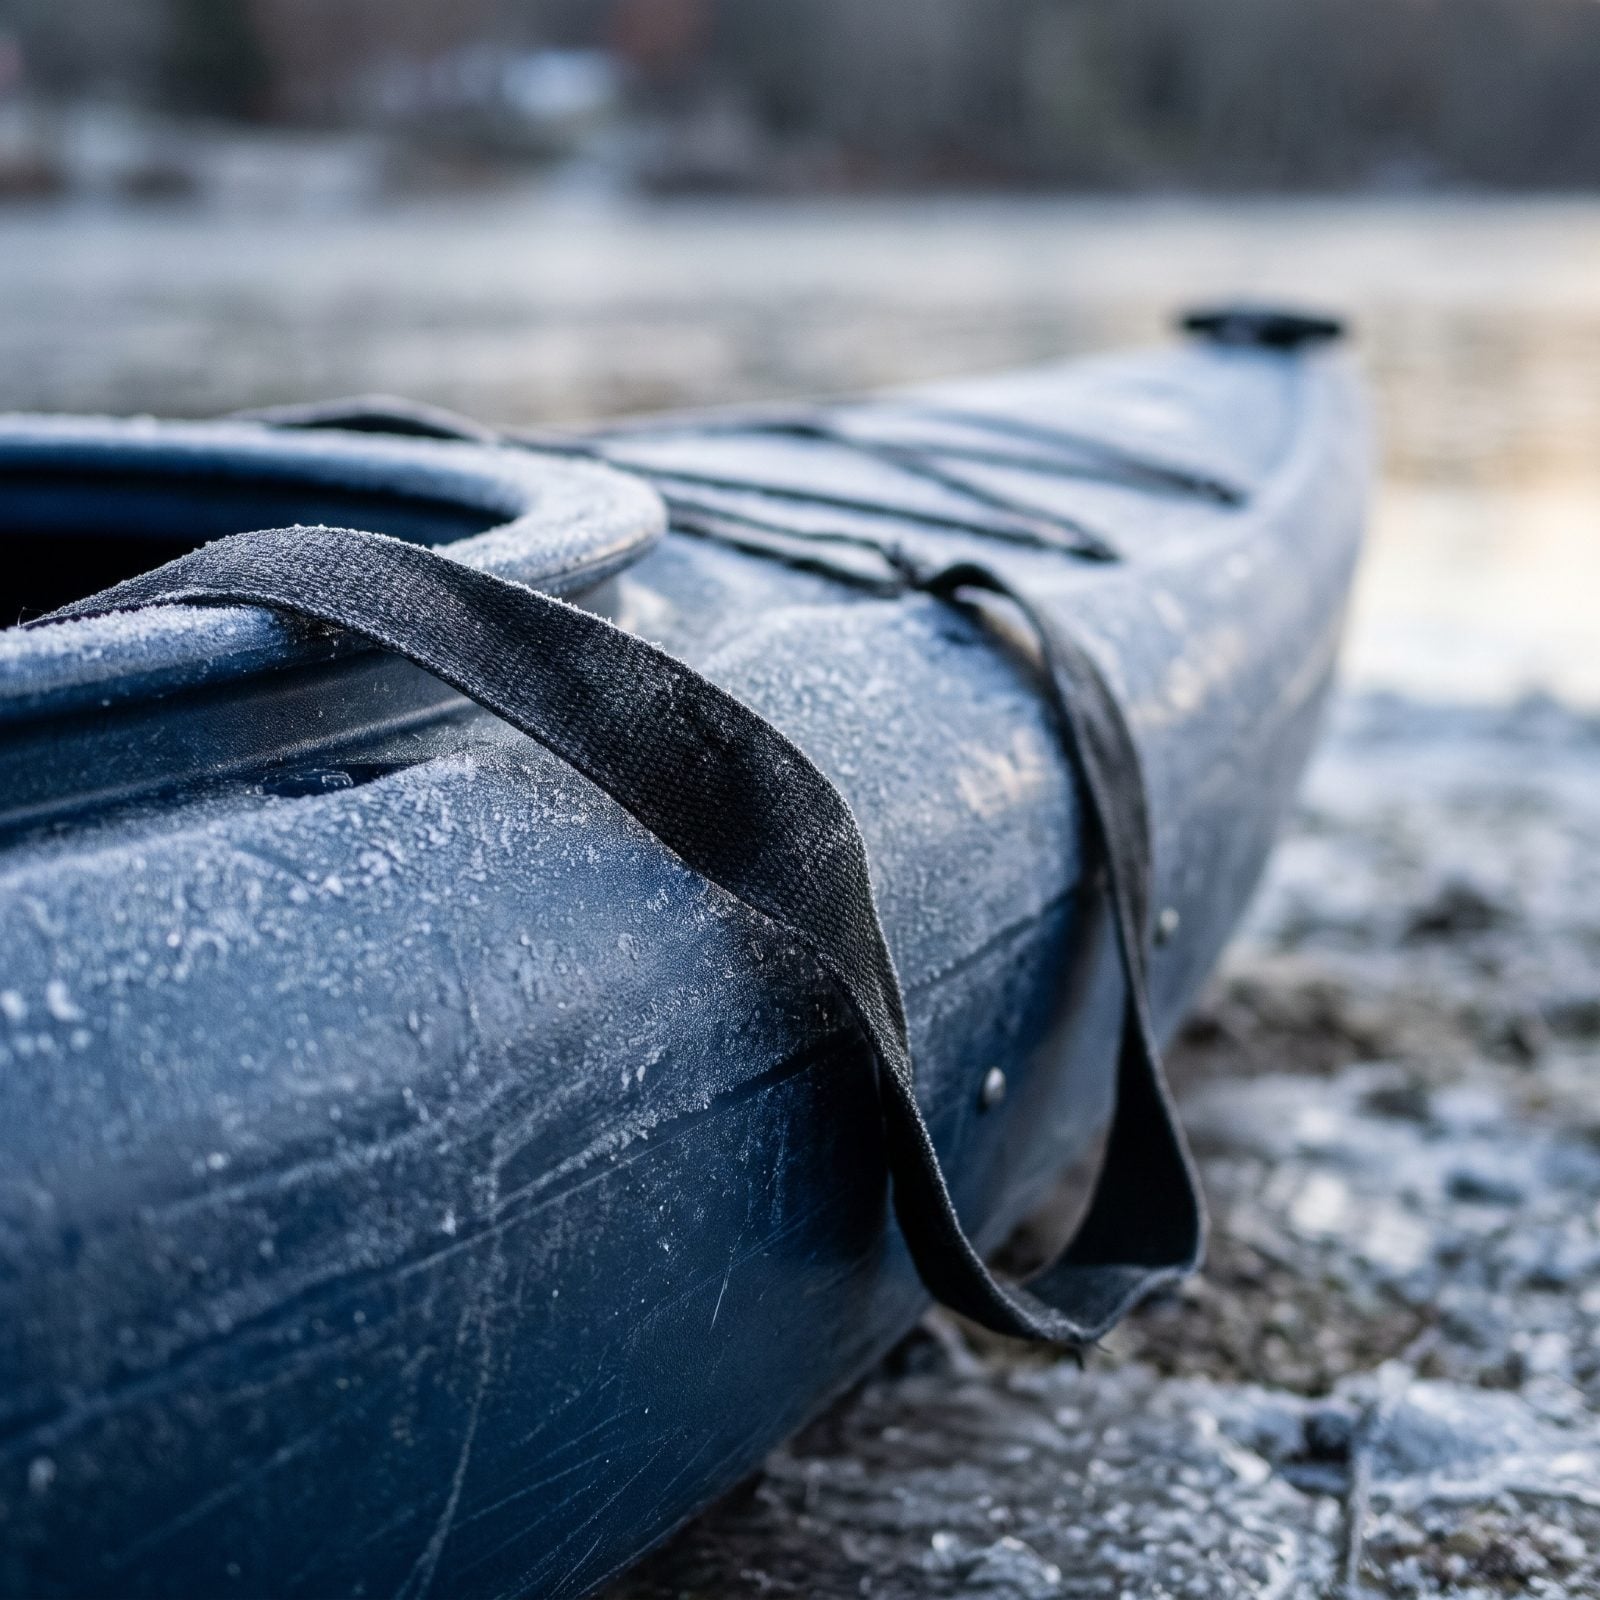
A strap cinched tight in October will dent your kayak by February.
Polyethylene hulls go soft in heat and stiff in cold, and a tight strap left on all winter slowly presses a flat spot — or an outright dent — into the plastic that might not fully spring back when the weather turns.
Back the straps off during storage. Snug enough to hold the boat on the rack, loose enough that nothing’s being squeezed. Cradle the hull with wide supports instead of letting a thin strap carry the whole weight on one line. Small thing. It’s also the difference between a boat that tracks straight and one that always pulls a little.
14. Seal Life Jackets in Rodent-Proof Totes
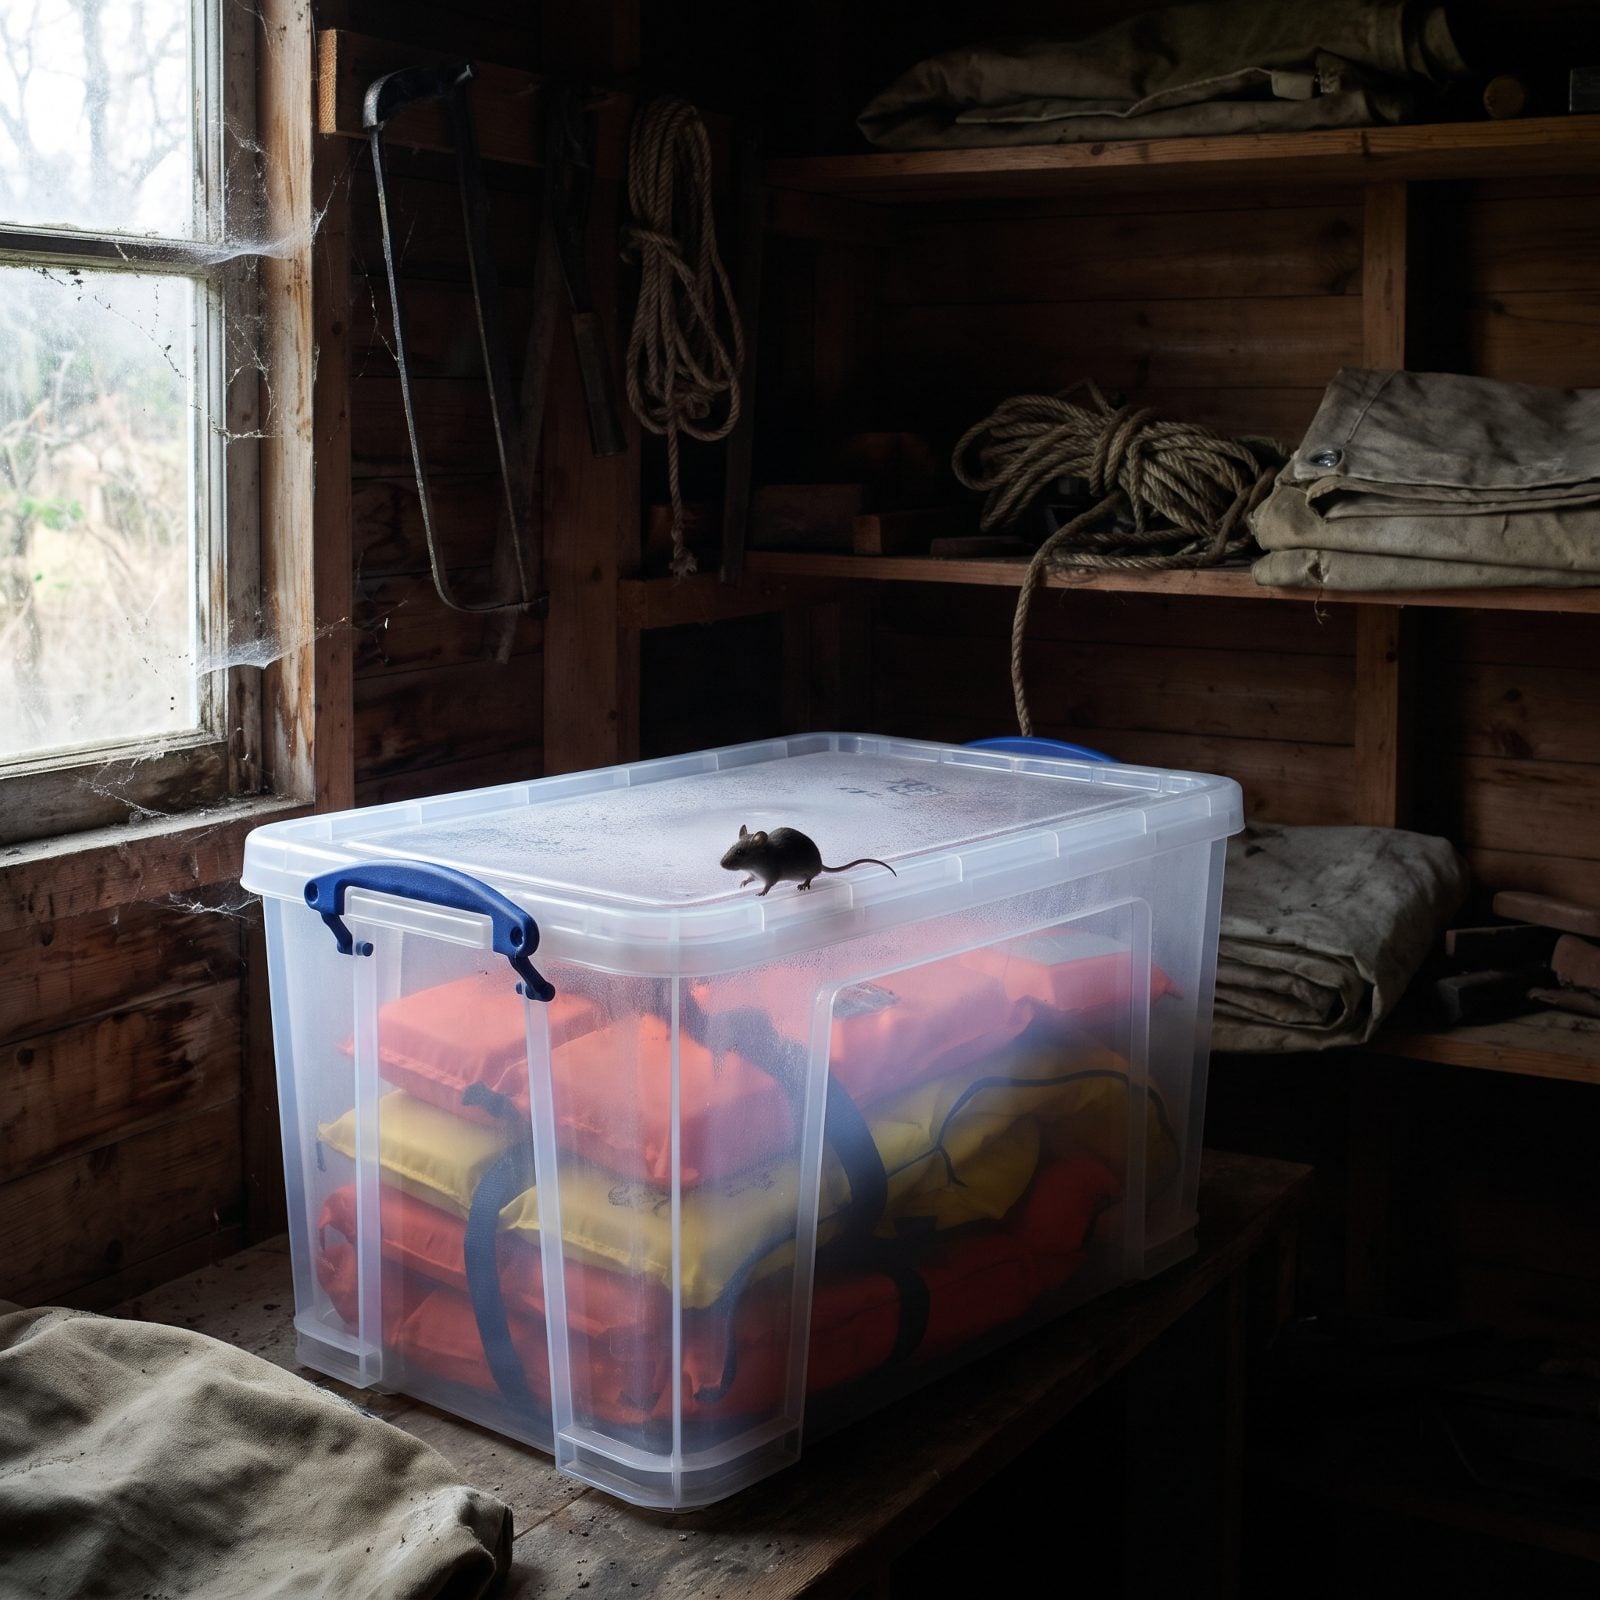
Mice do not want your life jackets. They want the foam and the stitching to build a nest, and they will happily shred a locker full of PFDs over one quiet winter.
Toss them in latching totes with a decent lid gasket — nothing fancy. A bin that clicks shut keeps the mice out and keeps that musty boathouse smell from soaking into the webbing. Here’s the catch: if the jackets went in damp, leave the lids cracked a quarter inch, or you will open spring to mildew instead of mouse damage. Pick your problem.
13. Set Water Alarms Beside Lakeside Plumbing
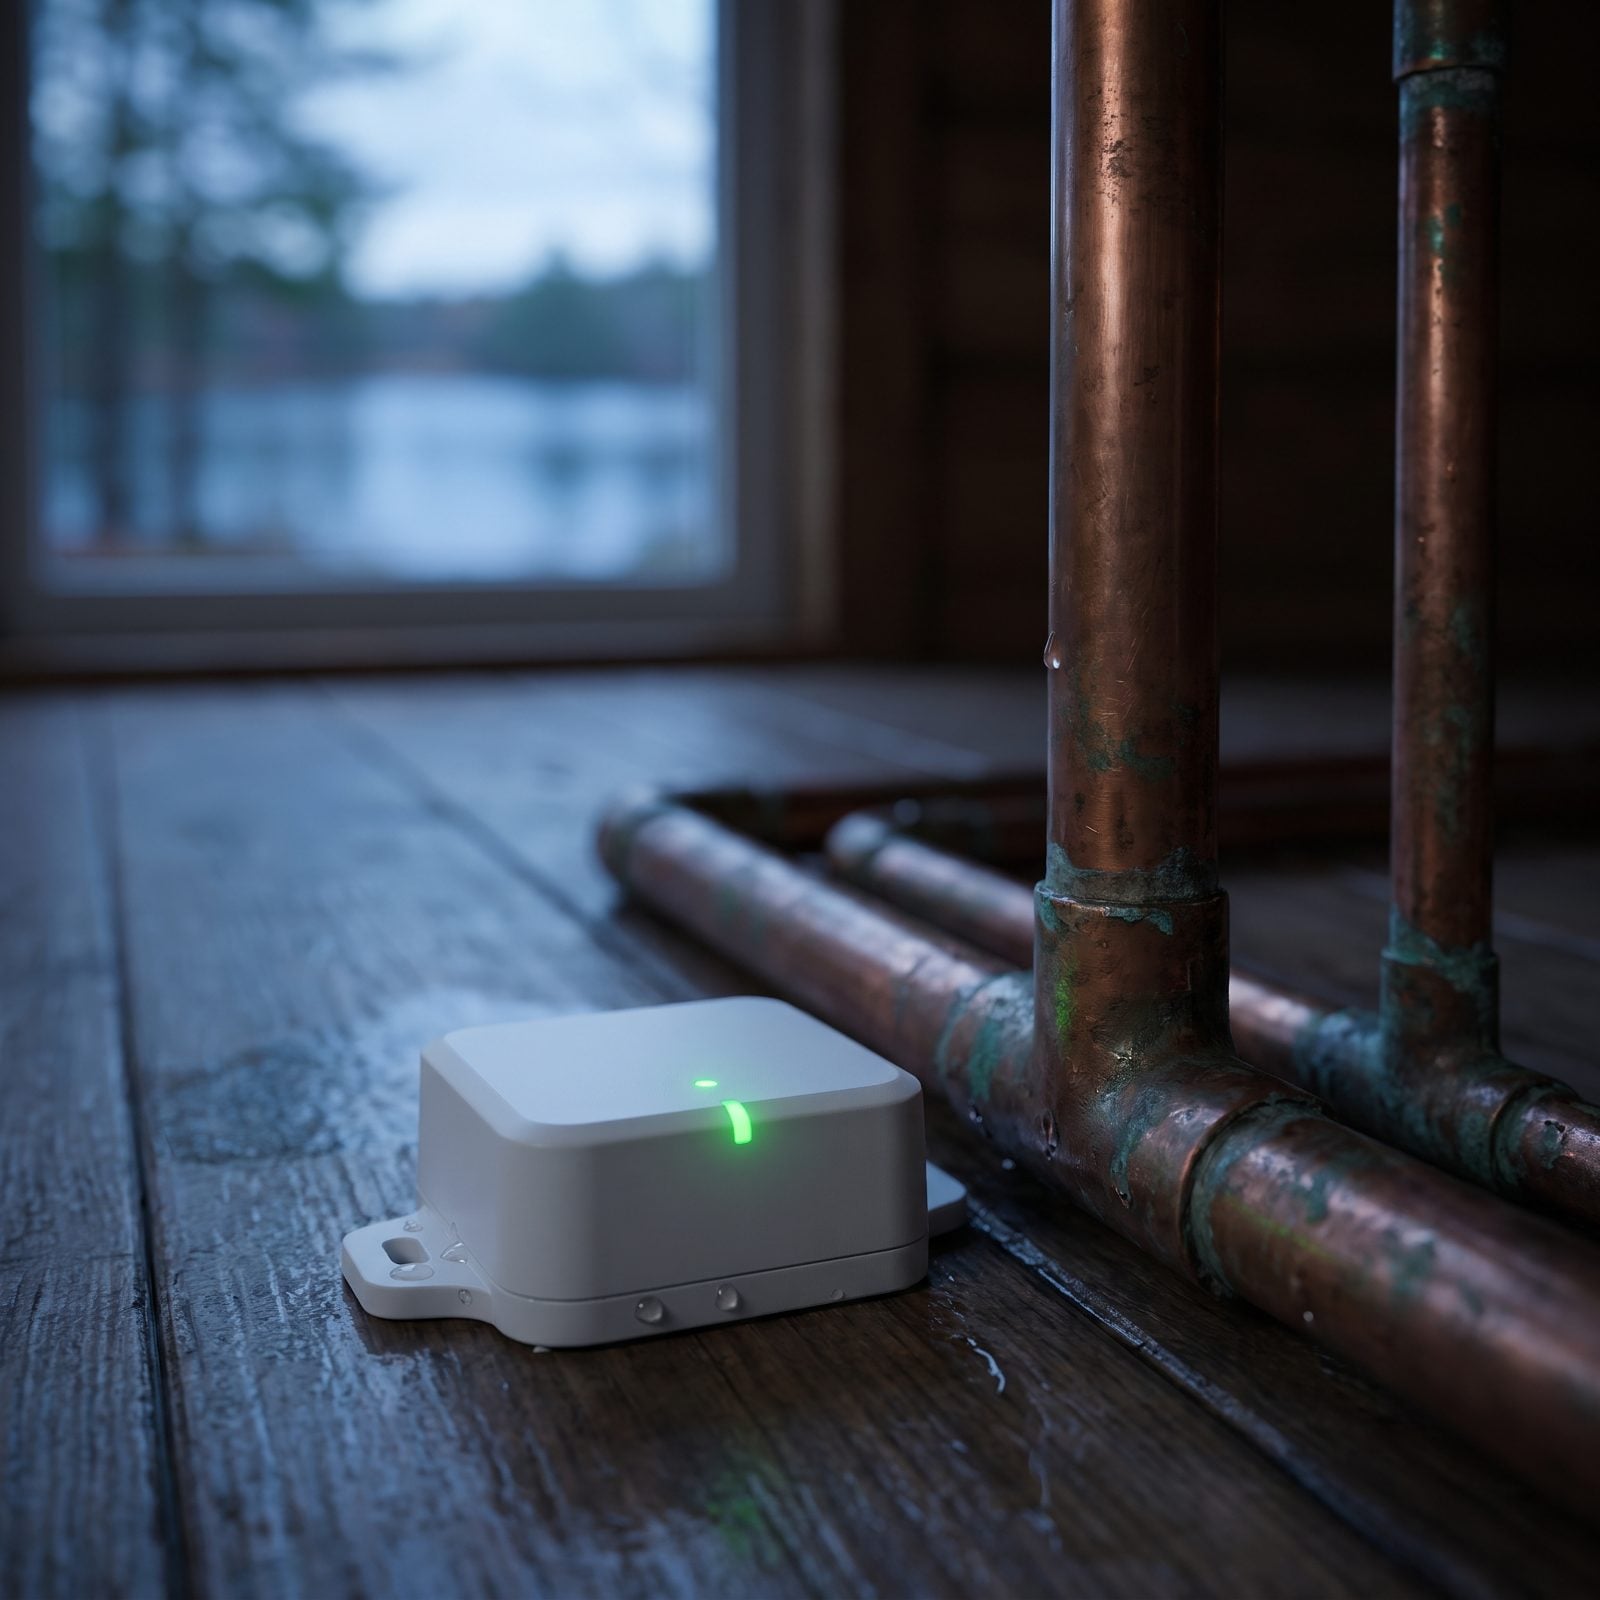
You are not there in January. That is the whole problem with a lake house in winter, and it is why a cheap water sensor earns its keep faster than almost anything else you buy.
Drop one on the floor by the water heater, another under the kitchen sink, a third beside the pump. Battery ones screech. The wifi ones text your phone from two states away. A frozen pipe that bursts the day you leave can run for weeks before anyone notices, and the floor rots while nobody is listening.
12. Photograph Every Winterized Valve Position
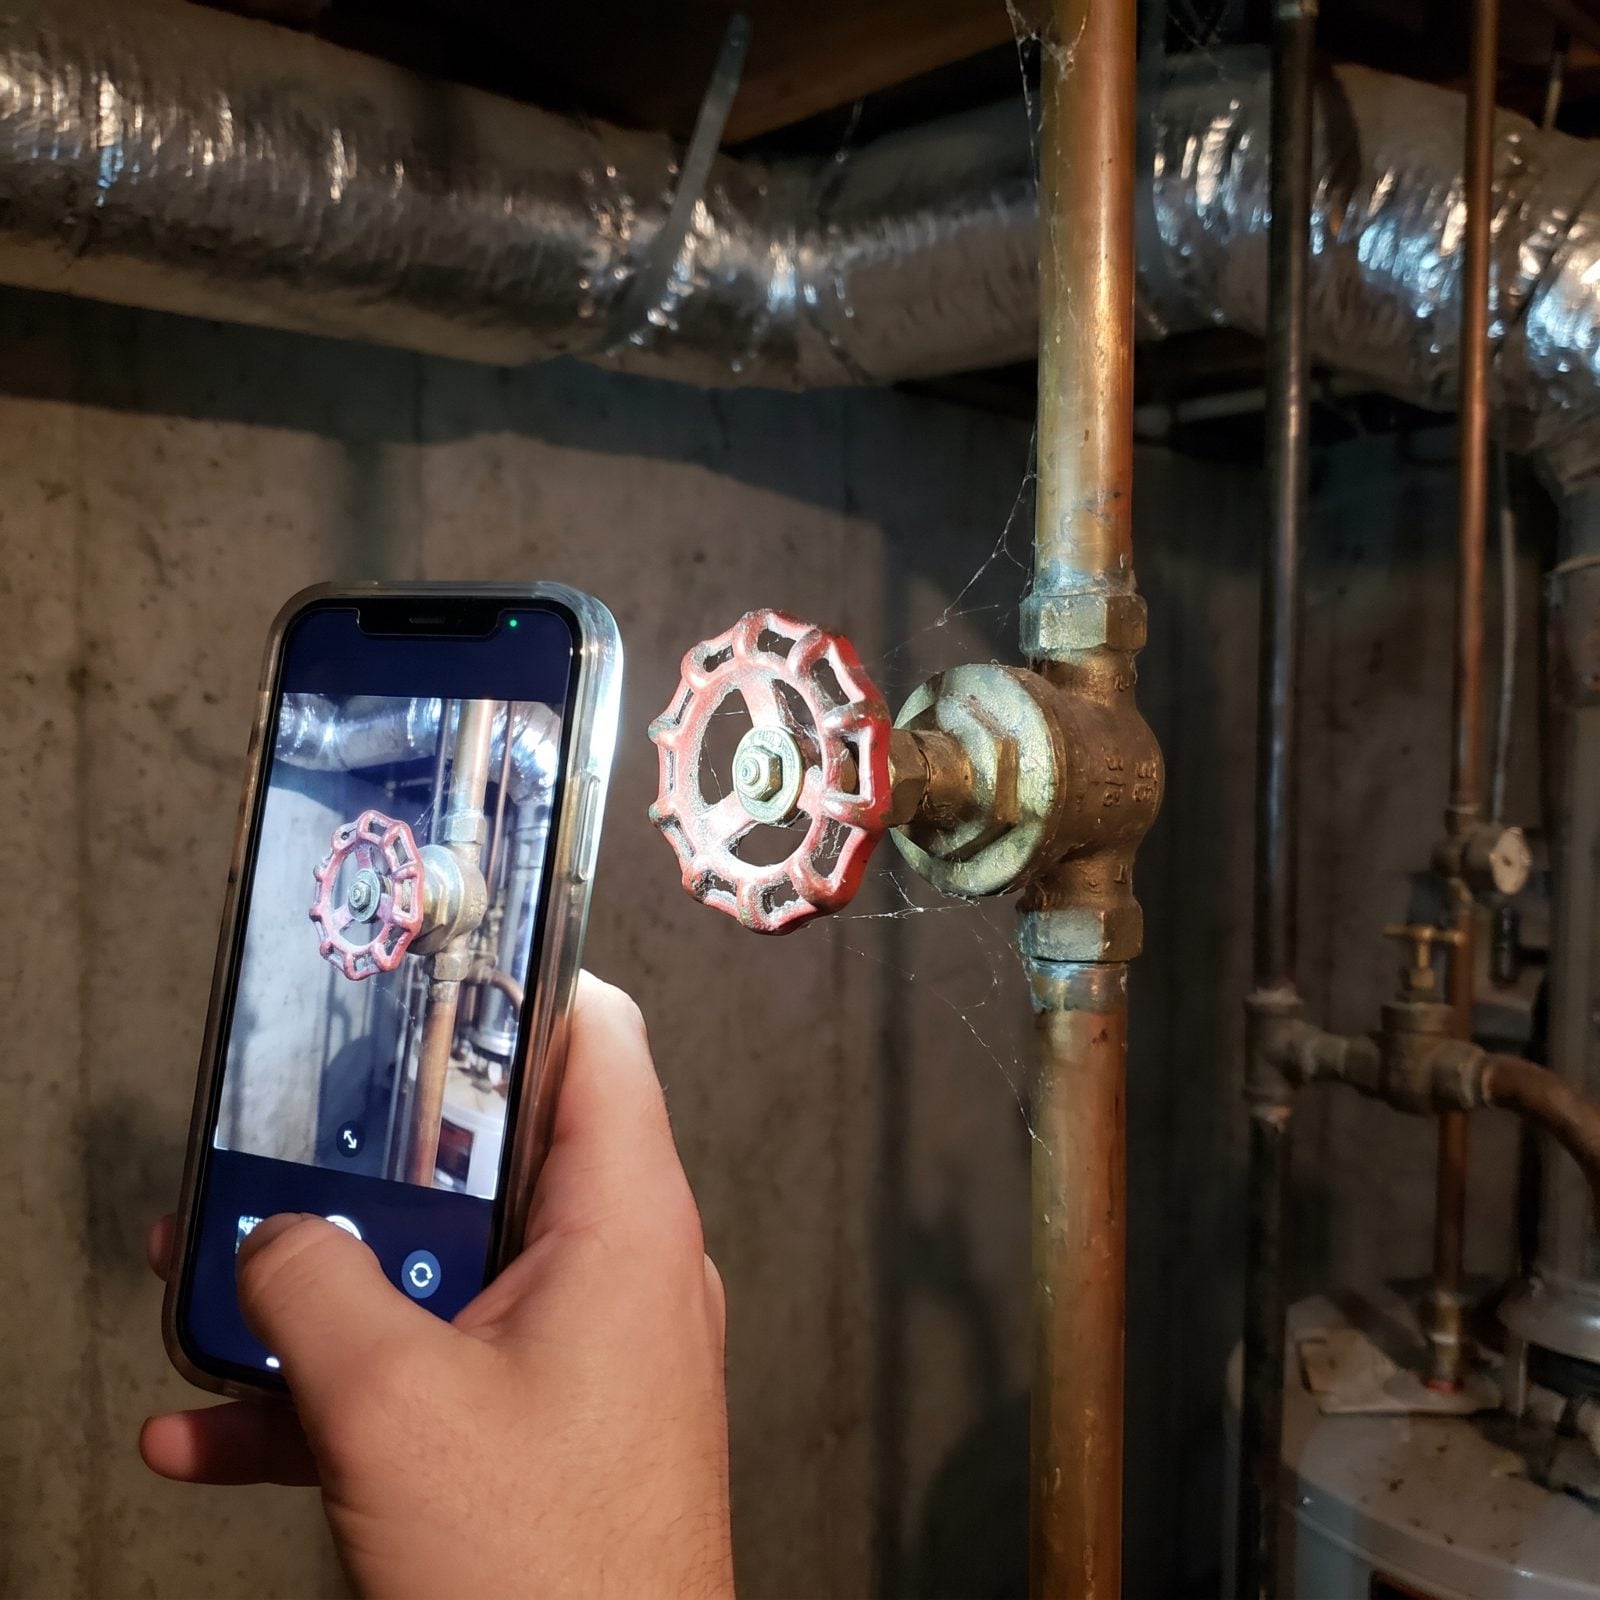
Six months is long enough to forget which way you left that valve. I have stood in a cold basement in April staring at a manifold, honestly guessing — and guessing wrong costs you a wet floor.
So walk around with your phone before you leave and shoot every valve in its winterized state. Closed, open, bled, whatever it is. Tag the photos by room. Come spring you are not reconstructing the whole shutdown from memory, you are just reversing a set of pictures — ten minutes of fiddling now against a lost afternoon and a plumber’s call later.
11. Put Desiccant Buckets in Closed Boathouses
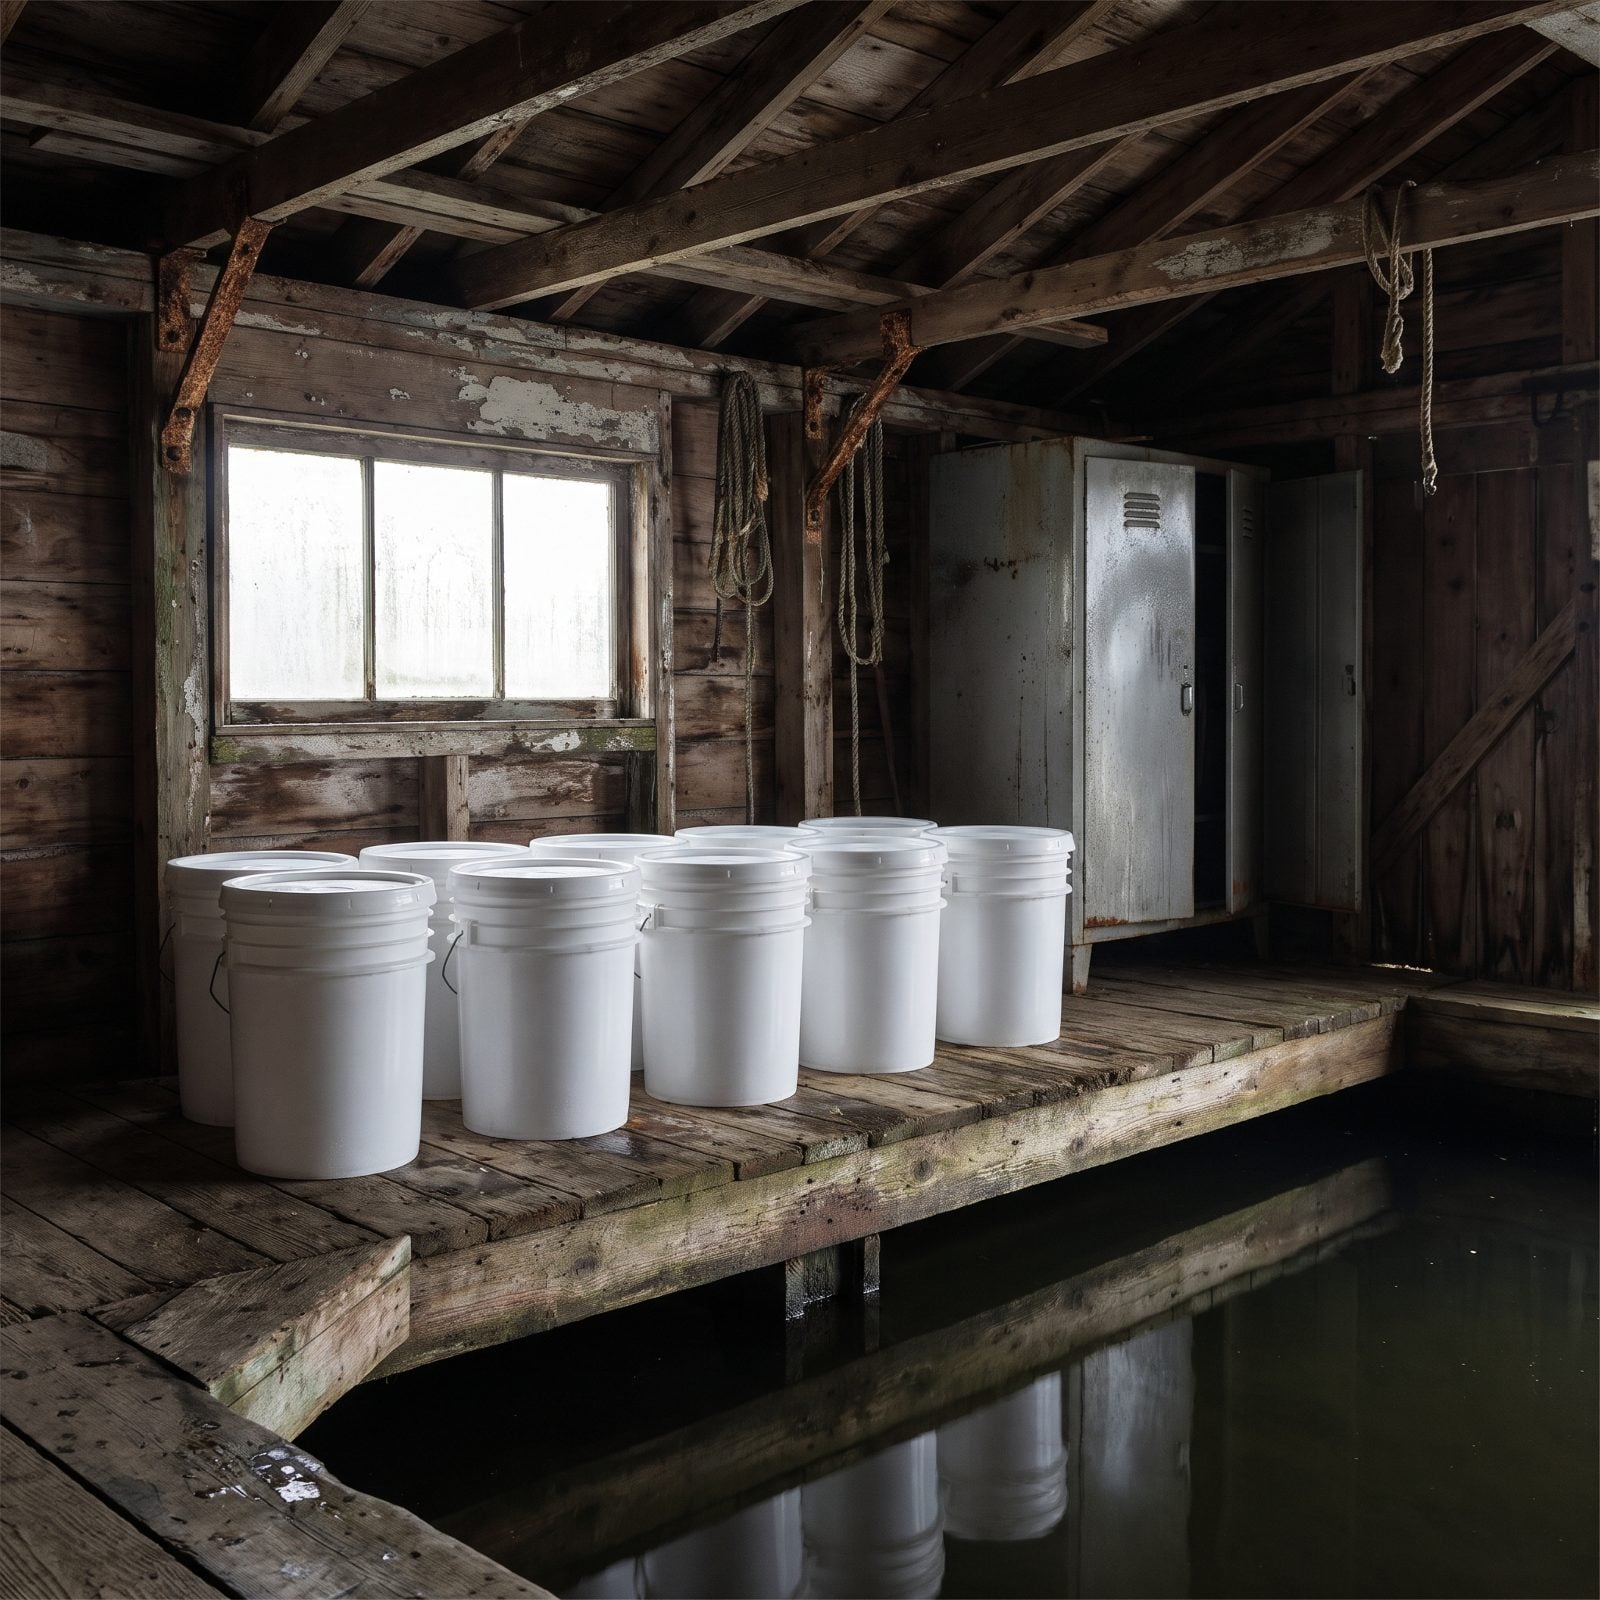
A boathouse over the water is a humidity trap. The lake underneath never fully gives up, the walls hold the cold, and all that trapped damp settles onto your chrome, your upholstery, your wiring.
Set out a couple of buckets of desiccant — the big calcium-chloride kind sold for basements and campers. They pull moisture out of the air for cheap. Check them midwinter if you can get out there, because once the pellets dissolve into sludge they stop working and just sit there taunting you. Empty the water, refill, done. Your dock-stored boat spends the winter dry instead of sweating.
10. Raise Extension Cords Above the Melt Line
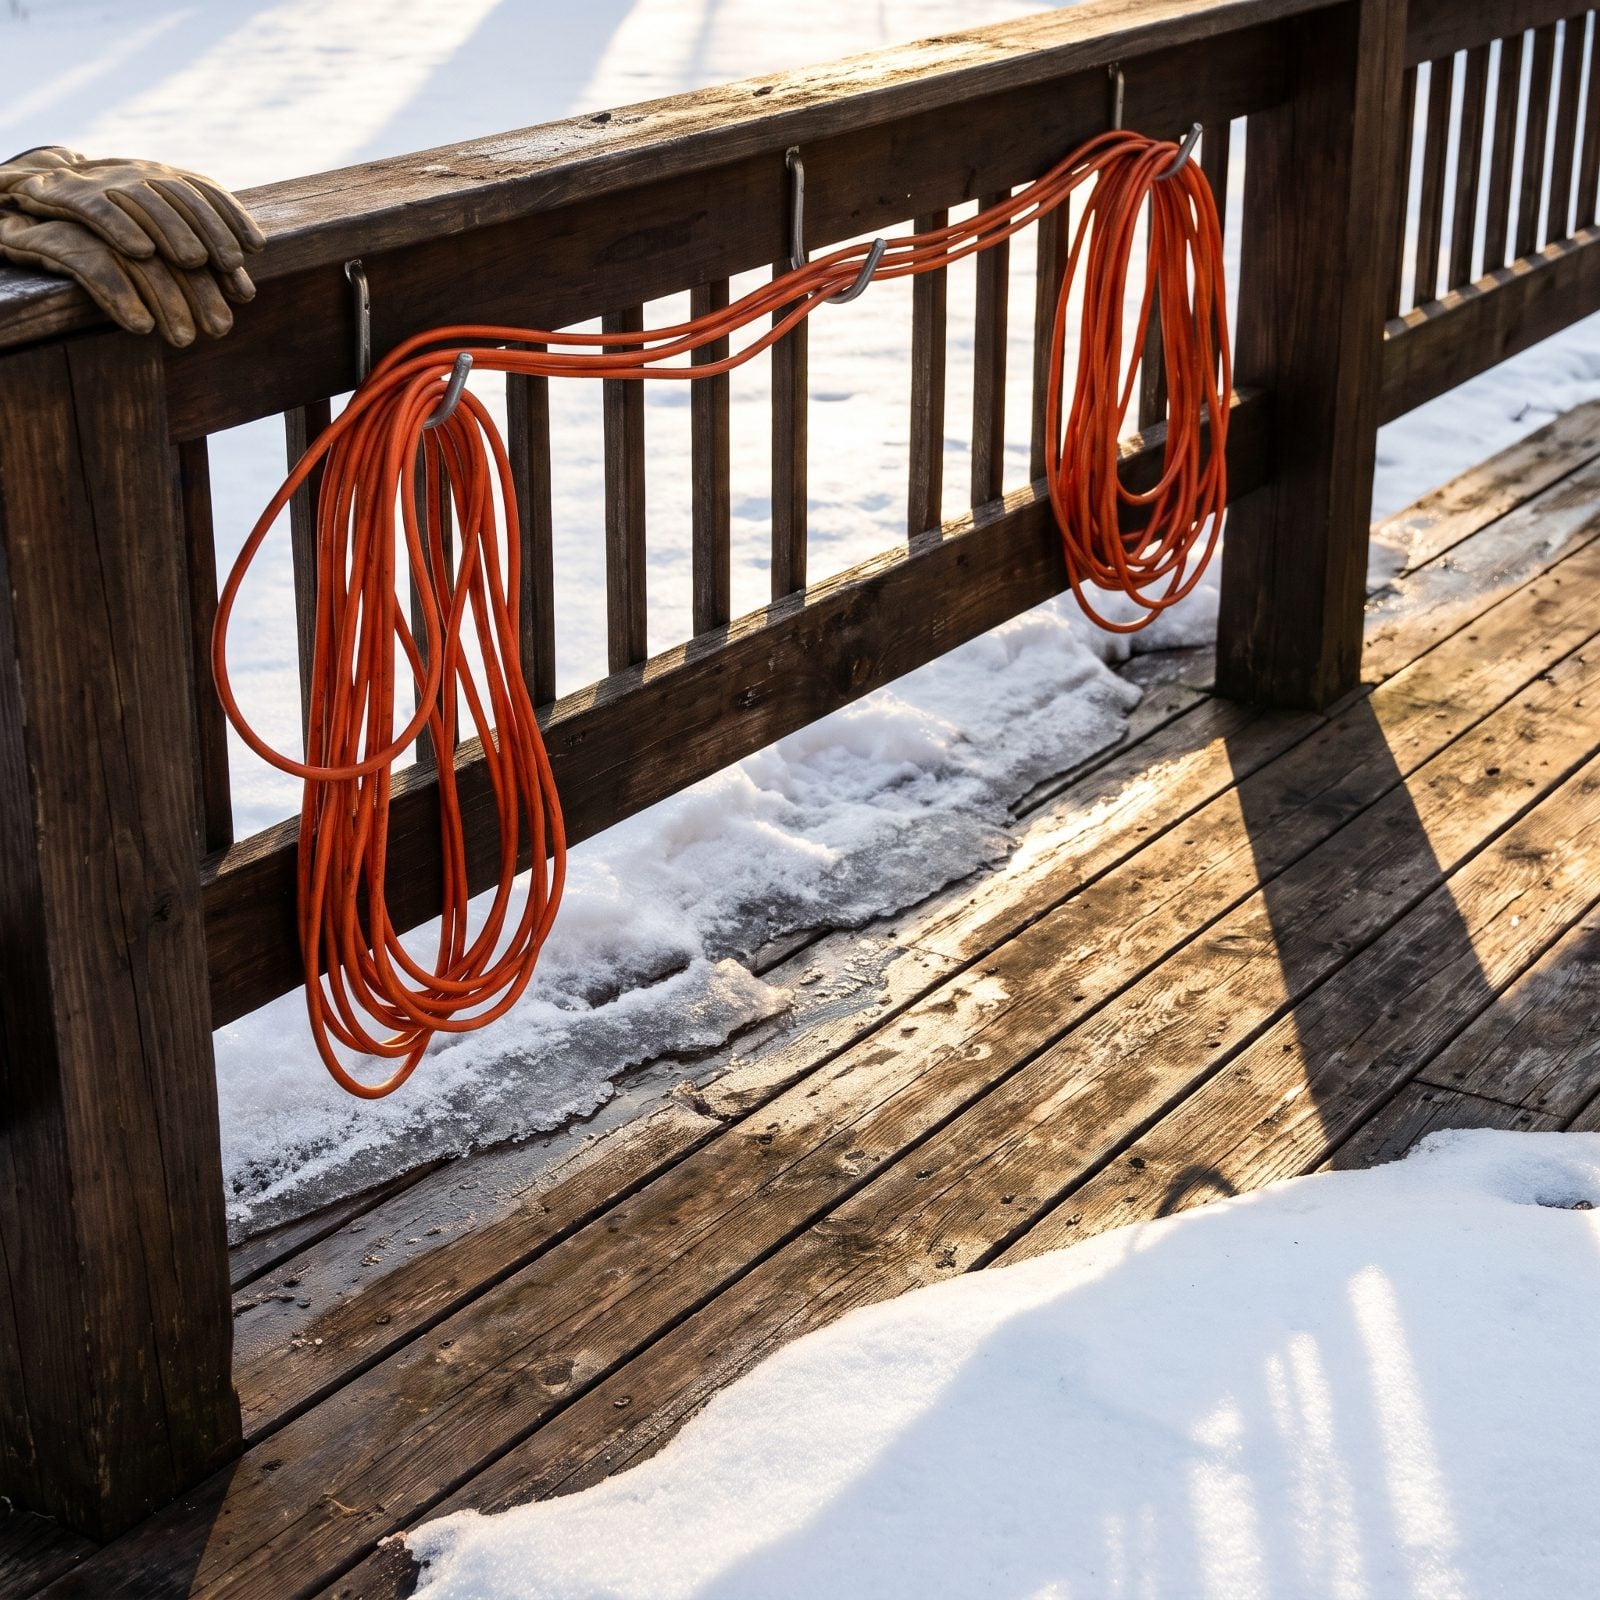
Any cord you run for a bubbler, a bilge heater, or a dock light ends up buried if you lay it on the deck. Then it thaws, the connection sits in a puddle, and you have a live cord soaking in meltwater.
Hang the runs on hooks or off the rail, up above where the snow sits and the melt flows. Keep every plug junction off the ground and pointed down so water drips away instead of pooling in. Small thing. It quietly prevents a nasty one.
9. Clear Snow From Septic Vent Stacks
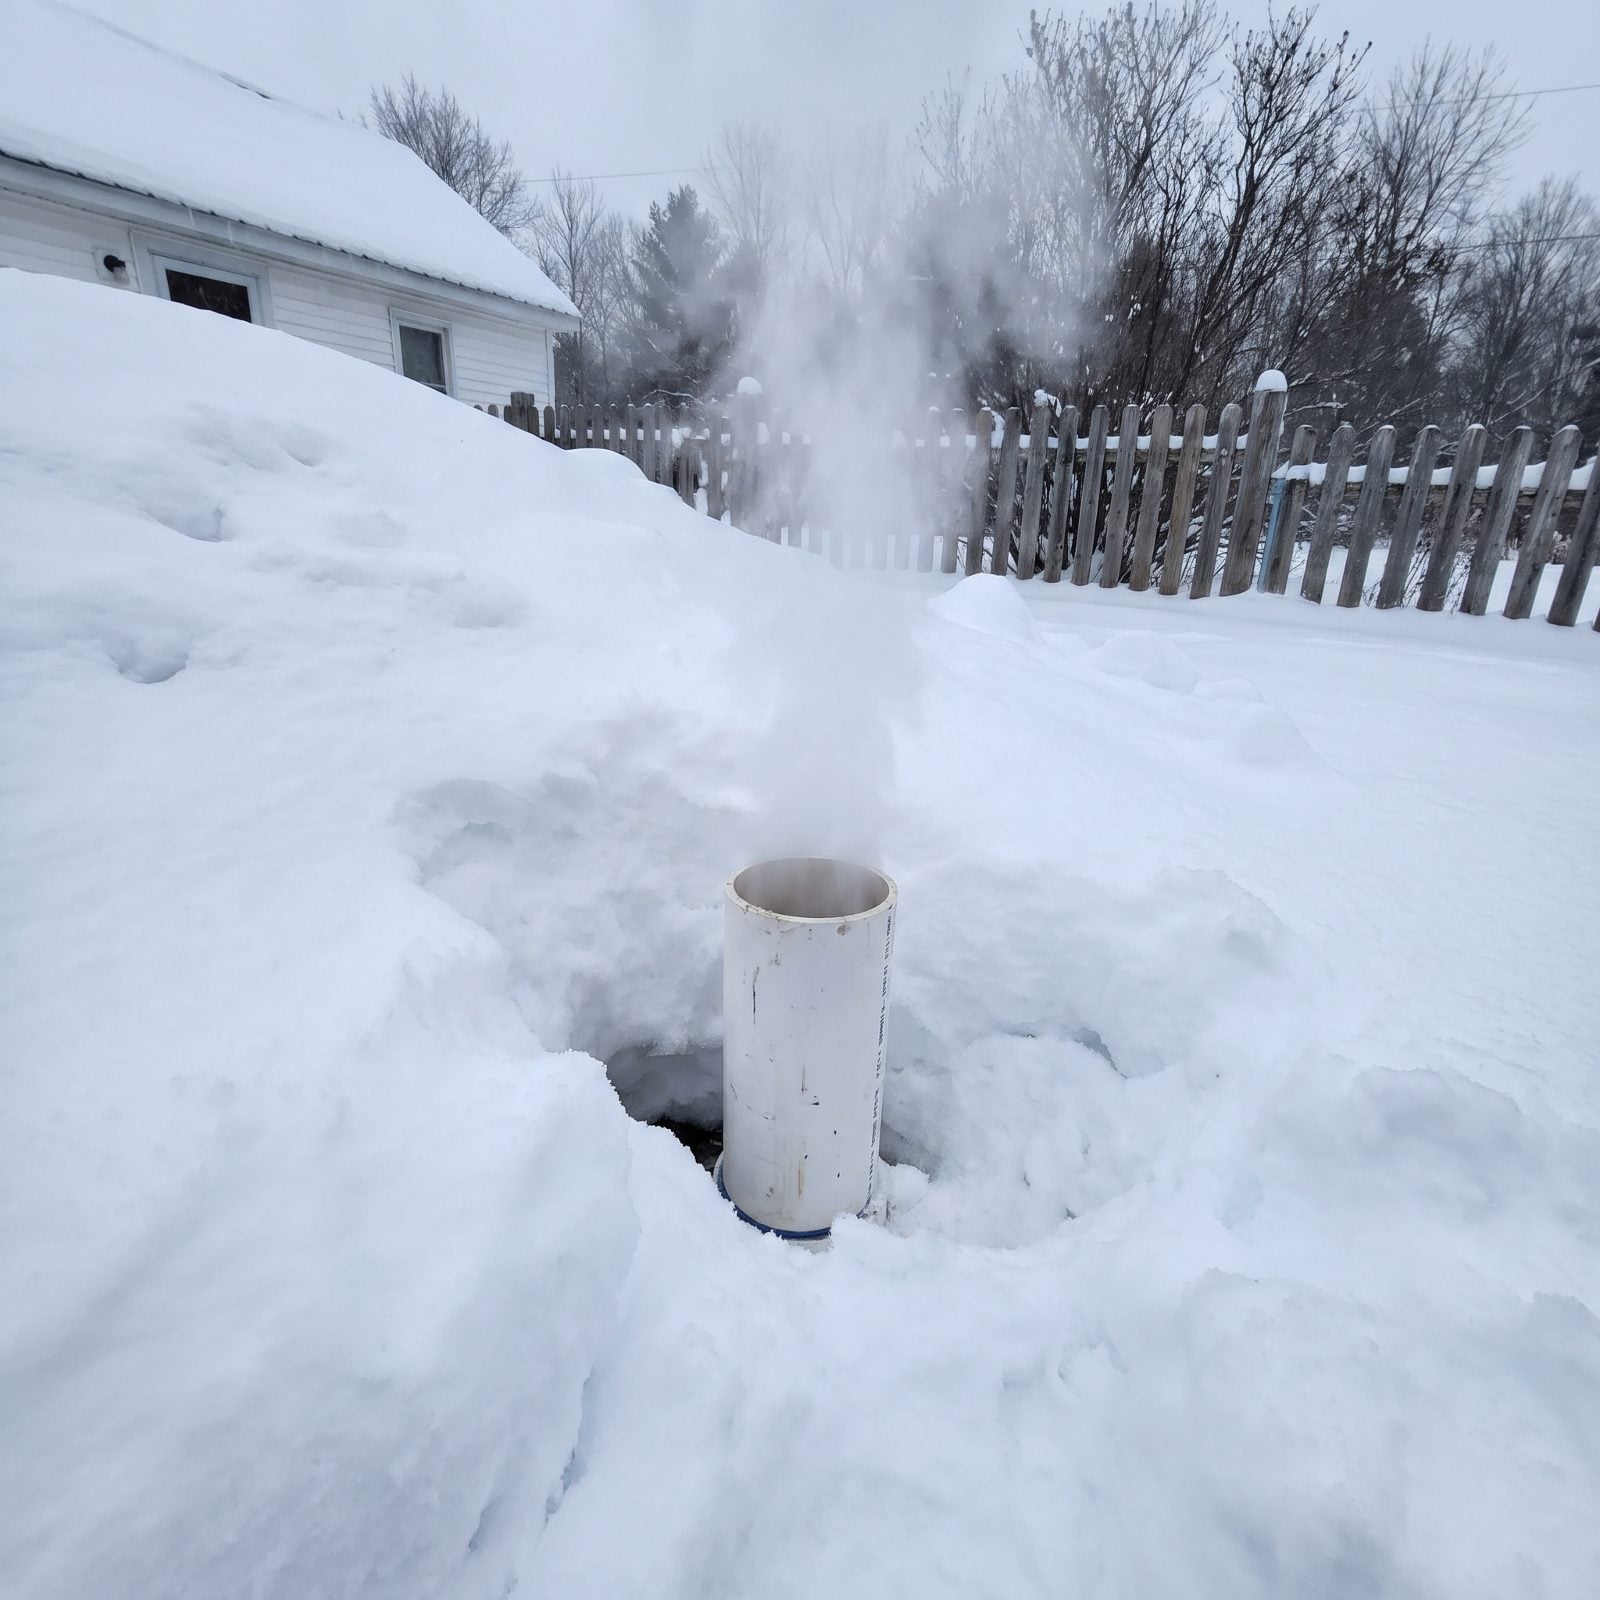
Nobody thinks about the little white pipe in the yard until it is buried and the house starts smelling like the septic system it vents.
That stack lets gases escape and lets the whole system breathe. Pack it under two feet of drifted snow and the drain down in the house can gurgle, slow, and back up pressure. After a big storm, walk out and clear a ring around the top so it stays open to the air — thirty seconds with a gloved hand. A clogged vent is one of those problems that announces itself only after it has already ruined your afternoon.
8. Flag the Septic Tank Before the Ground Freezes
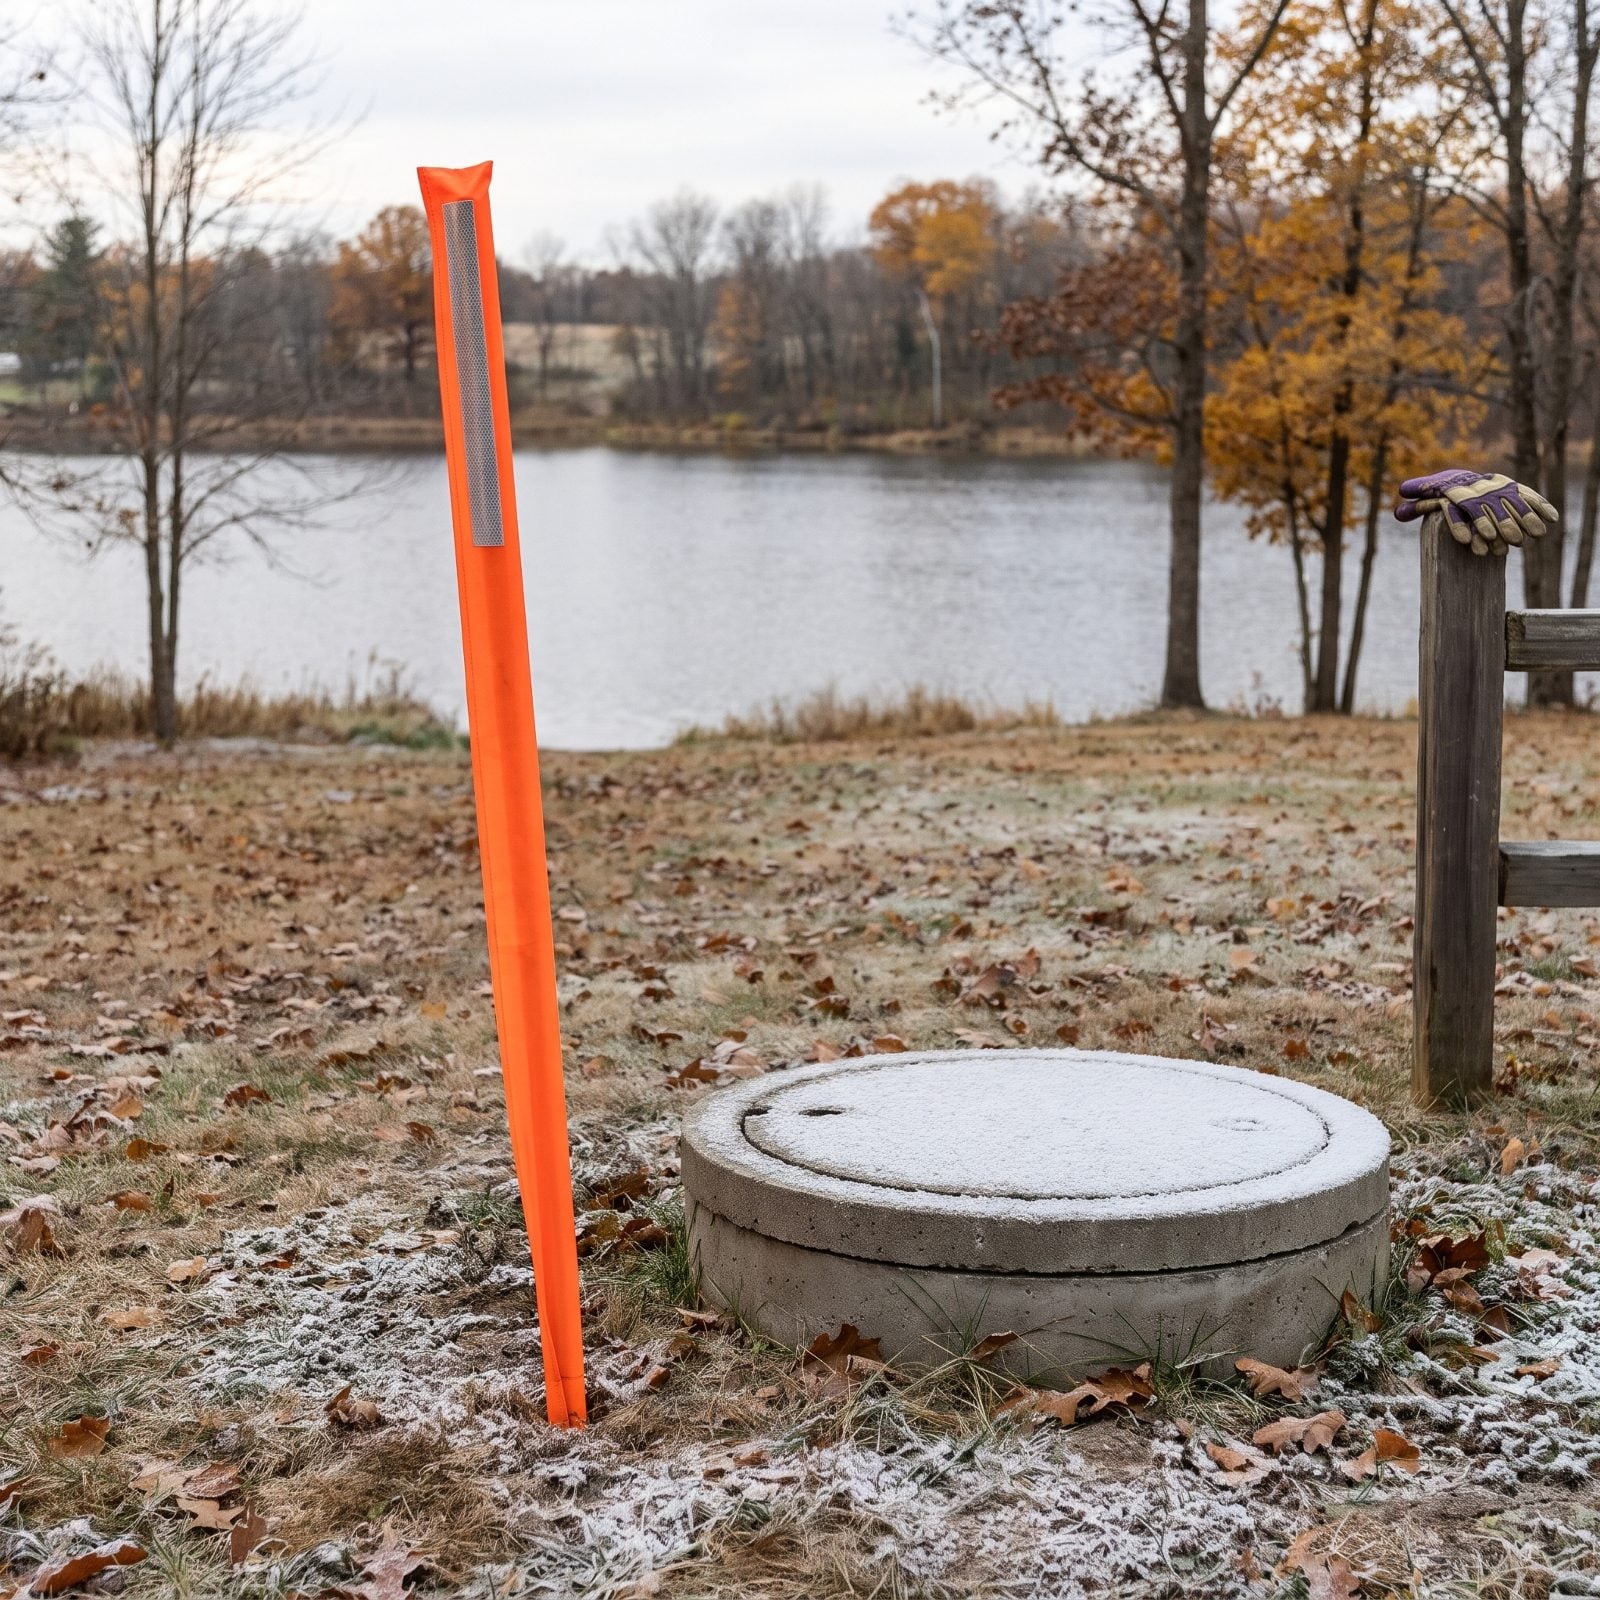
Try finding a buried access lid under three feet of snow when a tank needs service in February. You can’t. You will stand there probing the yard with a stick like a fool, and I say that with some experience.
Before the ground hardens, stake a tall marker flag right over the tank lid and another over the leach field. Now the snowplow driver knows not to pile on it, and if you ever do need an emergency pump-out, the truck finds the spot in seconds. Mark it in the fall while you can still see where everything is.
7. Keep Roof-Rake Paths Away From Shoreline Plantings
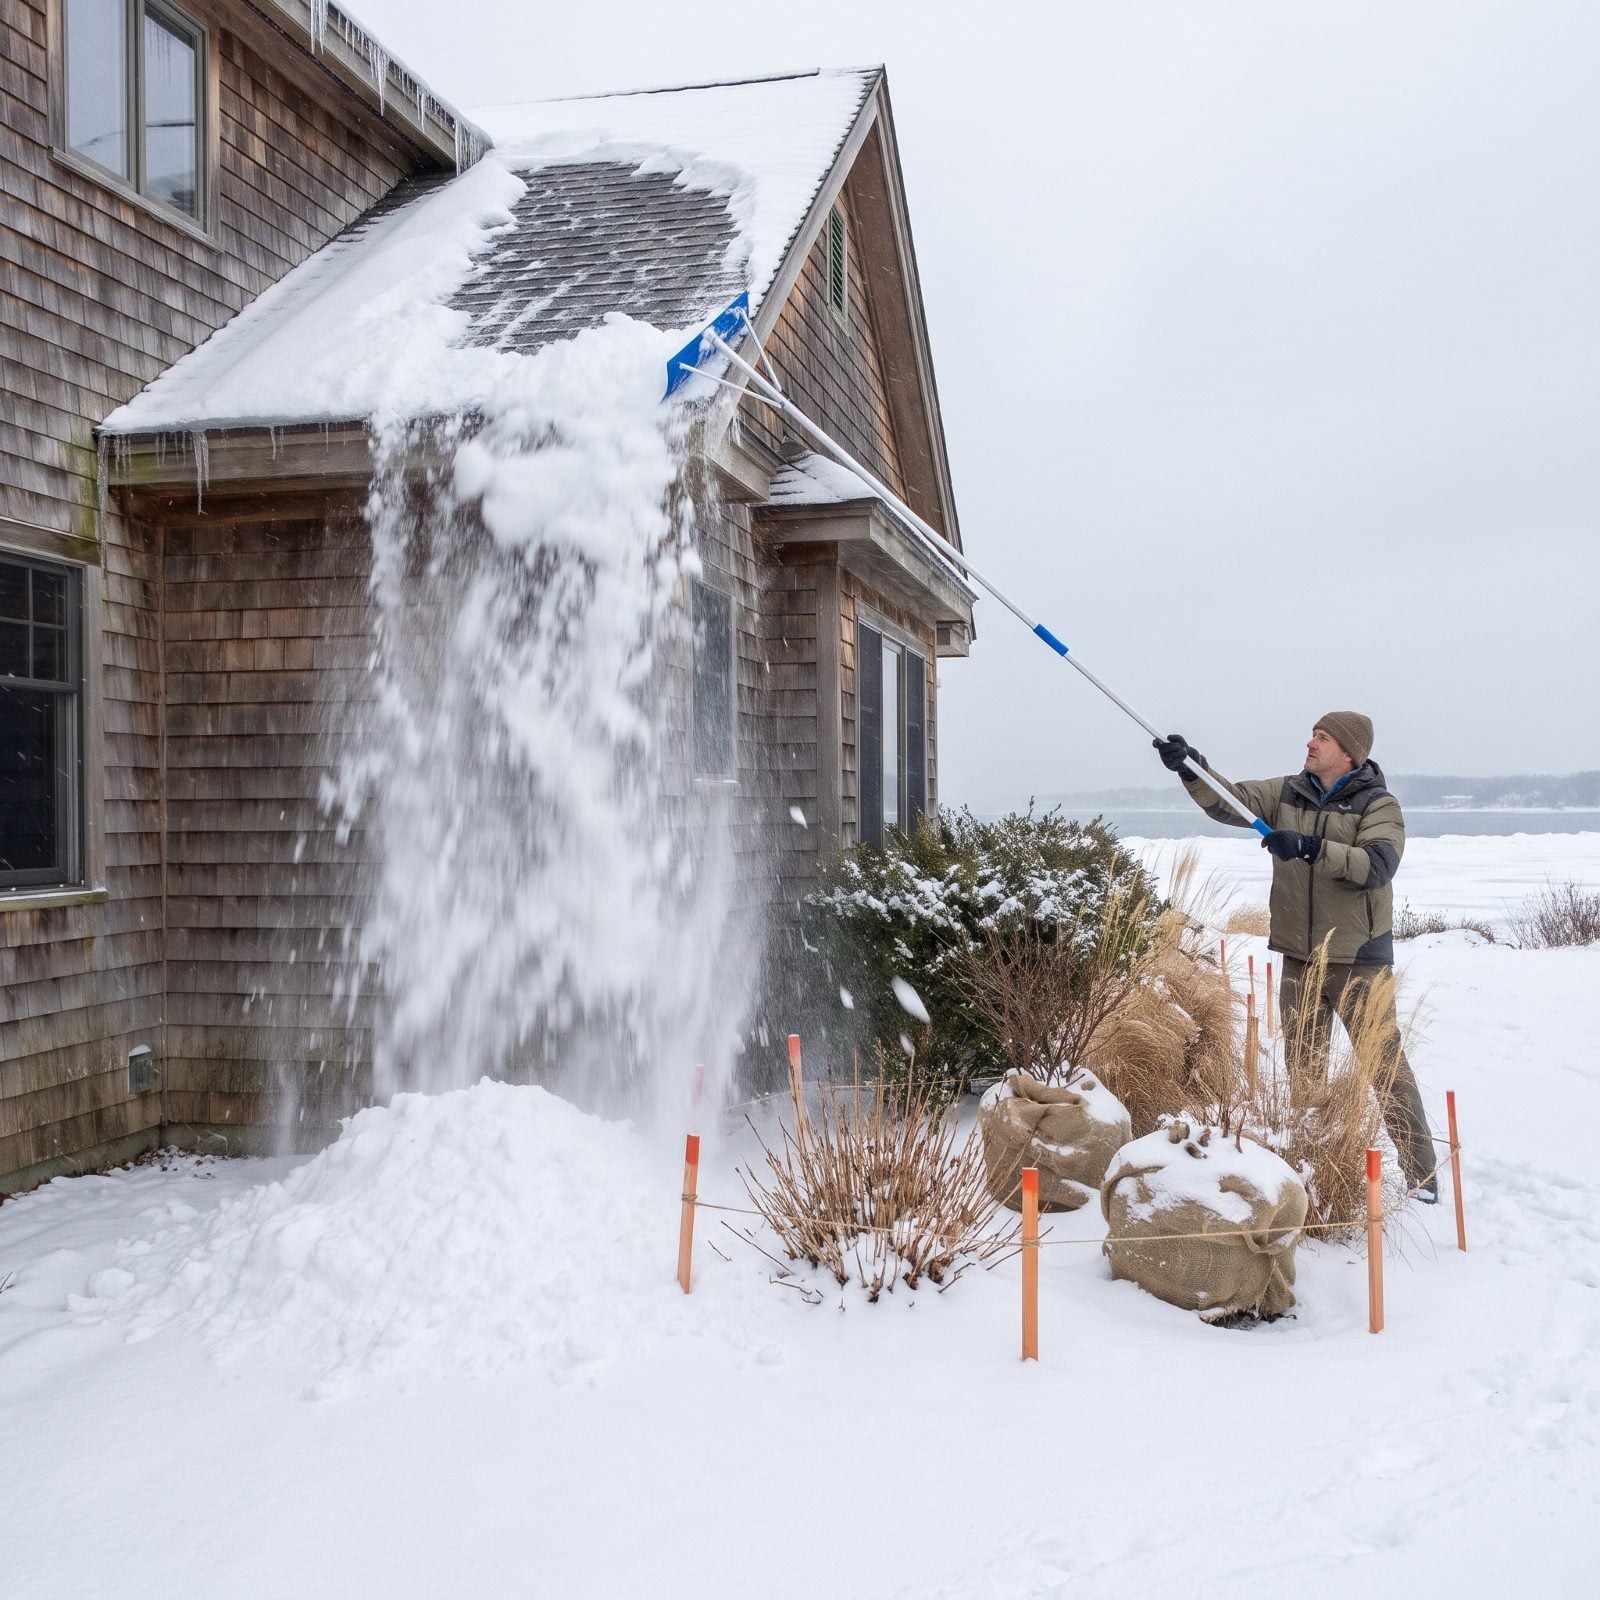
Roof-raking saves your eaves. It can also bury the exact plants in the bed along your foundation. All that snow has to land somewhere, and if you let it drop straight off the eave out of habit, you’re dumping a heavy, salty, ice-crusted load straight onto the dormant shrubs and grasses planted against the house wall.
Pull it the other way instead — toward the drive, toward an open lawn, anywhere the melt won’t smother new growth or crush the bed come spring. I used to let it all fall right off the eave because it was quick and easy, then watched a clump of switchgrass come back thin and sad two springs running before the penny finally dropped.
6. Wrap Saplings Against Beaver and Rabbit Damage
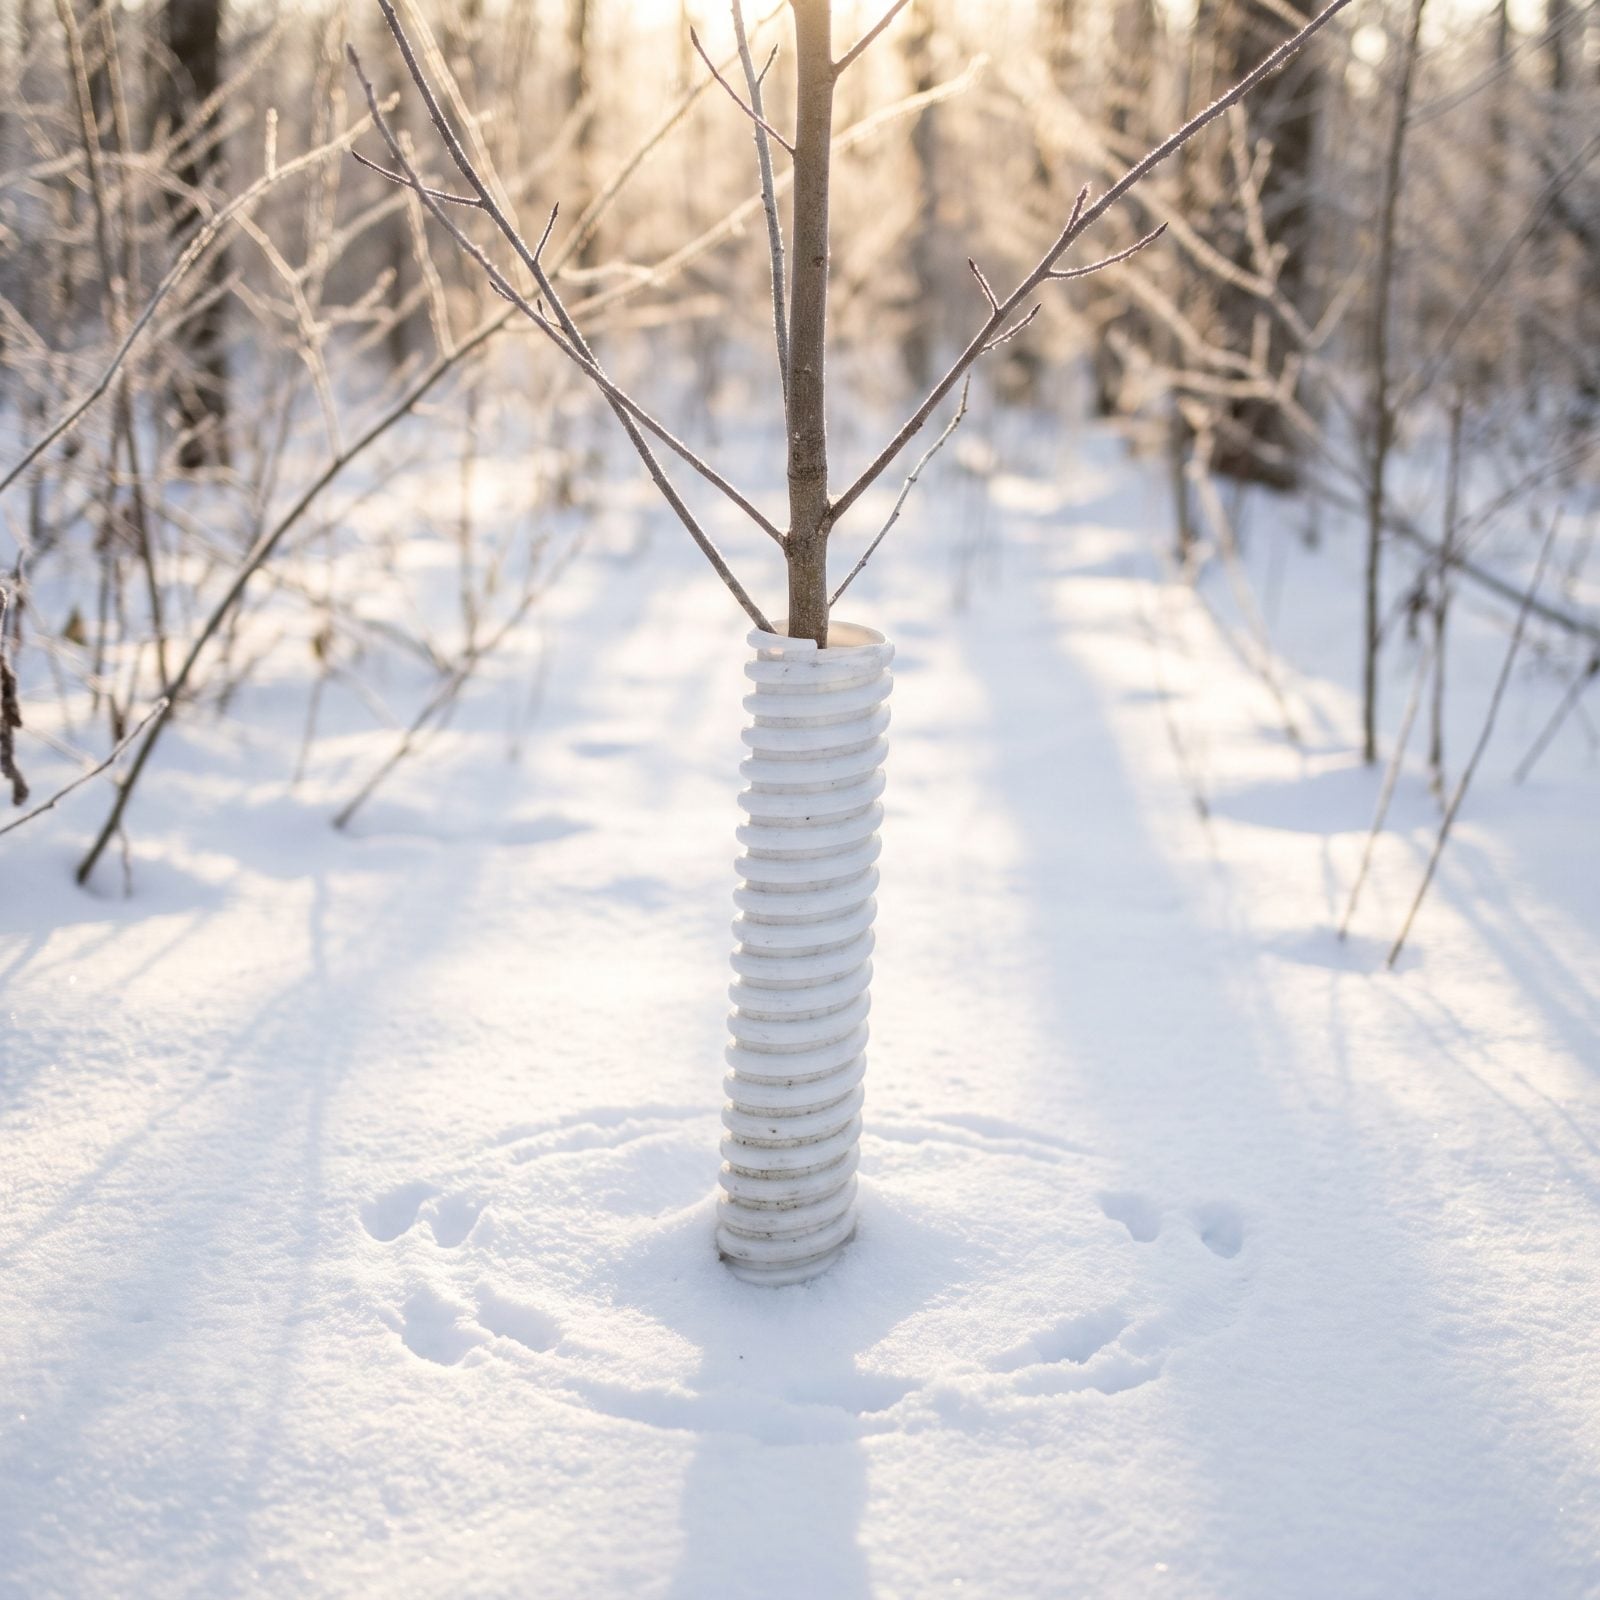
Winter is when the local wildlife gets honest about your landscaping budget. Rabbits gnaw bark at snow level because the drifts lift them right up to the tender stuff, and beavers, if you’ve got them, will fell a two-inch sapling overnight and leave you a pencil-point stump by the water.
Spiral guards handle the rabbits. For beaver country, wrap the trunk in a cylinder of quarter-inch hardware cloth — loose enough that the tree can grow, tight enough that teeth can’t reach. Push it a few inches into the ground so nobody tunnels under.
Do it before the deep snow sets in. Trying to wrap a frozen trunk in January, fingers numb, mesh fighting you the whole time? That’s a special kind of misery I’d rather you skip.
5. Use Sand Instead of Salt Near the Water
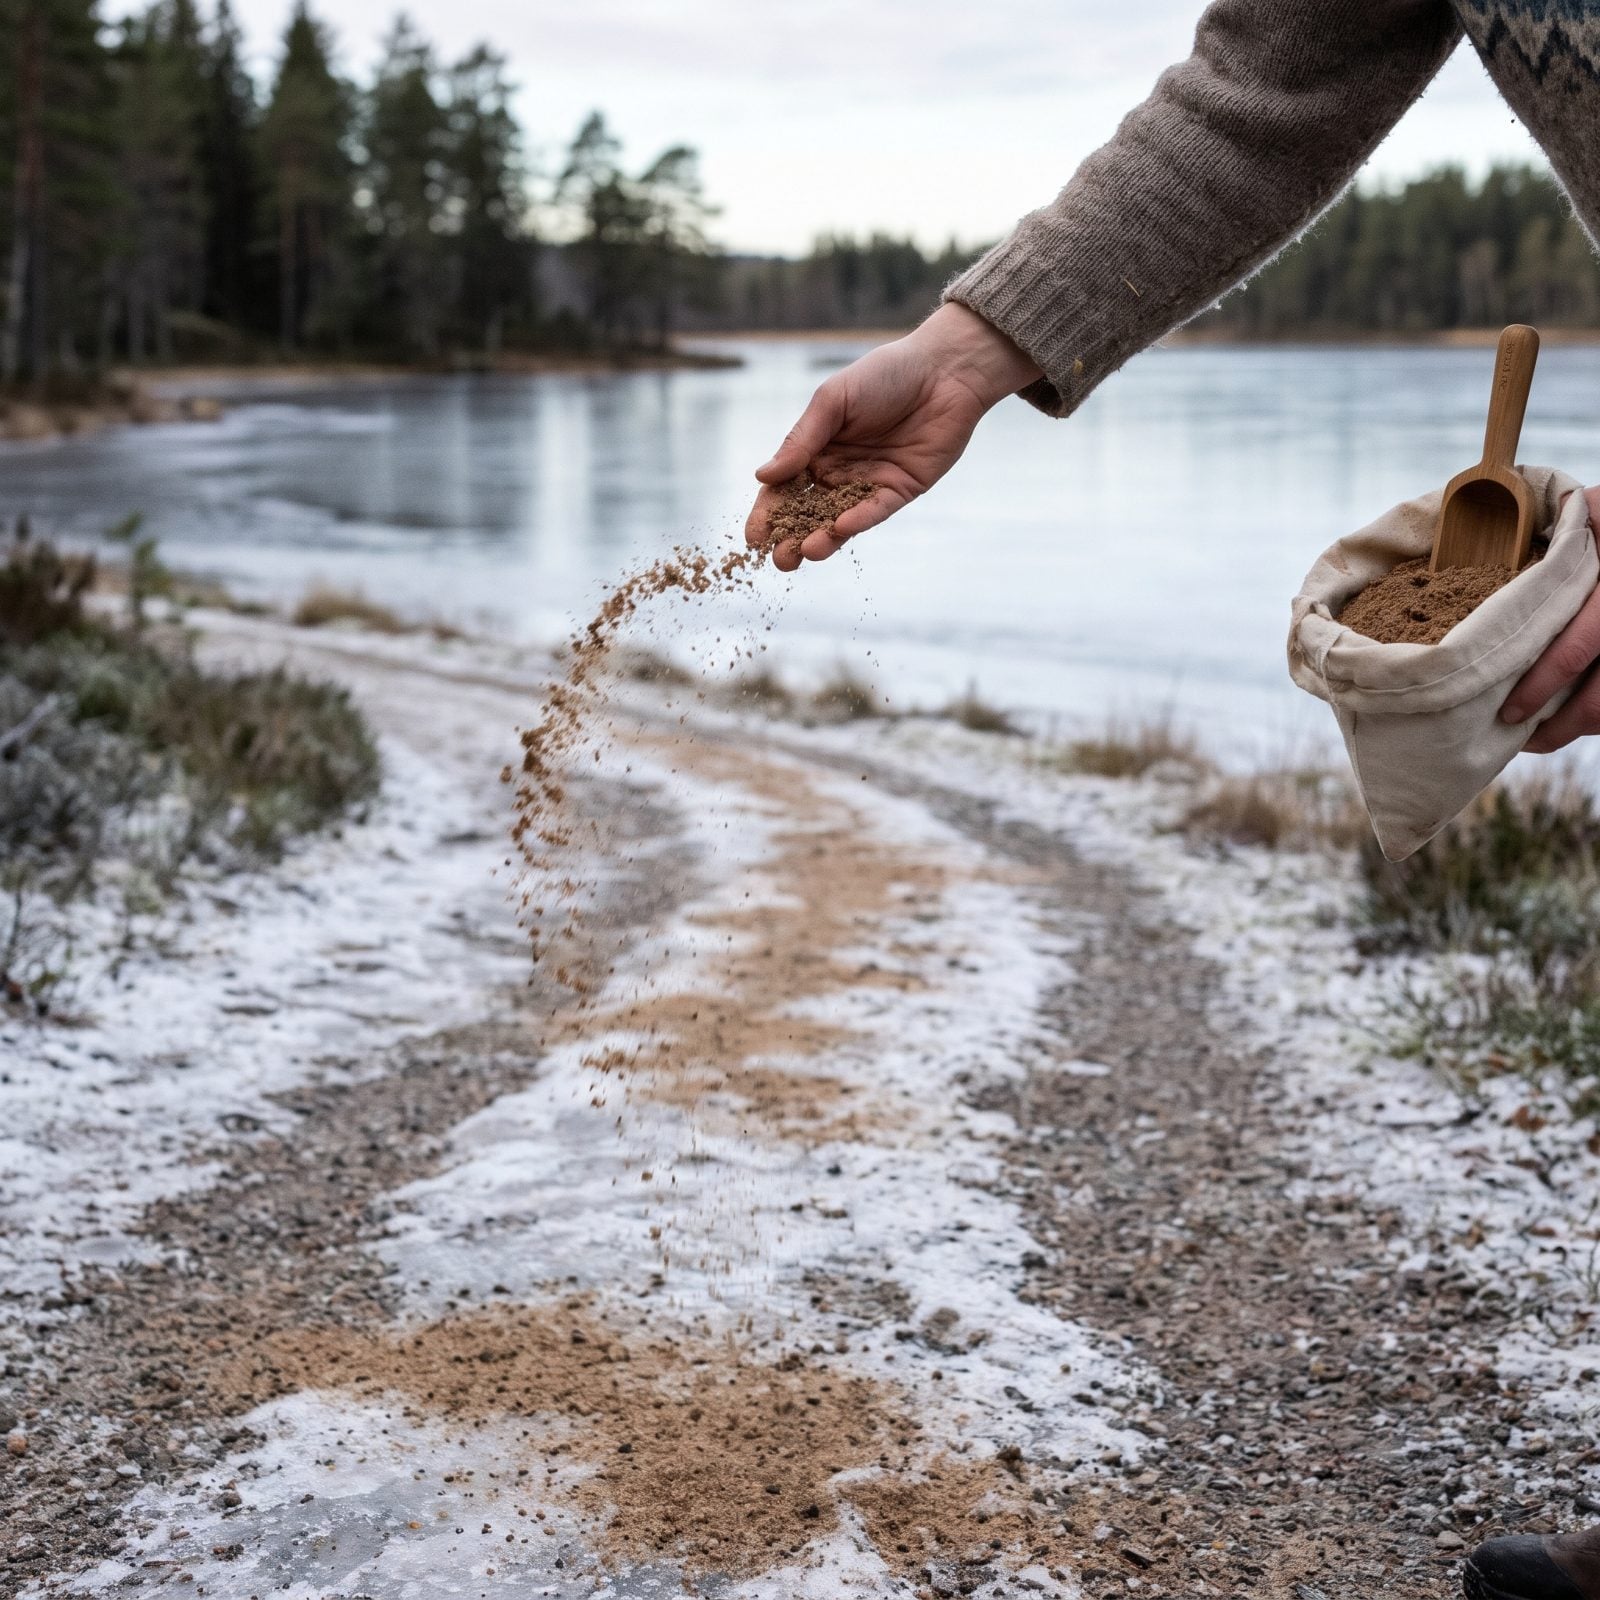
Salt melts ice and ruins everything downhill of it. On a lakefront, everything downhill of your path is the lake. Rock salt runs off into the water with the snowmelt, stresses the shoreline plants, and pits your concrete and dock hardware on the way out.
Plain coarse sand gives you traction without the chemistry. It won’t melt a thing, but it’ll keep you upright on an icy dock ramp, which is really all you want from it. Keep a bucket and a scoop by the door.
4. Shovel a Spring-Runoff Channel Before Thaws
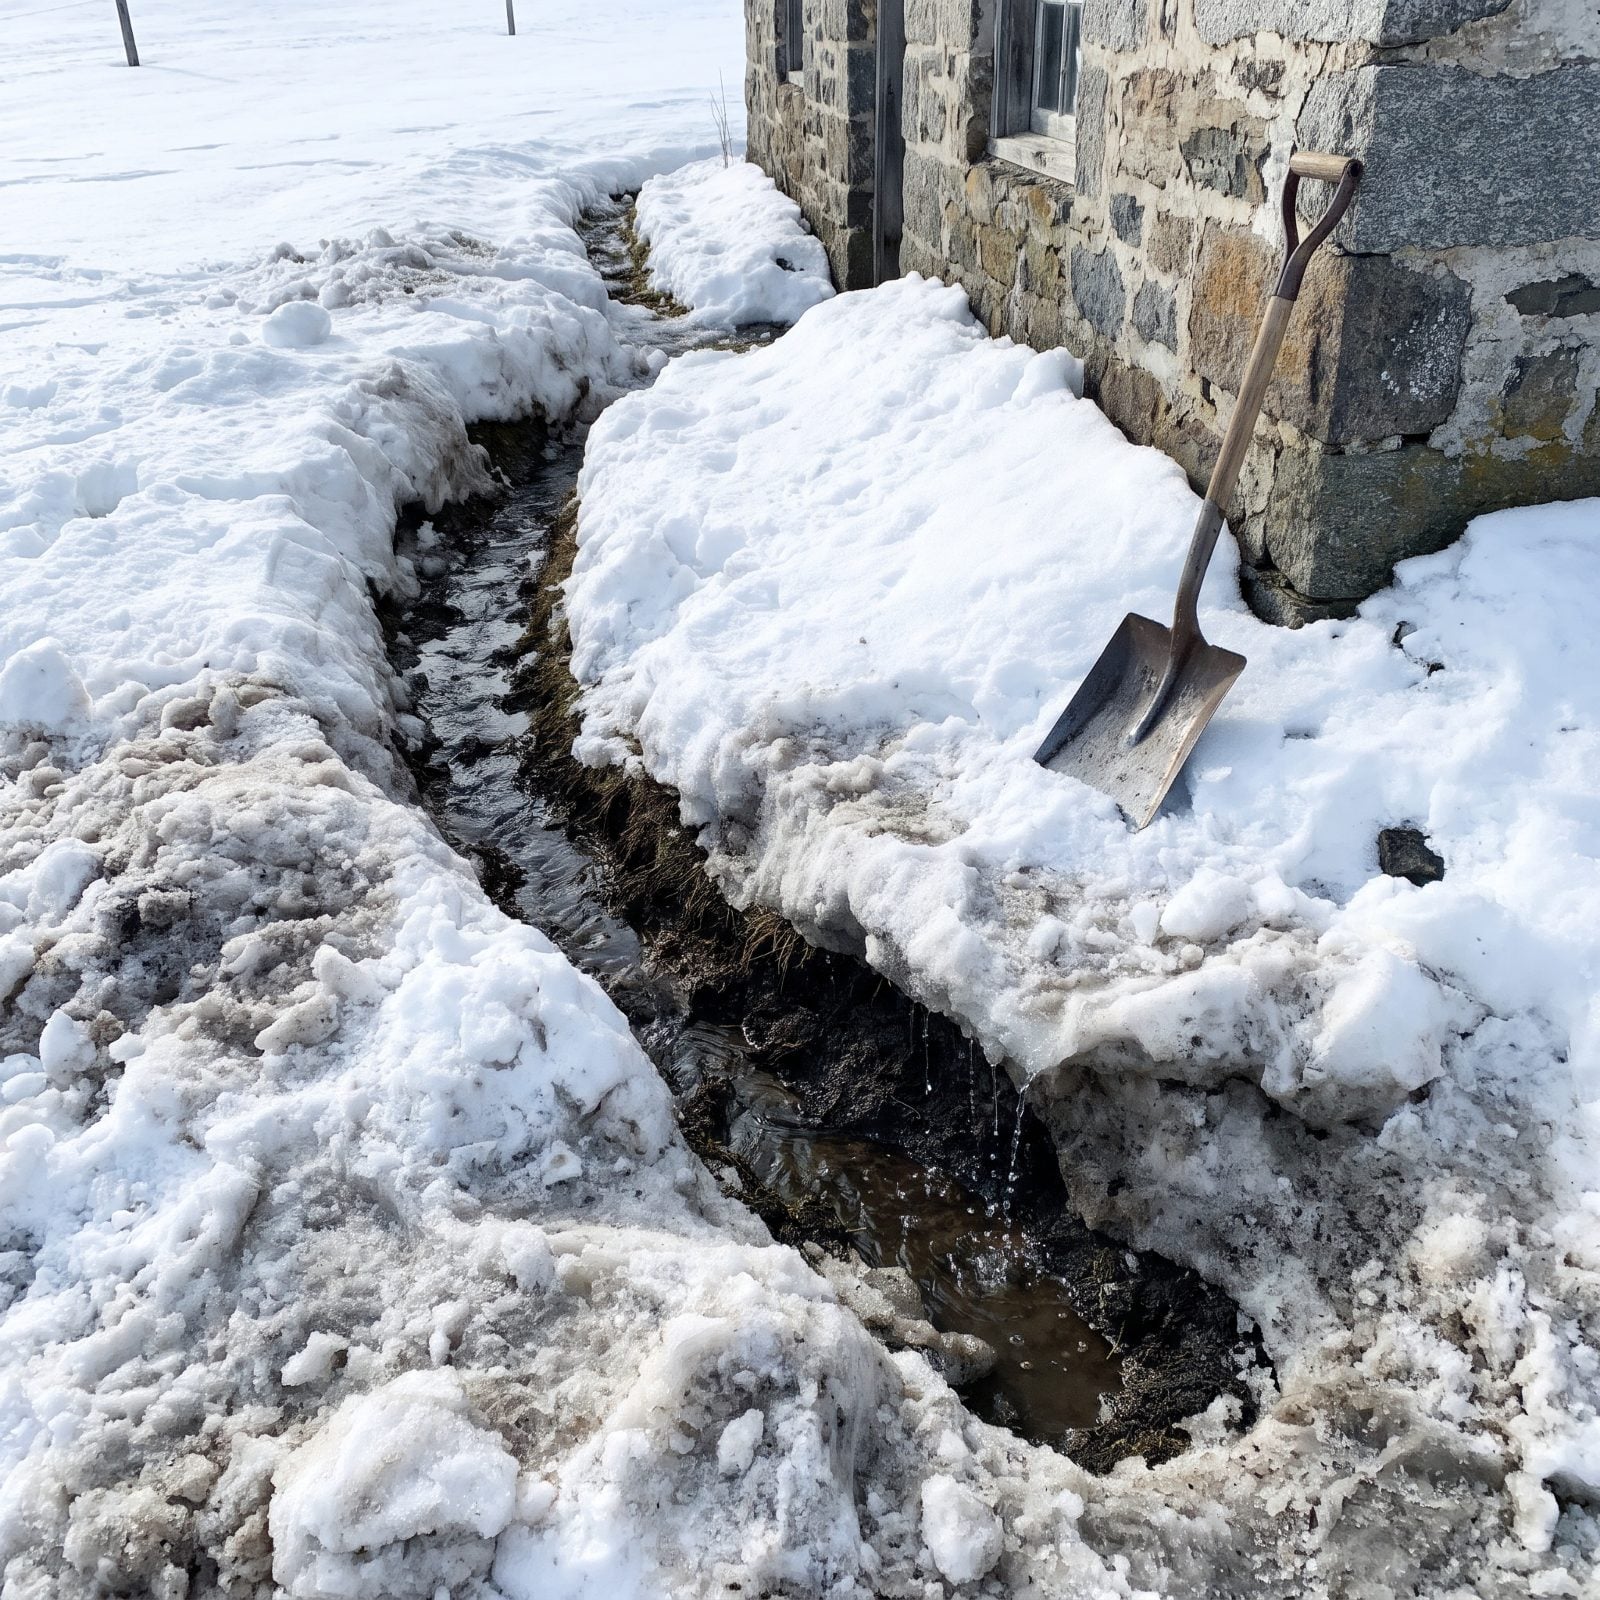
The first hard thaw moves a shocking amount of water, and water with nowhere to go picks the worst possible route — usually straight at your foundation, or in a sheet across the driveway that refreezes into a skating rink overnight.
Cut a shallow channel leading away from the wall, starting right where the downspout empties, so meltwater runs along the path you’d choose and away from the house instead of pooling against the foundation. A foot wide is plenty. Dig right down through the snow to bare dirt so the thaw has an open trench to follow.
Aim it toward a vegetated low spot. Never a bare bank you’ll watch erode. Ten minutes with a shovel in February saves you a muddy, gullied mess in April.
3. Move Snow Away From Walkout Basement Doors
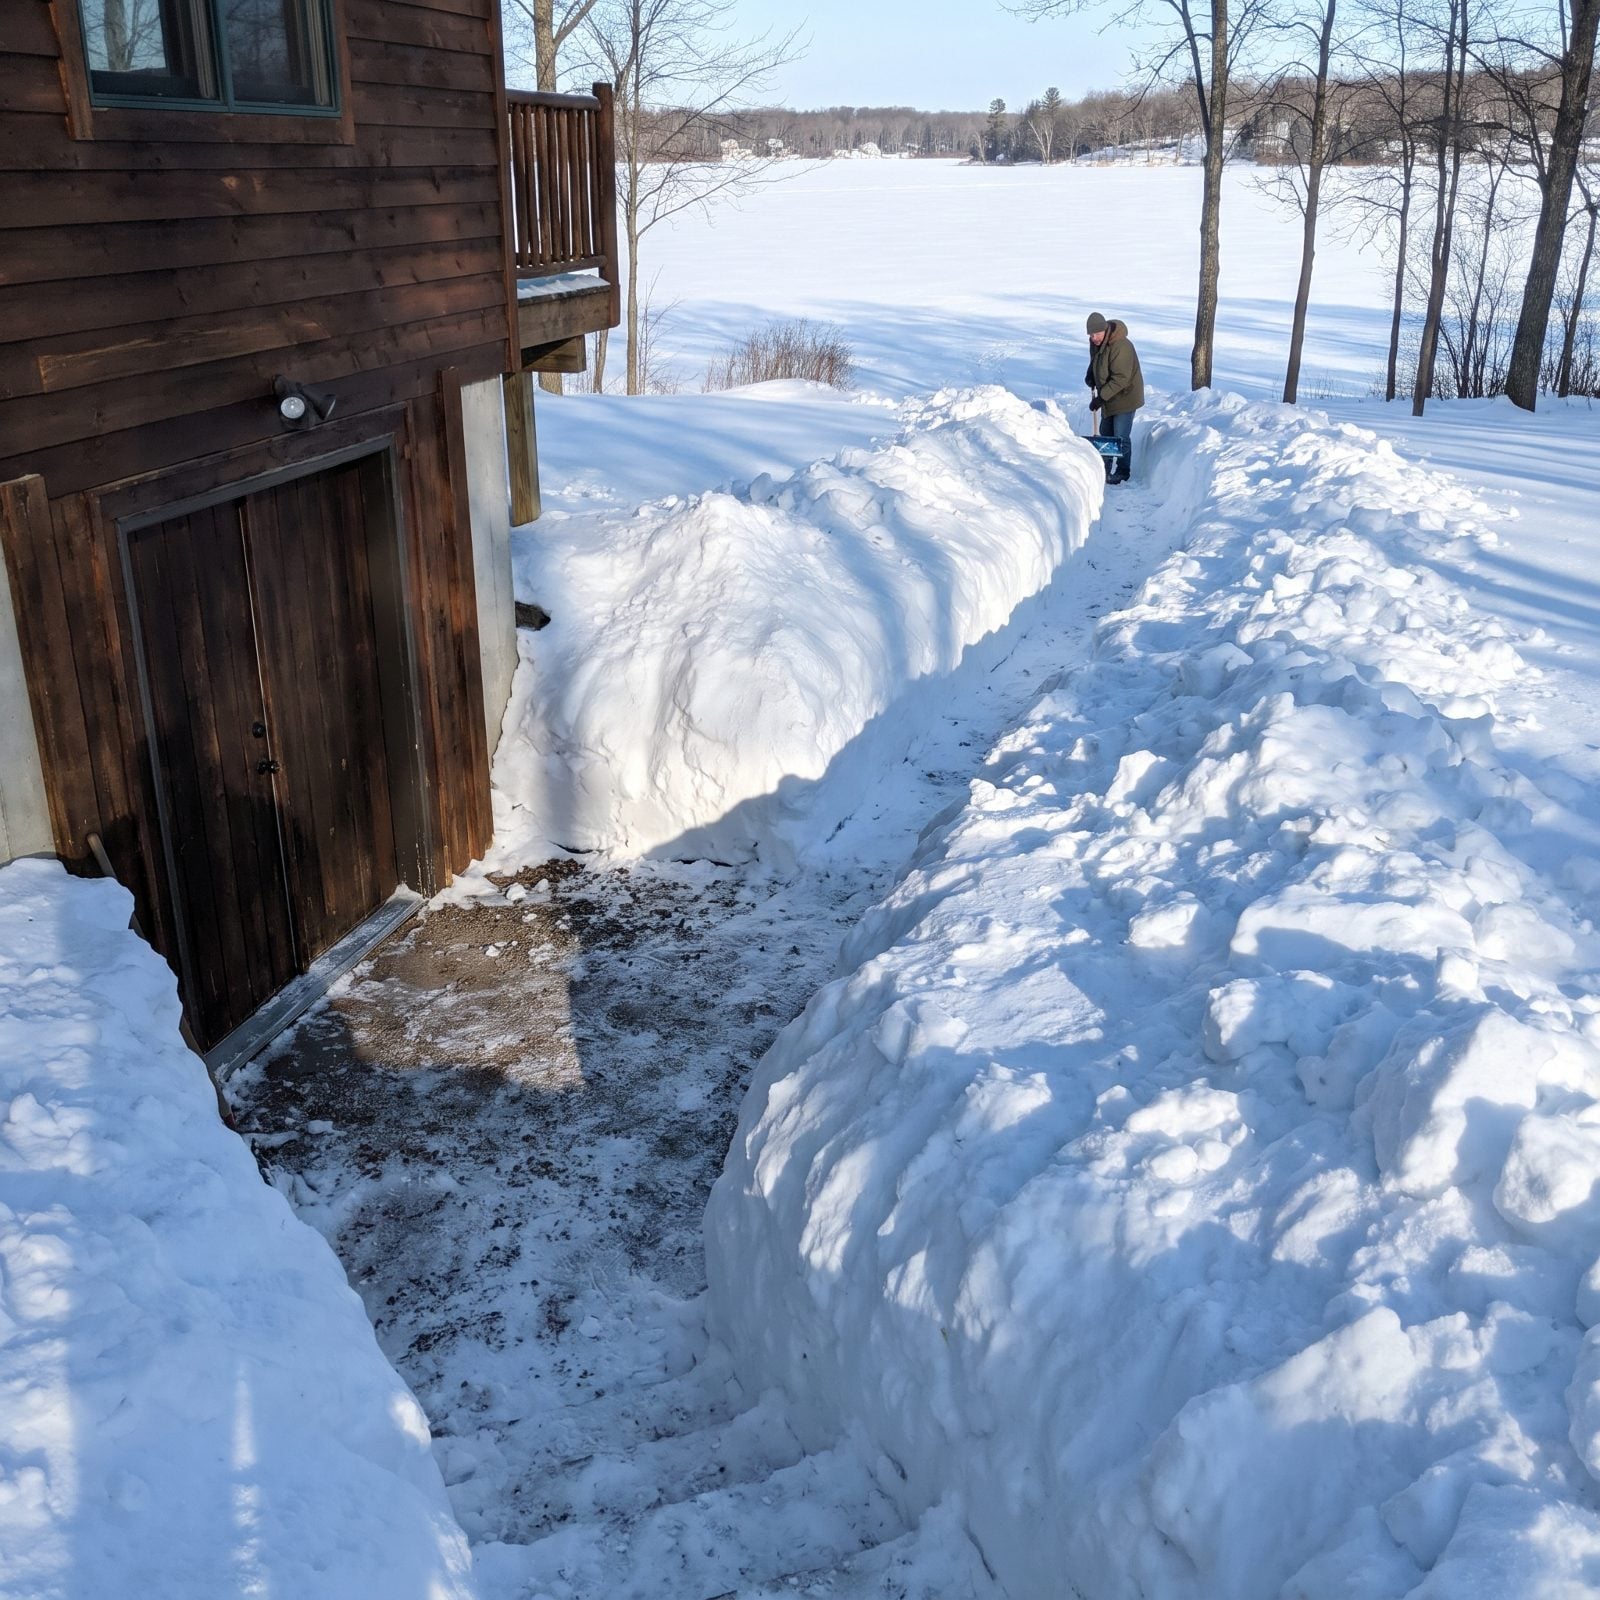
Walkout basements are the best thing about a sloped lake lot and the first thing to flood when you forget about them. Snow piled against that lower door doesn’t just block it — it melts right there at the threshold, pools, and finds the seam under the door.
Keep a buffer. Push the snow back a few feet so meltwater has somewhere flat to sit and drain instead of leaning on the sill, and clear the little weep gaps if your door has them.
I learned this when a January thaw sent an inch of water sliding across a basement floor I’d sworn was watertight. The door was fine. The snow mountain against it was not.
2. Clear Culvert Mouths During Midwinter Thaws
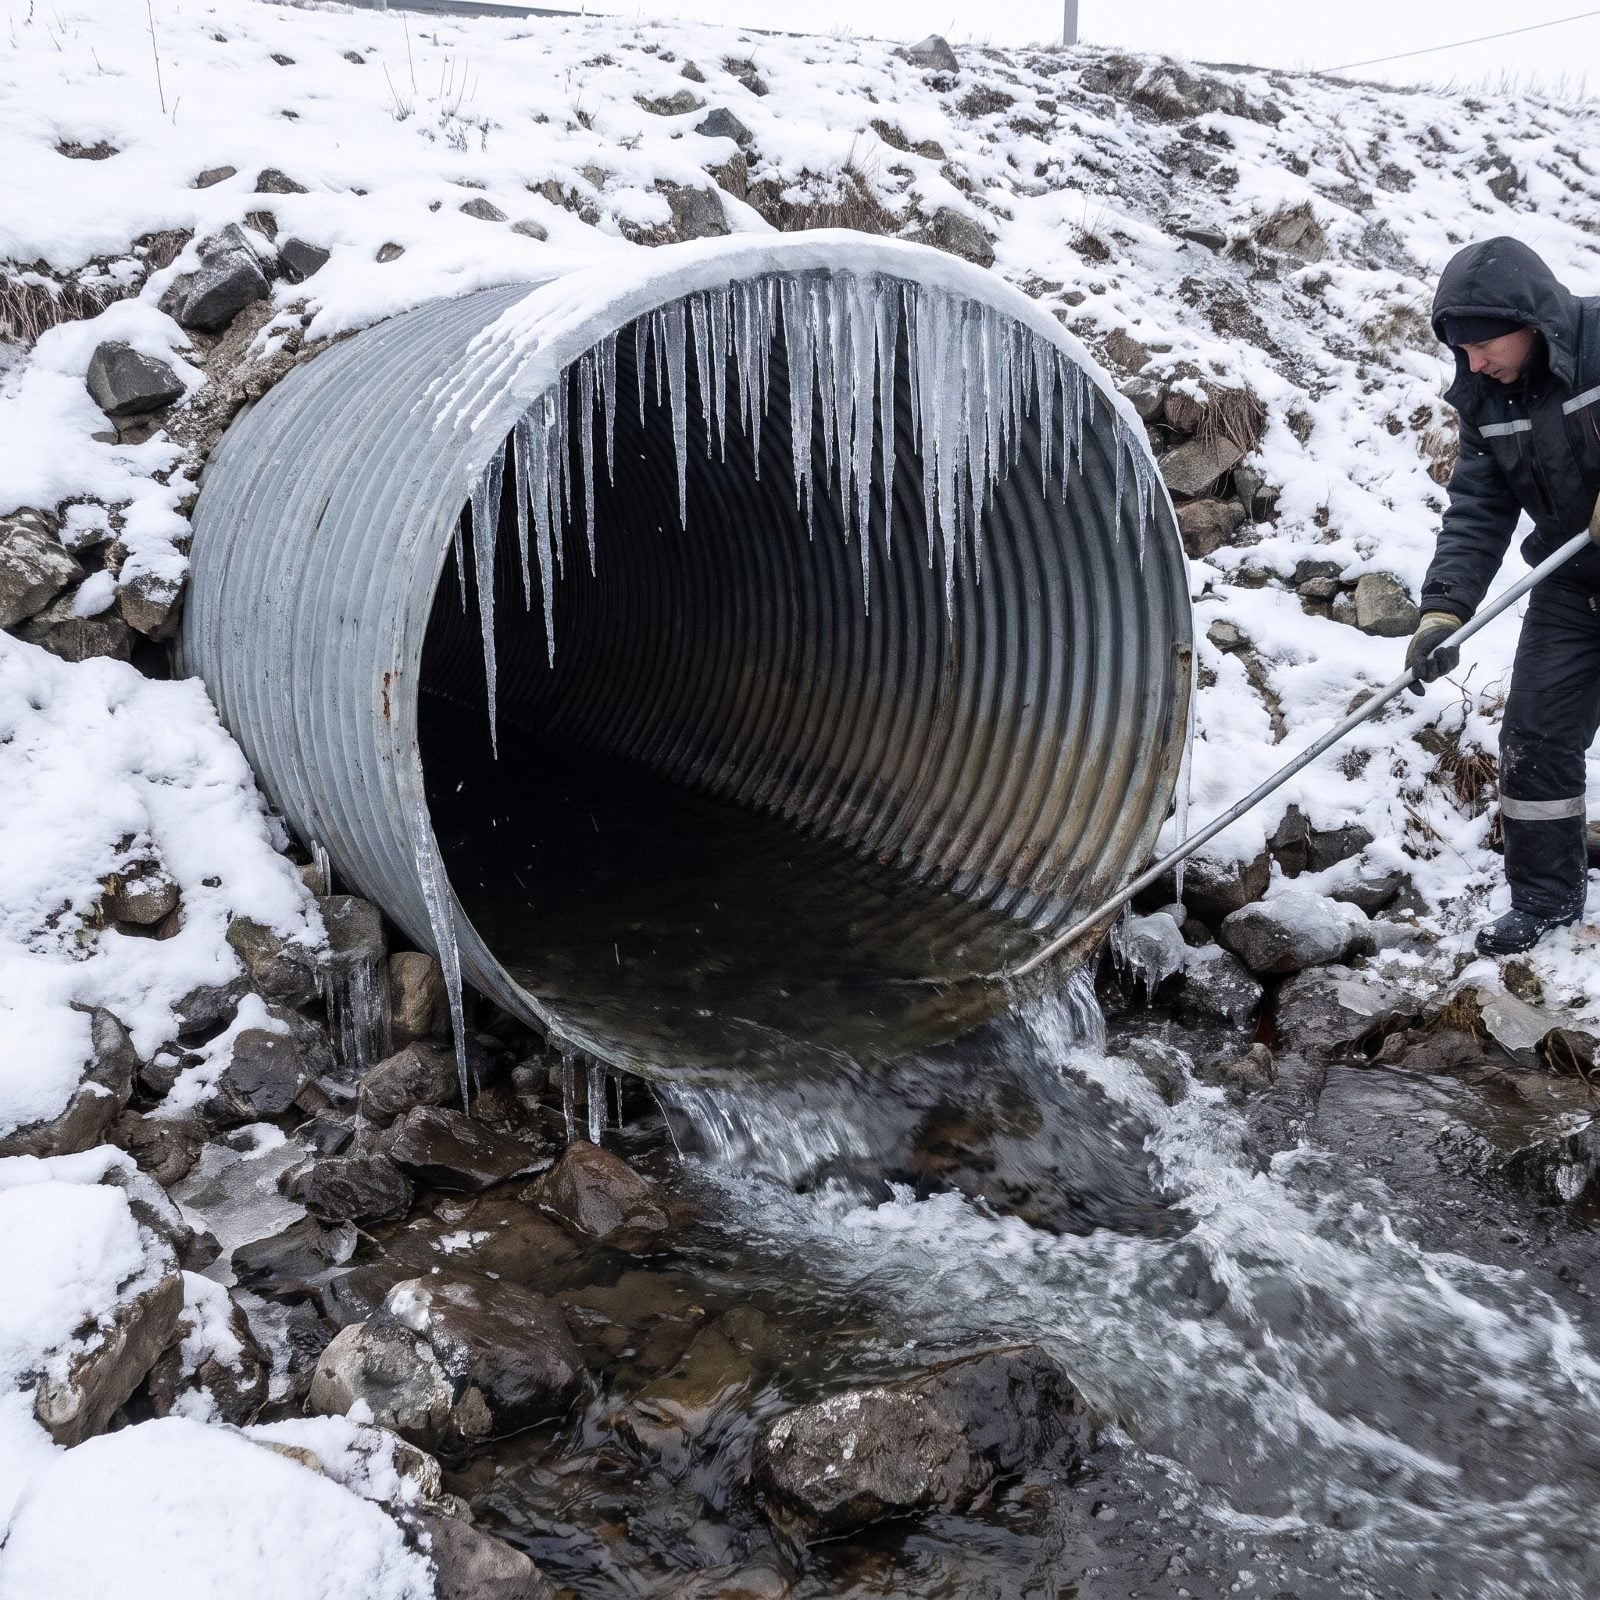
Culverts do nothing when they’re plugged, and midwinter is exactly when they plug. Ice creeps in from both ends, a thaw sends water at the blockage, and now it backs up over your driveway — or your neighbor’s — instead of running under it.
Walk your culverts on a warm day and chip the mouths clear. A steel bar and a few minutes usually does it. You’re not excavating the whole pipe, just reopening the ends so the midwinter melt has a path through.
1. Start Native Shoreline Plants Indoors

The cheapest way to armor a shoreline is to grow the armor yourself over winter. Native sedges, rushes, and bunch grasses cost real money as plugs in May, and a flat of them adds up fast when you’re planting a whole bank.
Here’s the lucky part: many of them want a cold spell to germinate anyway, so winter is their season. Sow some seed in damp pots, leave it to chill, then bring it into the light, and it wakes up on its own schedule. By the time the ice goes out and the ground softens, you’ve got rooted plants ready for the bank instead of an invoice from the nursery.
Check your species first. A few need specific cold-moist treatment and timing, and guessing wastes a whole season. Honestly, it depends on what you’re growing — and the seed packet usually tells you straight.