
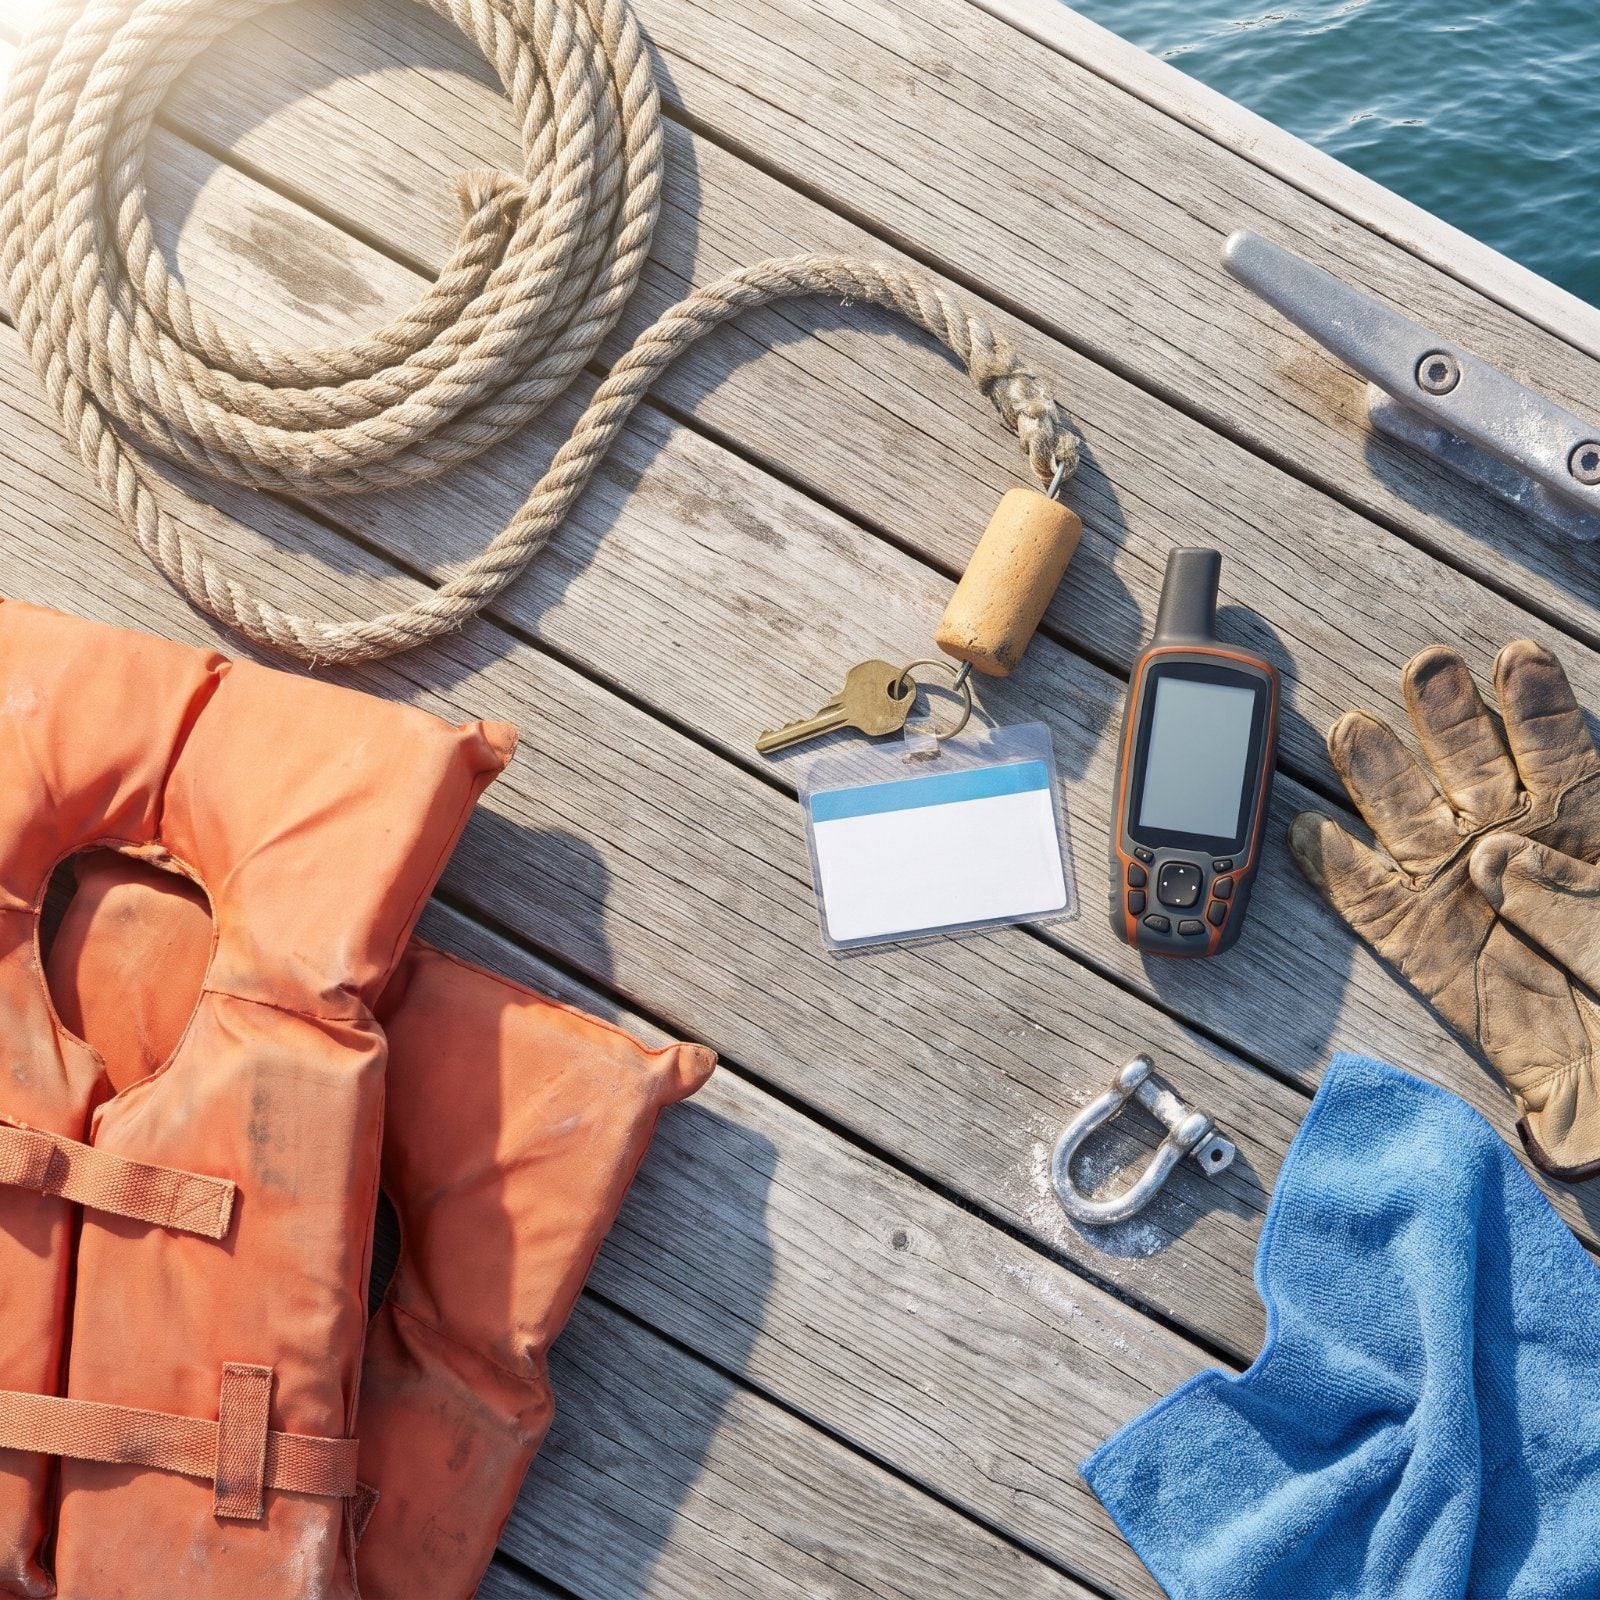
The best boat owners aren’t the ones with the most gear. They’re the ones who figured out what to leave behind. Somewhere around the third or fourth season, something shifts: you stop doing the stuff that felt responsible and start doing the stuff that actually works. The habits below look sensible on paper, and most of us did them for years, and every one of them quietly eats your weekend, your fuel, or your patience. Here’s what the folks who launch fast and dock calm have already abandoned.
Please note that some of the imagery in this article may have been enhanced with the assistance of AI.
38. Packing the Entire Boat at the Launch Ramp
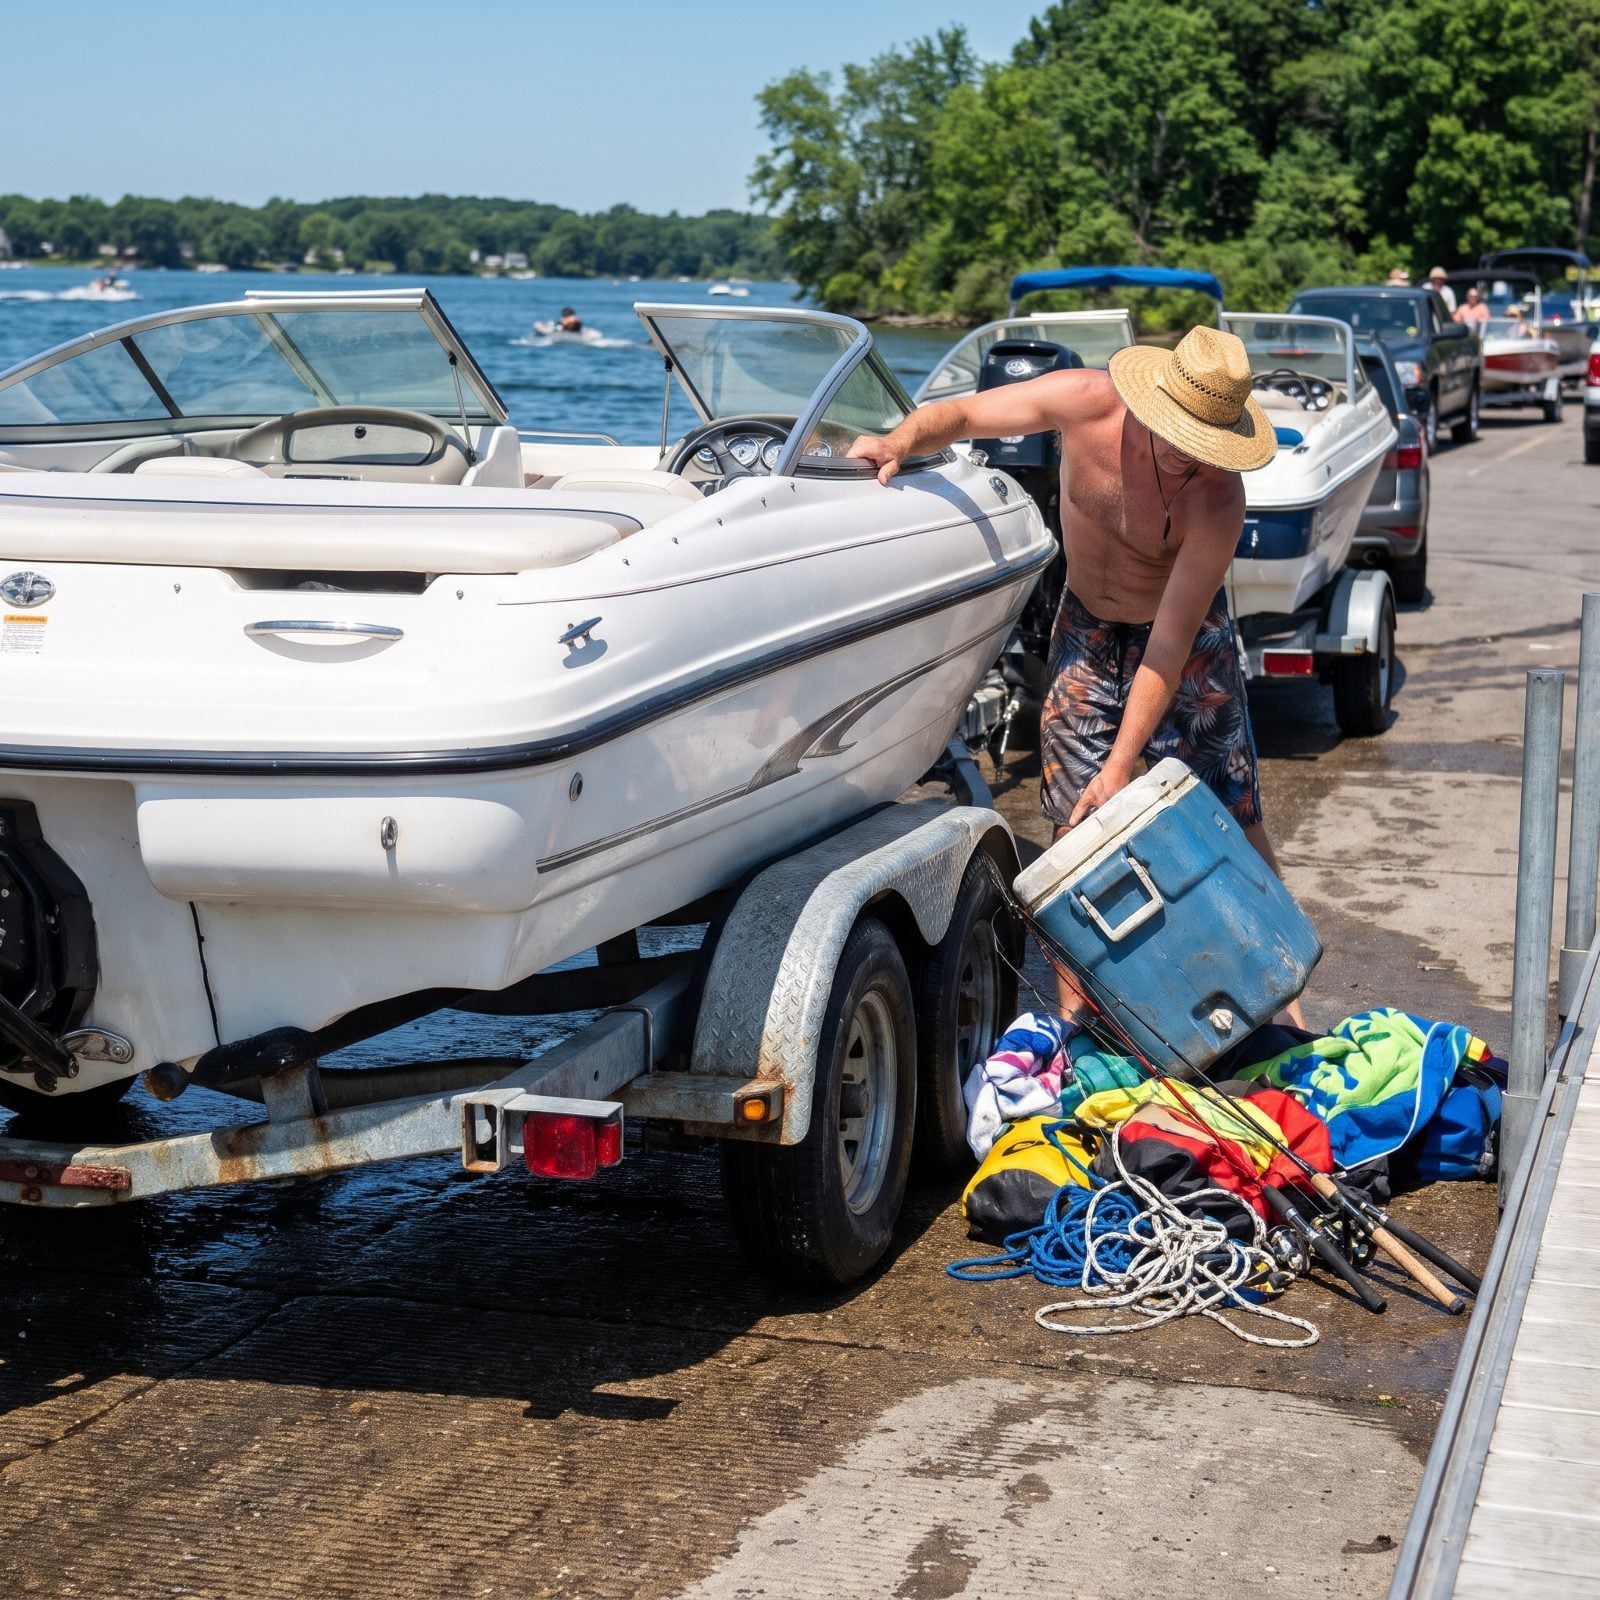
You back the trailer down, pop the straps, and then start handing coolers, rods, and tubes into the boat while a line of trucks idles behind you. We all did it. It feels efficient because everything is right there in the truck bed.
It isn’t. The ramp is the single most expensive real estate at the lake, measured in other people’s patience and your own blood pressure. Every minute you spend stowing a cooler is a minute the boat isn’t floating.
Load the boat on the trailer back in the parking lot before you ever touch the ramp. Coolers strapped, rods racked, bags clipped. When you back down, you launch, pull the trailer out, and go. Now the ramp is a thirty-second stop instead of a scene.
37. Bringing Every Piece of Gear on Every Trip

The pack that carries everything hikes like it carries everything. Climbing rope, a sleeping bag, the spare duffel, every jacket we own, three pairs of boots, enough snacks for a siege. We hauled all of it because leaving something home felt like tempting fate.
But a loaded pack rides heavier, burns more energy, and turns every rest stop into an archaeology dig through the side pockets. You end up fighting your own stuff to find the sunscreen.
Build two kits. A small permanent one that lives in your pack — map and compass, basic tools, first aid, a layer or two — and a trip kit you pack for the day’s actual plan. Climbing day gets the rope. Overnight gets the sleeping bag. Not both, not always.
36. Towing With a Full Freshwater Tank
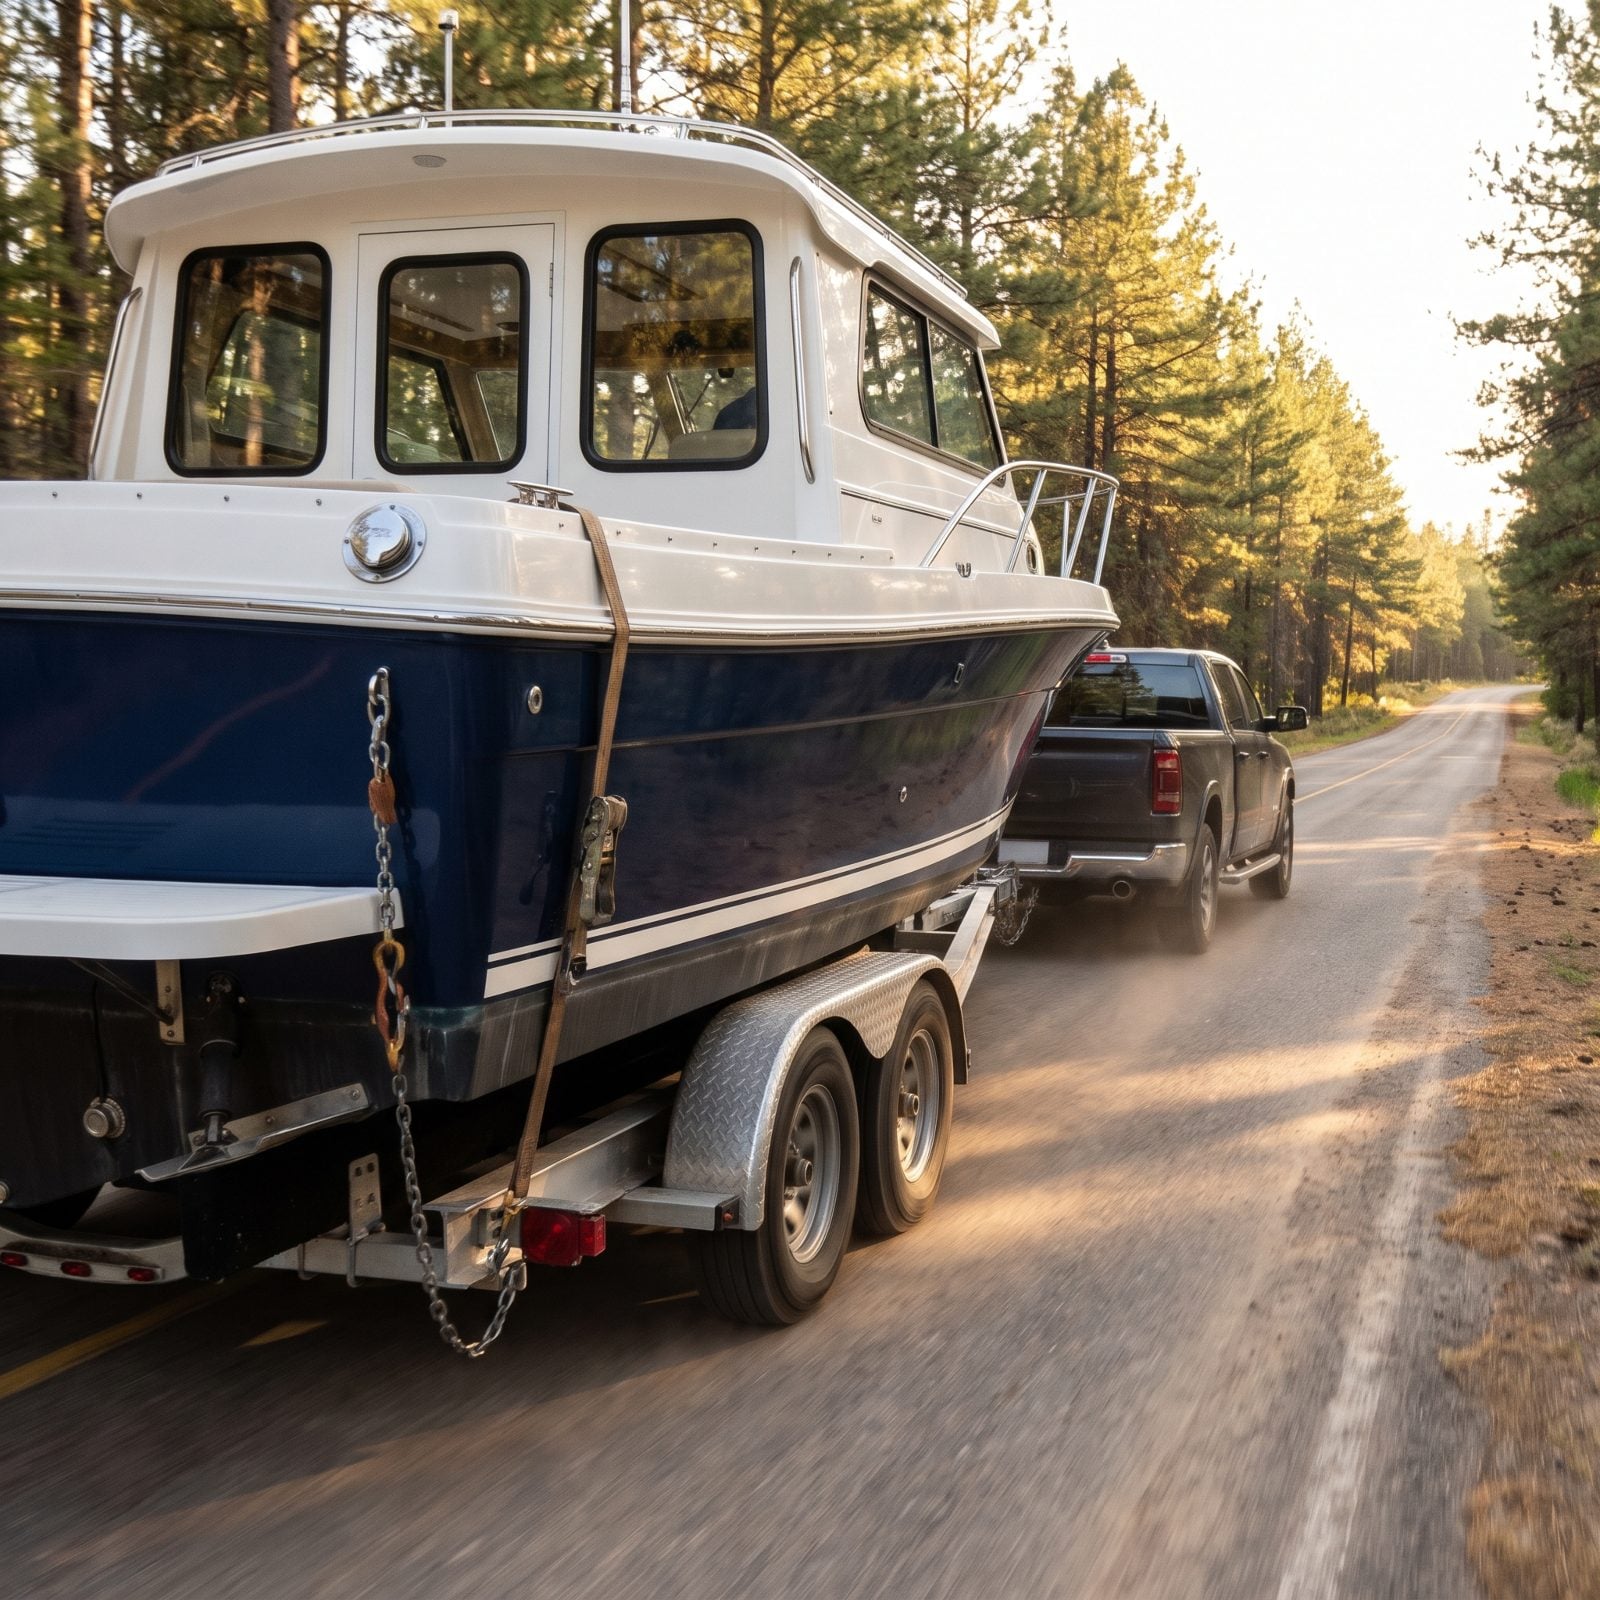
Water weighs about eight pounds a gallon. A fifty-gallon freshwater tank is four hundred pounds of nothing useful riding on your trailer tongue, sloshing around every corner on the way to the ramp.
That weight costs you fuel, chews through trailer tires and bearings, and shifts your tongue balance in ways that can make the whole rig squirrely at highway speed. You’re towing a load you don’t need yet.
Tow with the tank near empty and fill it at the lake — either through an onboard fill or once you’re floating. The trailer tows lighter, tracks straighter, and you’re not dragging the same water back and forth all summer.
35. Storing Inflated Towables on Deck
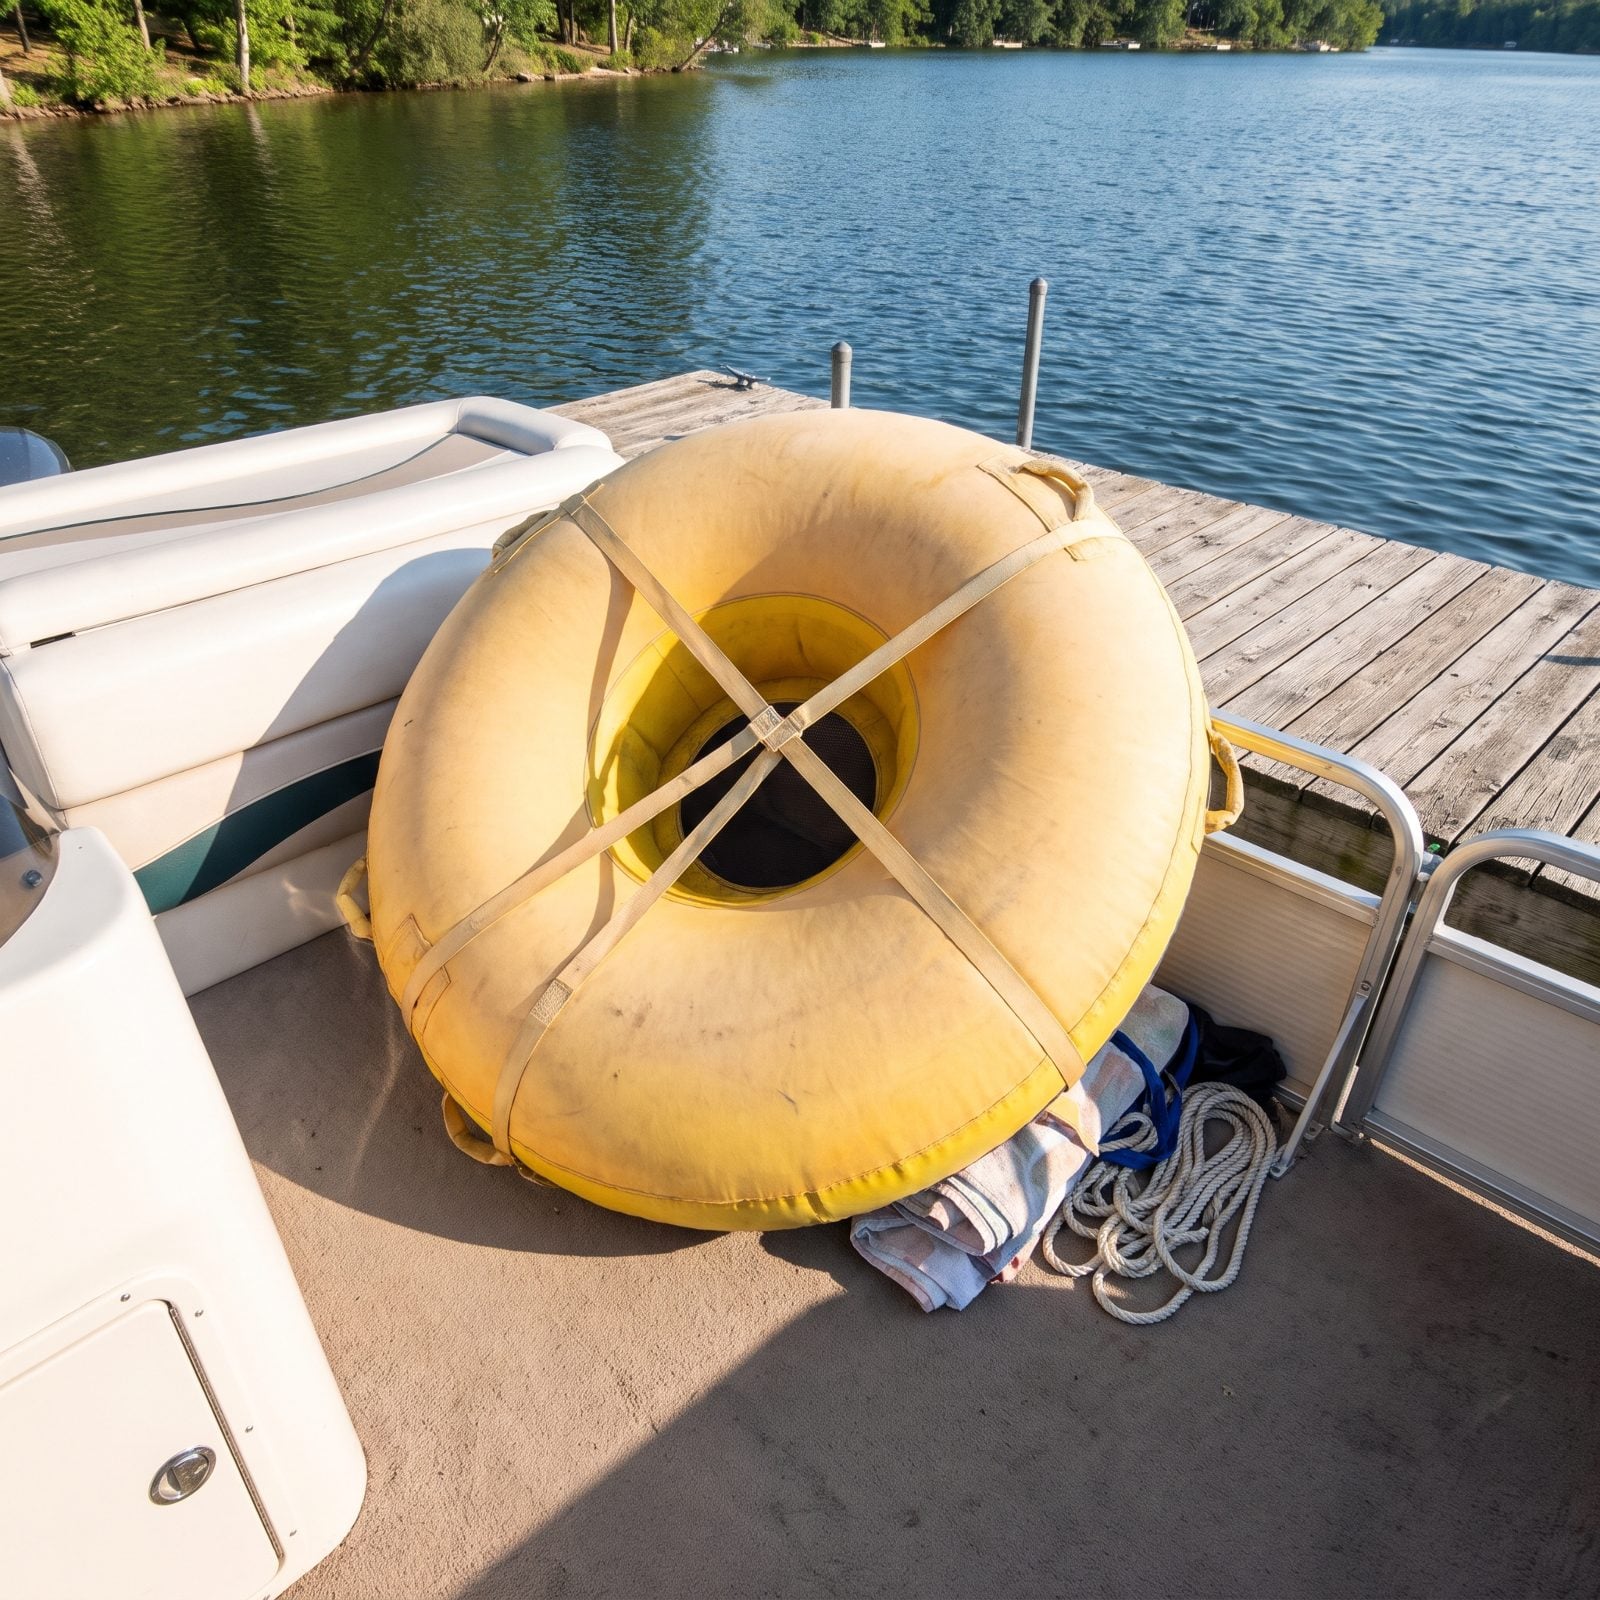
You leave the tubes inflated so they’re ready to go. Makes sense right up until the sun gets involved.
Inflated vinyl bakes in UV all week, the material goes brittle and chalky, and the seams give out a season or two early. They also eat your whole deck, blow around at the dock, and make the boat a pain to cover. Heat expands the trapped air, too, which stresses every seam while you’re not even using them.
Deflate and roll them after each outing. They store flat under a seat, last years longer, and a decent twelve-volt pump re-inflates one in under two minutes. That’s the trade: two minutes at the launch versus a cracked tube in July.
34. Keeping Life Jackets Buried Under the Seat Cushions
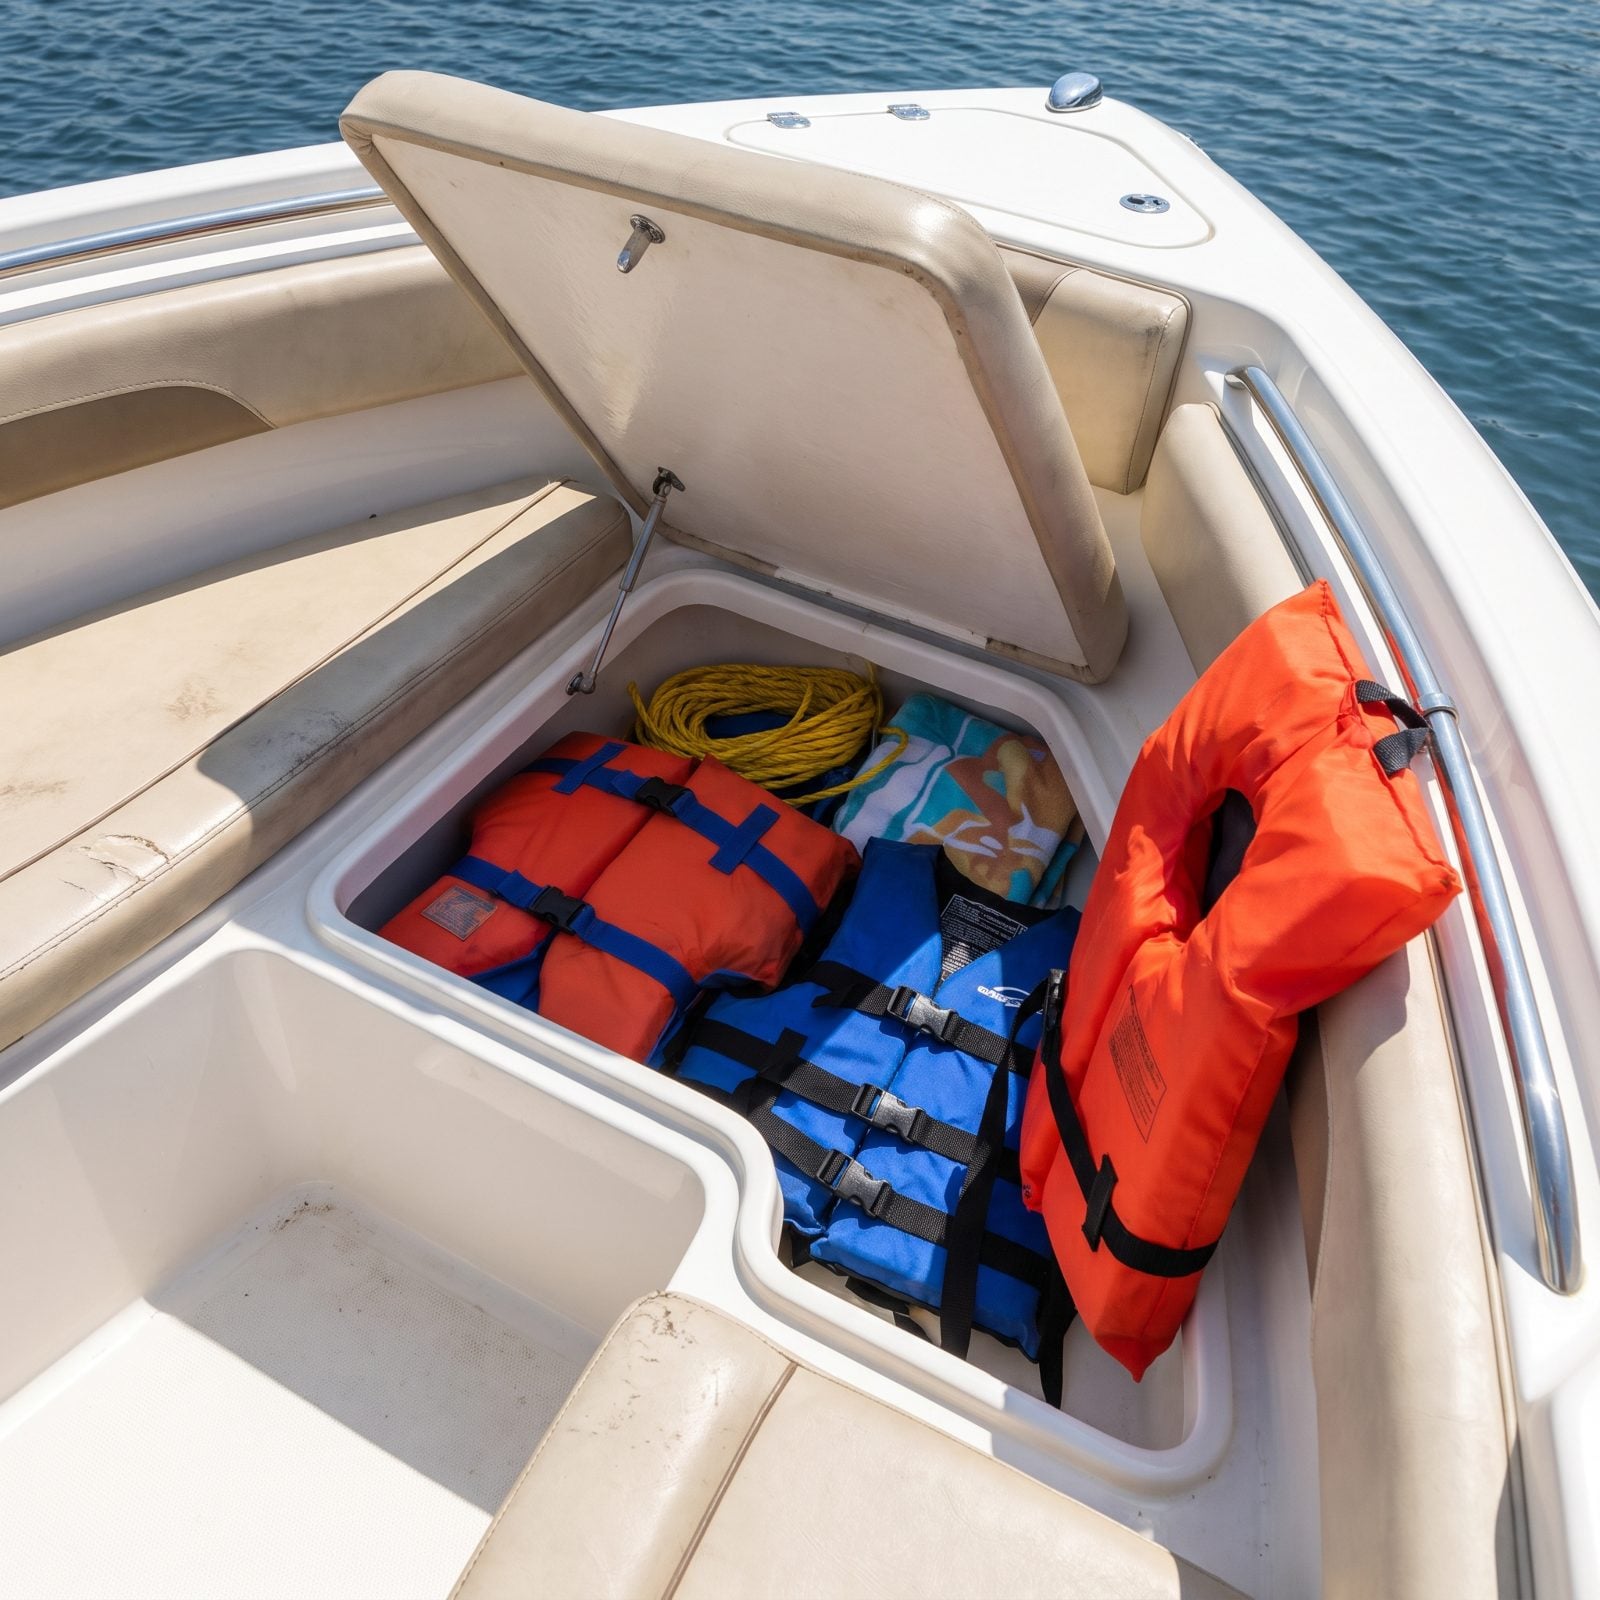
The life jackets go in the deep locker under the bow cushion, under the rope, under the cooler. Out of the way. Tidy.
Here’s the problem: the one moment you need a life jacket fast is the exact moment you don’t have thirty seconds to unbury it. A PFD you can’t reach in a hurry is decoration, not safety gear.
Keep at least the throwable and one or two wearable jackets somewhere you can grab them — a seatback cradle, a grab rail, right by the helm. Stash the spares below. On the water, reachable beats organized every single time.
33. Keeping Expired Flares as Your Primary Signal Kit
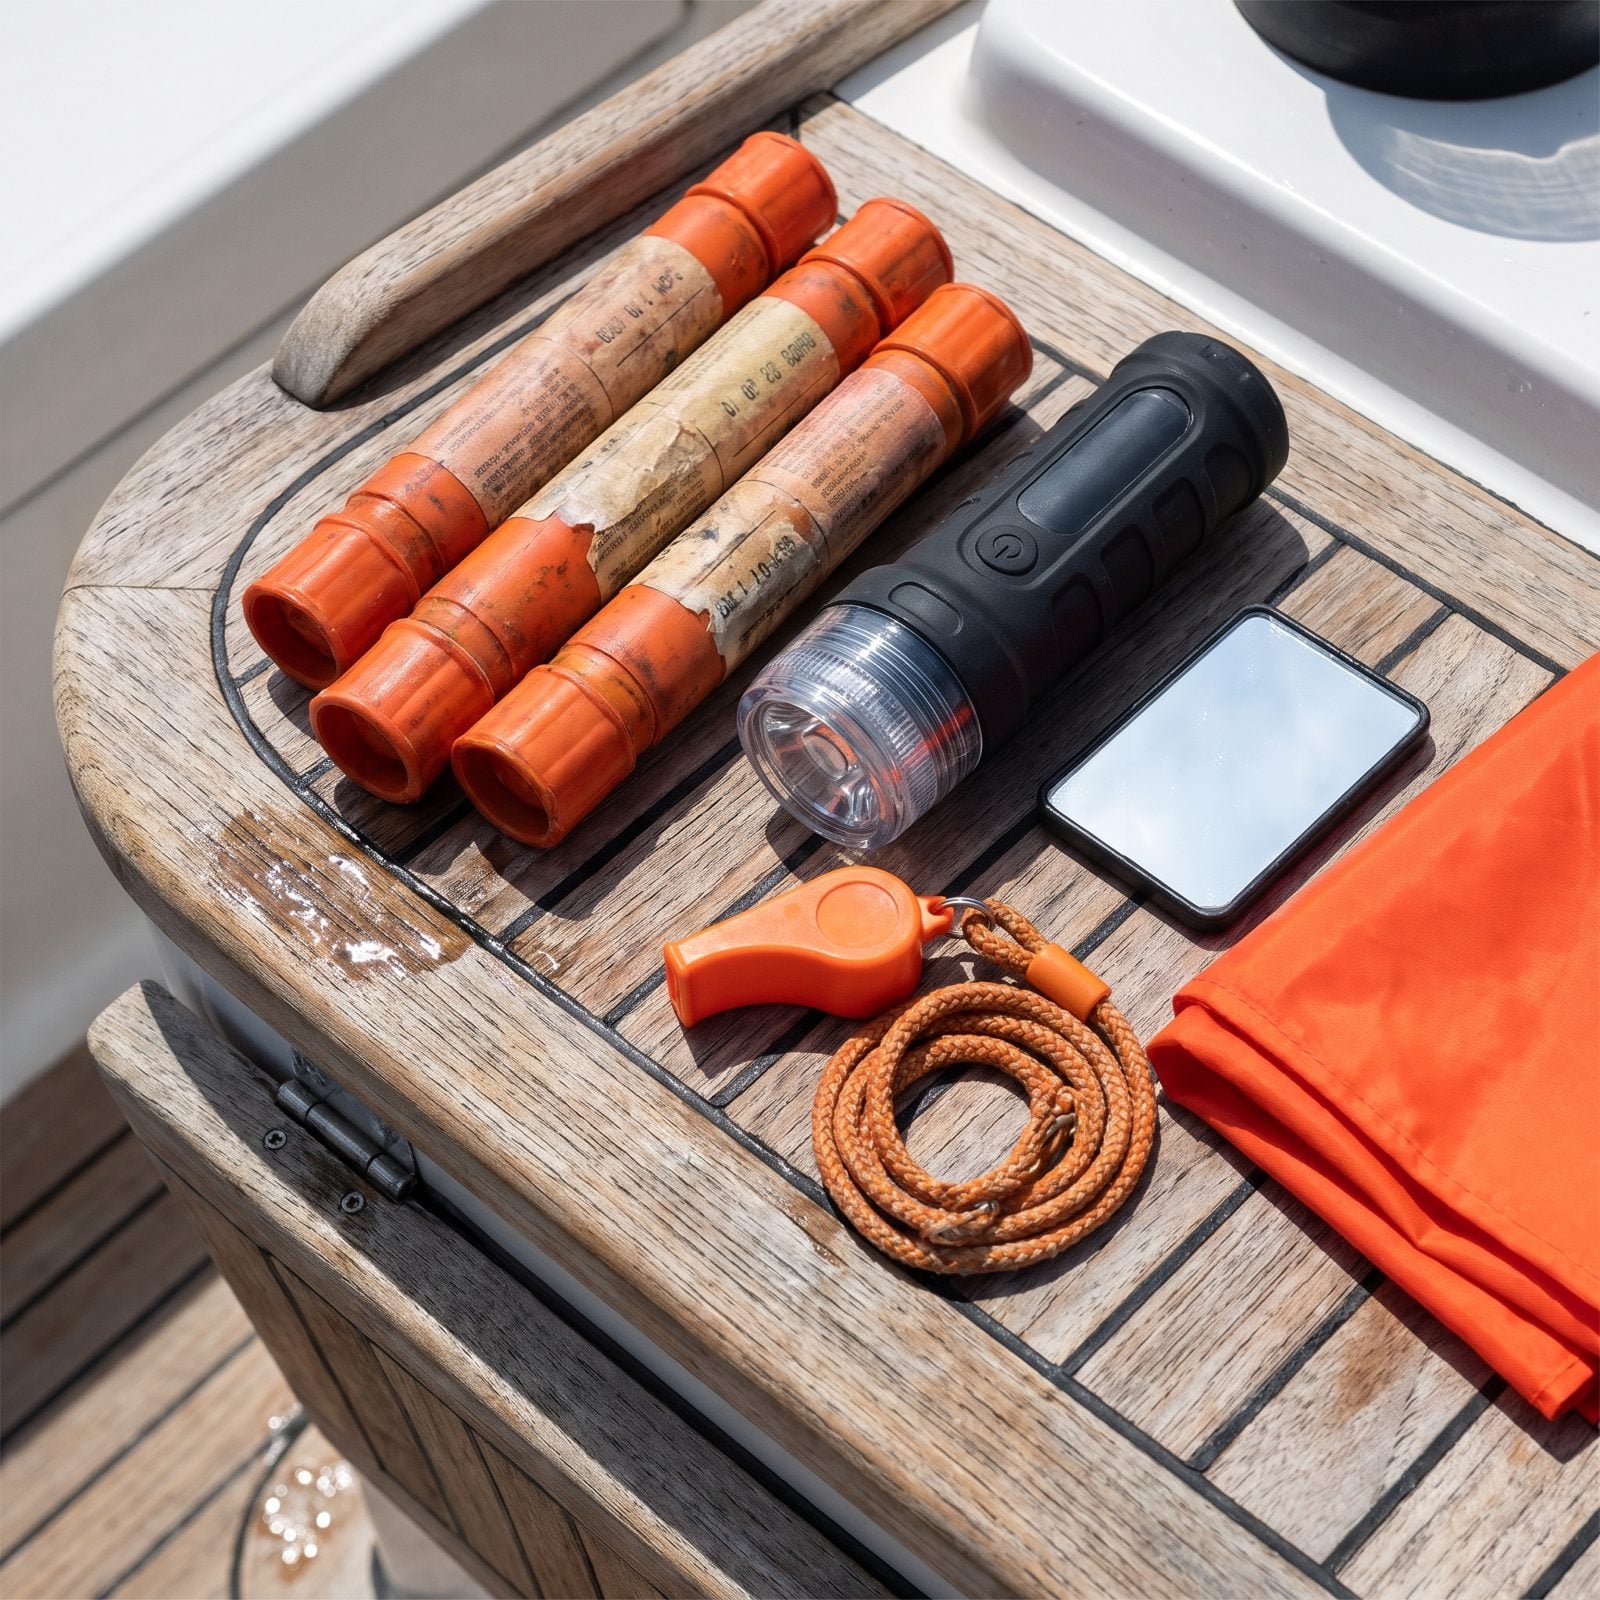
Flares expire, and most of us treat the date like a suggestion. You stash the old ones in the orange tube, figure they’ll probably still fire, and call it a safety kit.
Probably isn’t a plan when you’re taking on water at dusk. Old pyrotechnic flares misfire, fizzle, or don’t light at all — and they’re a disposal headache on top of it.
Carry in-date flares if your waters require them, but make an electronic distress signal the backbone of your kit. A quality LED distress light runs for hours, never expires, meets the visual distress signal requirement in a lot of areas, and you can test it whenever you want. Keep the old flares as backups if you like. Just don’t bet the trip on them.
32. Storing Your Registration Papers in a Paper Envelope
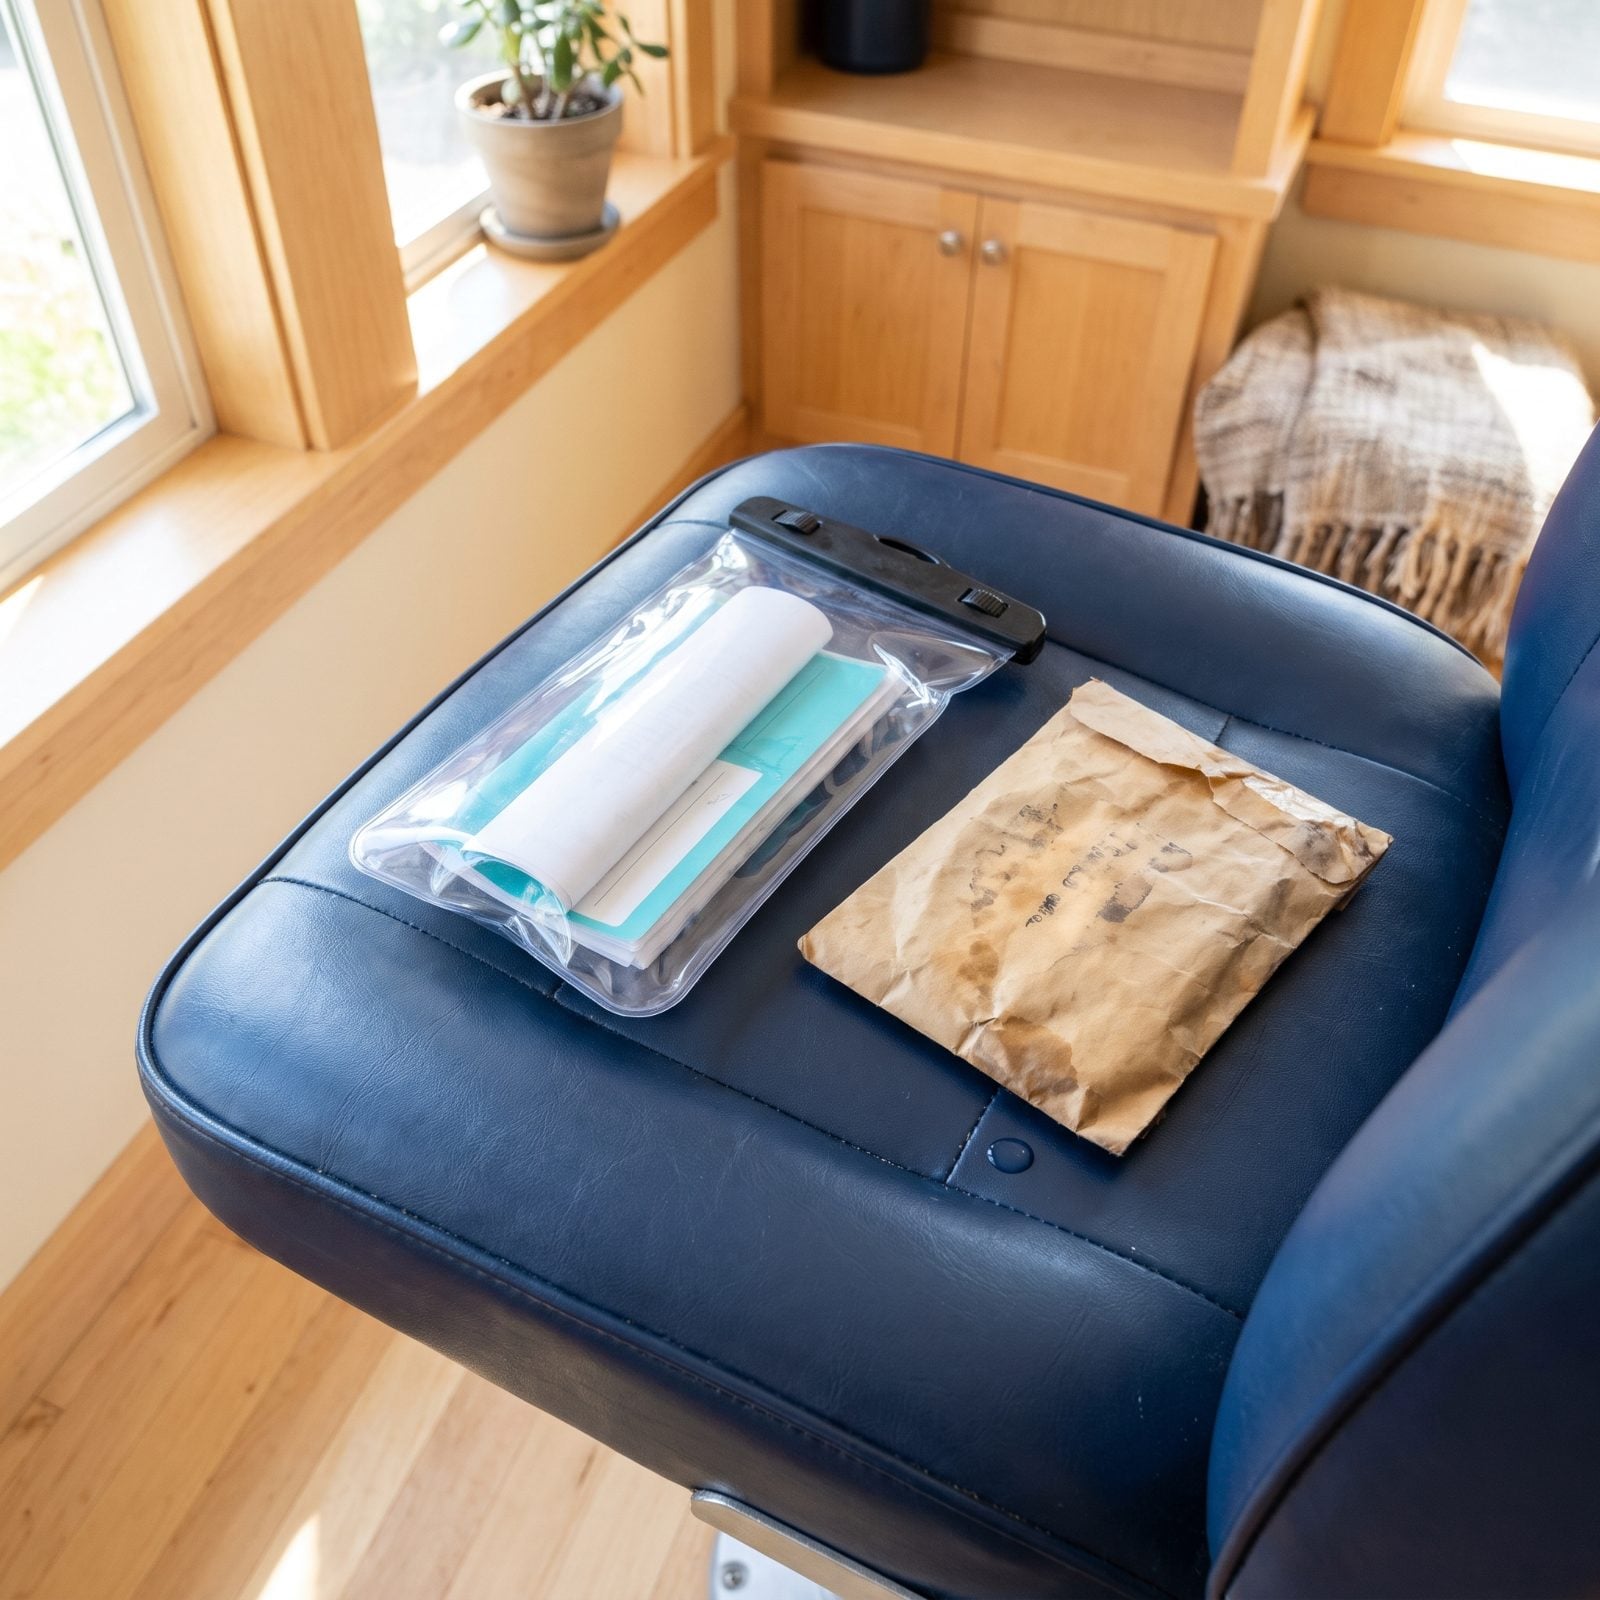
The registration card lives in a paper envelope in the glovebox. It’s fine for exactly as long as nothing on your boat ever gets wet — which is to say, not long.
One splash through the console, one humid week in storage, and the ink runs or the card turns to mush. When a game warden asks for it, a pulpy blob isn’t going to satisfy anyone.
Slide the card into a small waterproof pouch and keep it somewhere consistent. Snap a photo on your phone as a backup, too. Costs nothing, takes a minute, saves you an awkward conversation on the water.
31. Leaving the Only Boat Key in the Ignition
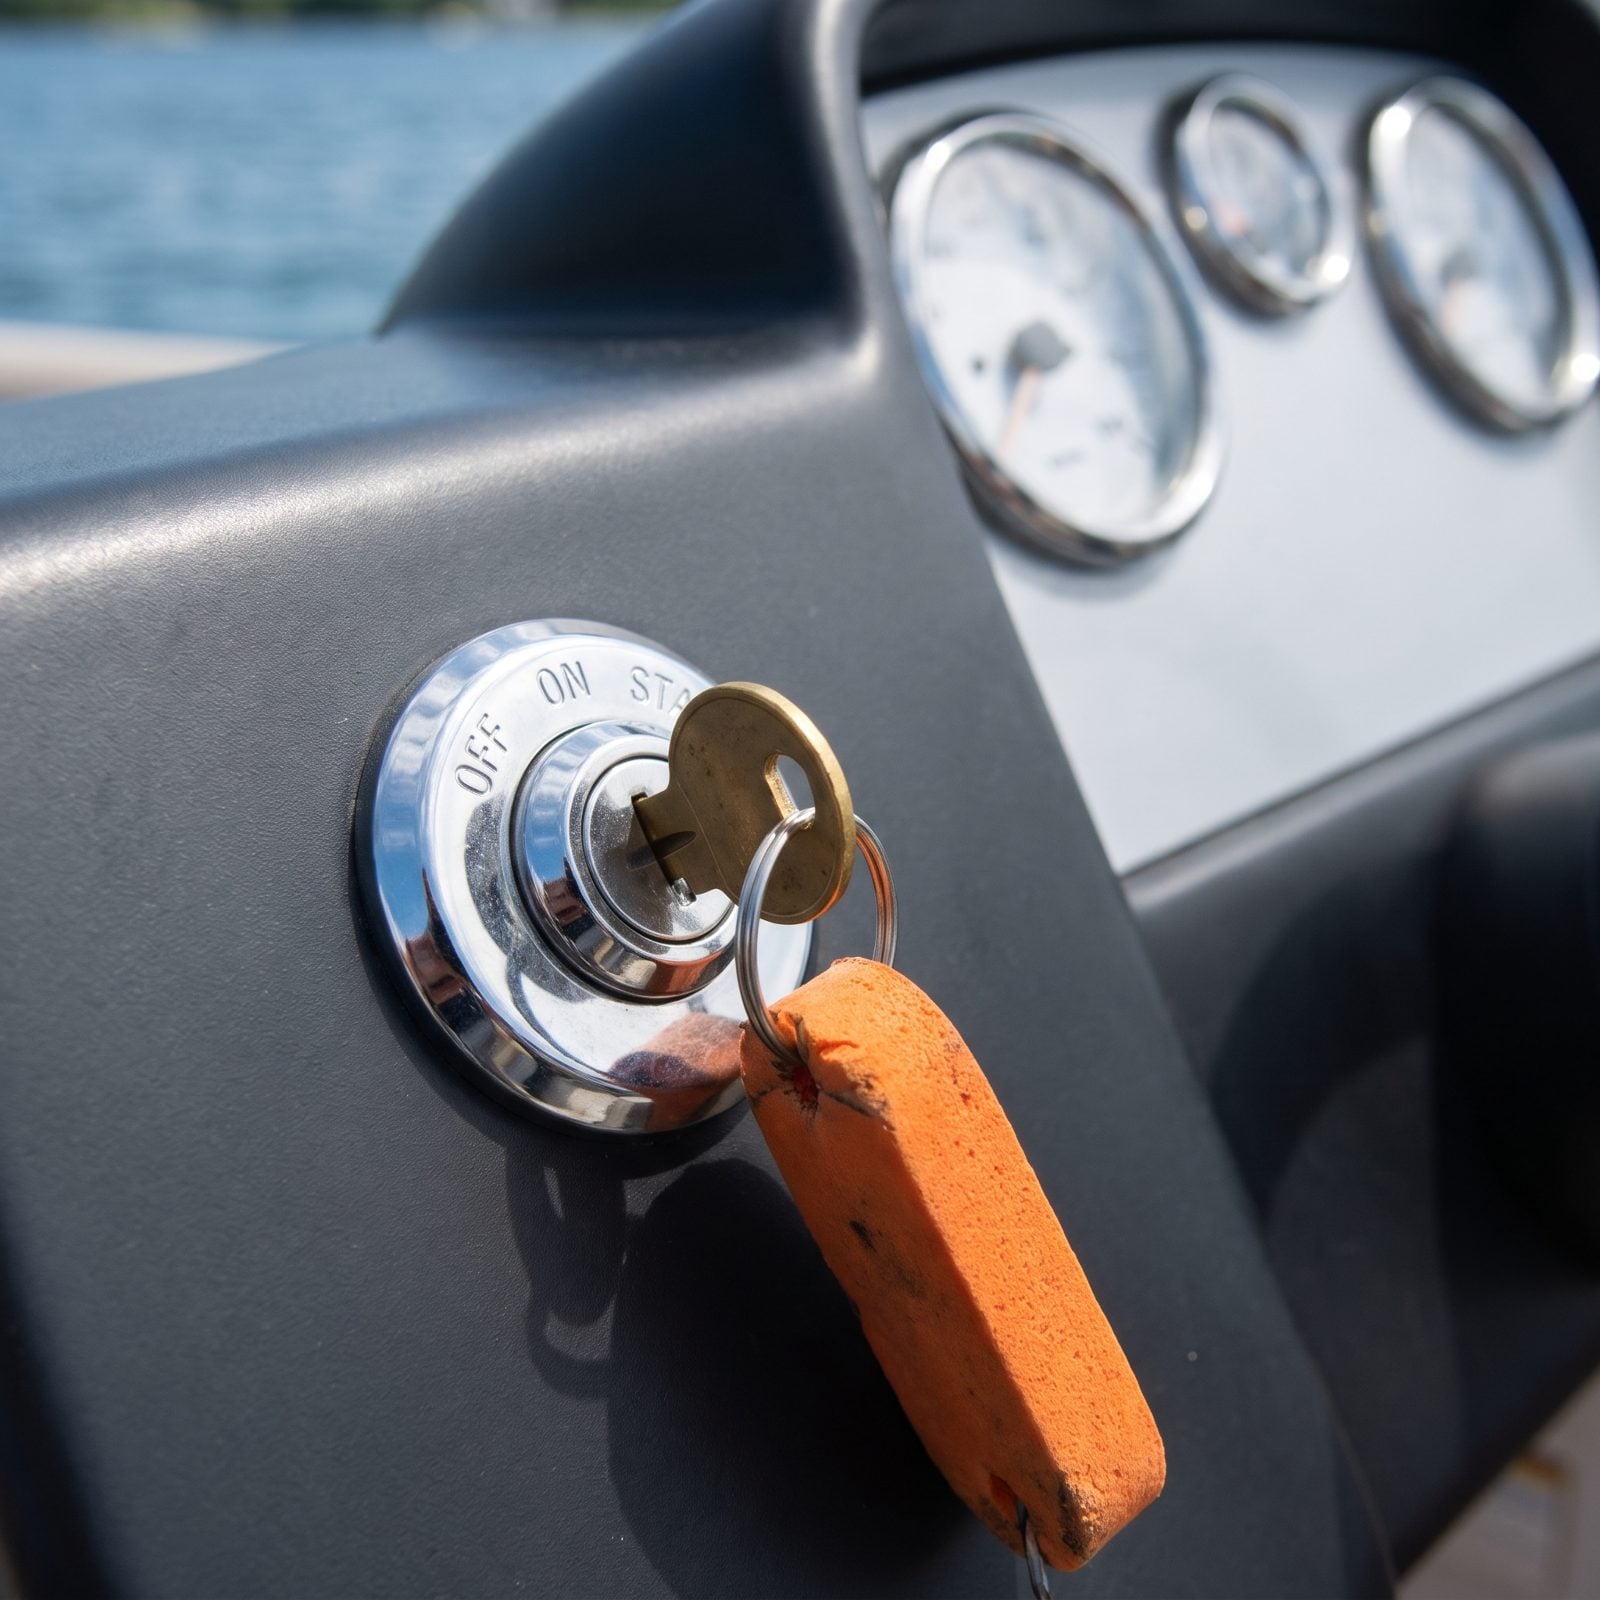
One key, left in the ignition, because where else would it go. Convenient right up to the afternoon it slips off the float and sinks, or walks off at a busy dock.
A single boat key is a single point of failure, and you find that out at the worst possible moment — stranded. New keys for some engines take days and a dealer visit.
Cut a spare the week you buy the boat. Put one on a float for the ignition, hide a second aboard in a consistent spot, and keep a third at home. Pulling the key when you leave the boat is a small habit worth more than the lock it replaces. Go get that spare cut. It’s a ten-dollar afternoon that saves a ruined weekend.
30. Relying on a Phone as the Only Navigation Tool

The phone works right up until it doesn’t. Screen glare at noon, a dead battery two hours in, that one dropped signal in the middle of a wide reservoir where every stretch of shoreline looks exactly like the last one. A phone is a map that can quit on you.
So experienced owners stop pretending it’s the backup for nothing. They wire a real chartplotter or a cheap handheld GPS to boat power and keep a paper chart folded in a dry bag for the day the electronics decide to sulk. And learn the compass bearing to your home dock. That old brass needle never needs charging.
29. Trusting the Fuel Gauge Near Empty
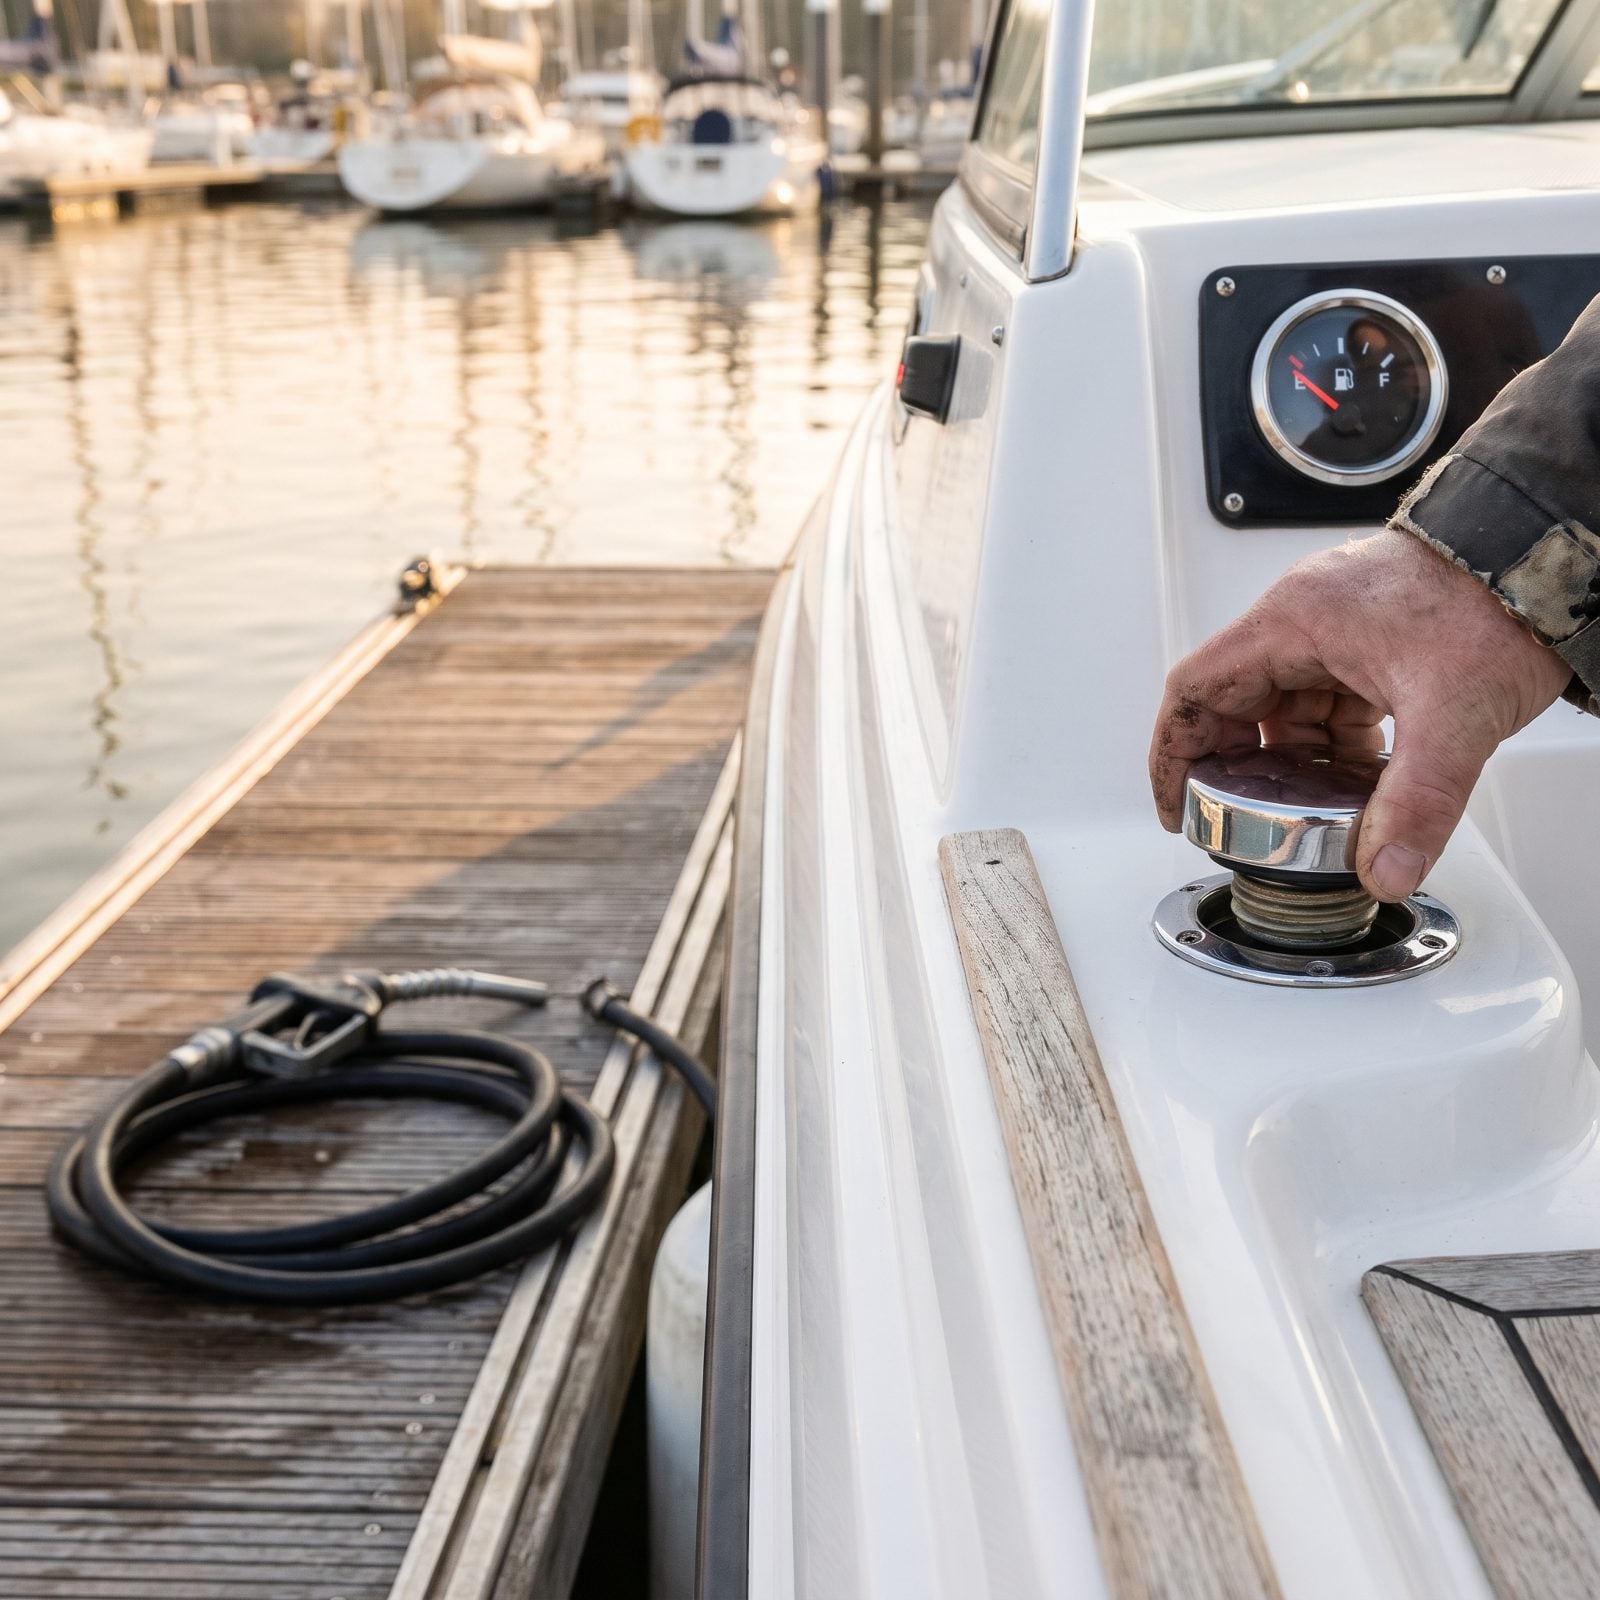
Boat fuel gauges lie. They bounce with the wake, read full on a tilt, and drop like a stone the second you’re actually running low. Trust that needle near empty and you’re the one drifting while the sun goes down.
Veterans swear by the one-third rule. One third of the tank to get there, one third to get back, one third held in reserve for wind, current, and the long way around when the weather shoves you off your line. Track your fuel by engine hours and a scribbled notebook. The needle’s a hint, nothing more.
28. Running the Battery Until Electronics Shut Down
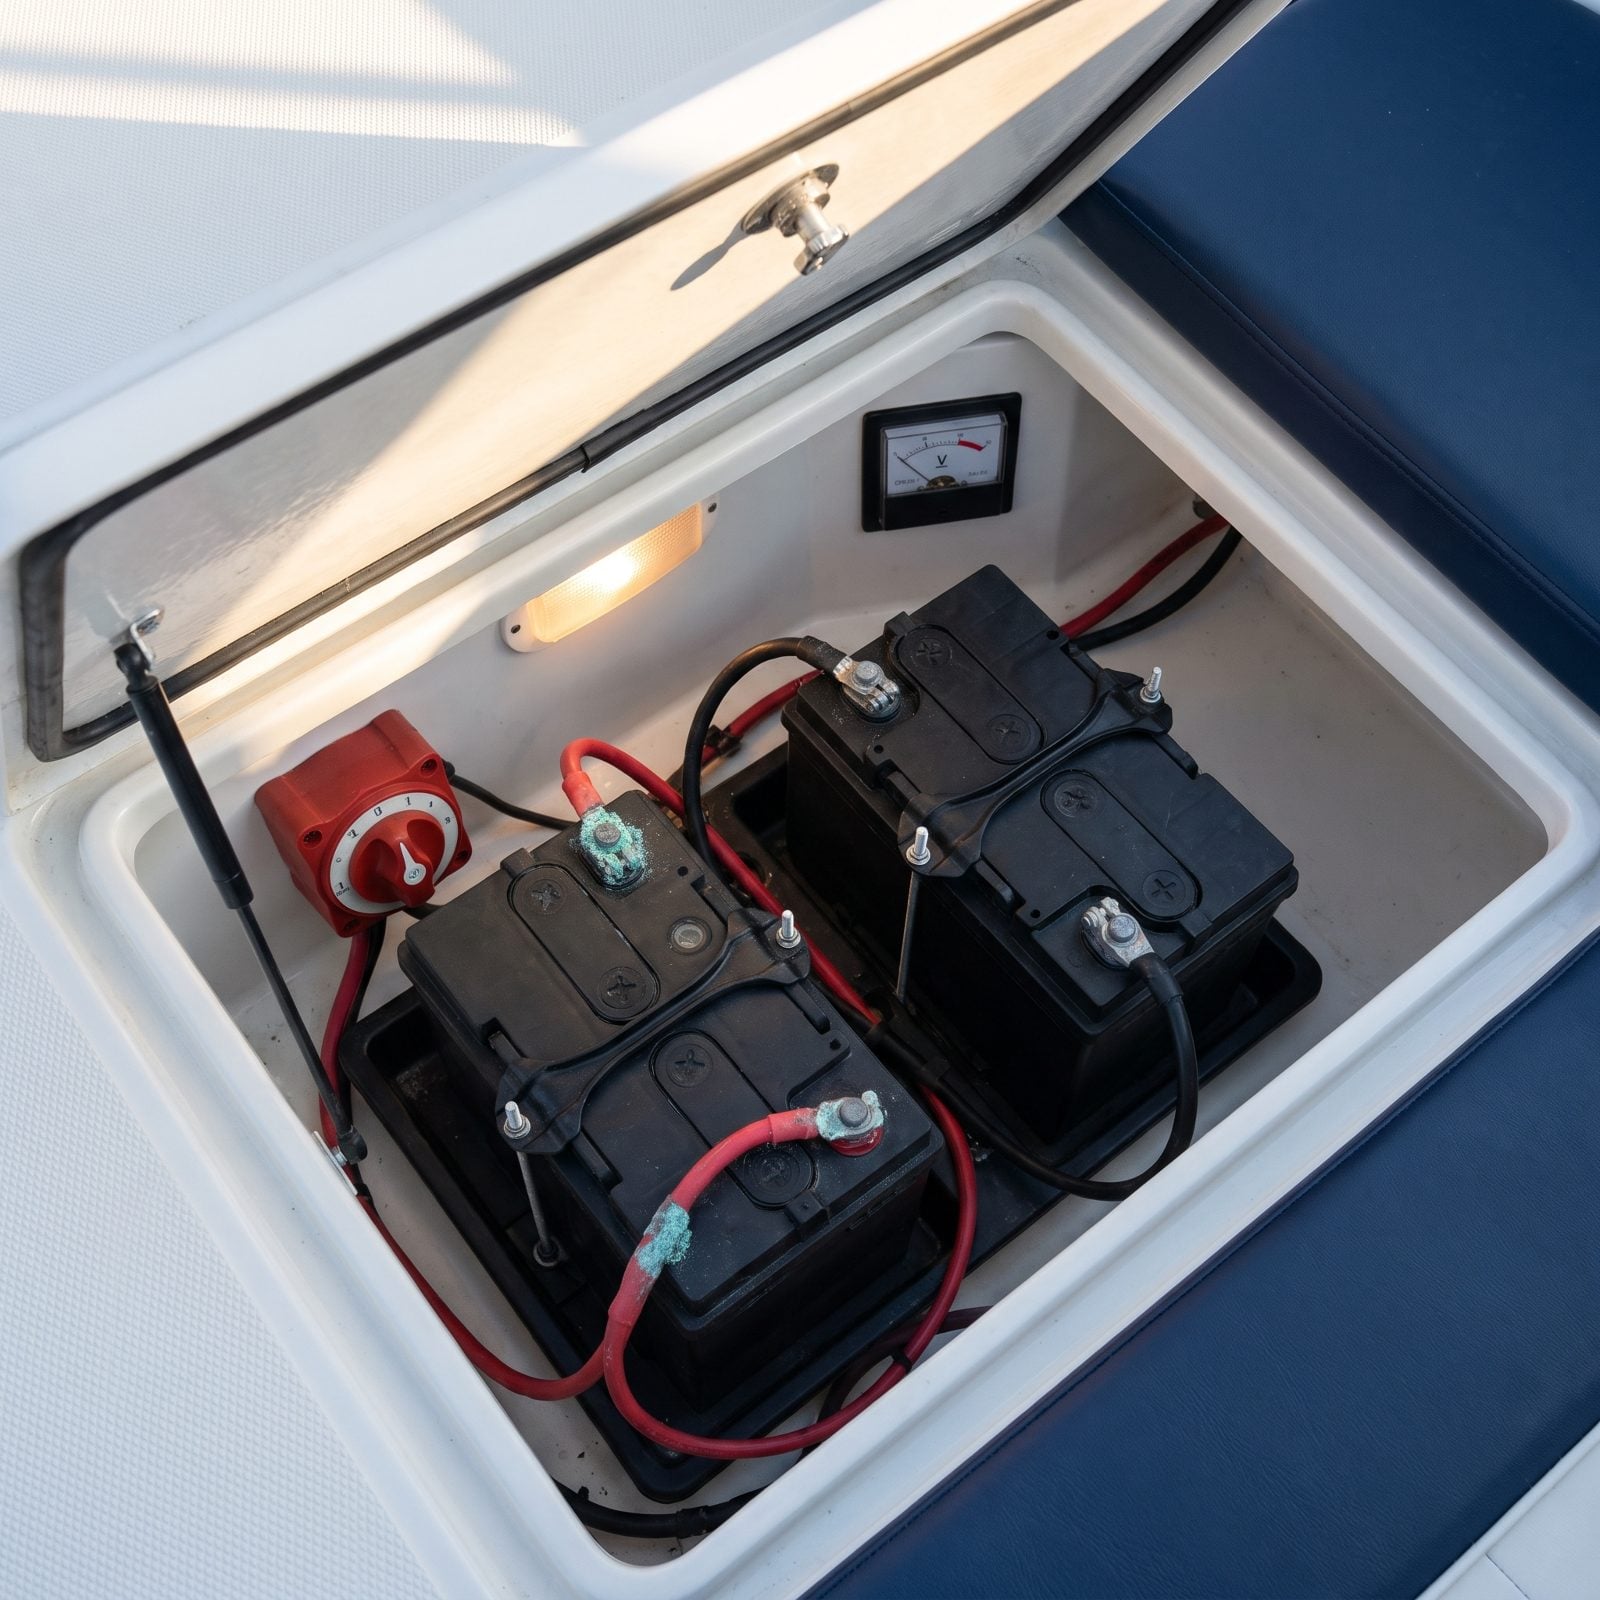
You know the moment. The fishfinder flickers, the stereo cuts, the starter just clicks. Draining a battery until the electronics quit doesn’t only strand you — it shaves life off the battery every single time.
A lead-acid marine battery hates deep discharge, and waiting for a warning light is the habit owners drop first. Run a dedicated house battery separate from the starting battery, flip to the right setting on the switch, and check the battery terminals with a multimeter. Below 12.2 volts? Start the engine or point for home.
27. Disconnecting Battery Cables Without Labeling Them
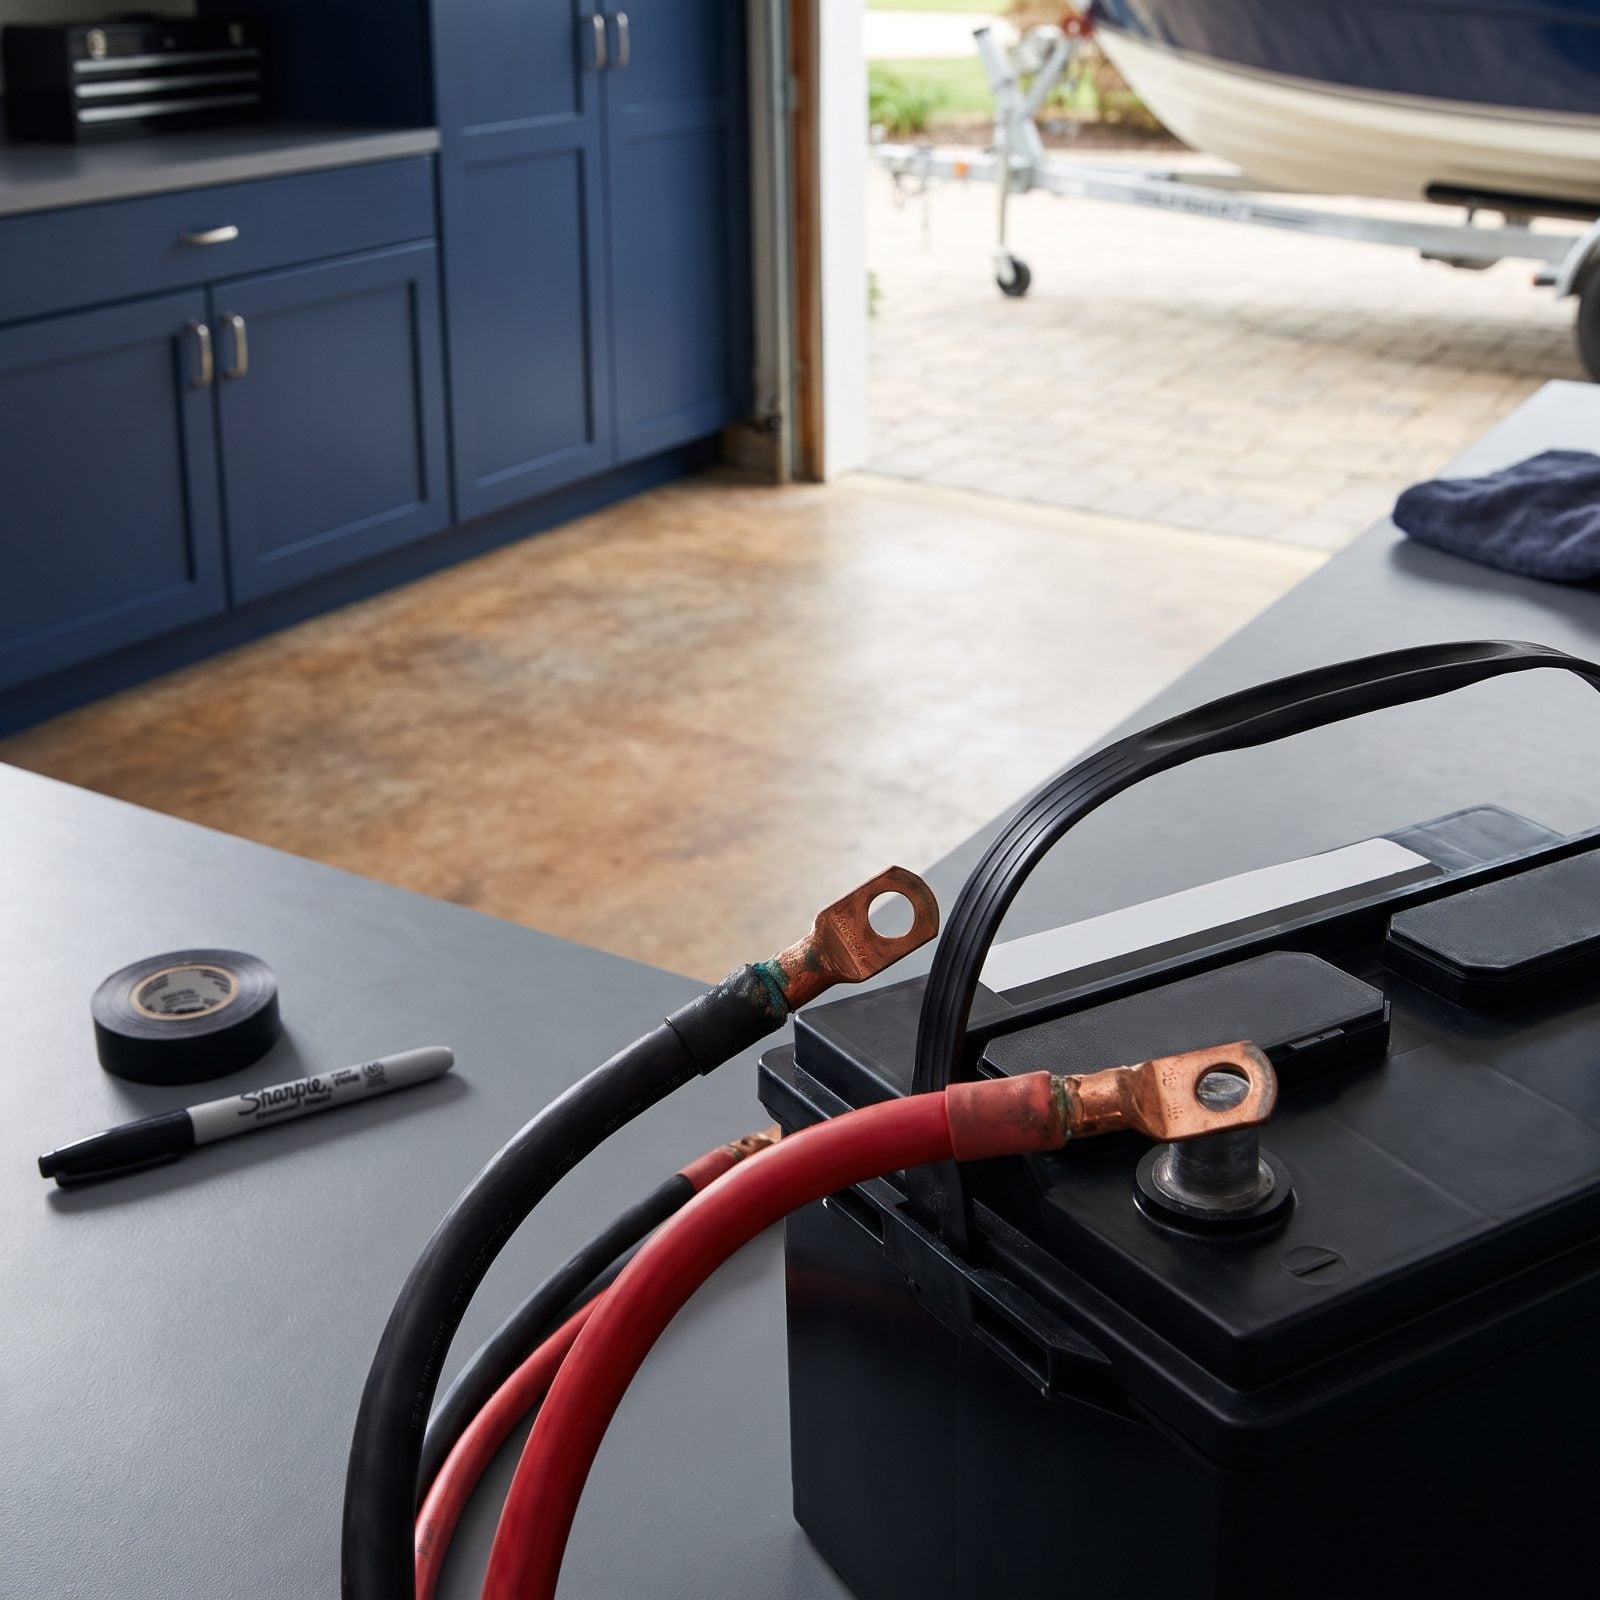
Pulling both cables for winter feels harmless enough. Then spring rolls around, the memory’s long gone, and reversed polarity fries a chartplotter or pops a fuse before the engine even turns over.
Label them before they come off. A strip of tape and a marker — red to positive, black to negative — takes ten seconds and saves a genuinely rotten afternoon. Snap a phone photo of the connection while you’re at it. I’ve reconnected from memory and been wrong, and electronics don’t forgive that kind of guessing.
26. Replacing the Impeller Only After It Fails
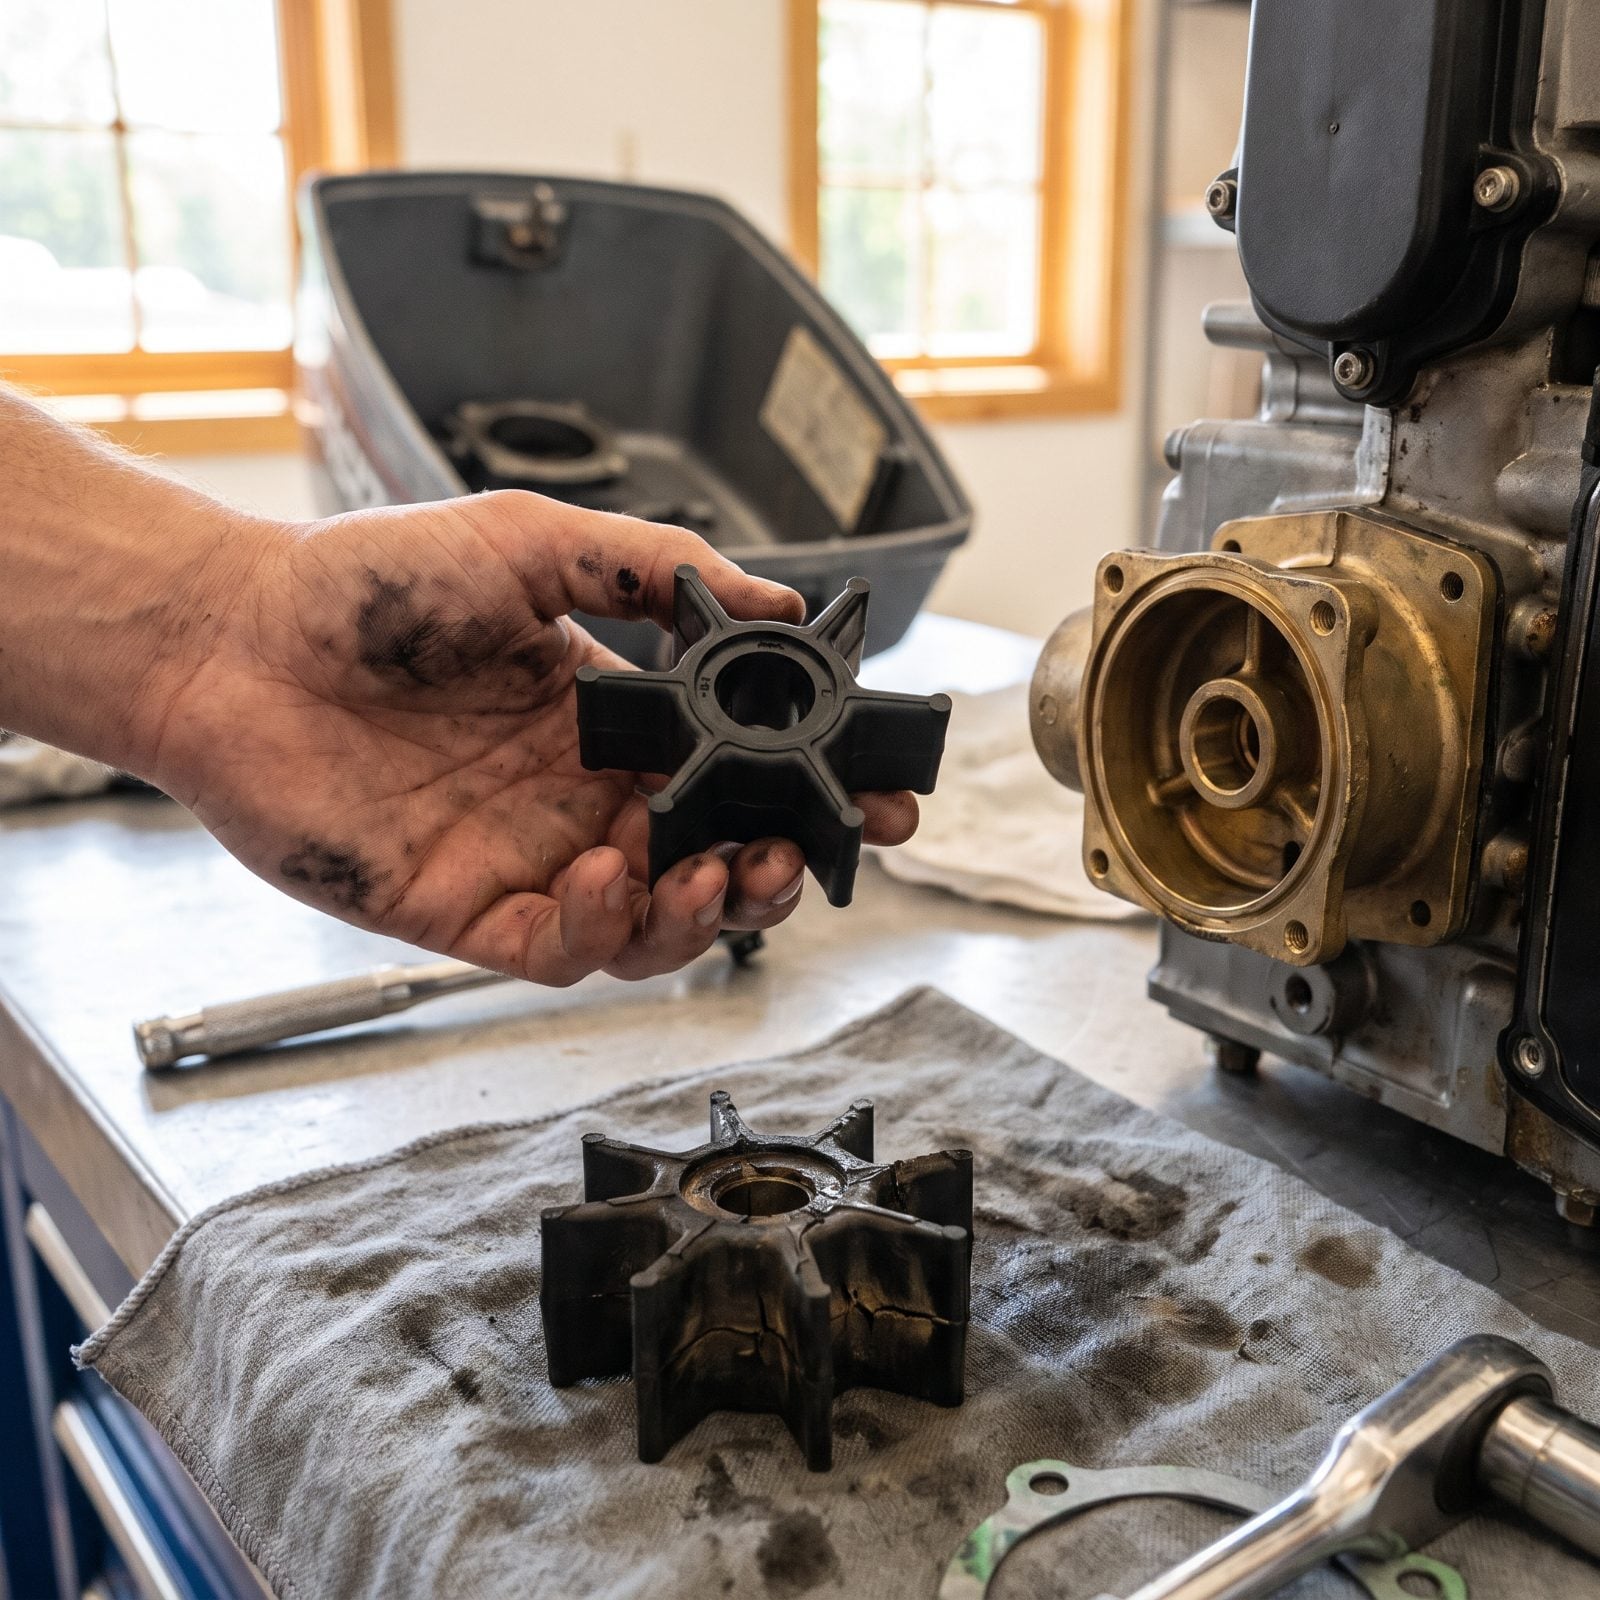
The impeller is a little rubber part that costs almost nothing and wrecks almost everything when it goes. Wait for it to fail and it’ll pick the worst possible moment — usually full throttle, dead center of the lake — and drag your engine temperature up with it.
Seasoned owners stopped waiting. Replace the impeller on a schedule, every couple of years, before the vanes crack and shed rubber into the cooling system. Pull it in the off season when you’ve got time and a clean bench. A fifteen-dollar part beats a cooked engine every day of the week.
25. Saving Engine-Oil Changes for Spring
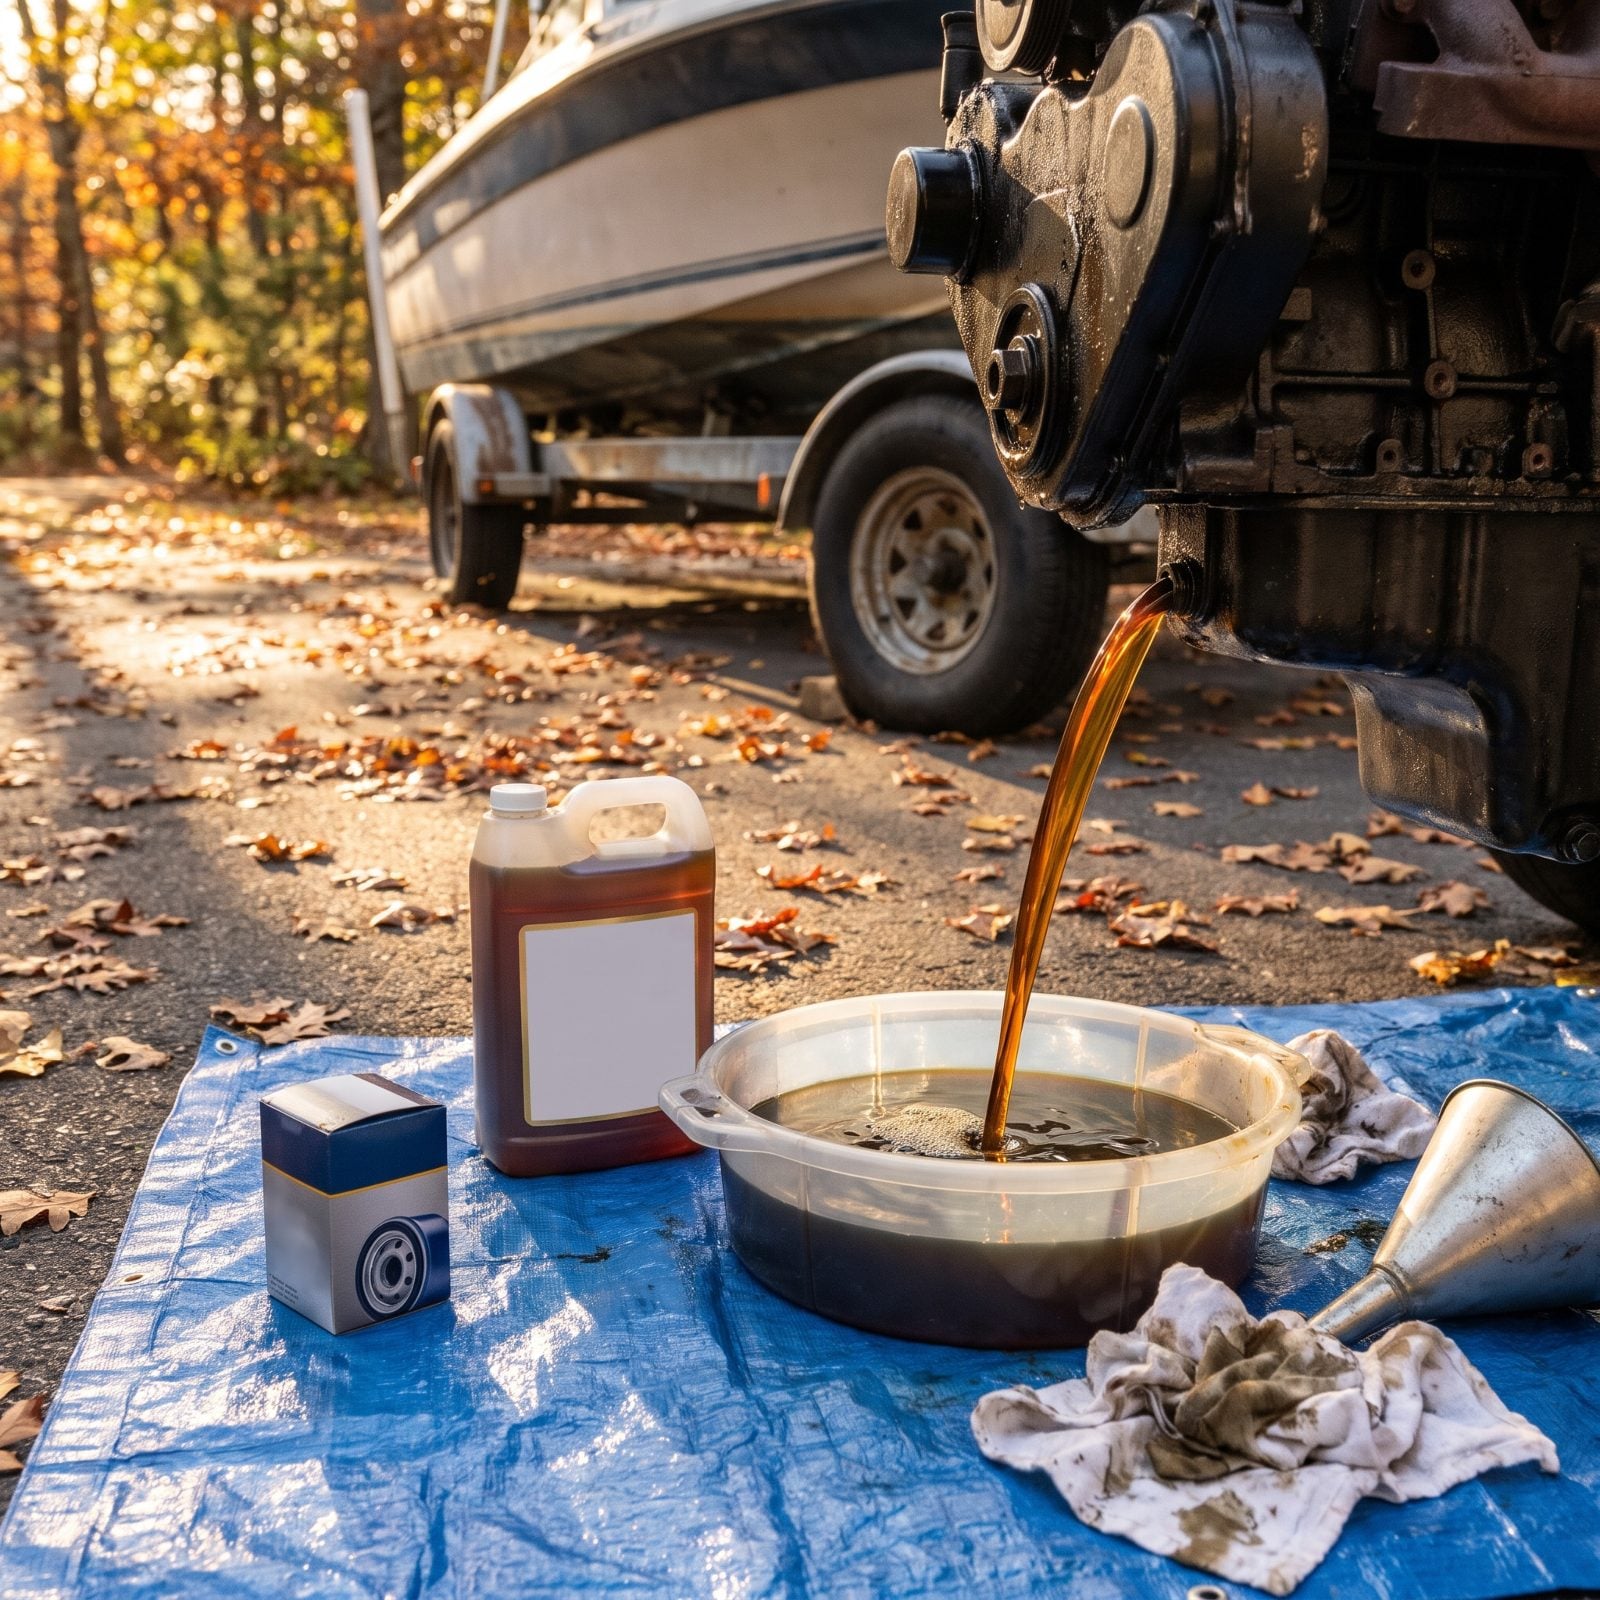
Everybody changes the oil in spring to get ready for the season. Backwards, honestly. Used oil carries acids and moisture from a whole summer of running, and leaving that stew to sit in the crankcase all winter quietly eats at the engine internals while you sleep.
Change it in fall instead. Fresh, clean oil is what you want resting against those bearings through the cold months, not spent oil loaded with combustion junk. Bonus: the engine’s still warm from the last trip, so the old oil drains faster and cleaner. Do it before you cover the boat, not after you uncover it.
As one mobile marine diesel mechanic puts it, “Changing your oil before winter storage is helpful as it can remove contaminants from the boating season like acids and other crud that forms over time.”
24. Leaving Fishing Line Wrapped Around the Prop Shaft
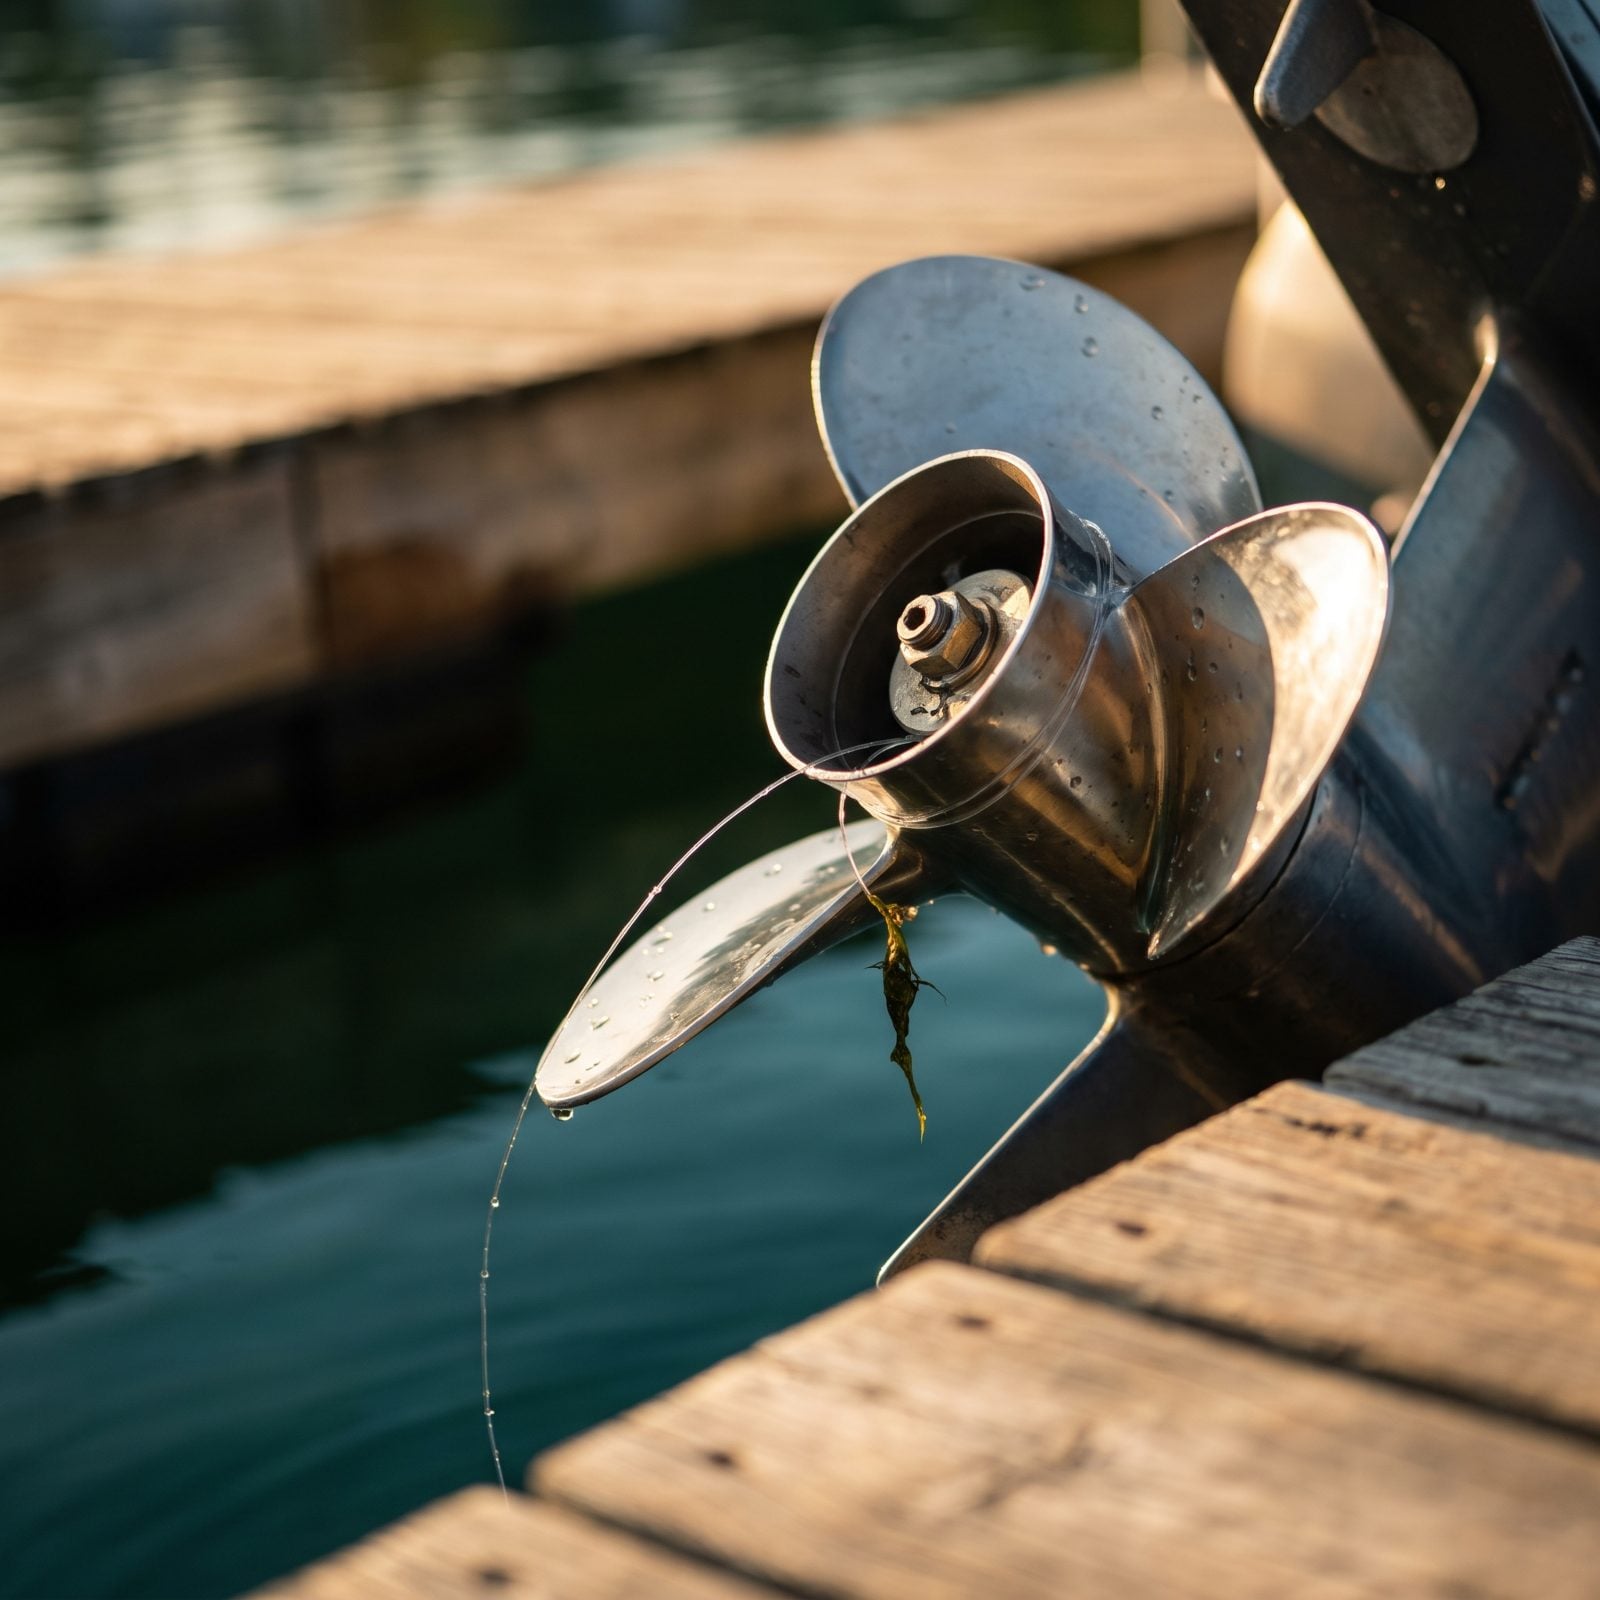
A few wraps of fishing line look like nothing. Thin, clear, already there — so you leave it. That line creeps back against the prop shaft seal and saws through it, letting water into the gearcase one quiet trip at a time.
Check behind the prop every single time the boat comes out of the water. A few wraps of mono can score a seal until the lower unit floods and the gear oil turns the color of a milkshake. Cut it off, pull the prop once a season to eyeball the seal, and keep needle-nose pliers in the kit. Two minutes now spares you a rebuilt lower unit later.
Explaining how line wound around the propshaft melts and cuts into the seals behind the thrust washer, one longtime marine service writer notes: “When the fishing line cuts through the rubber lips on these seals, it’s just a short matter of time; water seeps in, and gear lube seeps out.”
23. Scrubbing the Hull With Household Detergent
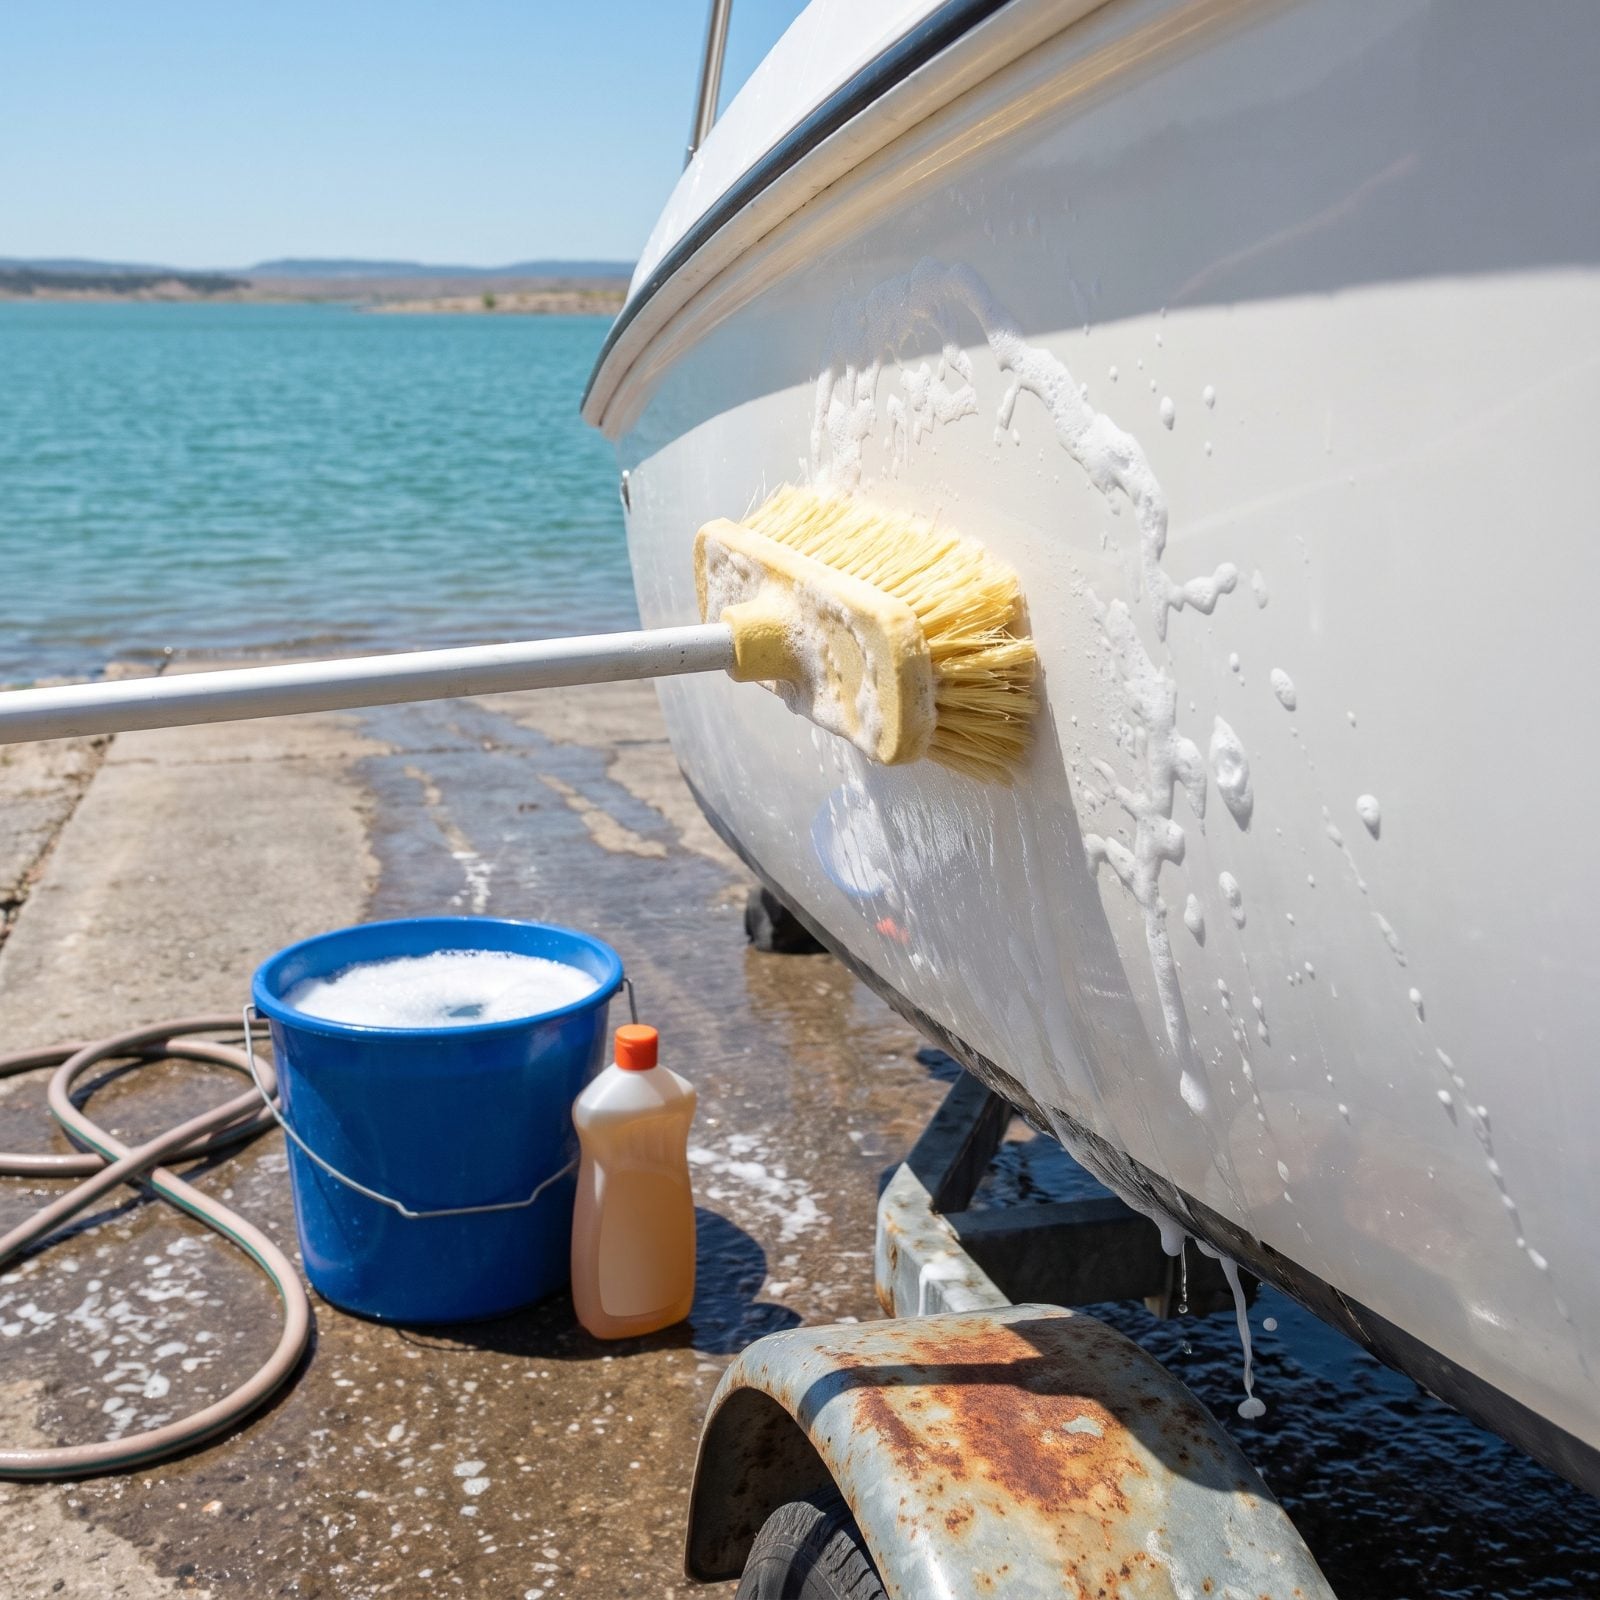
Dish soap is right there under the sink and it cuts grime, so onto the hull it goes. Trouble is, it strips wax and dulls gelcoat over time, and some kitchen detergents are rough enough to chalk the finish you paid good money to protect.
Switch to a wash made for marine finishes. It’s pH balanced to lift dirt without pulling off the wax layer underneath, and that wax is the whole thing keeping your hull shiny and sealed. Soft brush, plenty of water, rinse before anything bakes dry in the sun.
22. Pressure-Washing Directly Into Seals and Bearings
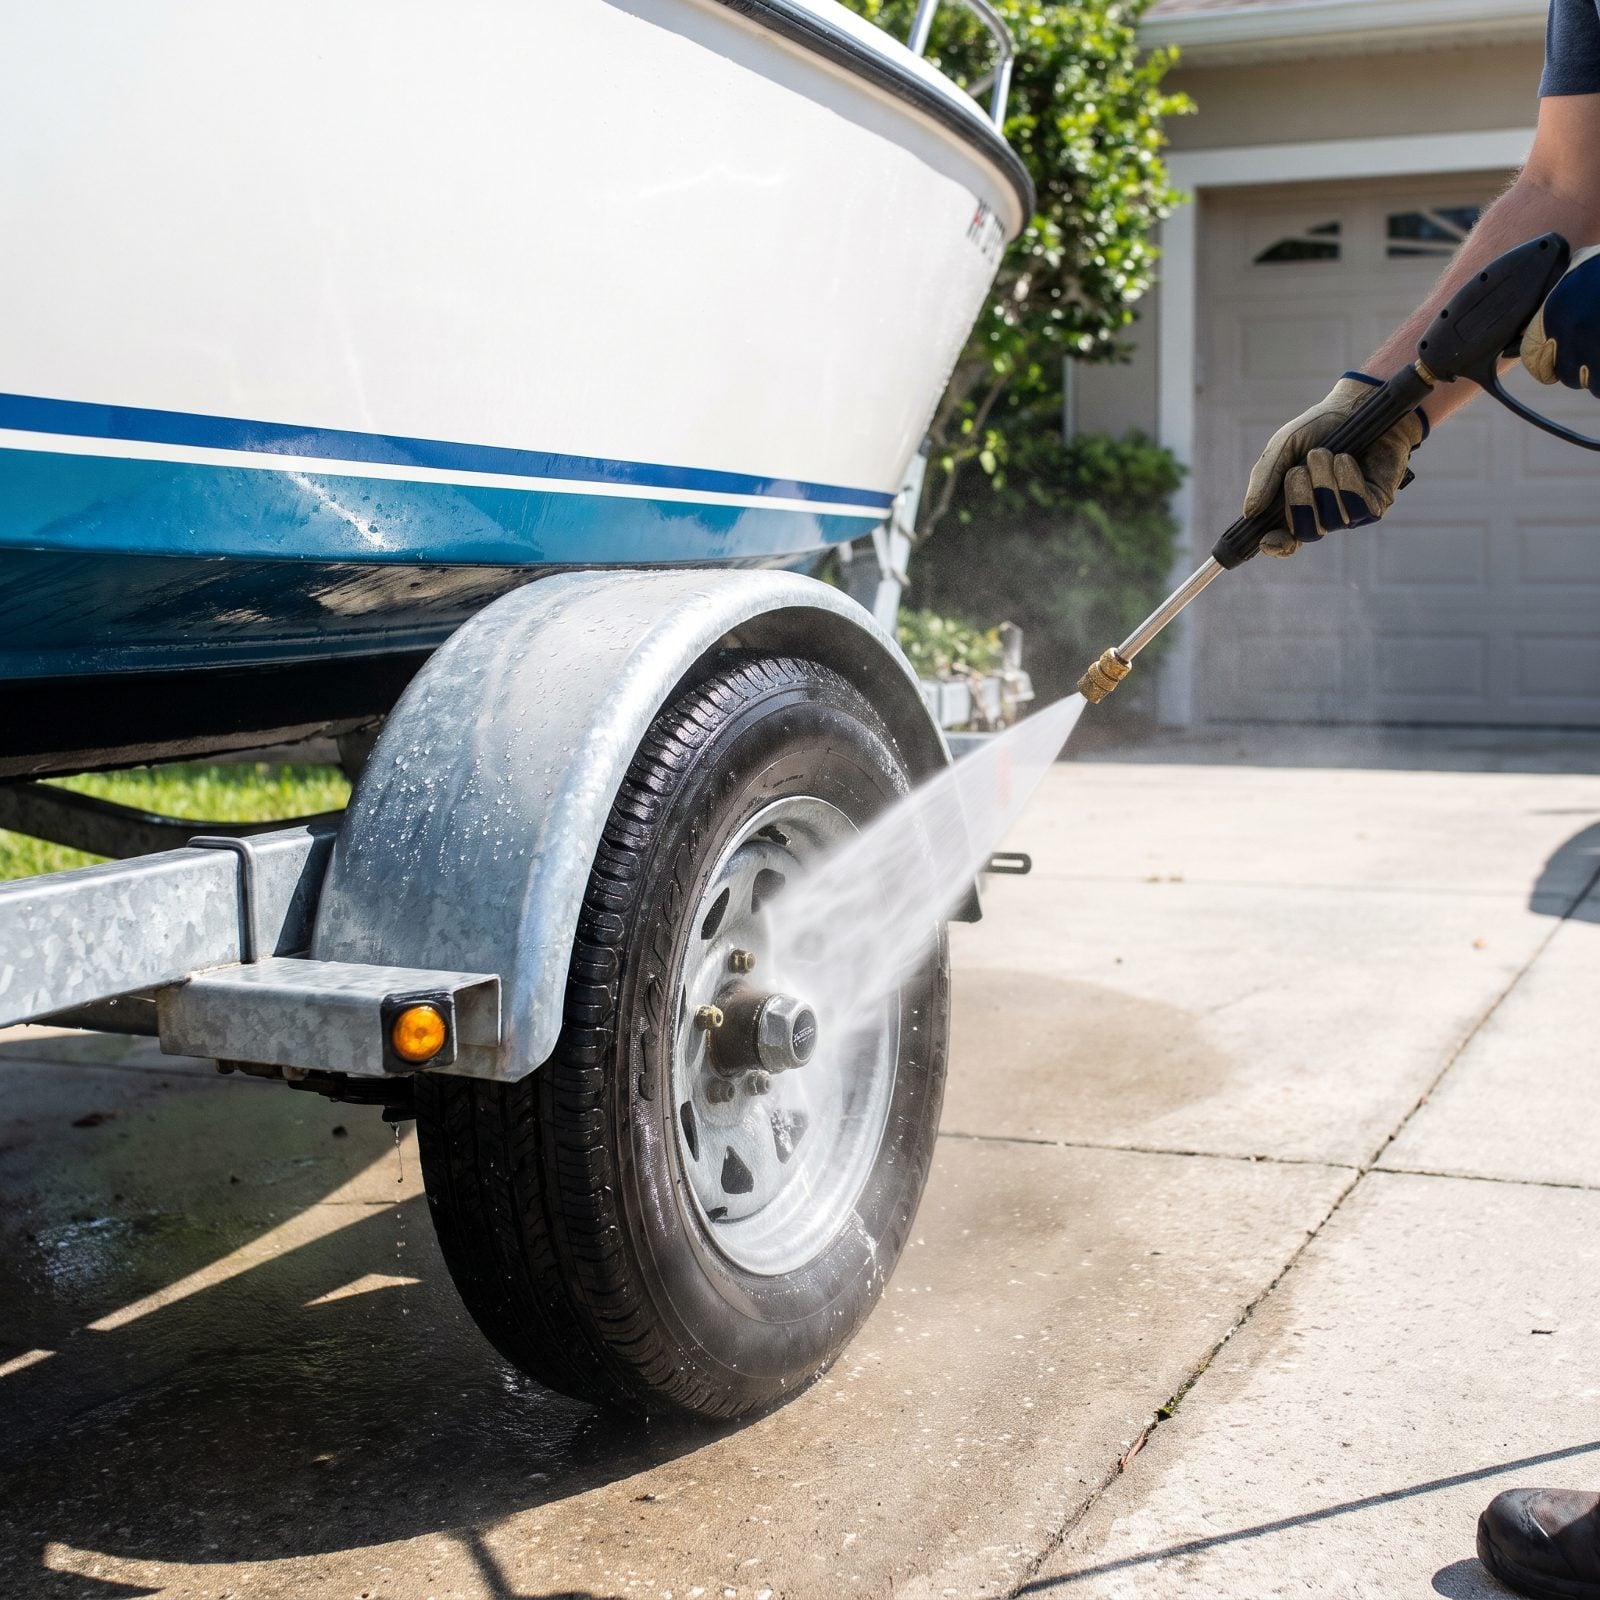
A pressure washer makes everything look new in minutes, so the temptation is to blast the whole rig point-blank. Aim that nozzle at a trailer hub, an outdrive seal, or a bearing cap and you’re driving water and grit right past the grease that’s supposed to keep them dry.
Keep the wand back and the angle shallow. A direct hit forces water behind seals and flushes out wheel bearing grease, and a seized trailer hub on the highway is a genuinely bad day. Wash from a distance, let the fan spread do the work, and never point the tip straight at anything meant to stay sealed.
21. Waxing Over Oxidation Instead of Removing It
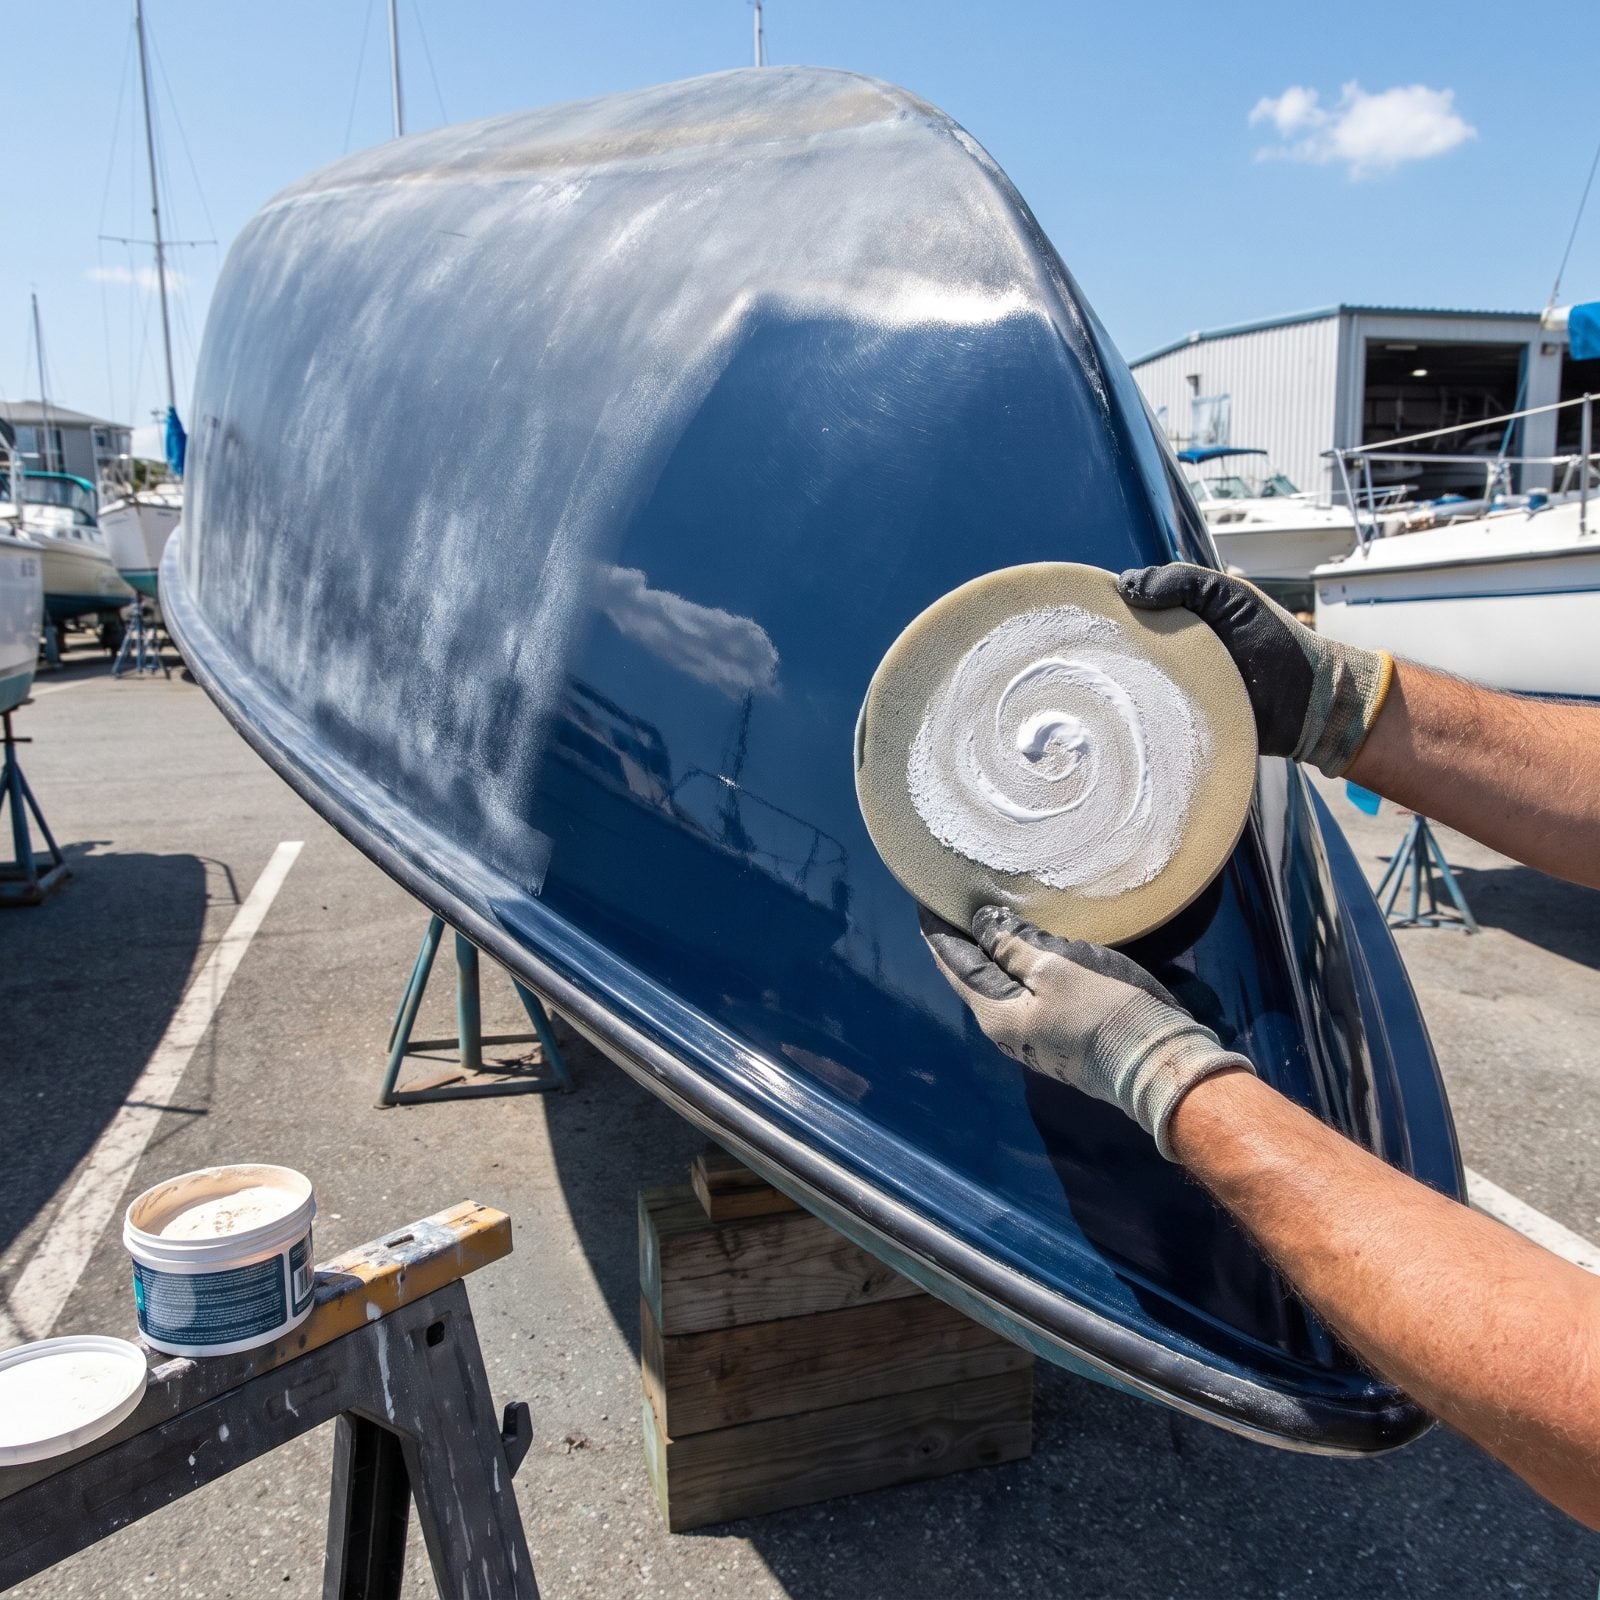
Chalky hull, so you grab the wax and hope a coat of shine will hide the fade. It won’t. Wax over oxidation only seals that dull cloudy layer under a thin gloss that fades again in a few weeks, because you’ve trapped the problem instead of lifting it off.
The oxidation has to come off first. A polishing or rubbing compound cuts through the dead chalked gelcoat and brings back the live color buried underneath. Then you wax — and that wax actually bonds to clean surface and rides out a full season. More elbow grease up front, far less cursing by August.
20. Spraying Silicone on Every Moving Part
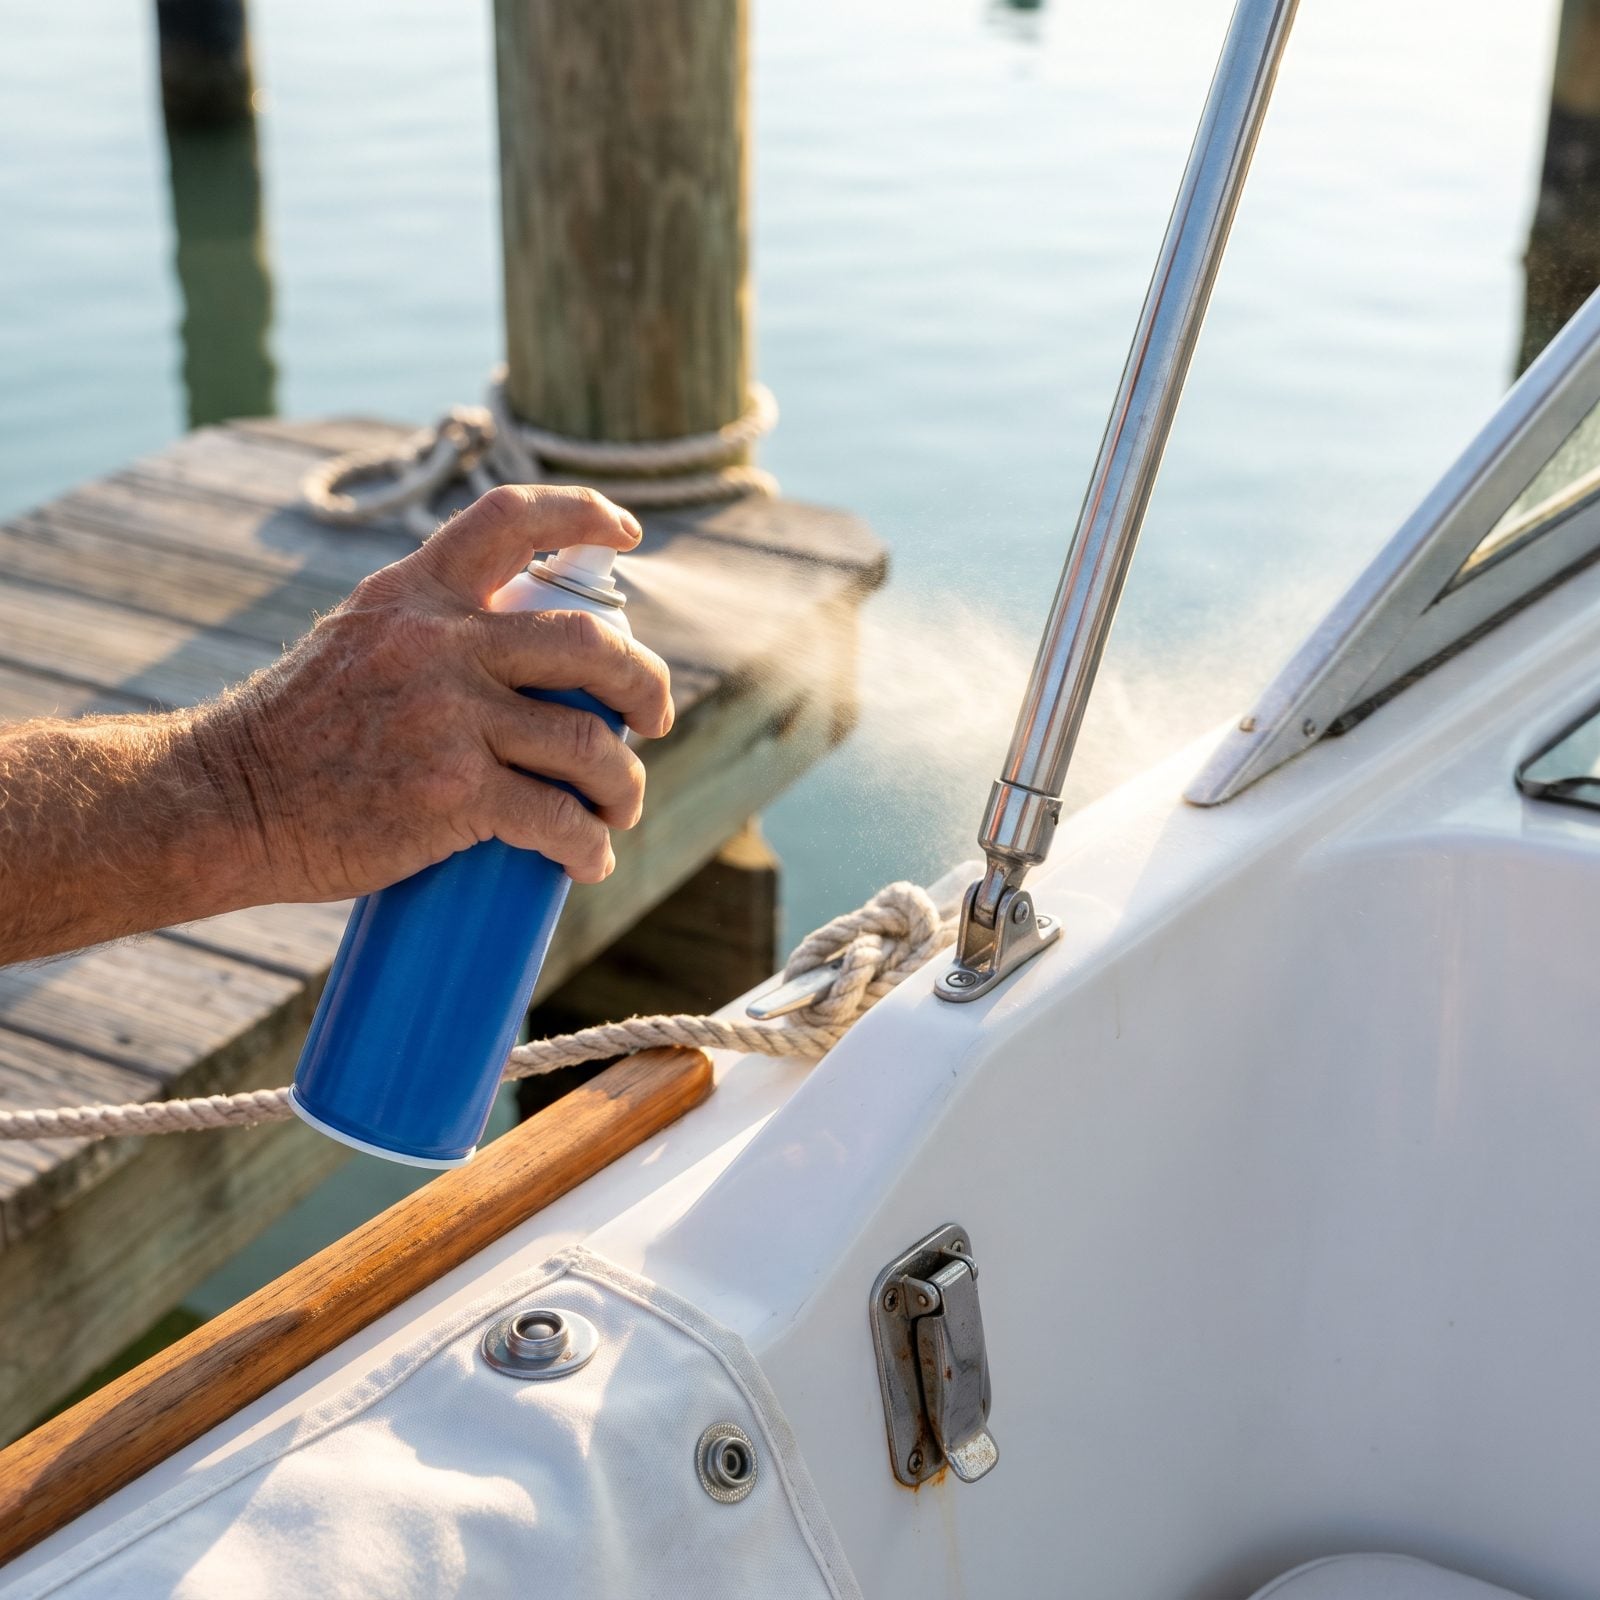
Silicone spray feels like a cure-all. Point, mist, done — every hinge and track and snap gets a shot. Trouble is, silicone attracts dust and grit, and over a season that film turns into a gummy paste that clogs the exact mechanisms you were trying to protect. Worse, it creeps onto gelcoat and canvas where it refuses to let paint, caulk, or adhesive ever stick again.
Match the lubricant to the job instead. Dry Teflon on snaps and zippers, marine grease on steering and trailer parts, and keep the silicone away from anything you might ever want to paint or bond. Fewer cans, better results.
19. Stashing Aerosol Cans in a Hot Compartment
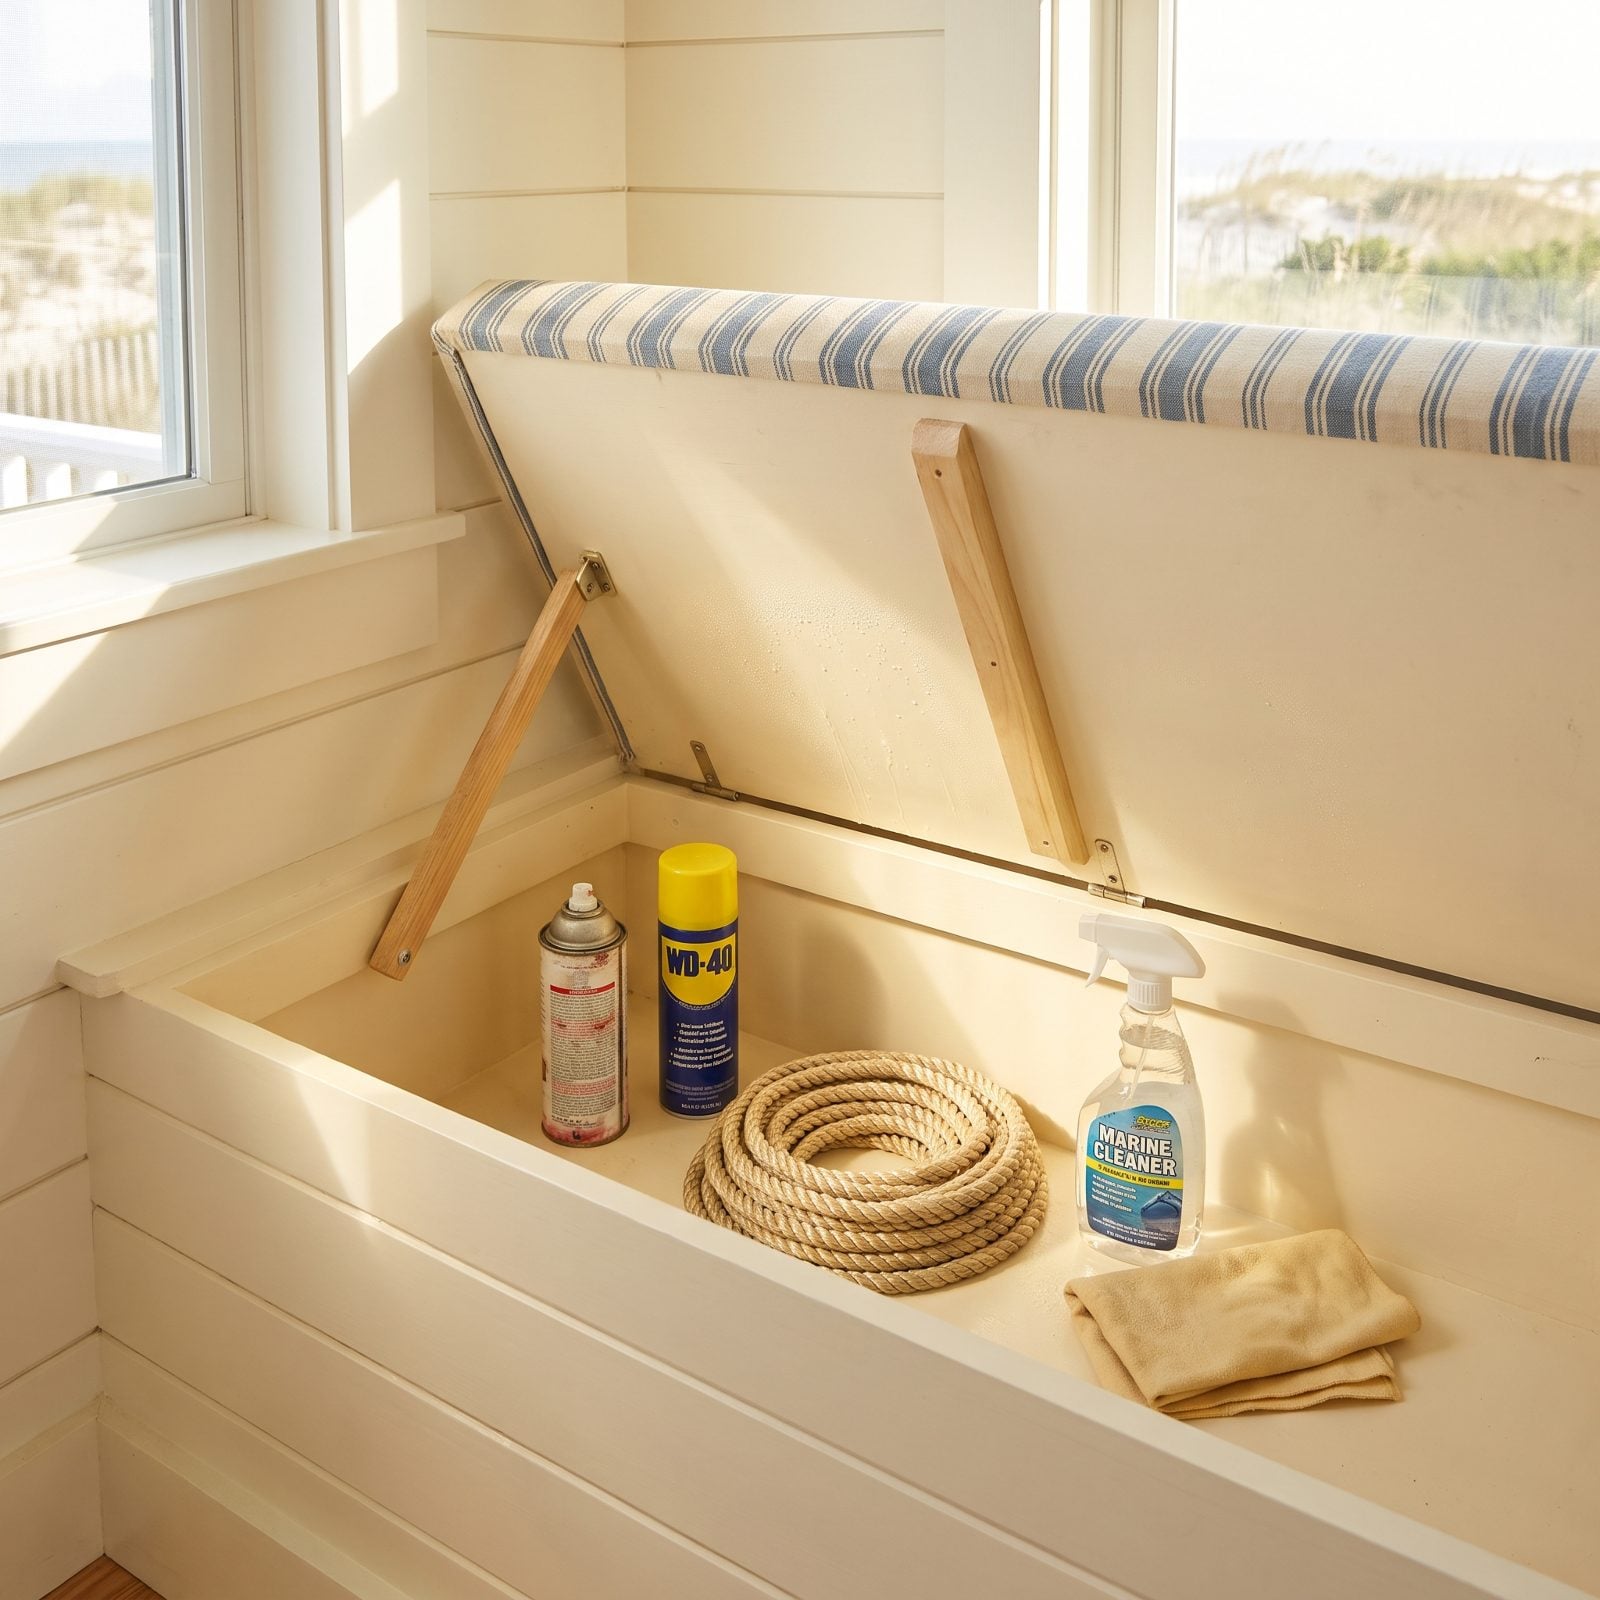
That window seat compartment bakes. Let the sun pour through the glass on a July afternoon and the air inside a closed compartment climbs well past what any aerosol label calls safe. Spray lubricants, sunscreen, bug spray, starter fluid — they all print a maximum temperature on the can for a reason, and a pressurized can in that heat is a genuine hazard.
Keep aerosols in a cool closet or a shaded cabinet away from the window, and bring them out only when you actually need them. Your storage stays cooler, your gear lasts longer, and nothing is quietly building pressure under a sun-hot lid.
18. Coiling Wet Rope Inside a Closed Locker
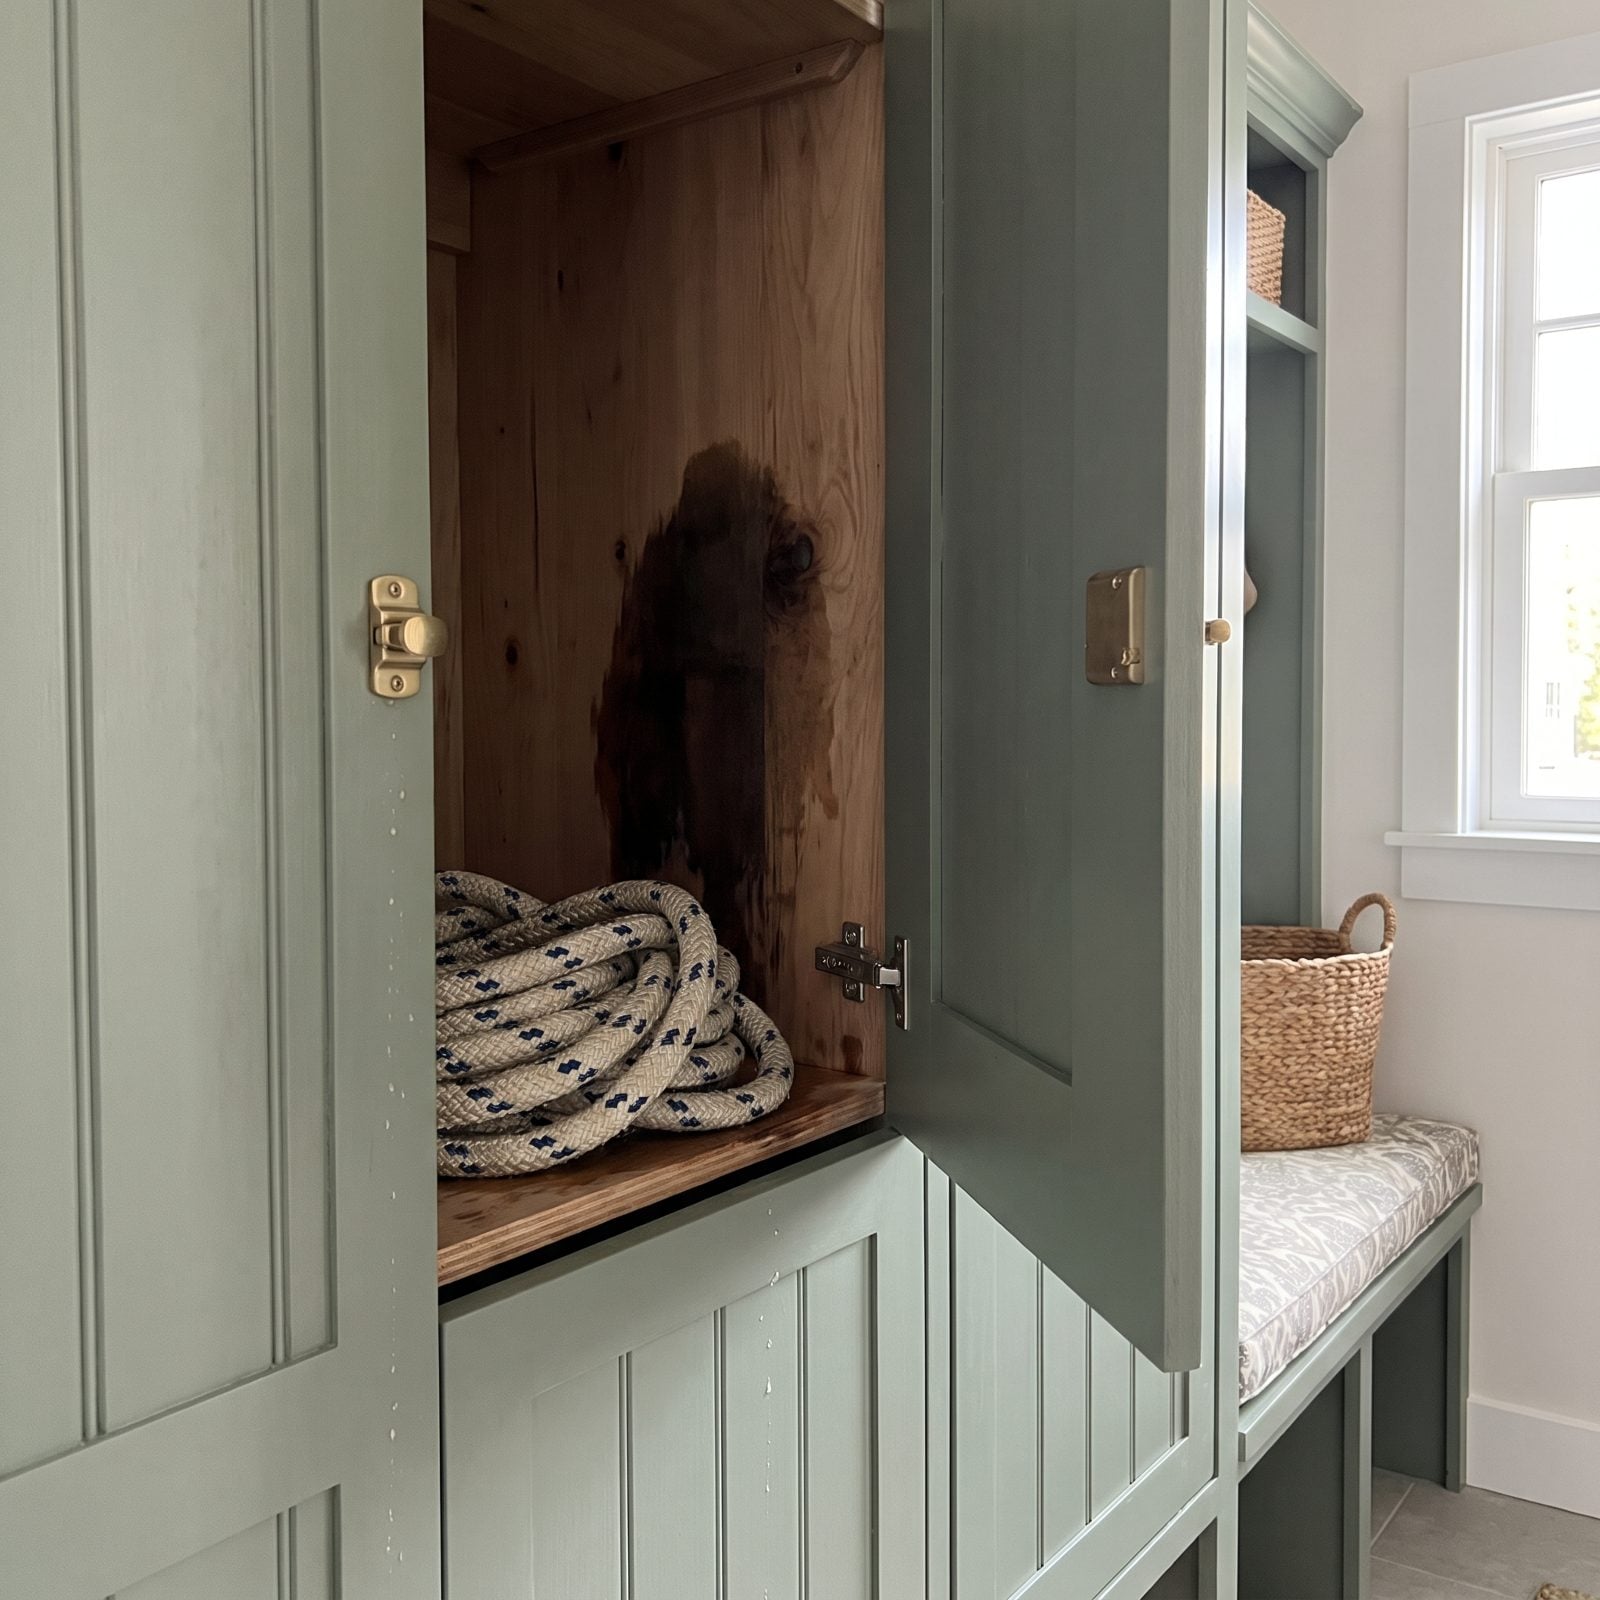
Wet rope in a sealed locker is how you grow a science experiment. Nylon line holds water deep in its core, and once you snap the lid shut with no airflow you get mildew, that sour basement smell, and line rotting from the inside while looking perfectly fine on the outside.
Coil wet lines loosely on deck, or hang them to dry before they ever go below. Have to stow them damp? Prop the locker open once you’re home. A line that smells like a wet dog is a line losing strength, and dock lines are not where you want surprises.
A line that smells sour is a line already giving up on you.
17. Snapping Wet Canvas Down Over the Boat
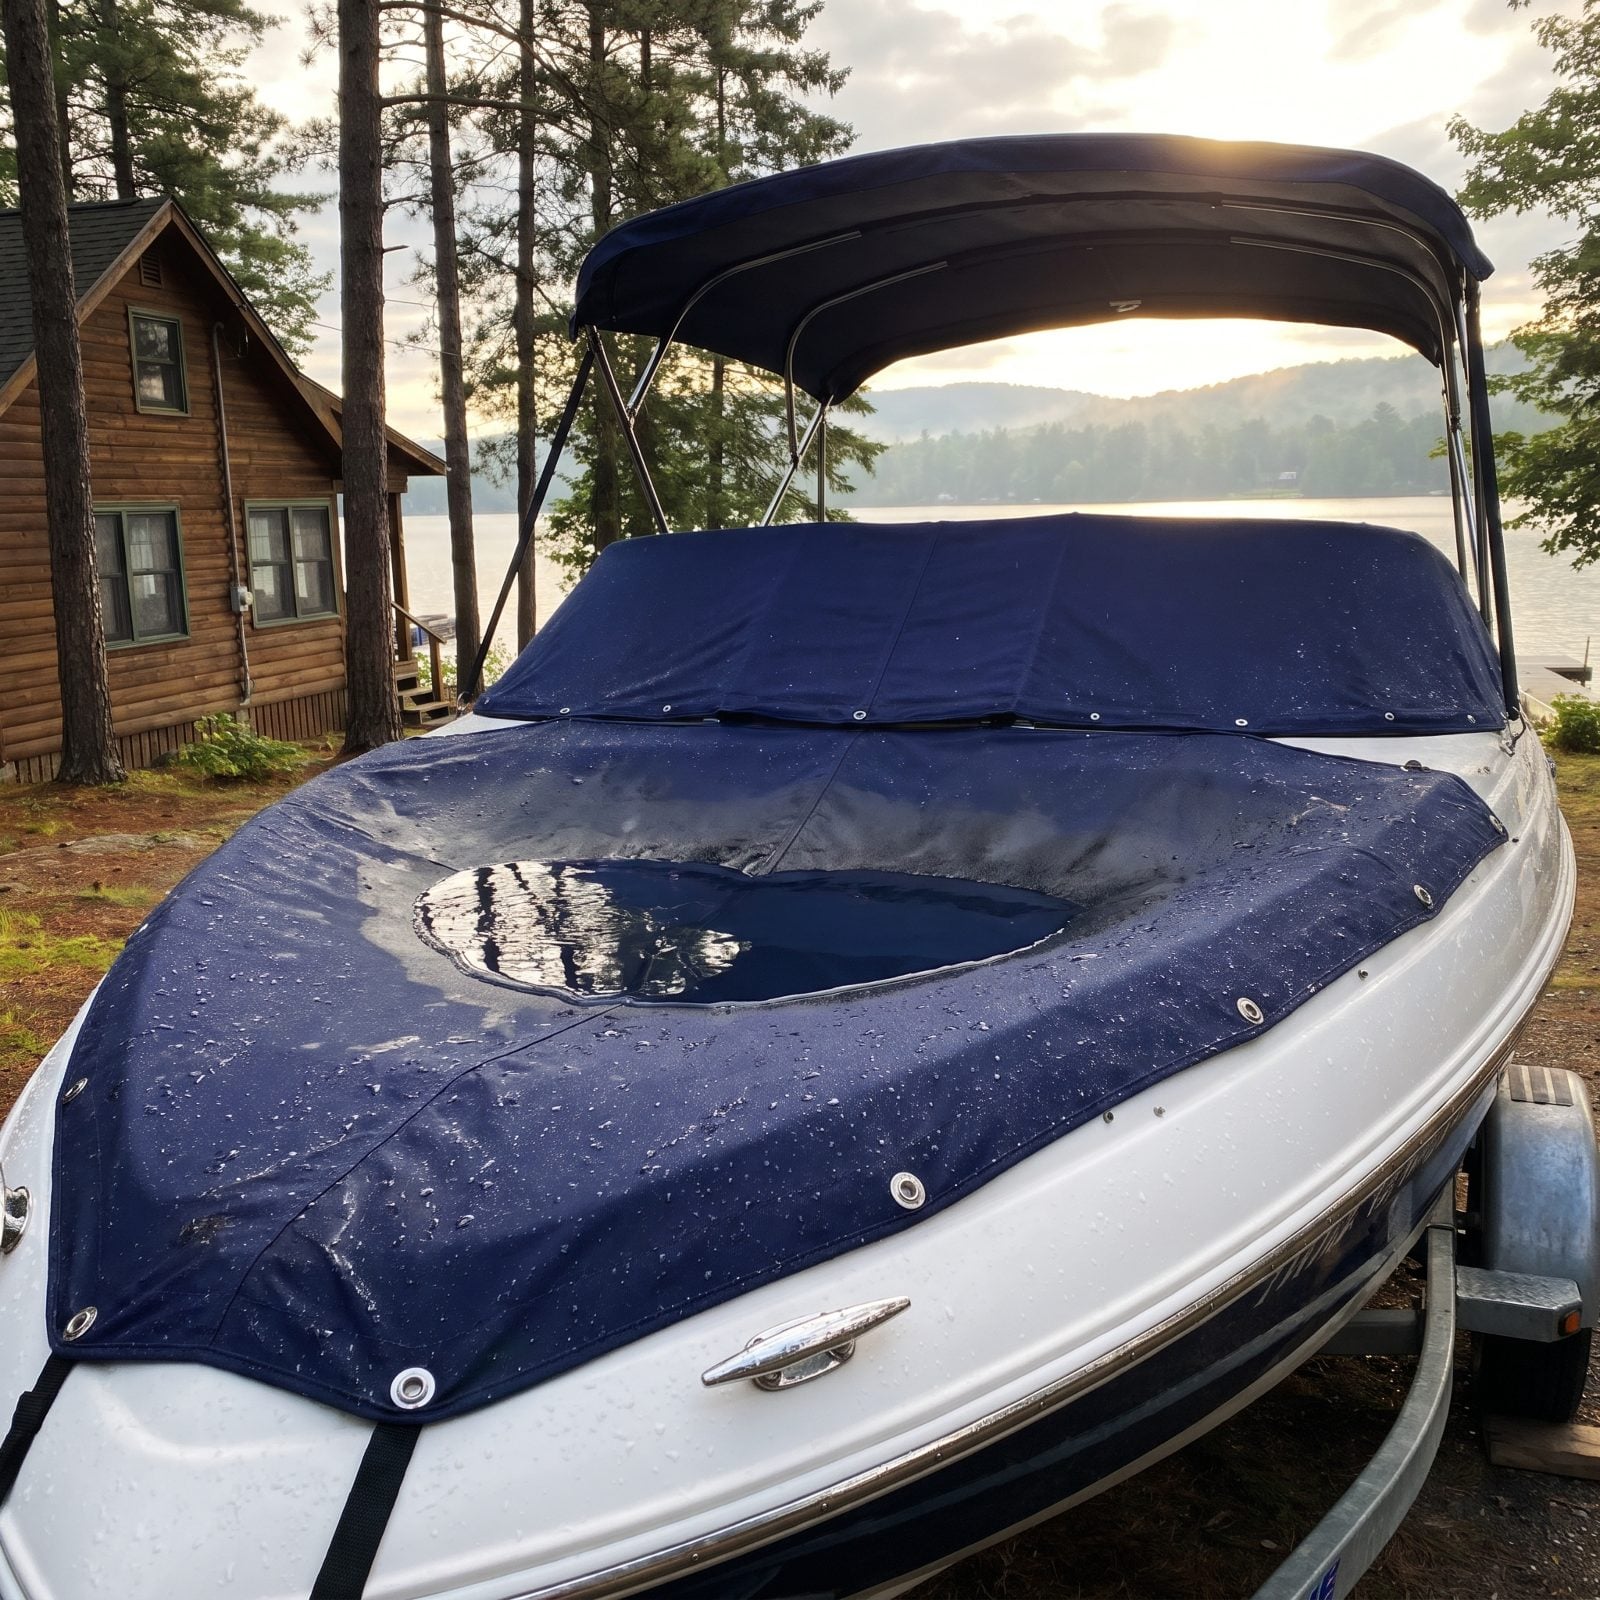
You finish a wet day on the water, snap the canvas down over everything, and head home feeling tidy. But trapped moisture under sealed canvas is how mildew blooms across upholstery, and how a center puddle quietly stretches your cover out of shape over a season.
Let canvas and seats dry before you button up, or leave a corner unsnapped and prop a towel to keep air moving. A quick wipe of the cockpit beats scrubbing green spots off the vinyl come spring — which I have done, on my knees, muttering.
16. Folding Isinglass While It Is Cold
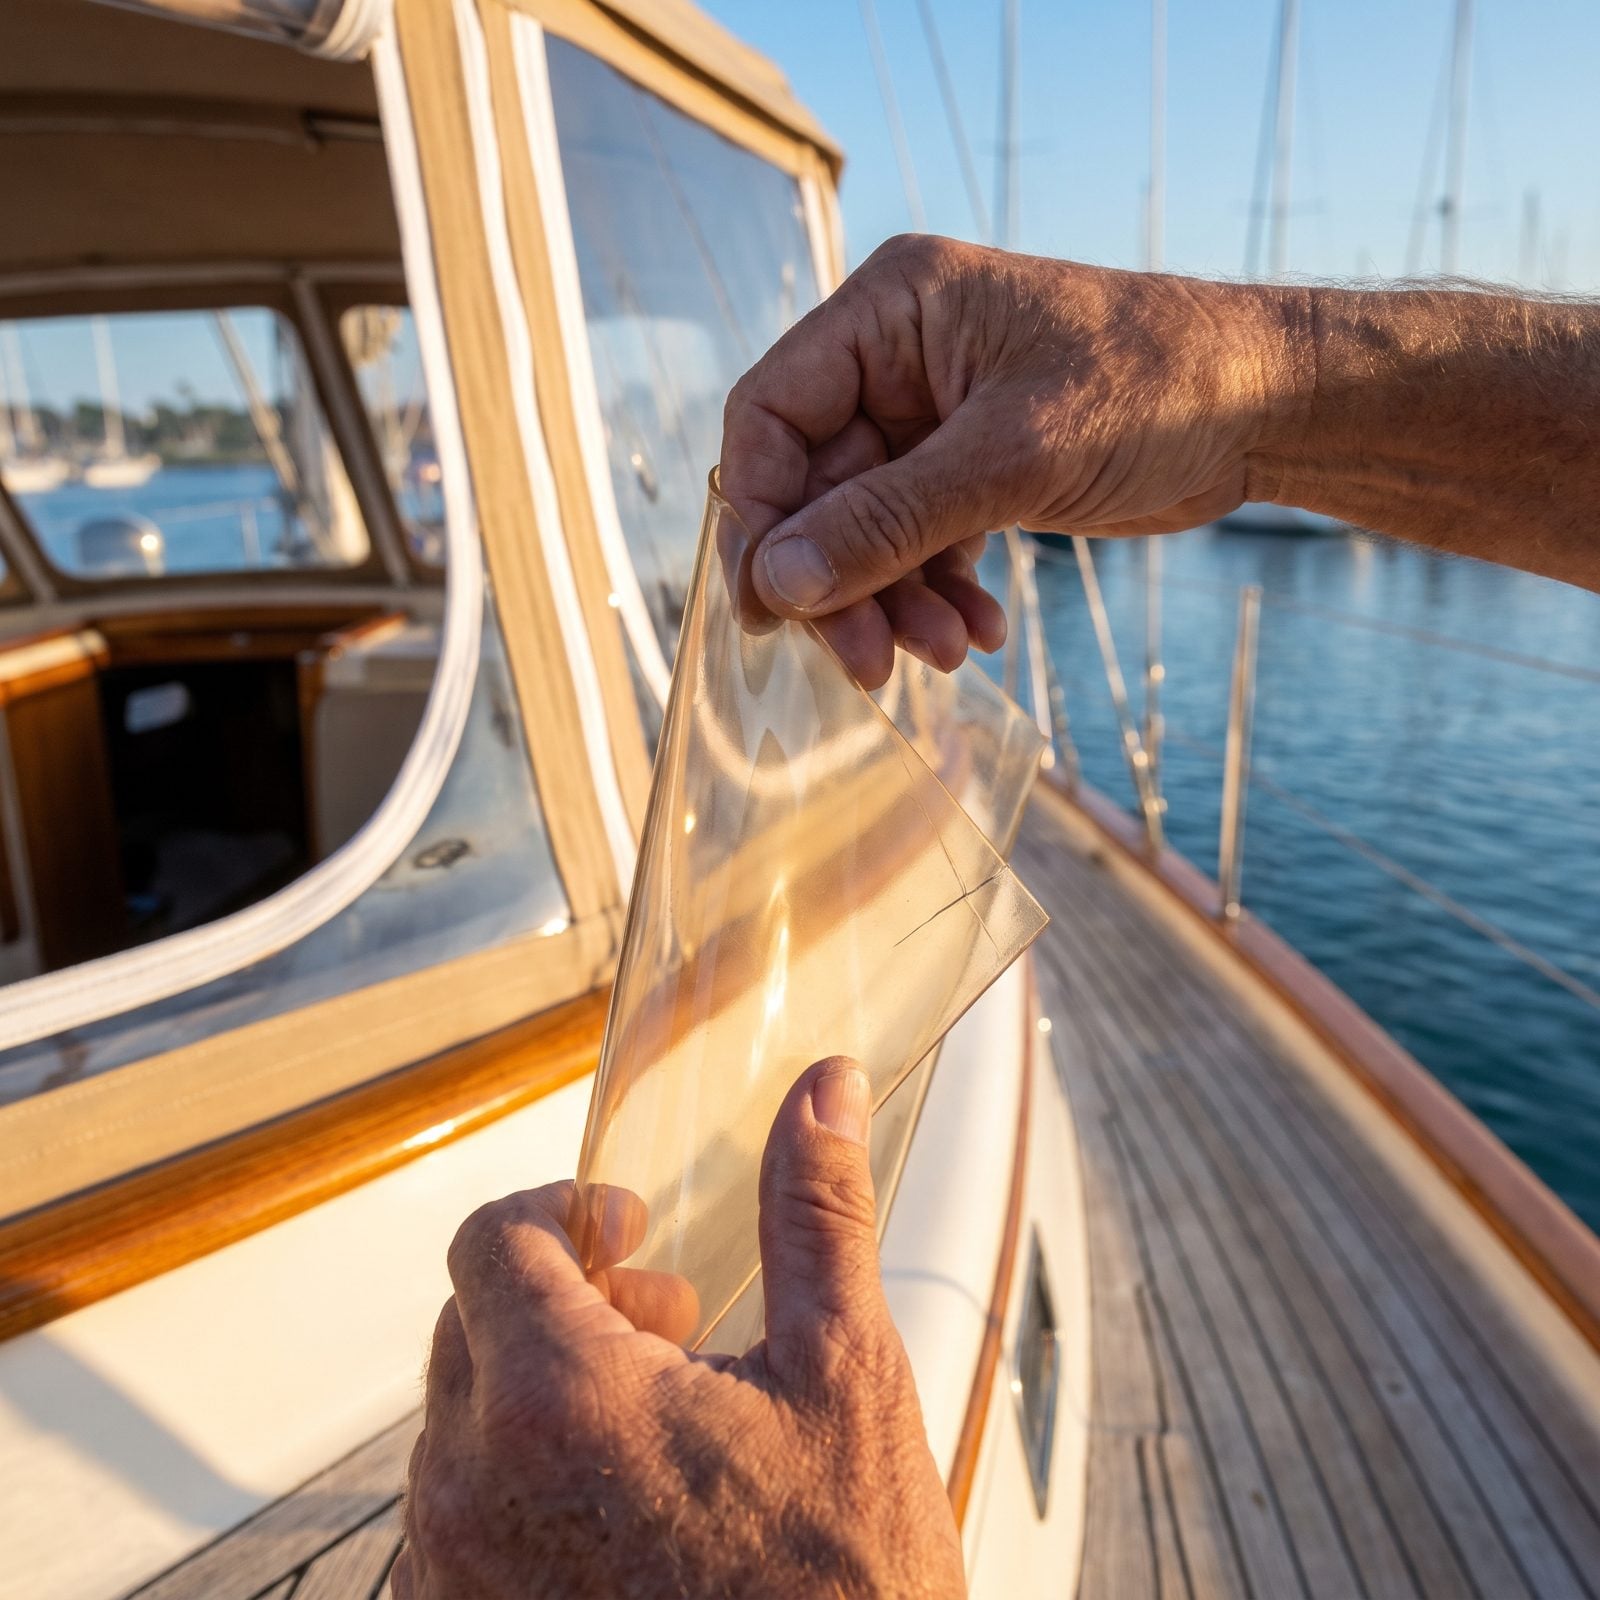
Isinglass — the clear vinyl in your enclosure — gets stiff and brittle in the cold. Fold it on a chilly morning and you crease it permanently, or worse, crack it clean through. A replacement panel will make your wallet weep.
Warm it first. Let the sun hit it for a bit, or wait for a milder stretch of the day, then fold it loosely with a soft towel between the layers so the vinyl can’t stick to itself in storage. Never stash it bone cold in a sharp fold. Handle it like an old photograph.
15. Using the Boat Cover as a Winter Shelf
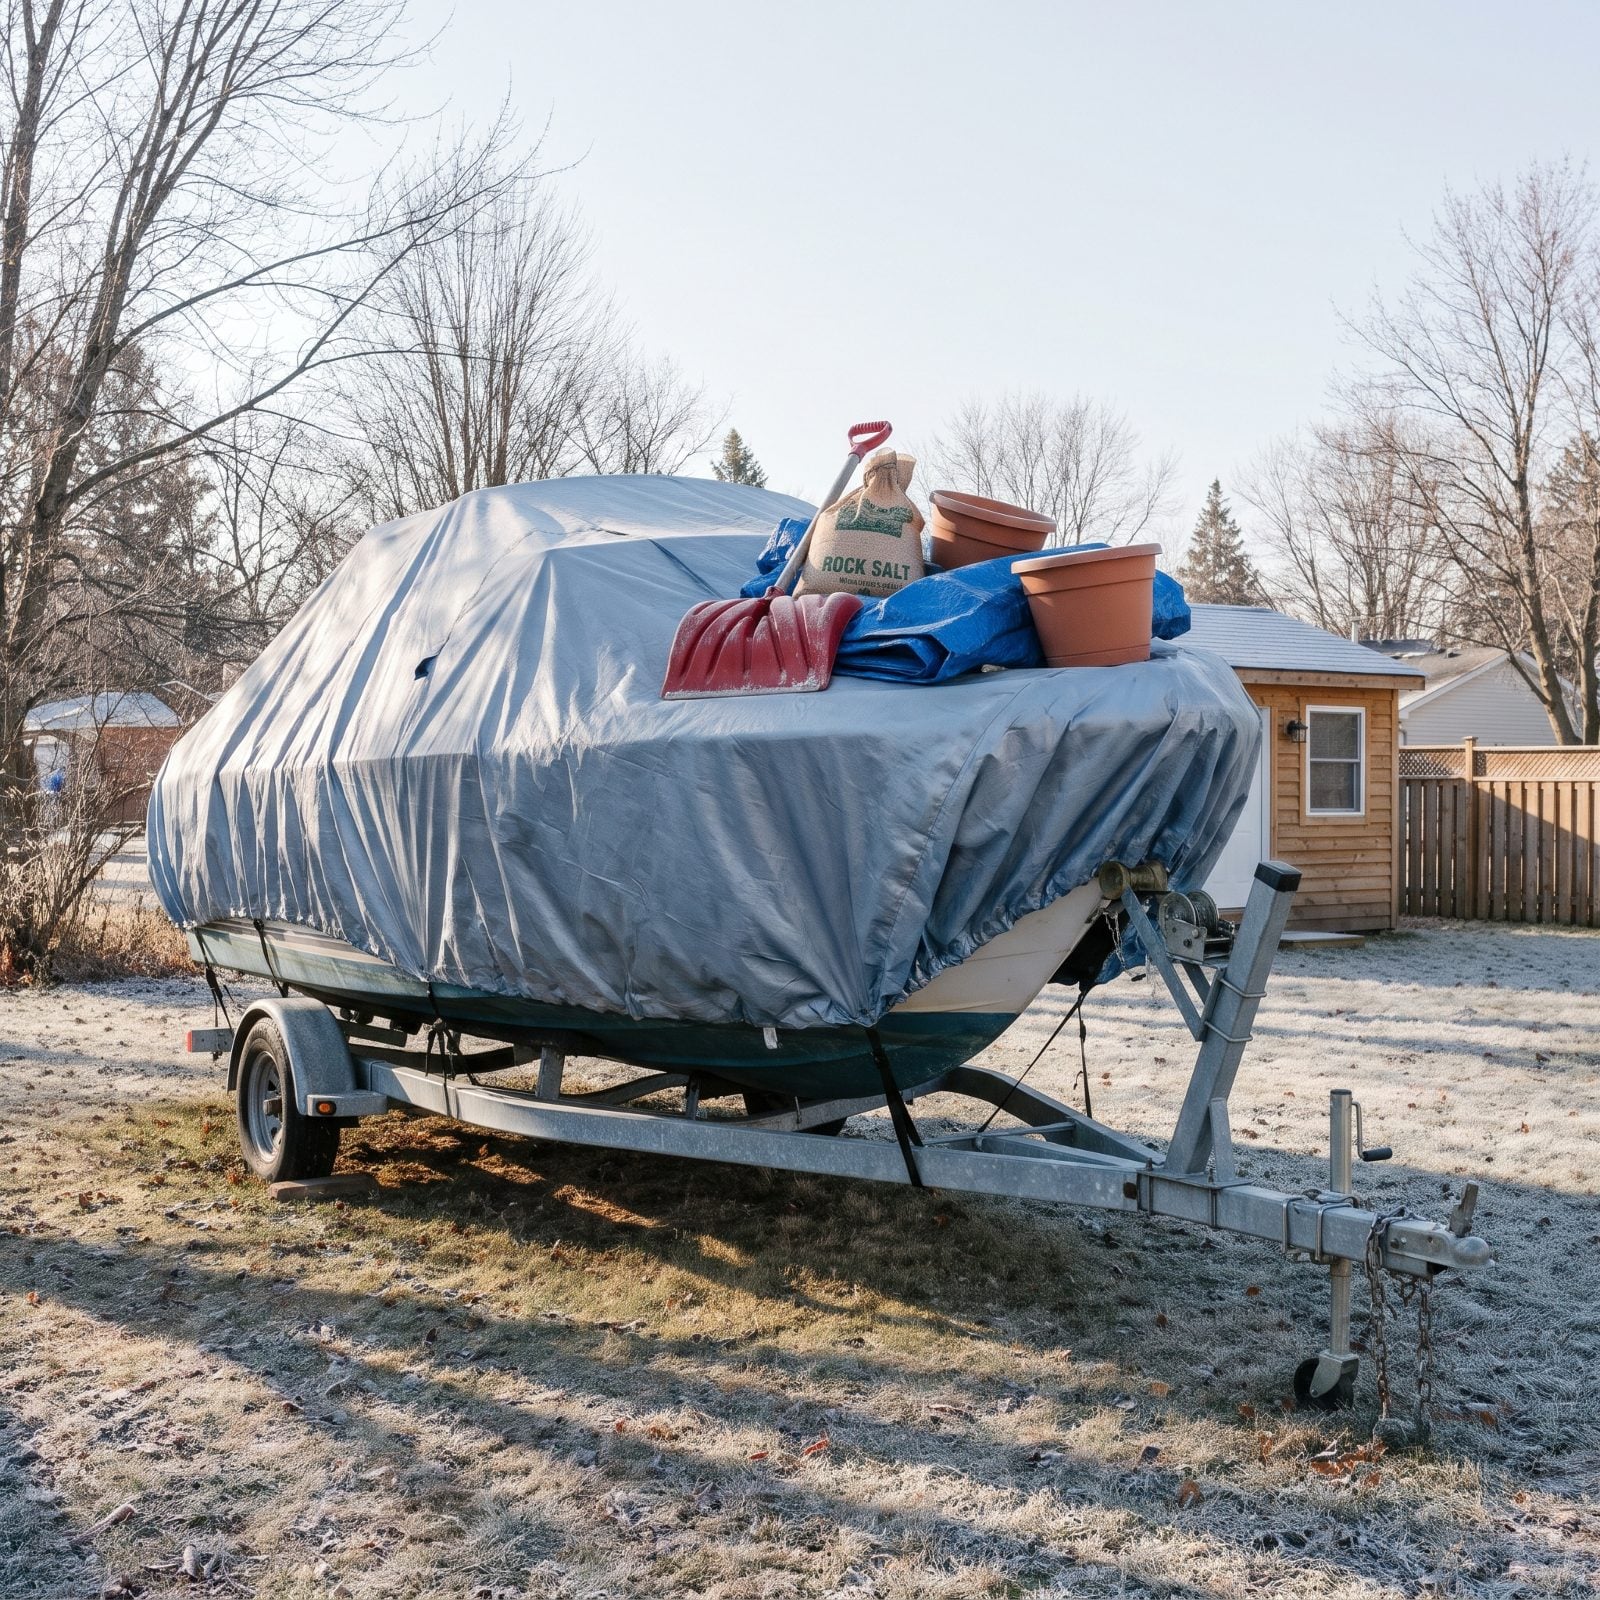
The covered boat in the yard becomes the most convenient flat surface on the property. A shovel here, a bag of salt there, and by February the cover sags, the fabric tears at a stress point, and meltwater finds its way straight into the cockpit.
Your cover is a roof, not a table. Keep weight off it, support the center so snow sheds, and if you live where it really piles up, rig a simple frame or ridge pole underneath. Your spring self will thank you when the interior is dry.
14. Letting Leaves Pile Up Around Cockpit Drains

Leaves look harmless. Let them mat over a cockpit drain through fall, though, and the cockpit stops draining, water pools, and that standing water works its way into deck core, under seats, into places that rot slowly and cost a fortune to fix.
Clear the drains every time you visit, especially in autumn. A quick sweep and a finger in the scupper takes thirty seconds. Decaying leaves also stain gelcoat a stubborn brown, and tannin stains are their own special kind of misery to scrub out.
13. Plugging Drain Holes to Keep Bugs Out
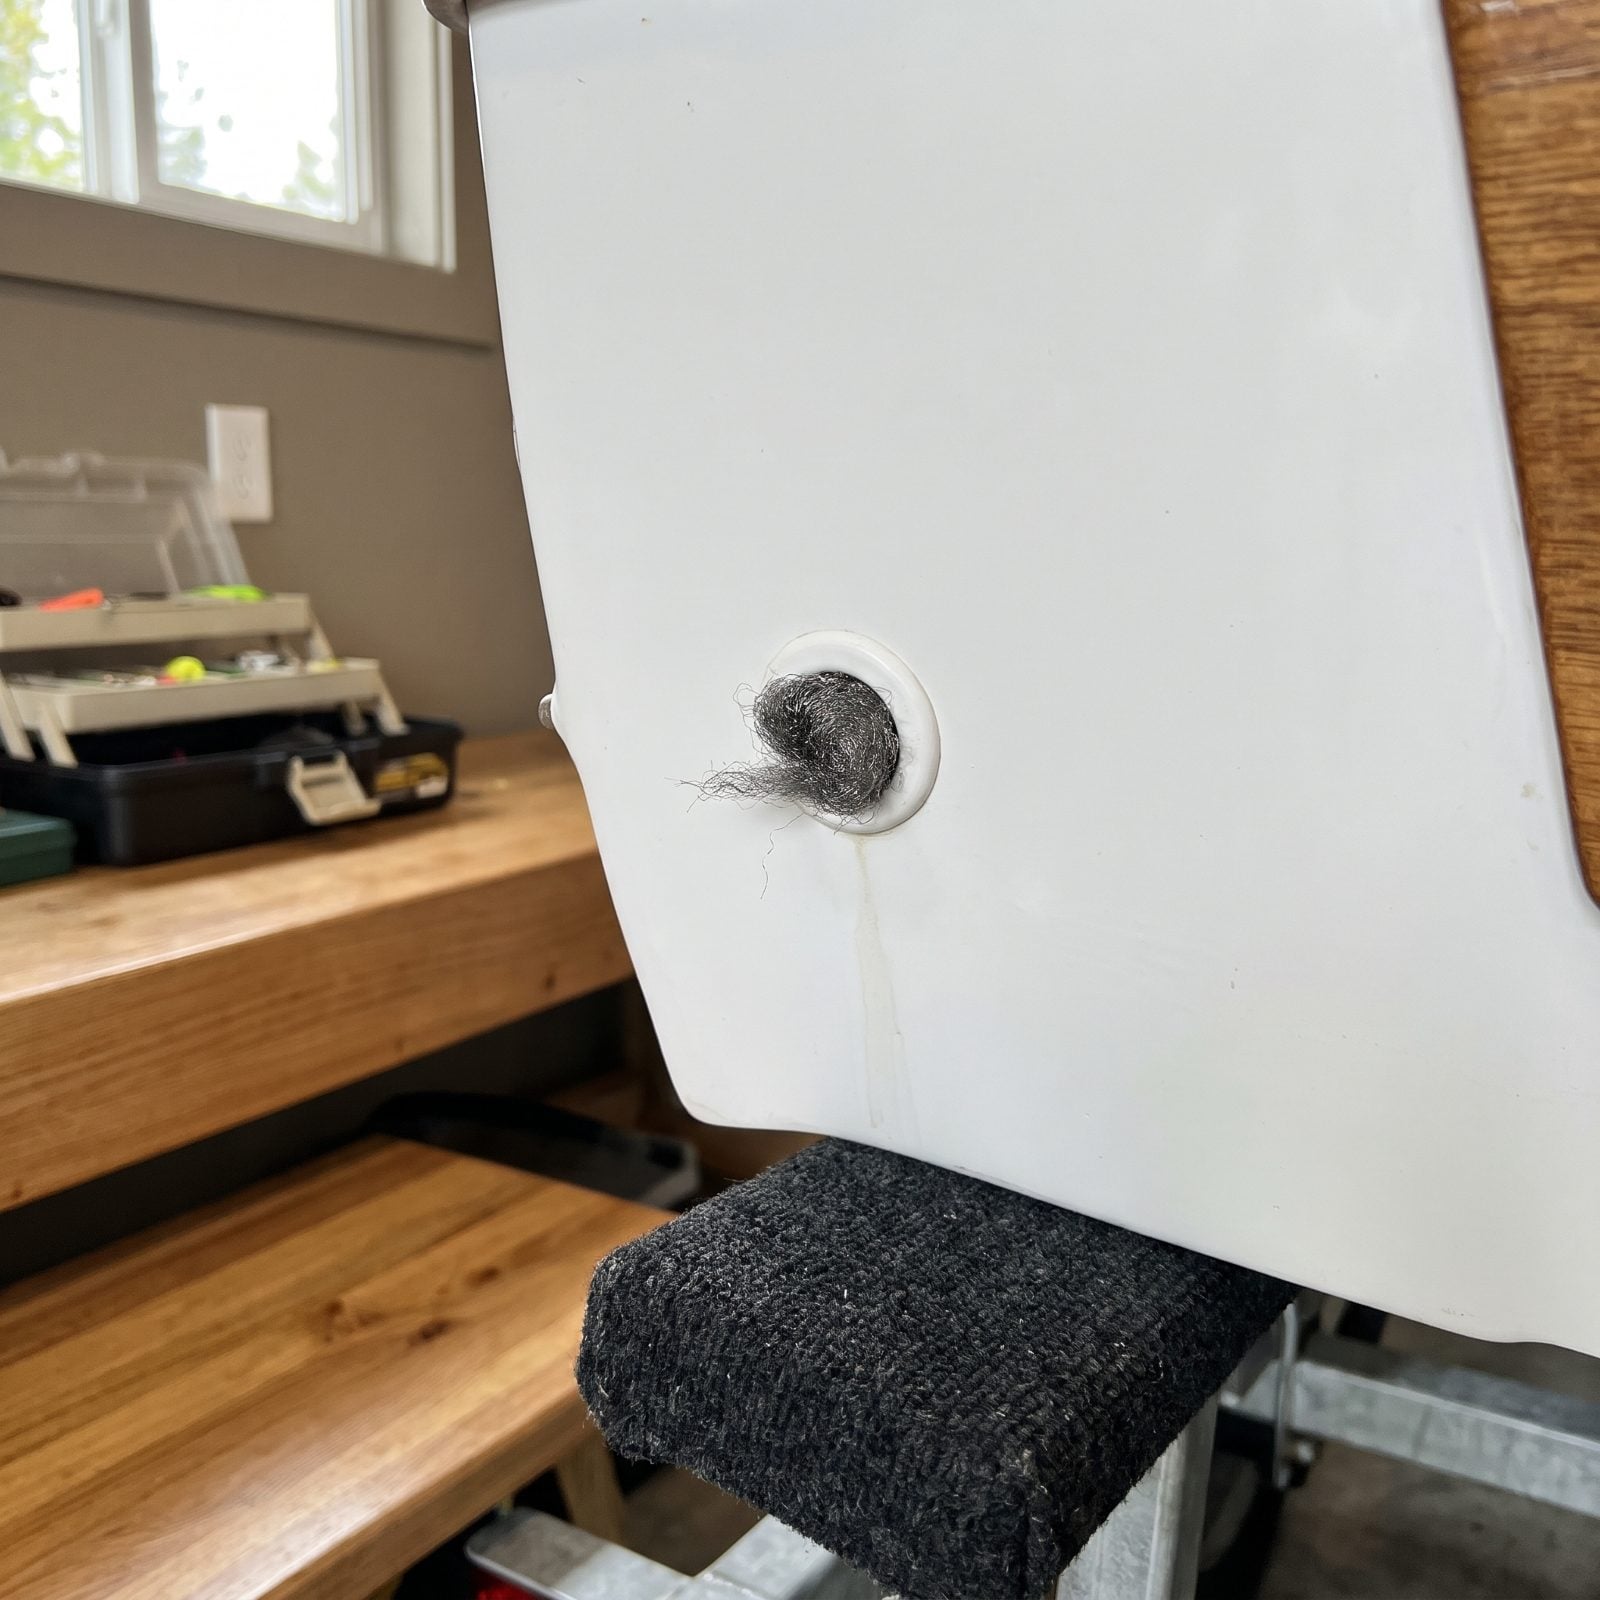
It seems clever. Stuff the drain holes so wasps and spiders can’t nest inside over the winter. What you’ve actually done is trap every bit of rain and melt that sneaks past the cover, and now it sits in the bilge all season with nowhere to go.
Leave drains open and let the boat breathe — water out, air through, nothing stagnant. Worried about bugs? Cover the openings with fine mesh that still lets water pass. You want the boat drier, not sealed into a swamp.
12. Leaving the Bilge Dirty Until Winterization
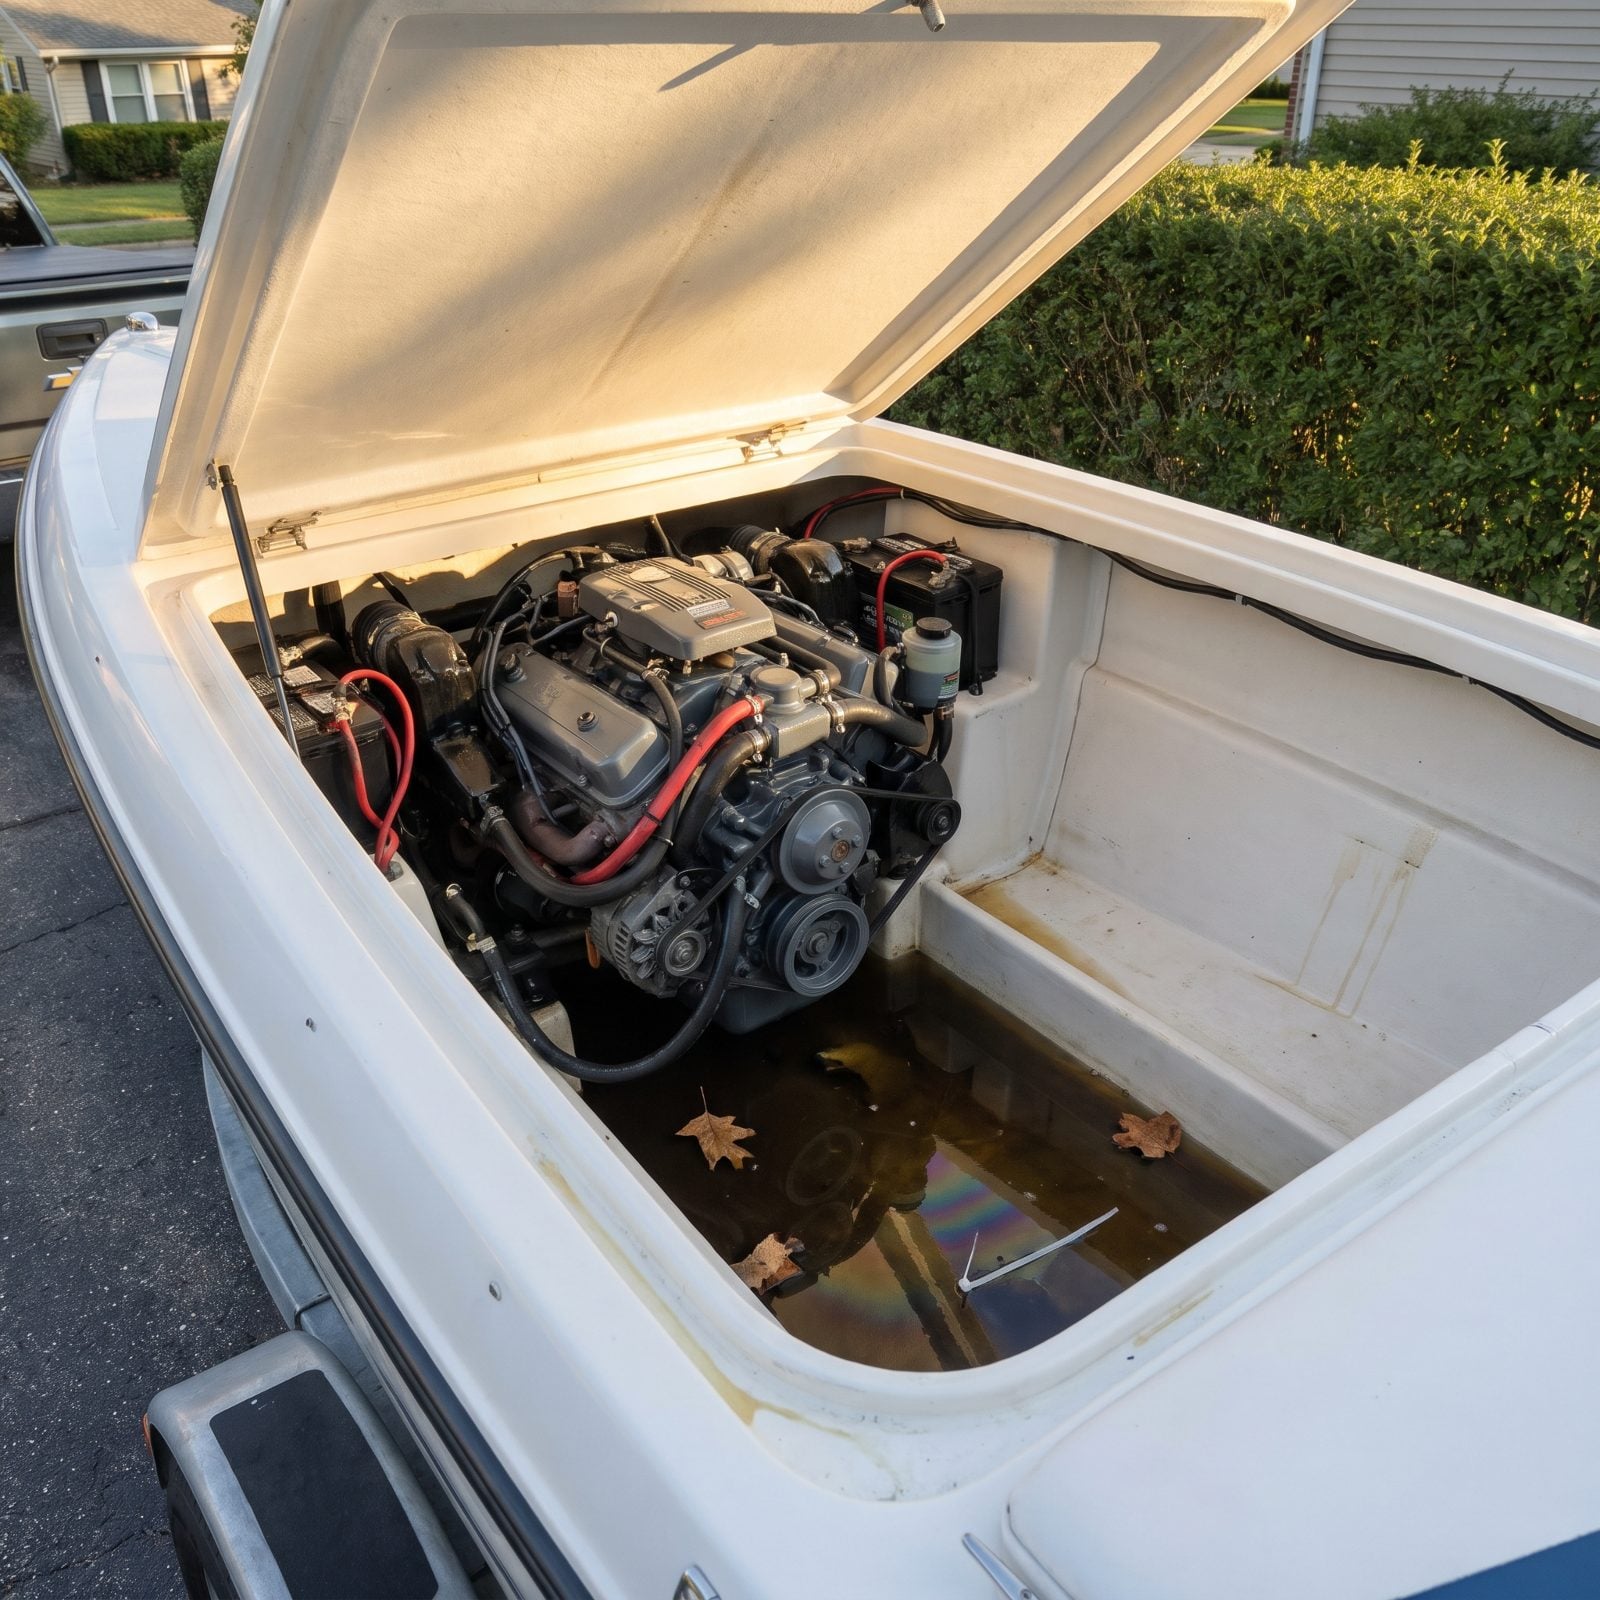
The bilge is out of sight, so it’s out of mind — right up until the day you winterize and finally lift the hatch. By then the oil, fuel residue, and gunk have been sloshing against your hull and fittings for months, corroding cables and hiding the small drip that would have warned you about a bigger problem.
Check and wipe the bilge a few times a season. A clean bilge is a diagnostic tool. A fresh drip of oil or coolant shows up instantly against a clean surface, and catching that early is the difference between a wrench and a rebuild.
11. Keeping the Drain Plug Loose in a Cup Holder
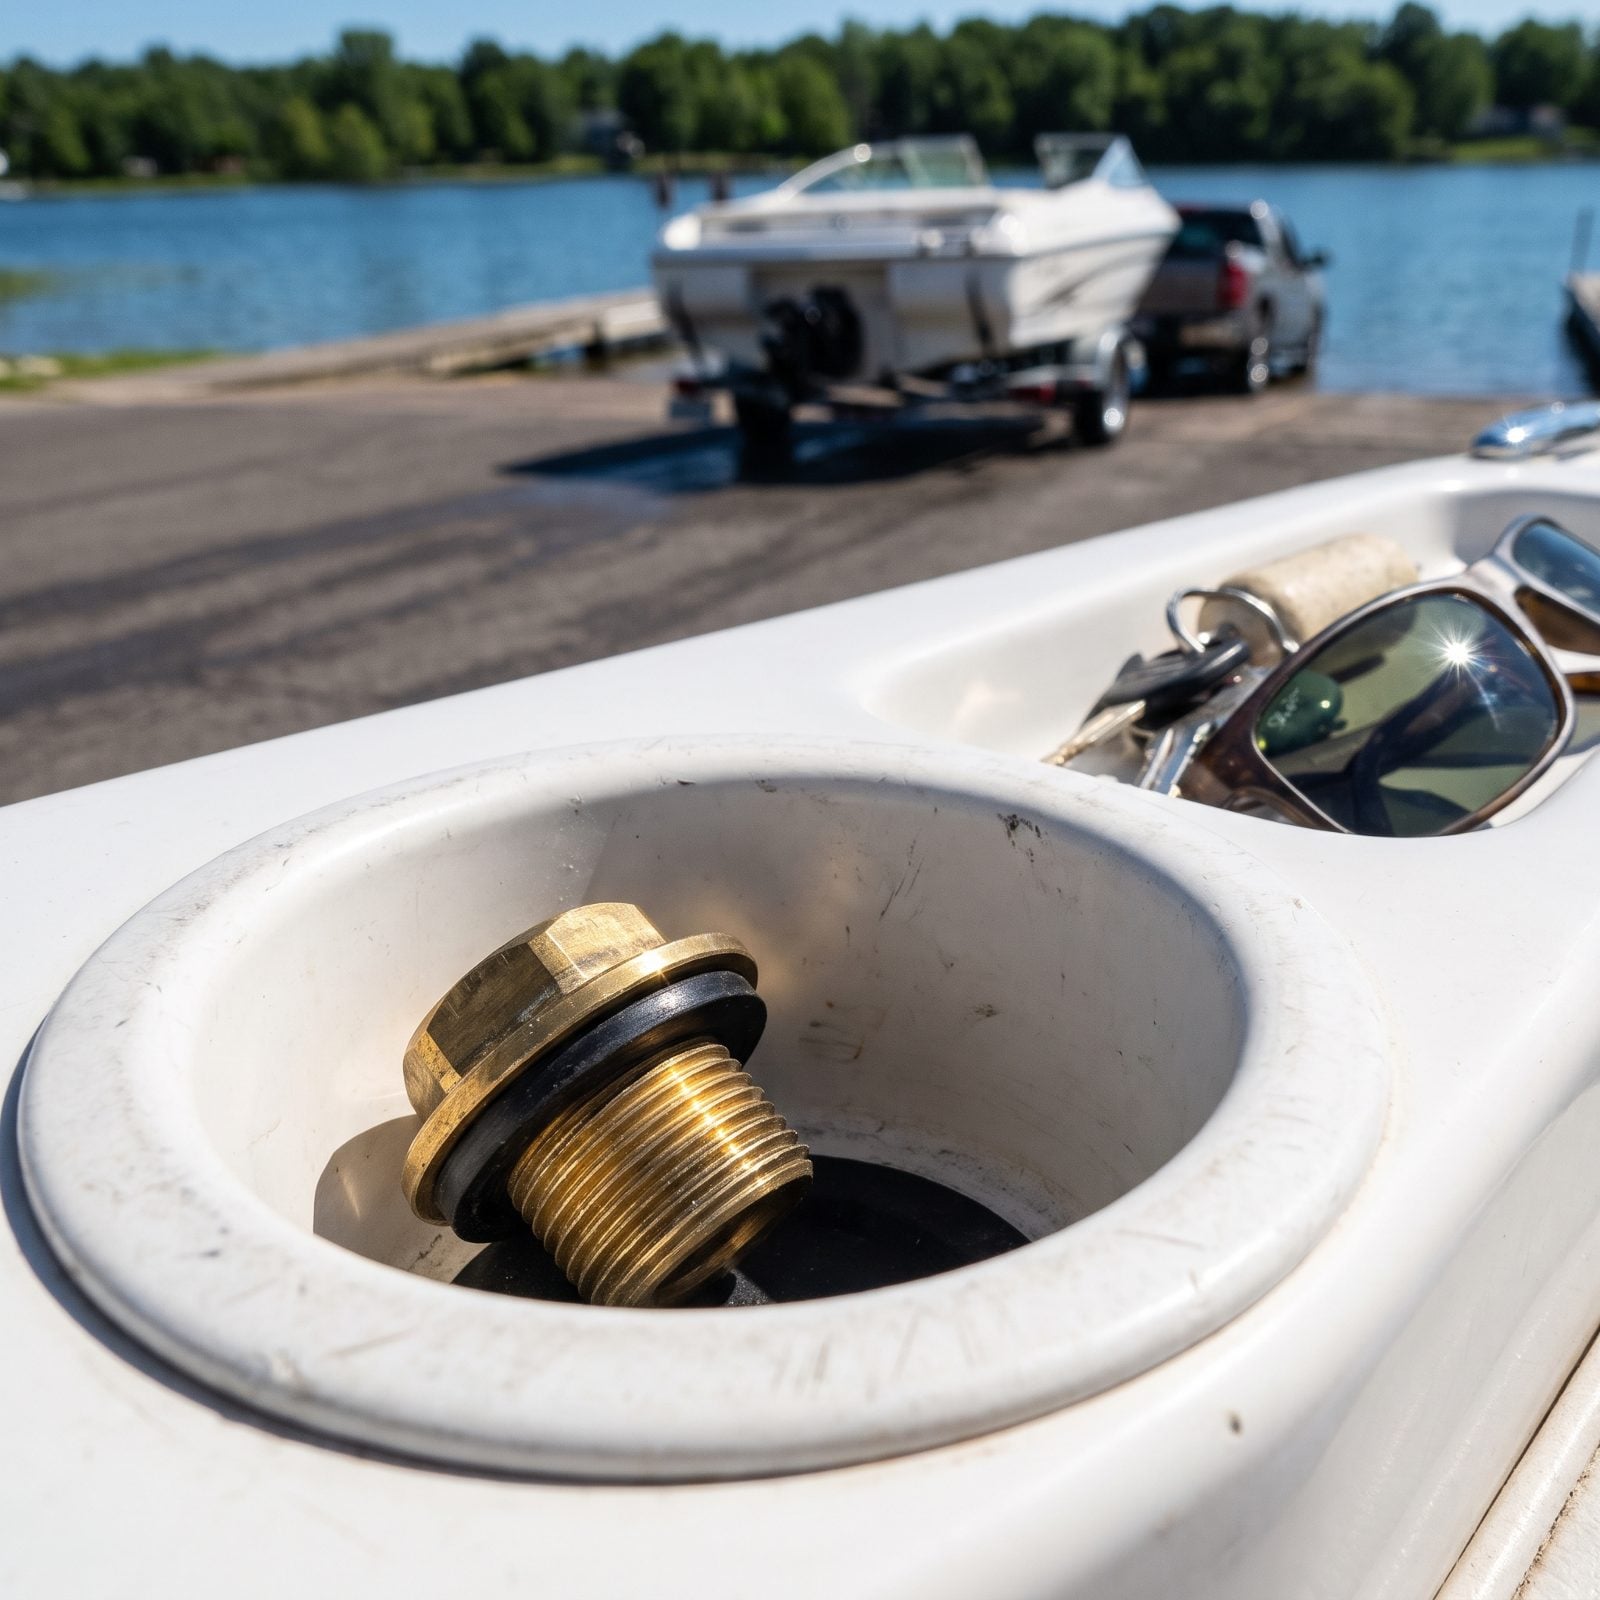
The drain plug rides loose in the cup holder, ready to grab at the ramp. Then one busy morning you forget it, back the boat in, and water pours straight into the bilge while you’re still parking the truck. Every boater knows someone this has happened to — and it’s always on a crowded ramp, with an audience.
Give the plug a permanent home and a ritual. Clip it to the trailer winch post, run a lanyard to the key fob, anything that forces a check. The plug goes in before the boat goes anywhere near the water. First. Always. No exceptions.
10. Launching Before Testing the Engine on Land
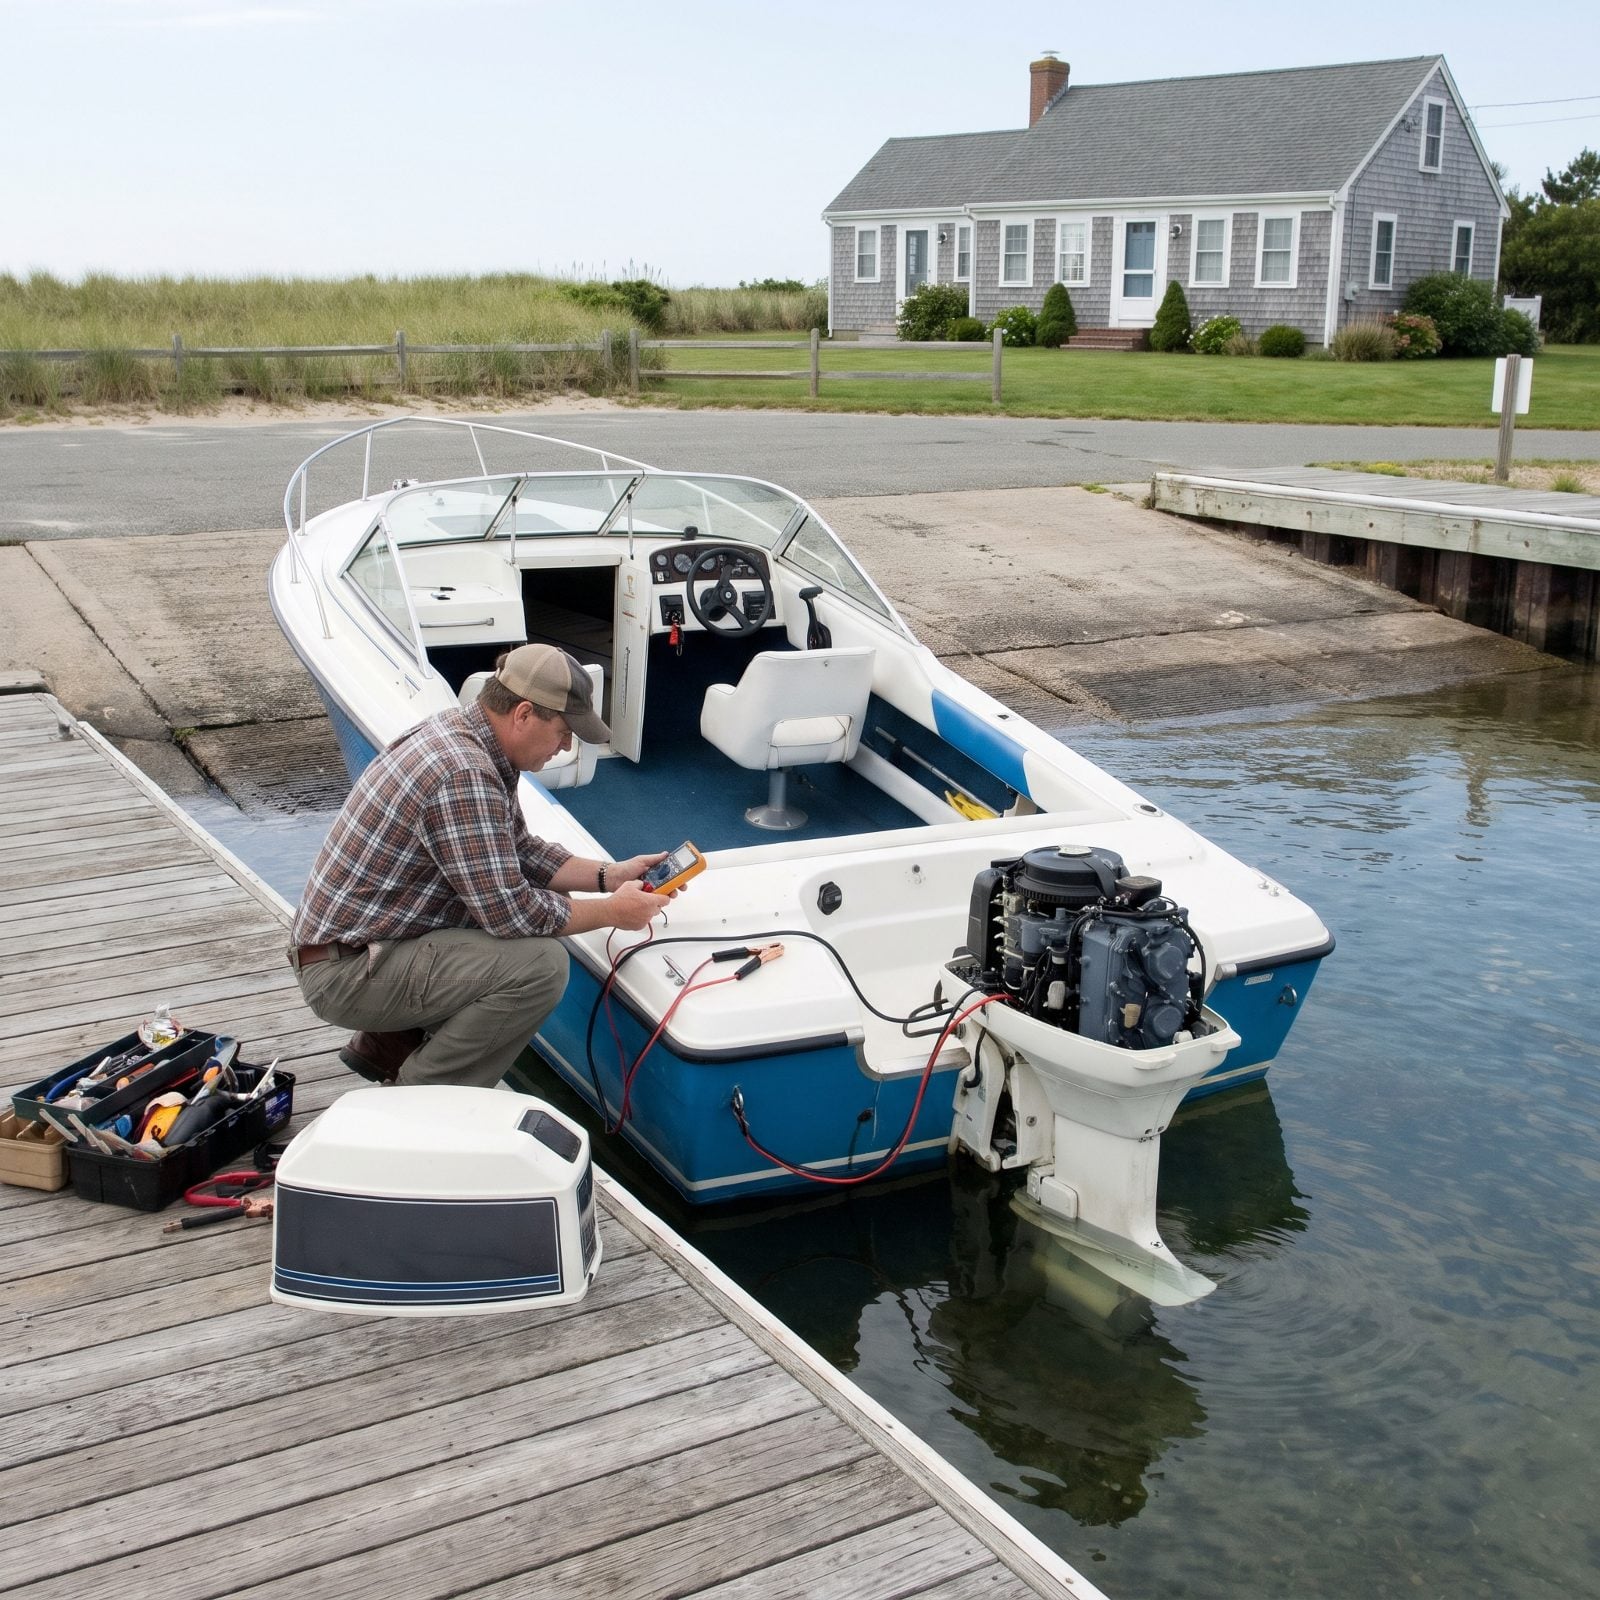
The old habit goes like this: back the boat down the ramp, turn the key, and discover at the worst possible moment that the engine won’t fire. Now you’re blocking the only lane at a busy ramp on a Saturday while a line of trucks idles behind you, and somebody’s already leaning on a horn.
Run the motor on muffs at home first. Thirty seconds in the driveway tells you the thing starts, idles, and pumps water. I skipped this for years because I was in a hurry. A dead battery at the ramp cured me fast.
9. Starting the Engine Before Opening the Fuel Vent
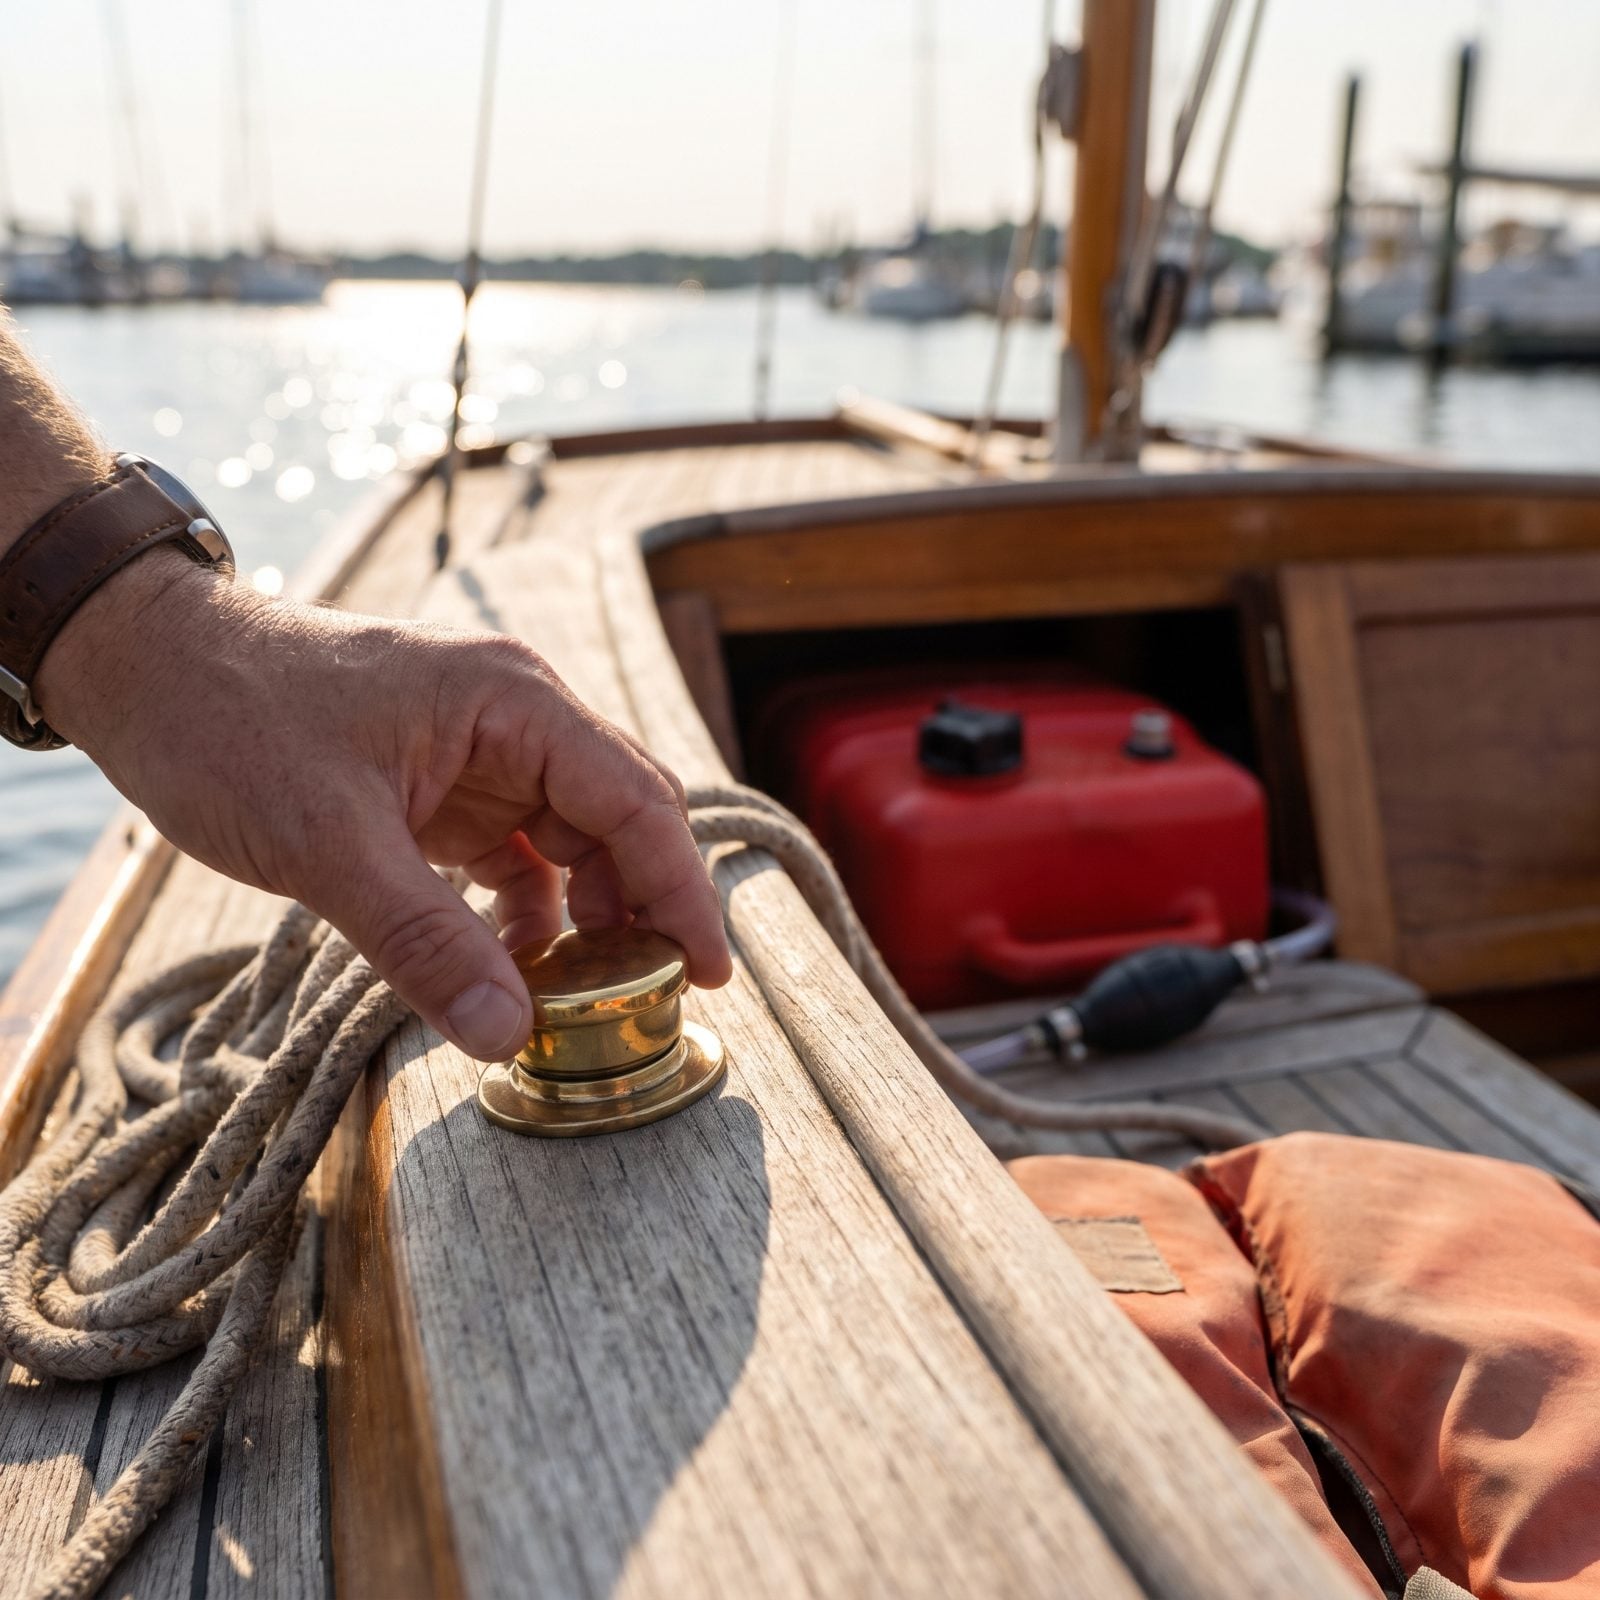
Portable tanks vent through a small screw on the fill cap, and a sealed tank starves the fuel line the second the engine starts drawing. You’ll get a smooth start, a minute of running, then a stall right as you pull away from the dock. Here’s the maddening part: fuel starvation from a closed vent feels exactly like a carburetor problem, which is how people end up chasing ghosts around the engine bay for an hour.
Open the vent screw on the tank cap the moment you load the tank. Make it as automatic as buckling a seatbelt. Built-in tanks don’t care as much, but if you’re running a six-gallon red can in the stern, this is the cheapest fix on the water.
8. Skipping the Engine-Bay Sniff Check
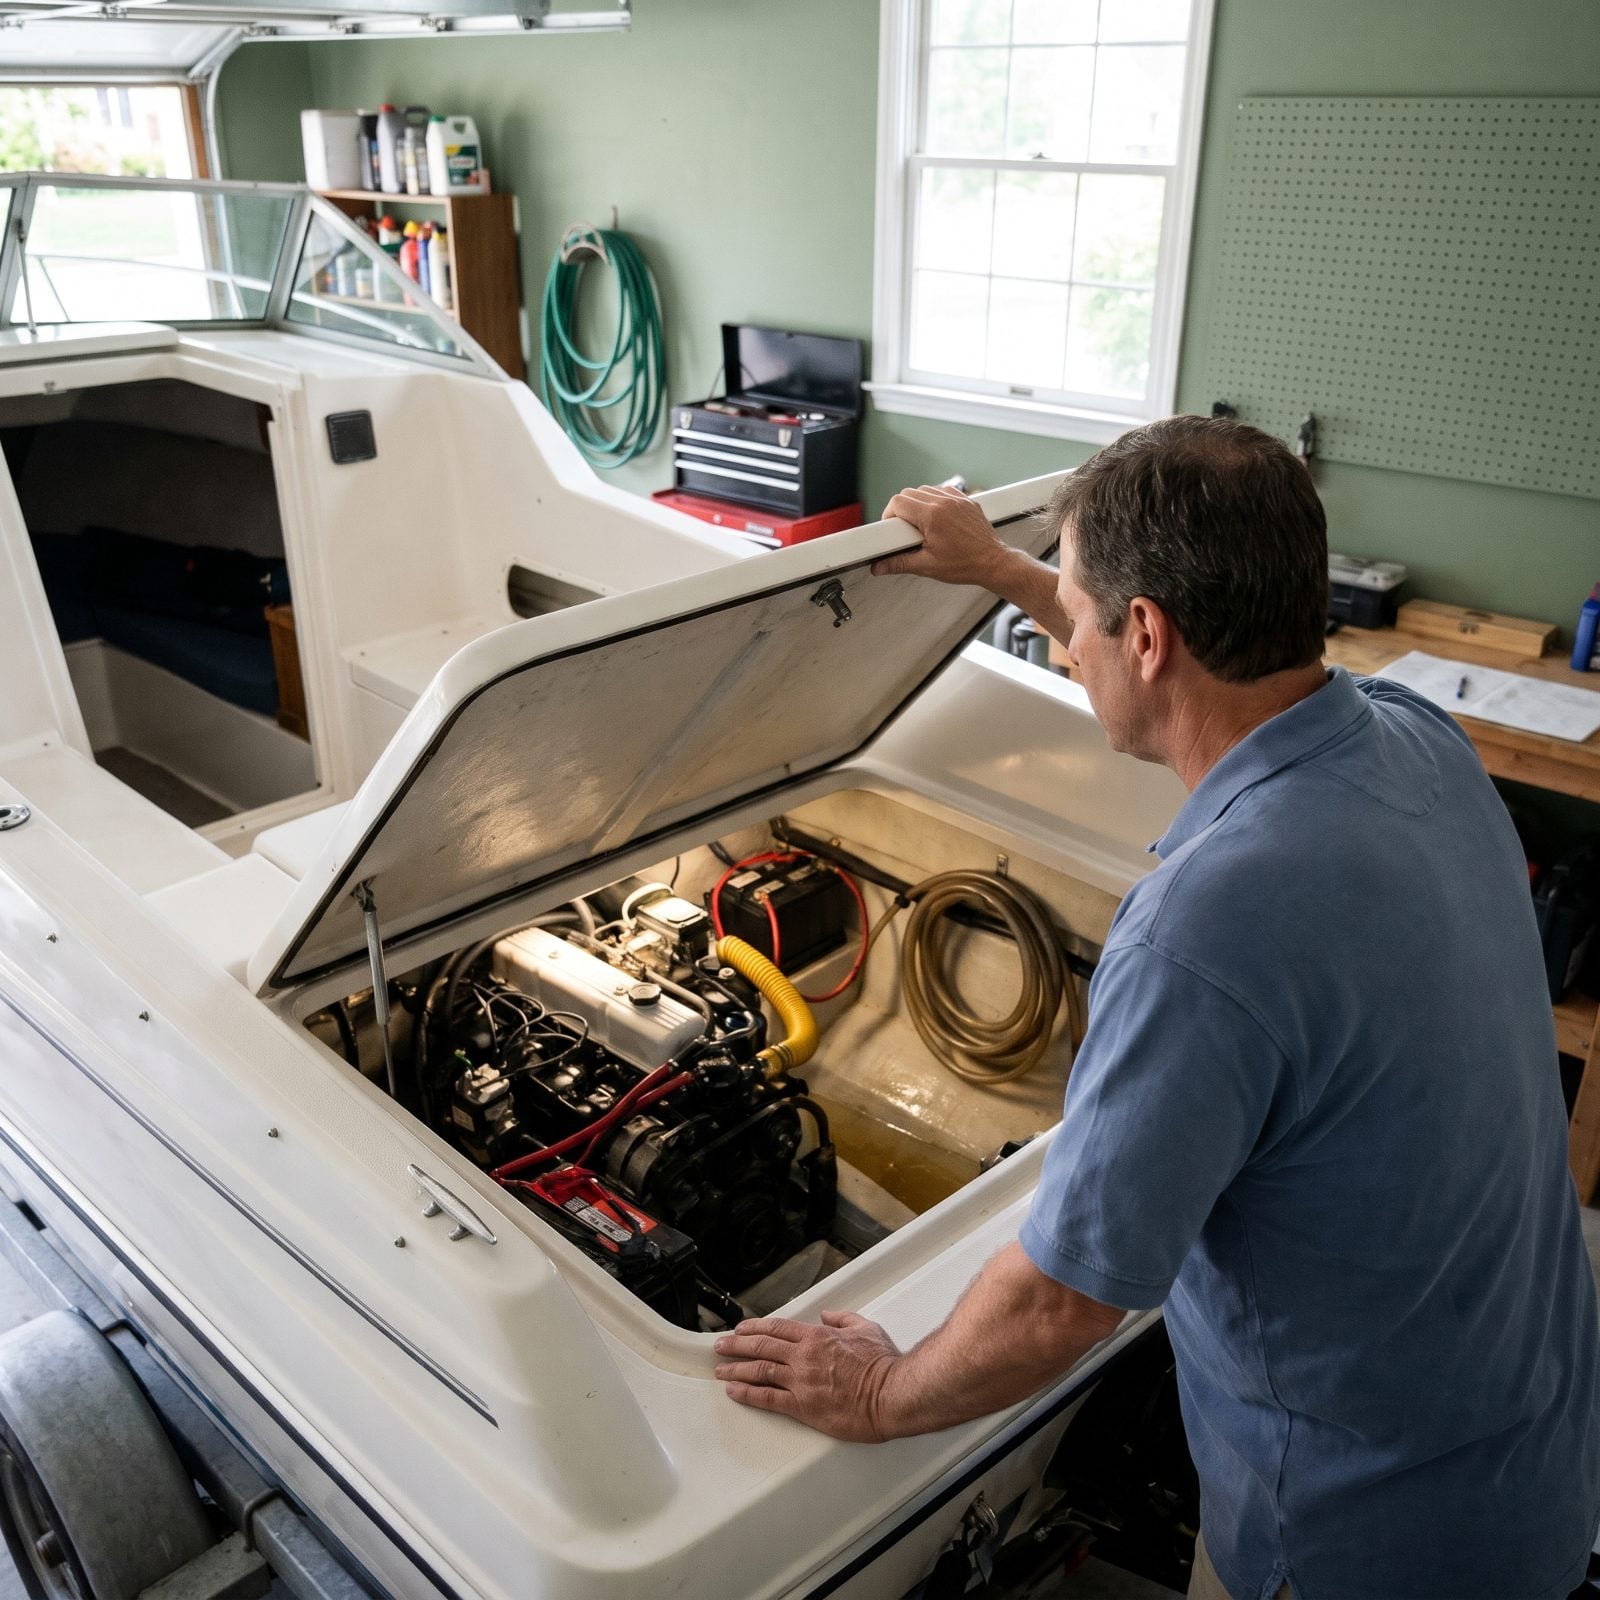
Gasoline fumes are heavier than air. They pool in the bilge where you can’t see them, and on an inboard or sterndrive that invisible pocket of vapor is the one thing standing between a normal morning and a very bad one.
Before you crank, open the hatch and actually put your nose down there. Smell for fuel. Run the blower for four or five minutes. It’s a crude check and it beats any gauge you can buy. I know owners with thirty years on the water who still do it every single start, and that habit is precisely why they got thirty years.
7. Powering Onto the Trailer at Every Ramp
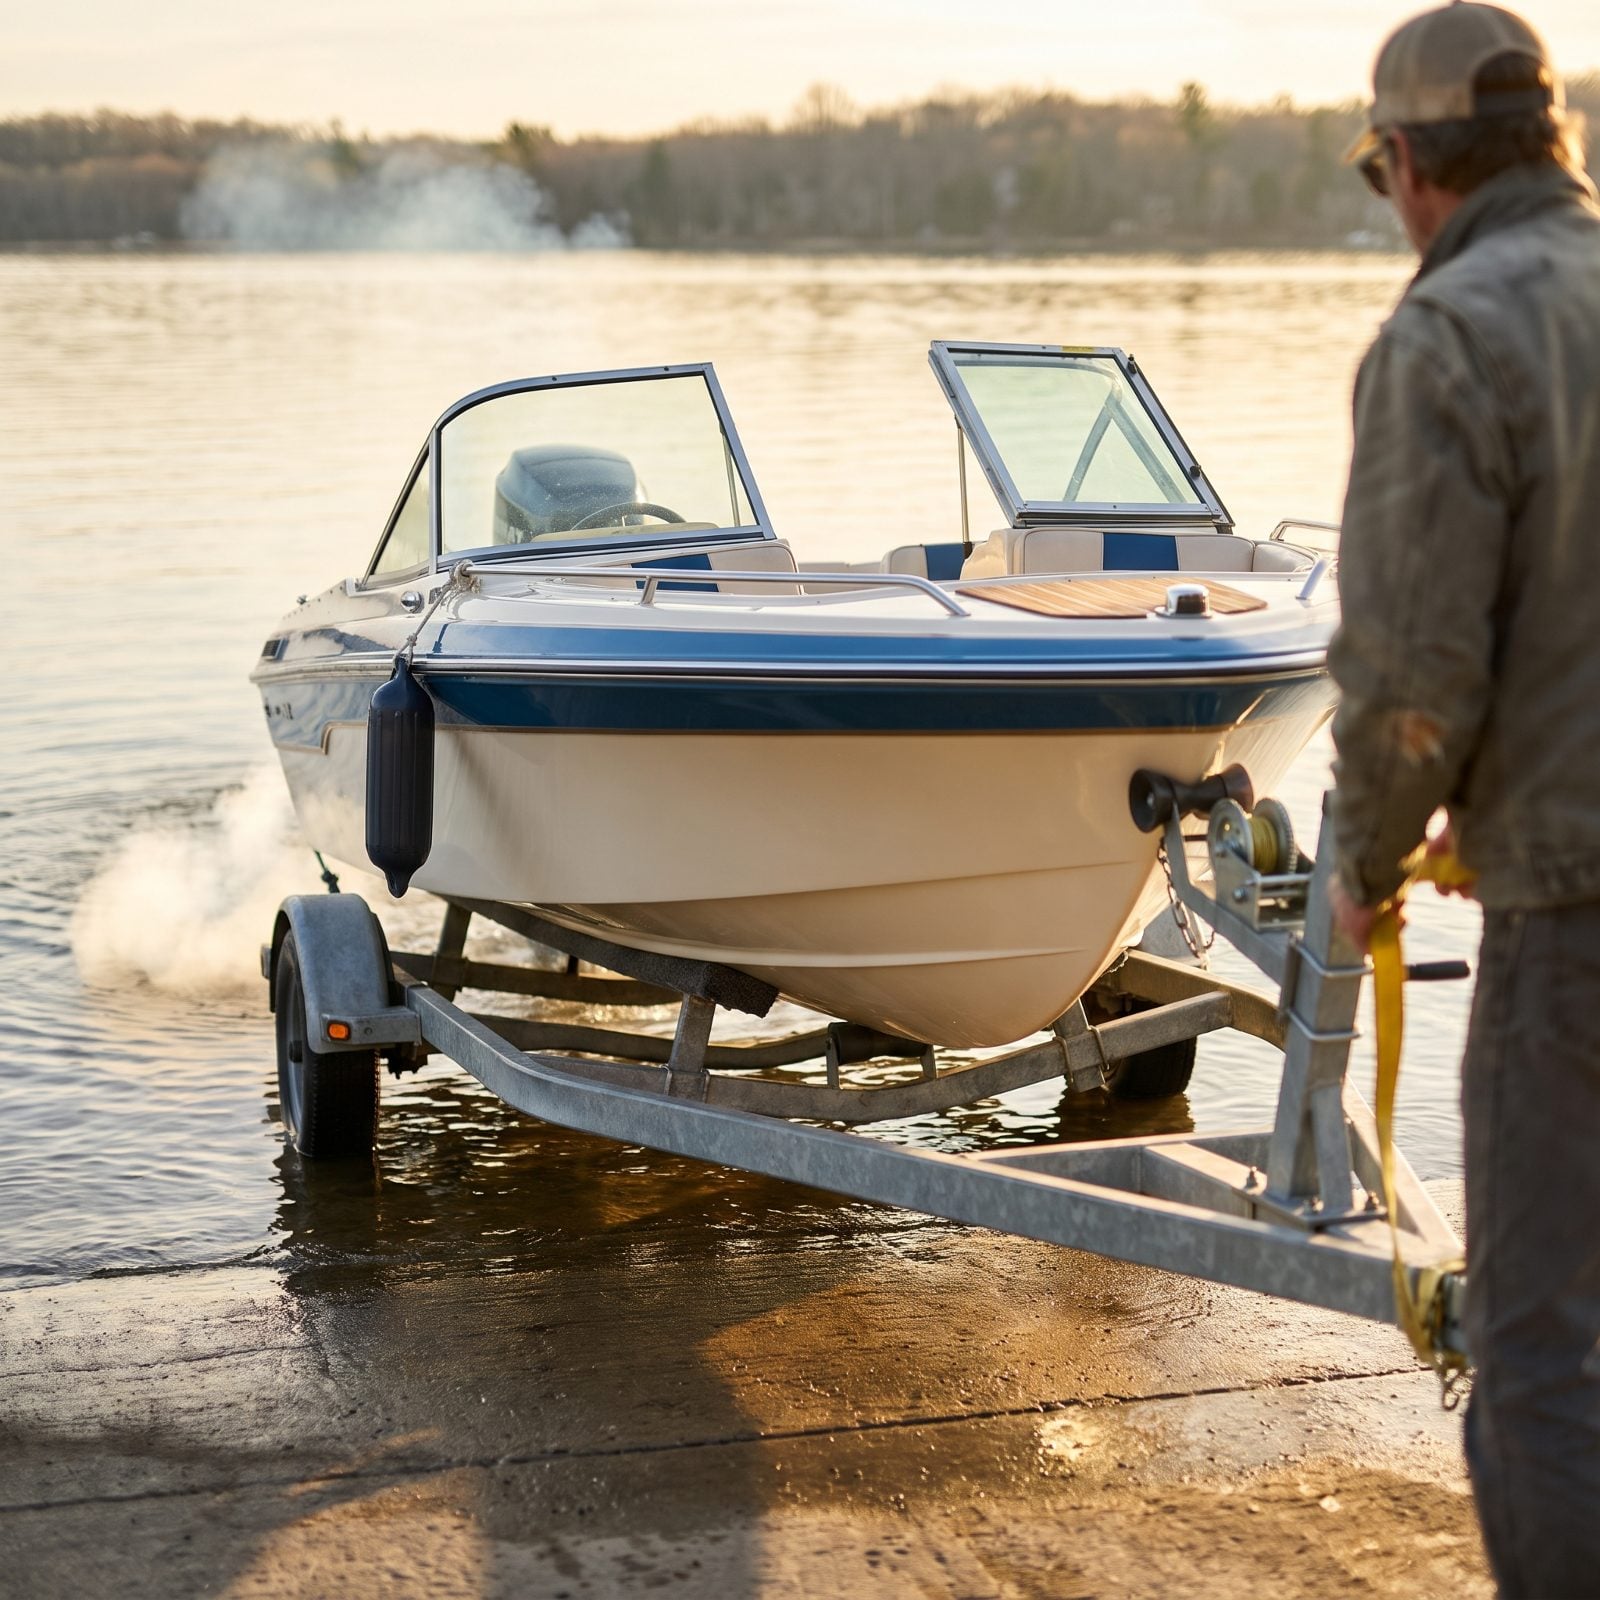
Power loading looks slick. Gun the throttle, ride the boat right up the bunks, done in ten seconds. It also digs a crater at the end of the ramp, washing the gravel out from under the concrete until there’s a drop-off that swallows trailer wheels whole.
Float it on instead. Back the trailer in far enough, idle the bow up to the bunks, then winch the last few feet by hand. You lose maybe a minute. In exchange you keep the ramp intact for everyone behind you, and plenty of lakes now ban power loading outright for this exact reason.
Describing the prop-wash holes that power loading digs at the end of ramps, a state water recreation consultant warned: “Also, in the area past the hole, there is often a mound of sand or rock deposited by power loading. Boats can run aground on this material and not be able to get to deep water.”
6. Unhooking the Bow Strap Before Reaching the Water
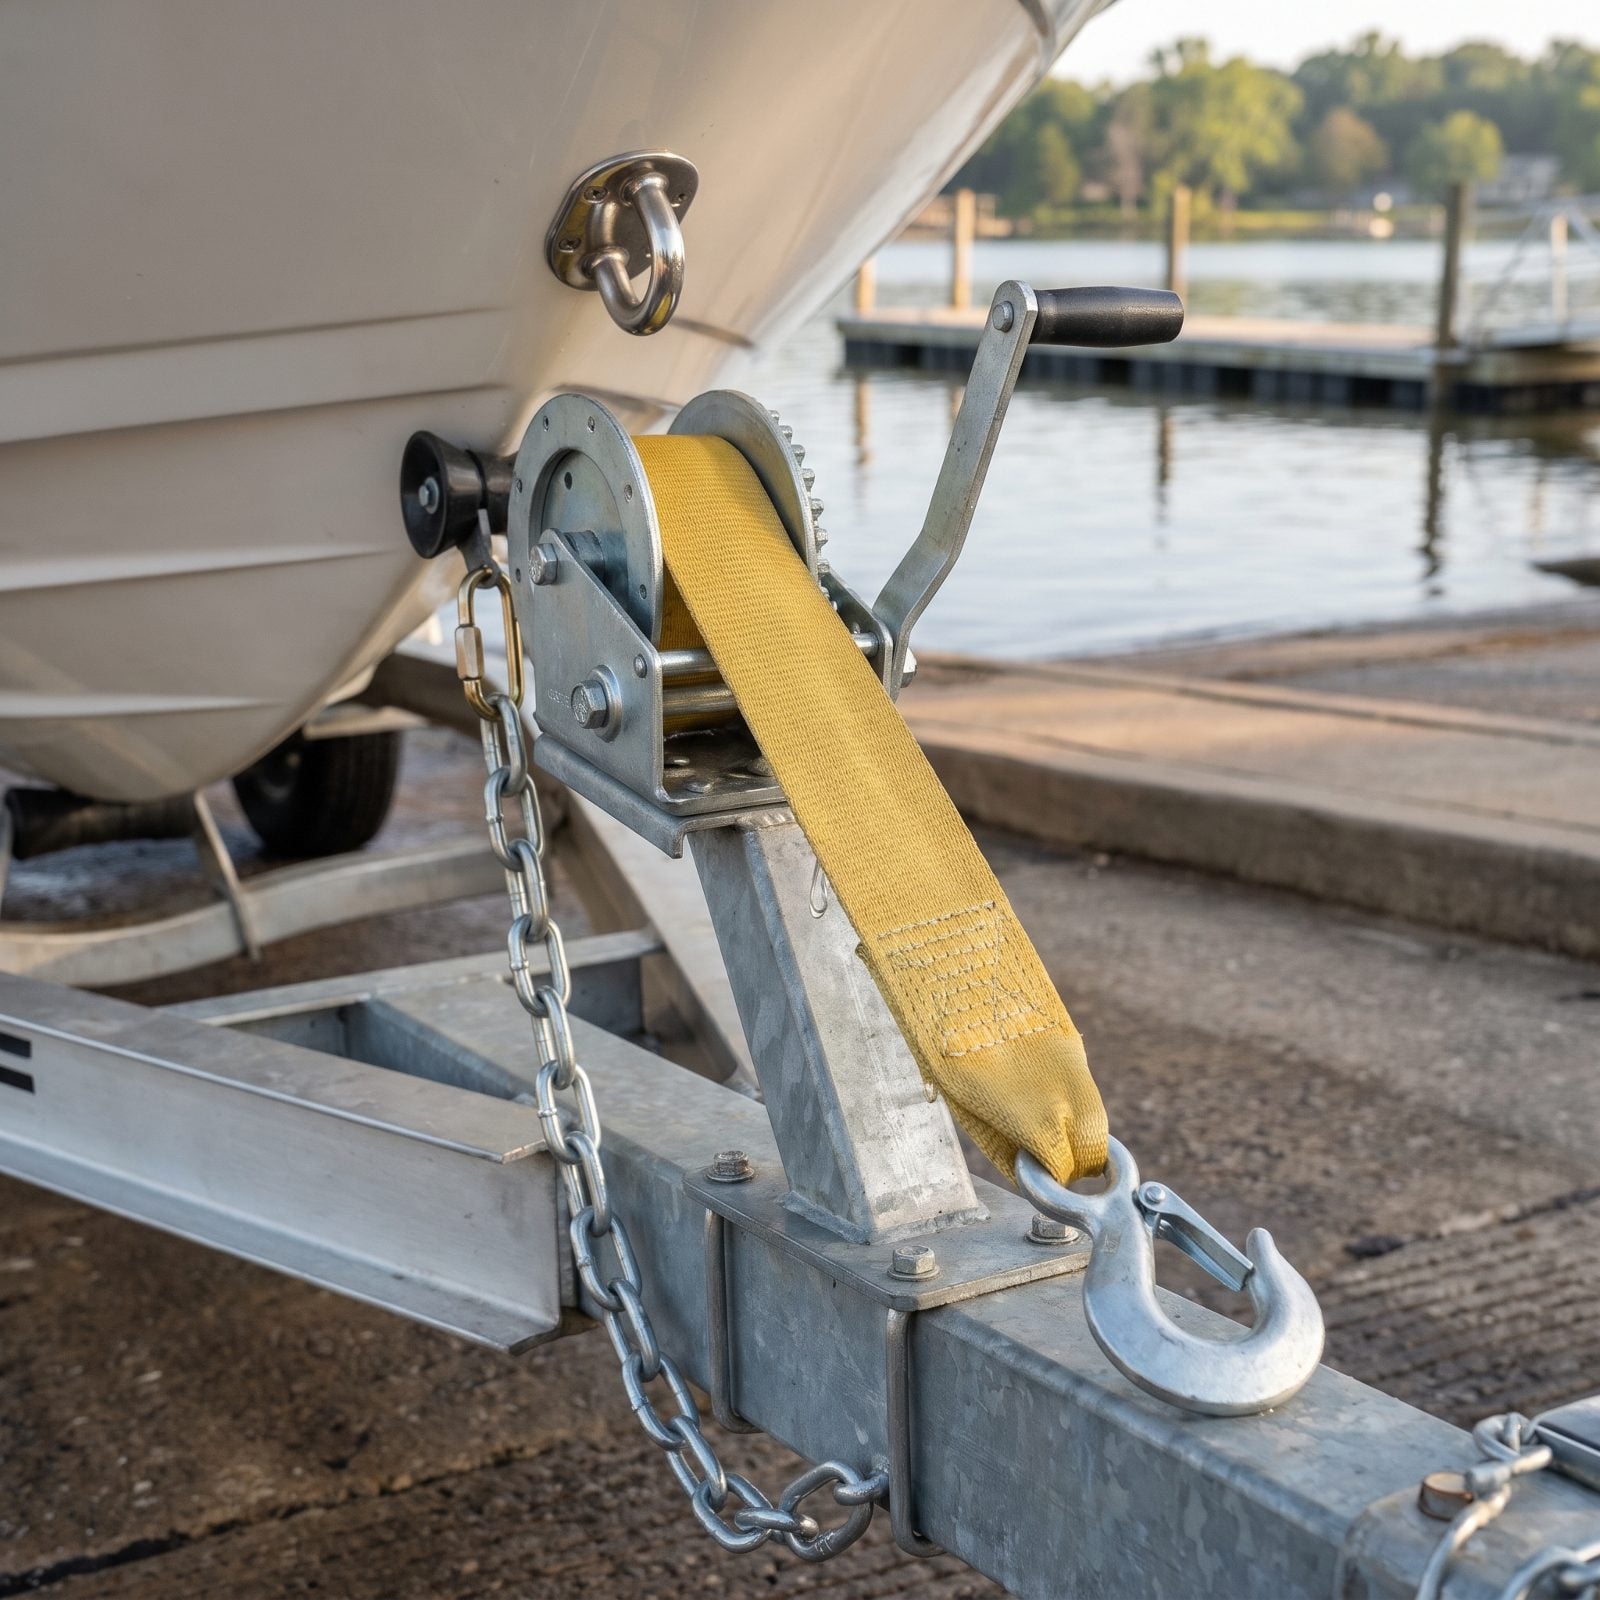
Someone unclips the winch strap up in the staging lot to “save time,” then taps the brakes a little hard heading down the ramp. The boat slides forward off the bunks onto the concrete. I’ve watched it happen, and there is no quiet way for it to happen.
Keep the bow strap and safety chain hooked until the trailer is actually in the water and the stern is floating. Unclip at the last second, on the ramp, with the boat already supported. The strap costs you nothing on a slope and saves you everything.
5. Driving Home With the Outboard Fully Lowered
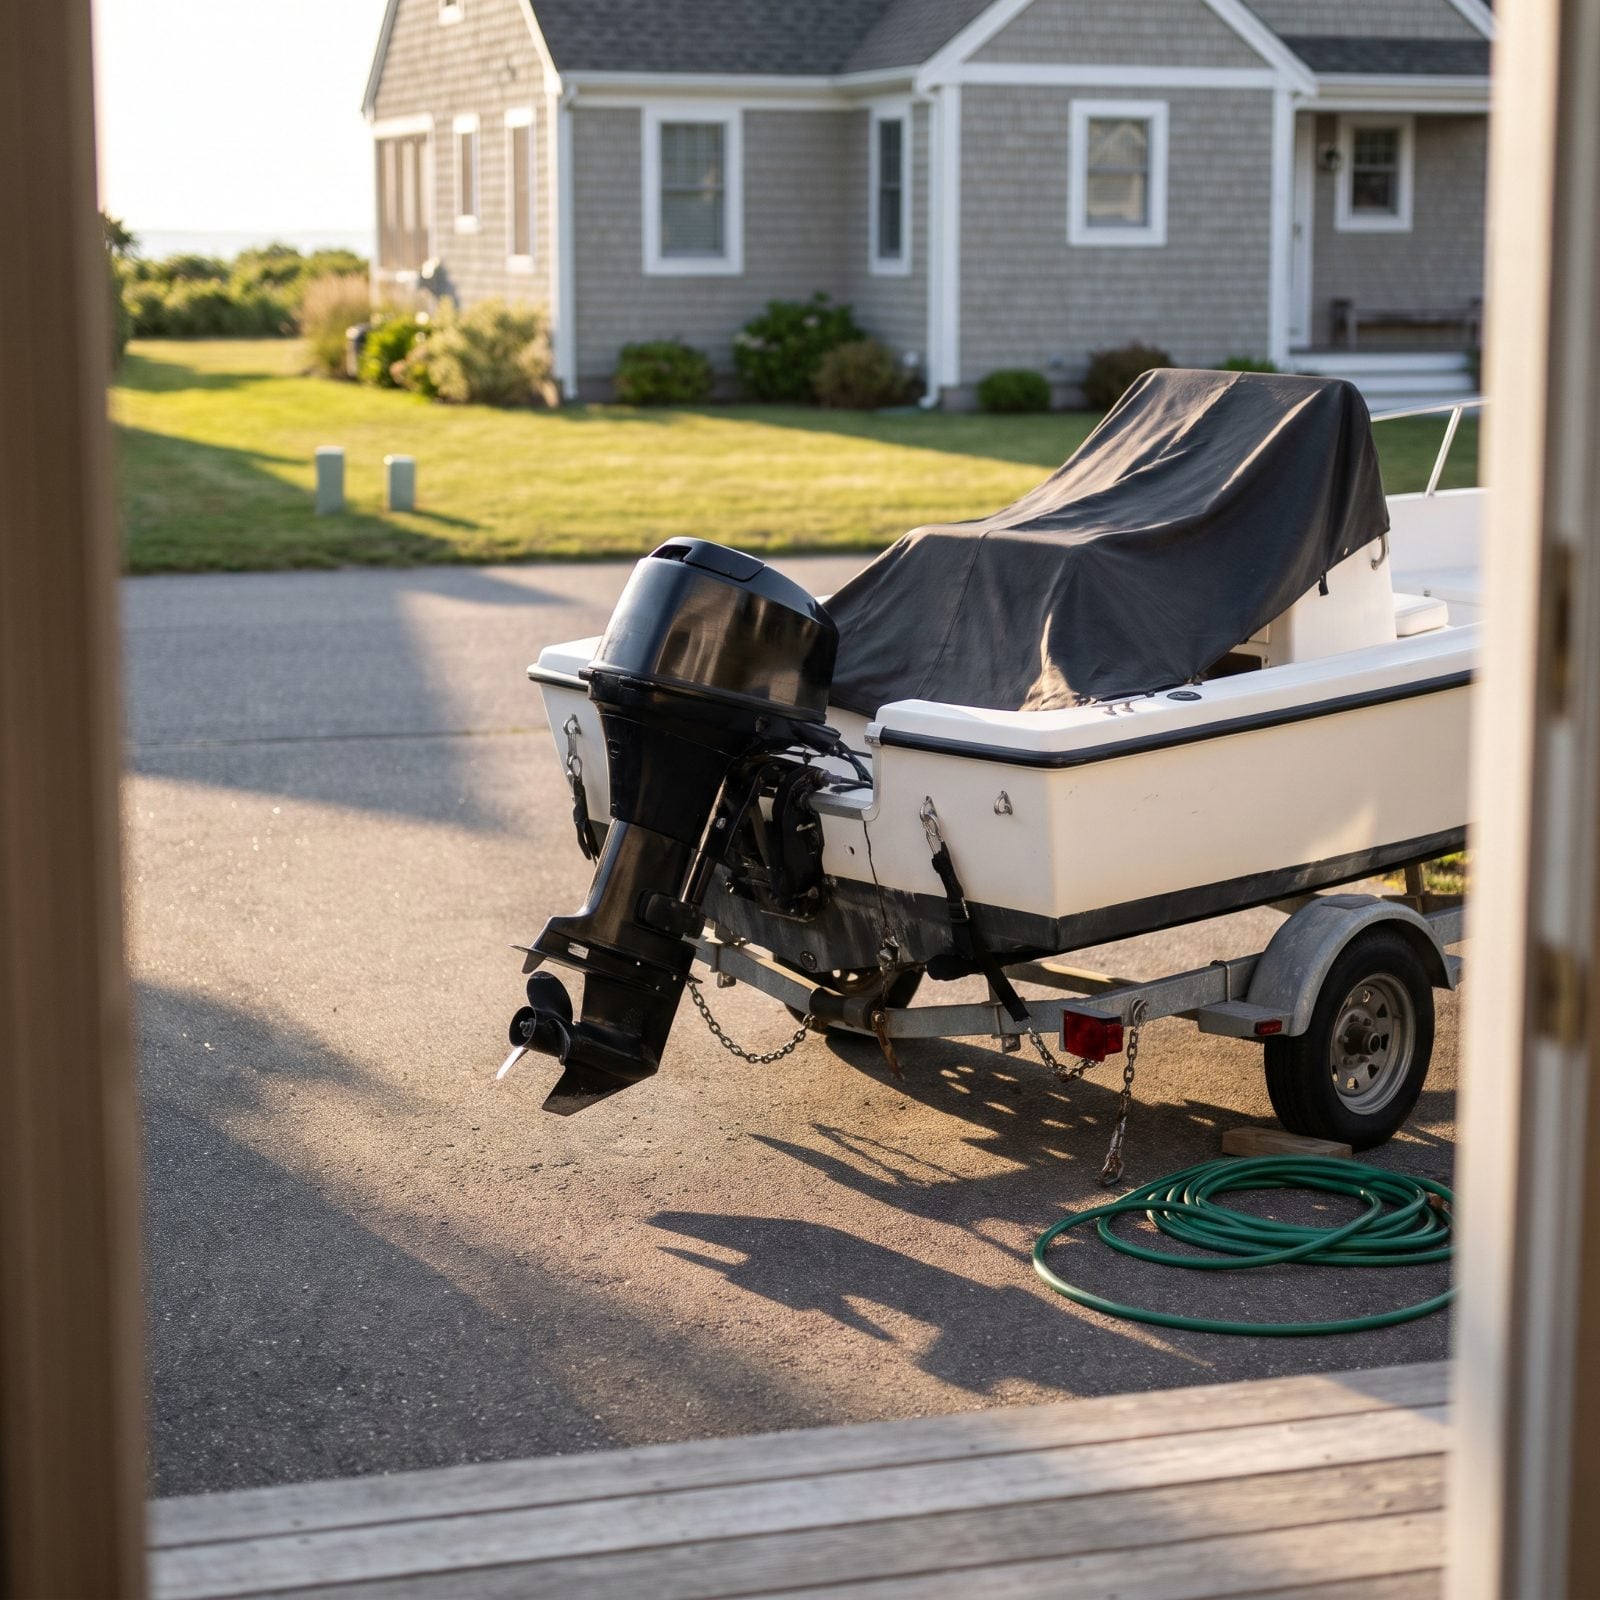
Towing with the engine trimmed all the way down leaves the lower unit hanging low and bouncing on its hydraulic trim, taking every pothole square in the transom. Over a season of highway miles that pounding cracks mounts and strains the transom itself.
Trim the engine up and support it with a transom saver bar before you hit the road. The bar pulls the shock off the trim system and ties the lower unit to the trailer frame. Twenty-dollar part. It protects the most expensive thing on your boat.
4. Wrapping Dock Lines Around a Wrist
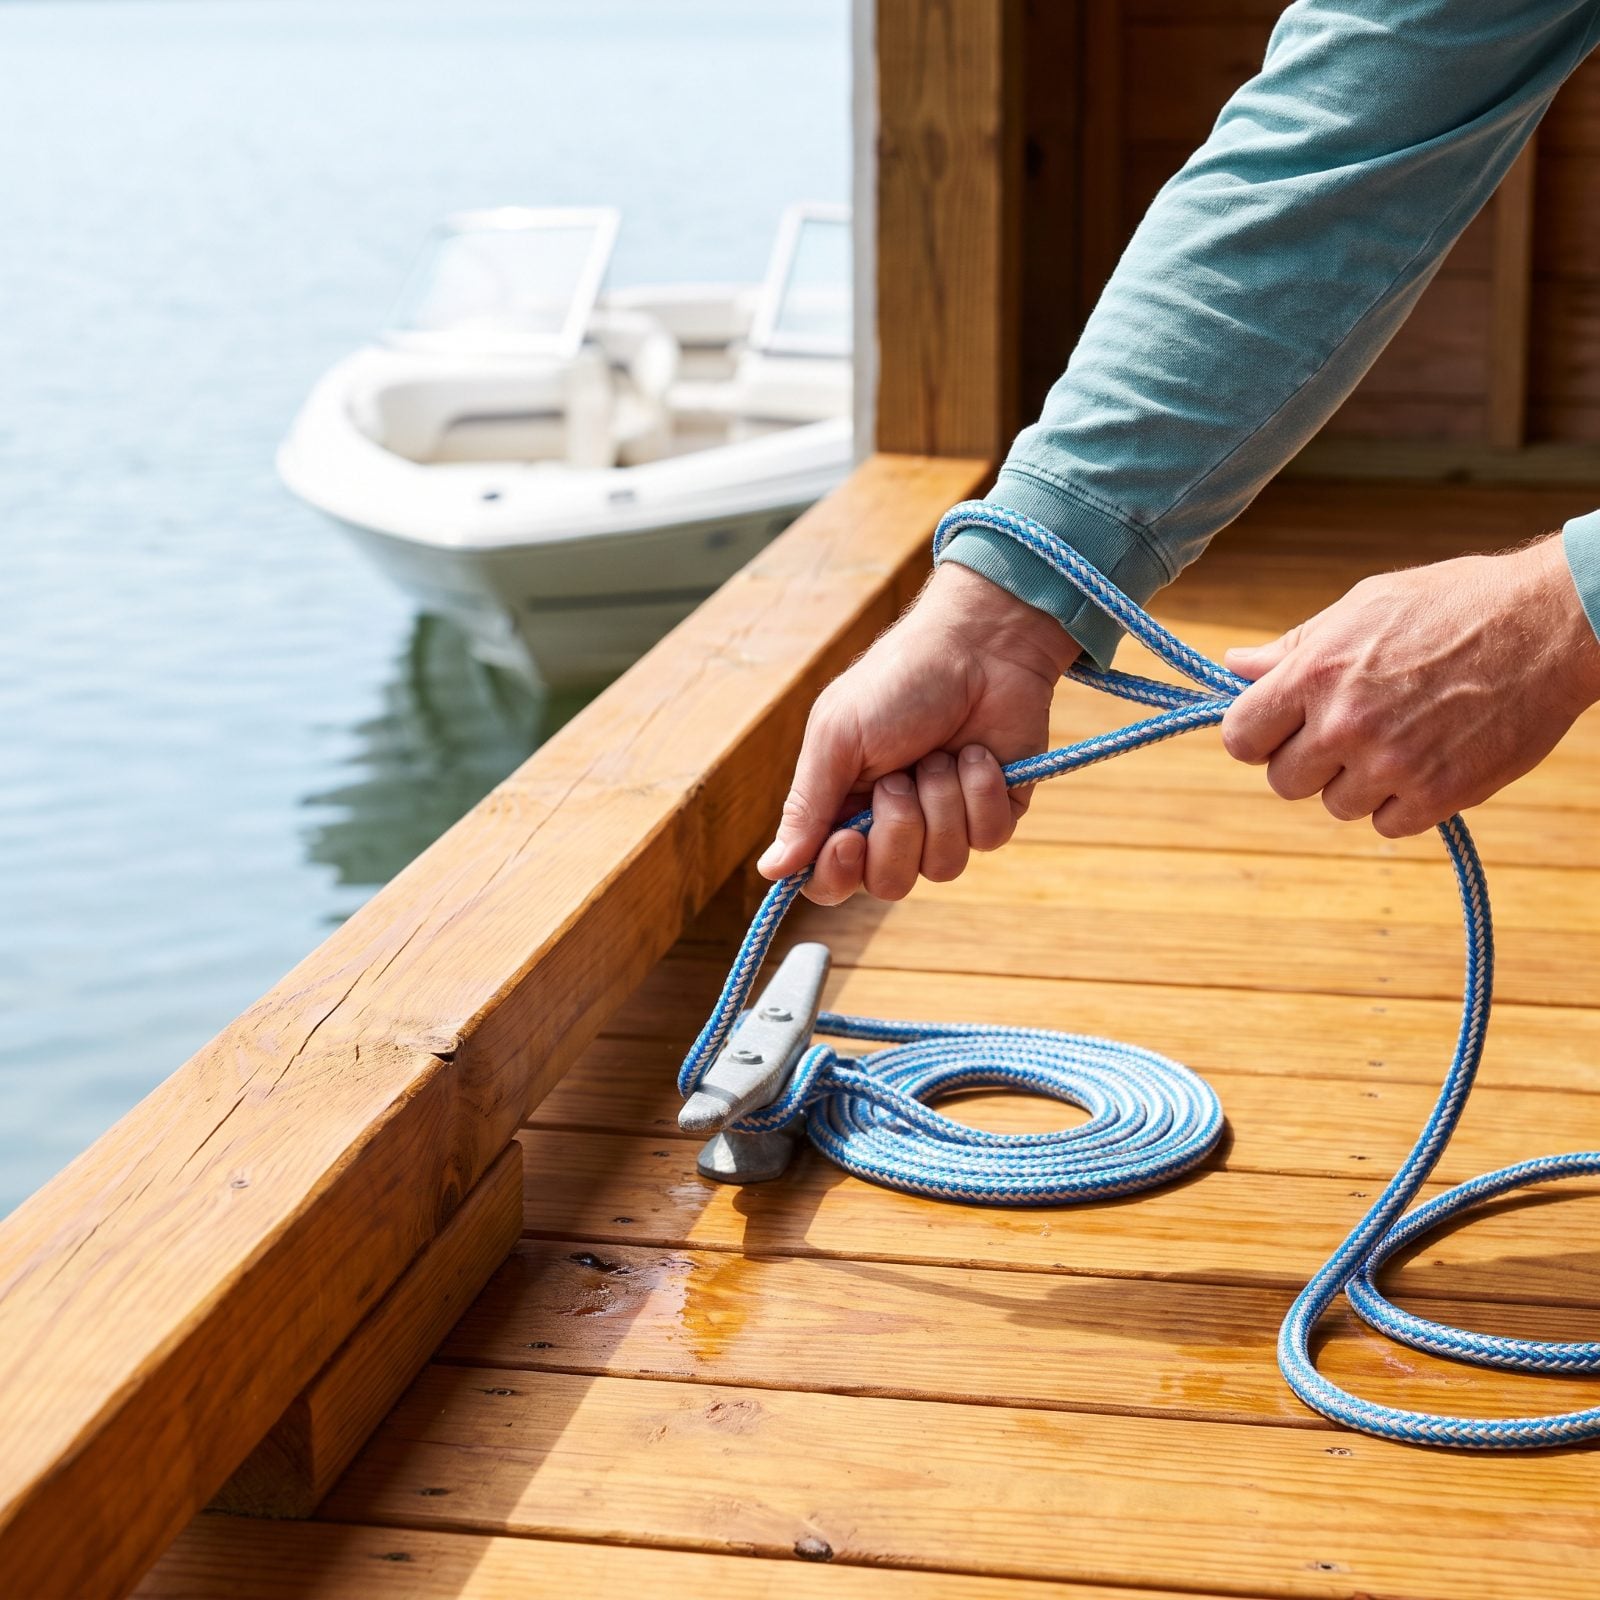
A loaded dock line can take a thumb off. You see it on windy days: somebody grabs a line, wraps it around the wrist for a better grip, and feels clever right up until the boat swings and the rope cinches shut like a snare. Thirty feet of drifting hull pulls a whole lot harder than any human arm.
So experienced owners quit wrapping. The line rides flat across an open palm, maybe with a single turn around a cleat horn for friction, and nothing ever closes around flesh. Boat lunges? You let go. A dropped line is a two-second nuisance, but a trapped hand is a trip to the ER on a day you’d planned to spend out on the water.
3. Letting Guests Invent Their Own Docking Jobs
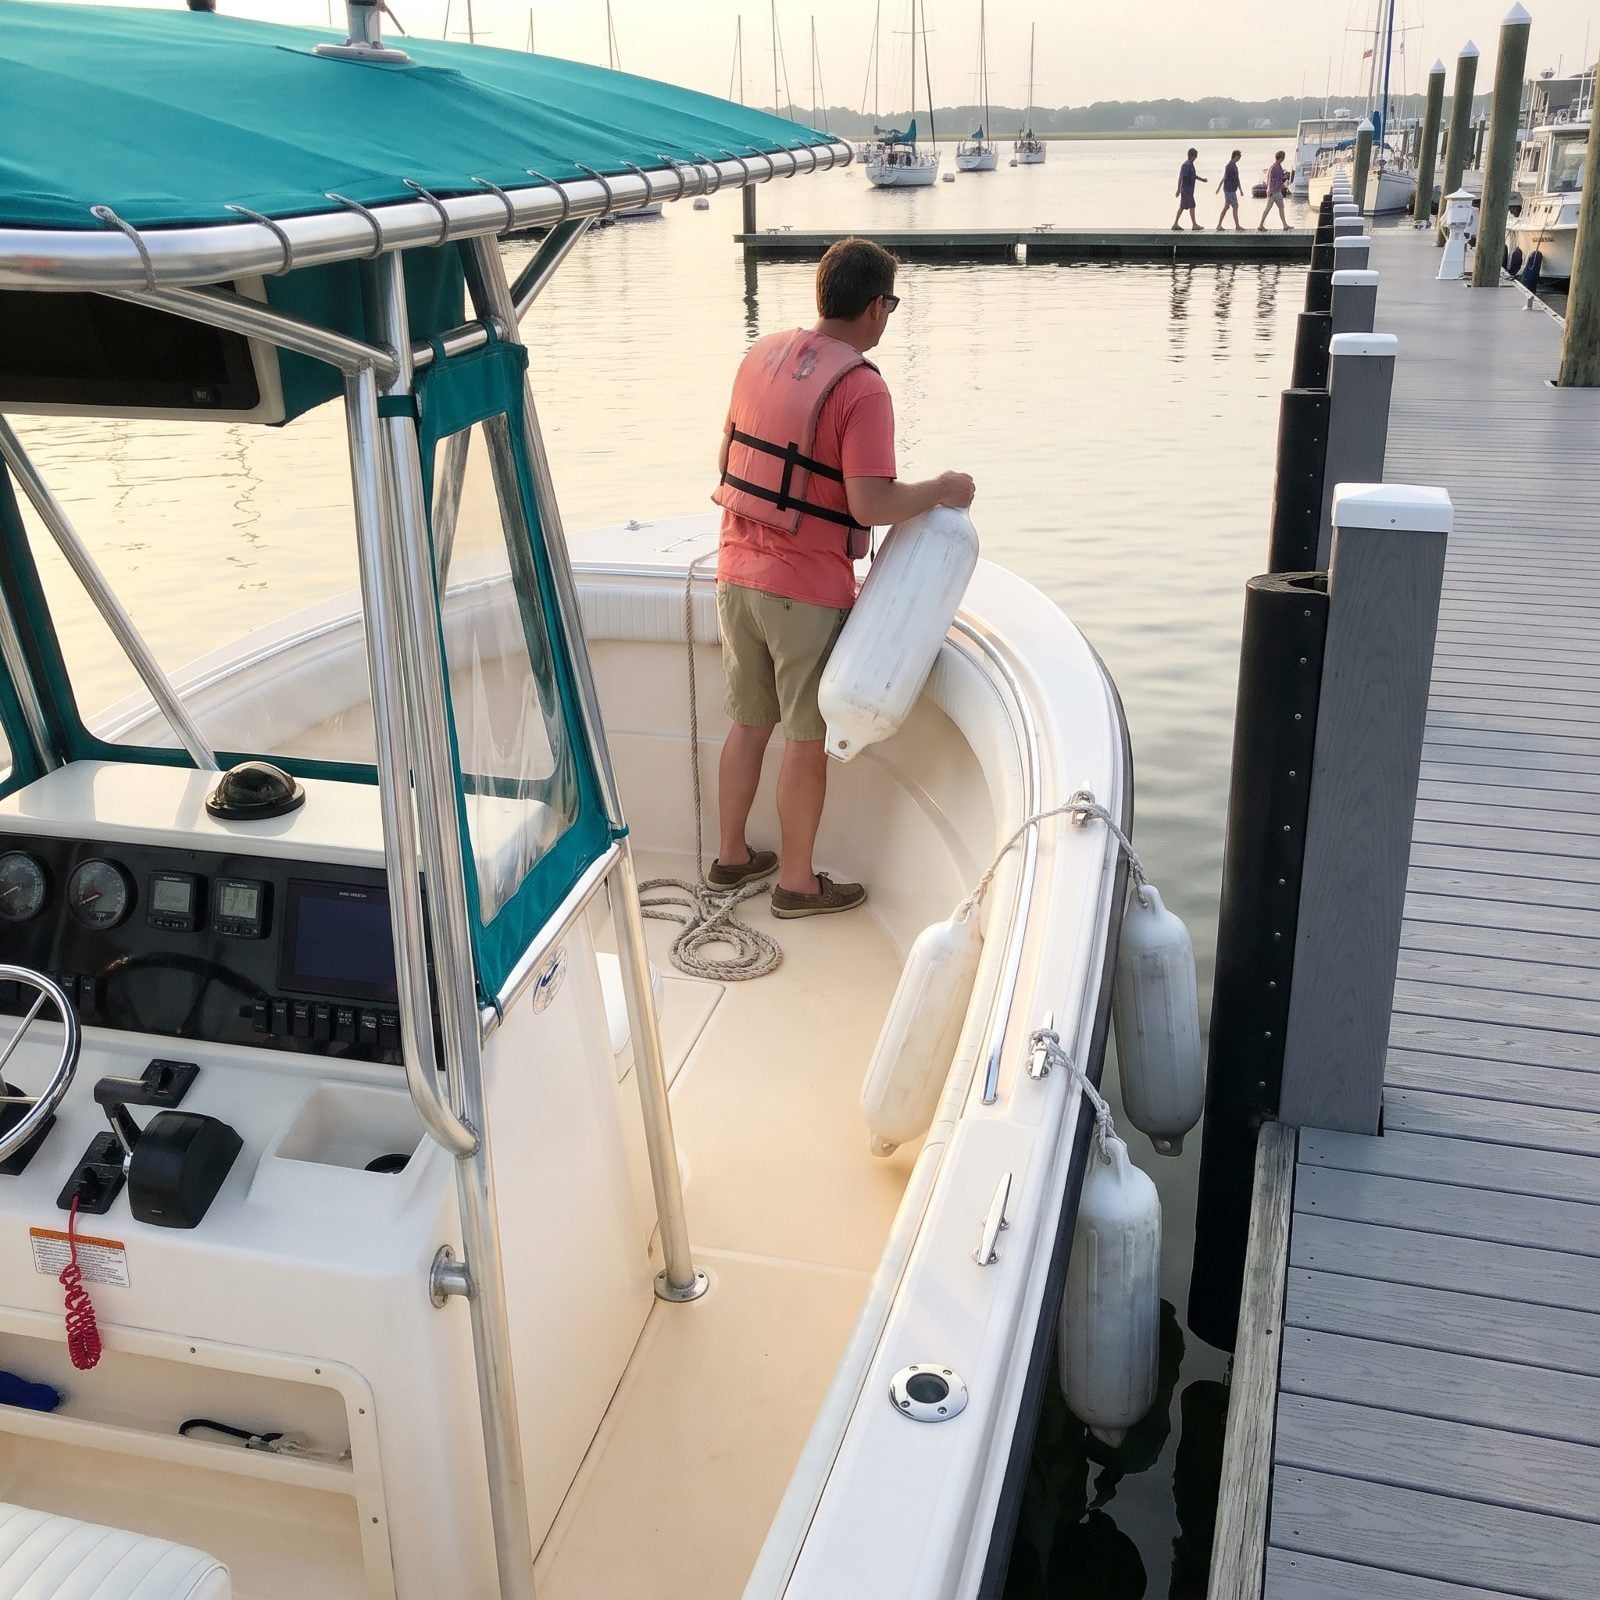
Picture the approach into a tight slip with a crosswind, and three well-meaning guests all deciding at the same instant that this is the moment to help. One grabs a piling. One reaches for the dock with a bare foot. One starts shouting advice at the helm. Now the captain is steering a boat and refereeing a scrum.
Here’s the boring fix that actually works: hand out jobs before you get anywhere close. Quiet water, engine idling, you point. You hold the stern line. You step off with the bow line. You do nothing but hang the fenders. Everybody owns one task and nobody freelances.
An unassigned helper is just a passenger who might grab the wrong thing at the worst moment.
Give a guest one clear instruction and they turn calm and genuinely useful. Leave them guessing and you’ve got a liability with good intentions.
2. Leaving the Anchor Rode Tangled in a Bucket
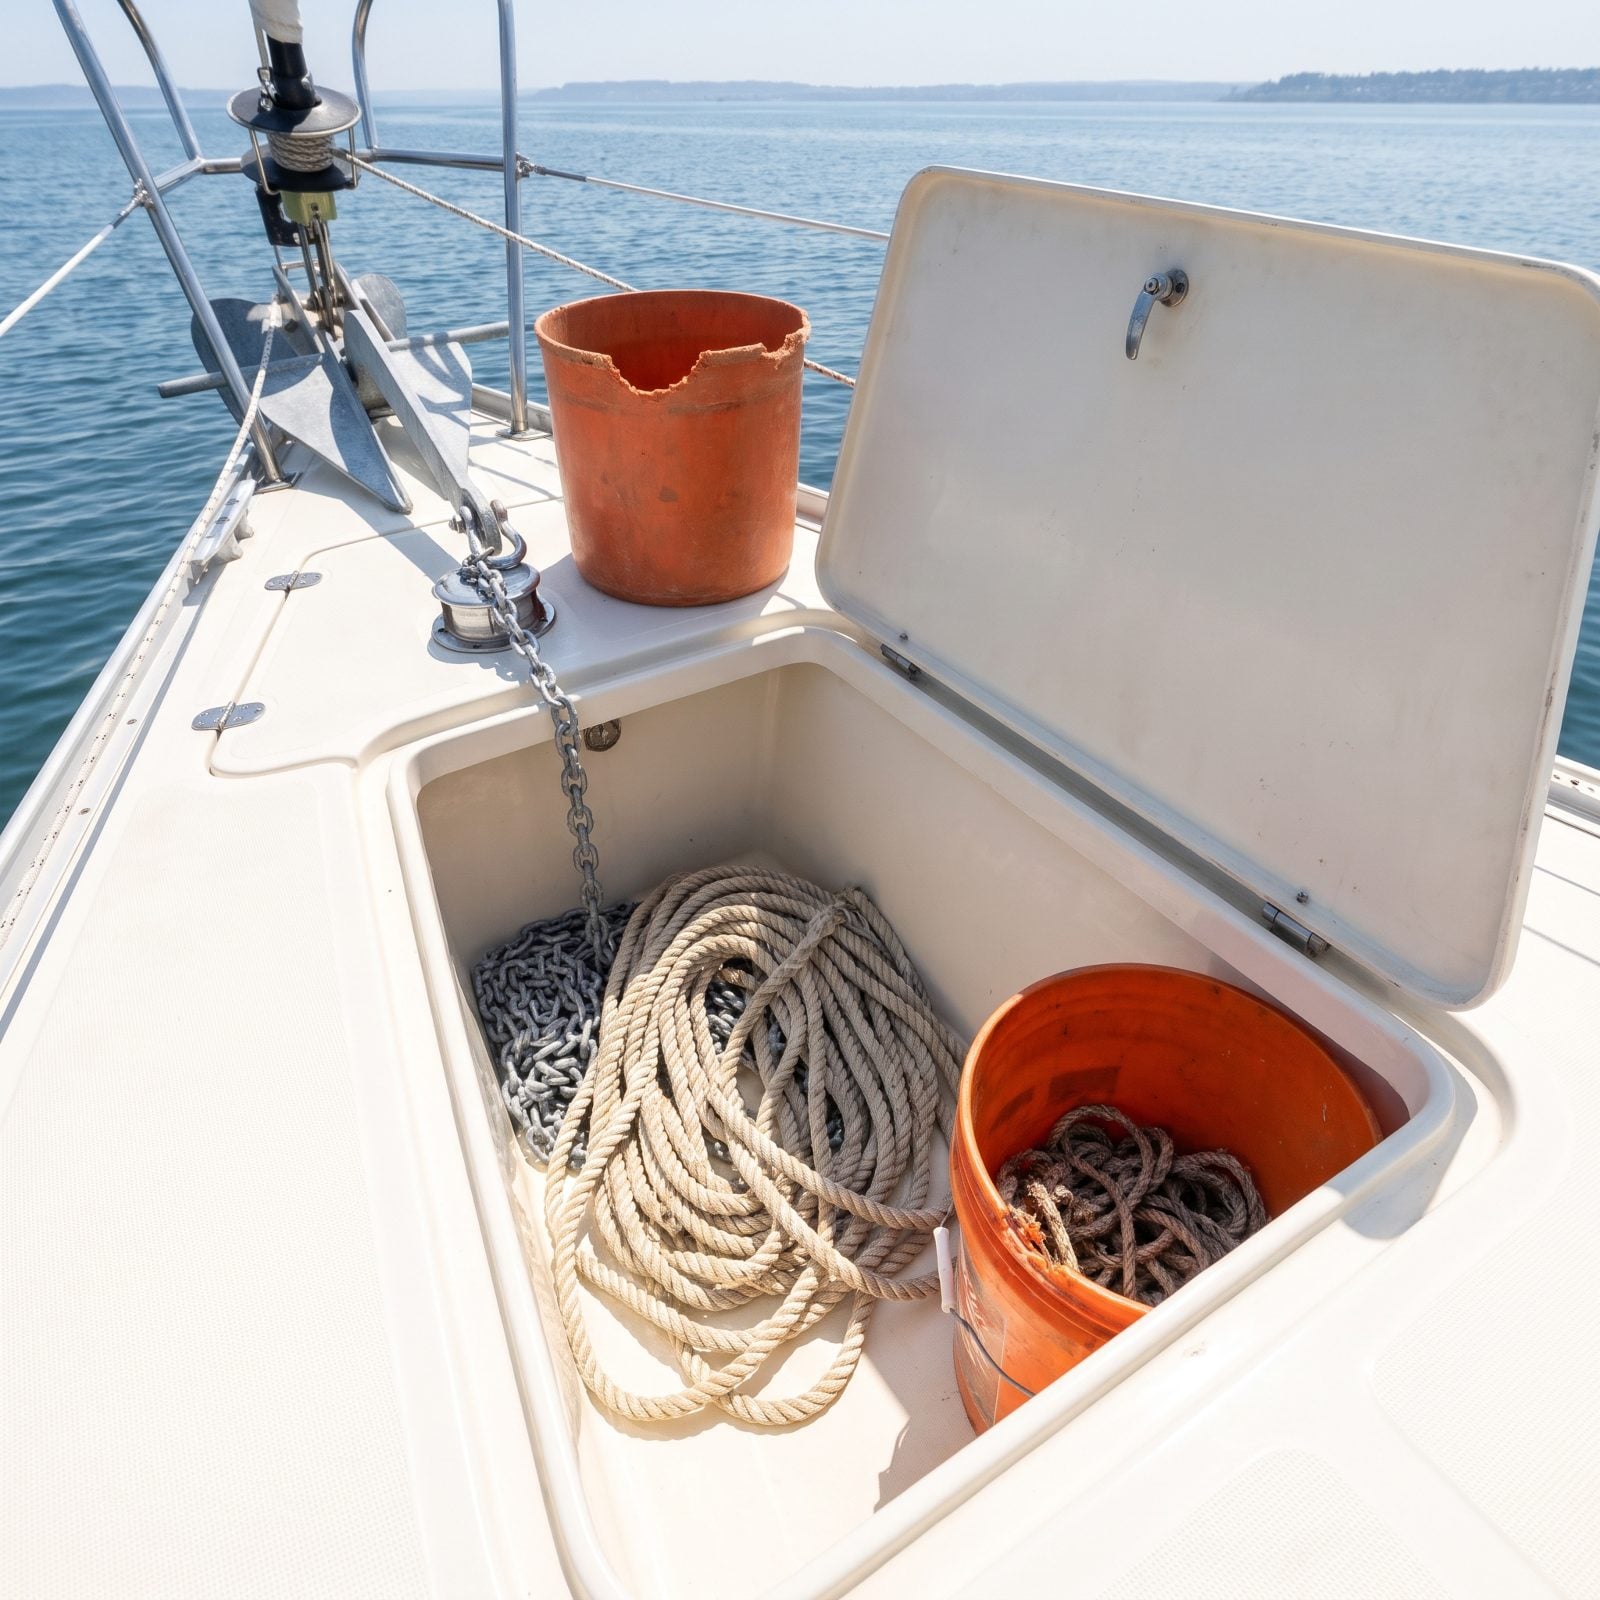
The bucket feels efficient. It’s a trap. Rode dumped loose into a pail looks perfectly fine on the dock and then becomes a knotted mess the second you actually need it. You’re drifting toward rocks, the wind is up, and you’re standing on the bow hauling at a bird’s nest of nylon that refuses to pay out.
Owners who’ve been bitten once learn to flake the rode instead: lay it back and forth in the locker, or figure-eight it out on deck, so it runs clean every single time. Chain goes in first, line on top, nothing crossed.
I ignored all this for a couple of seasons and paid for it with a jammed anchor in a crowded cove, which is about the most public way there is to look like a fool on the water. So flake it. Your future self, racing the wind with the shore coming up fast, will thank you.
1. Pulling a Stuck Anchor With the Windlass Alone
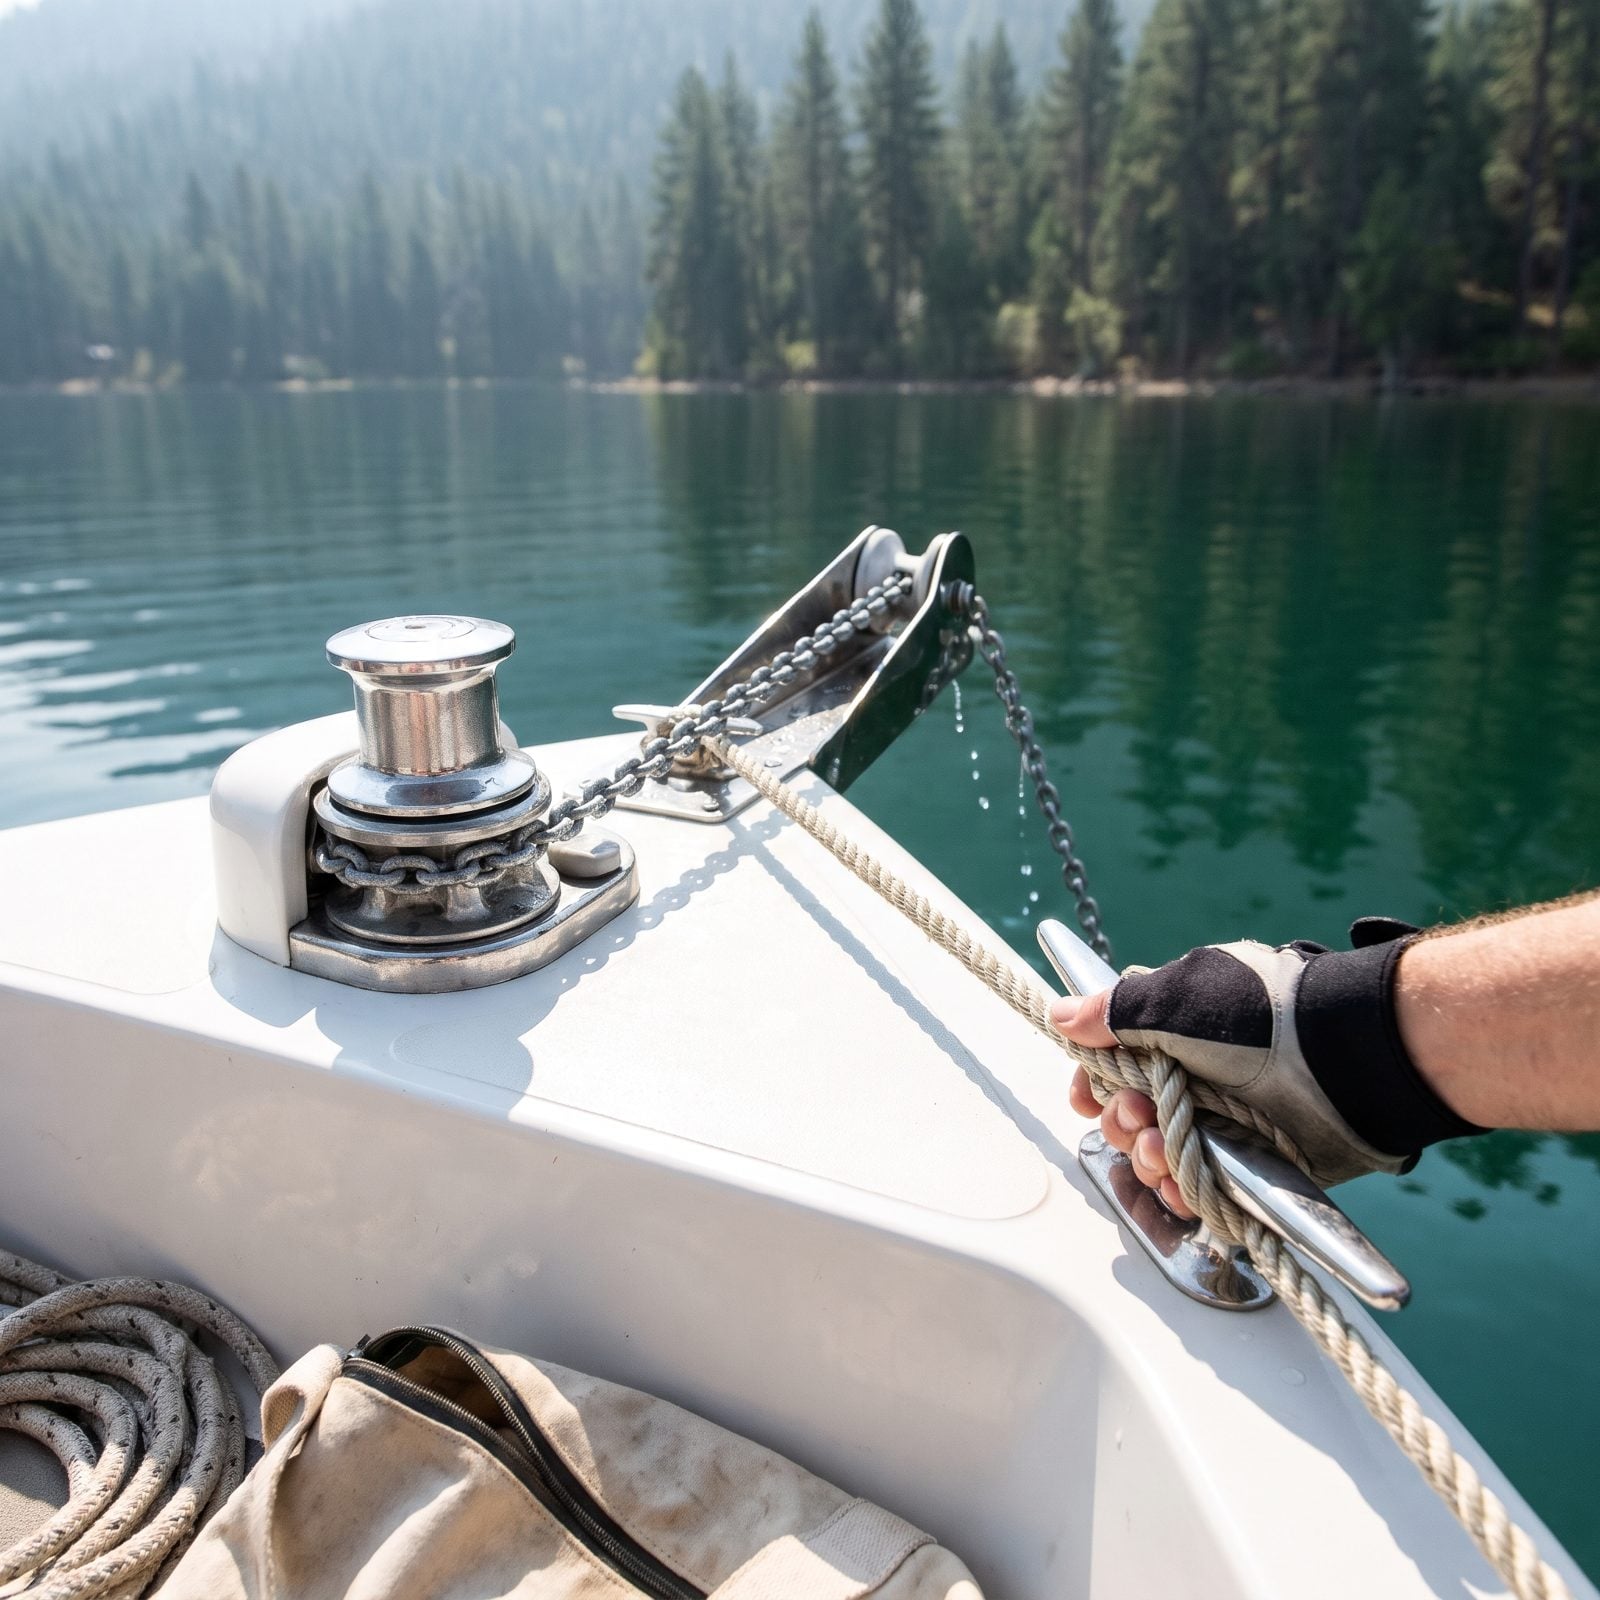
A fouled anchor brings out everyone’s worst instinct: mash the windlass button and lean on it until something gives. That something is usually the windlass. These motors are built to lift weight straight up, not to rip a buried hook out of mud or wrench it off a sunken log. Burn one out and you’re staring at a repair bill that could’ve bought you a whole season of fuel.
Let the boat do the pulling. Cleat the rode off short, then idle forward or motor out over the anchor so the hull and the swell break it loose. Water does the heavy work, and the windlass goes back to just lifting.
Drawing on his own time running a windlass, one veteran boating writer puts it bluntly: “Never use the windlass to pull the boat or break free the anchor.”